When you are making your own intimate apparel, there are a number of basic skills you need to master in order to give you a Solid Foundation in the art. One of the most basic skills is working with elastic. Elastic can be very intimidating if you haven’t used it before. Here are 4 ways to elasticate edges. I hope you will find the instructions easy to follow.
Know your elastics
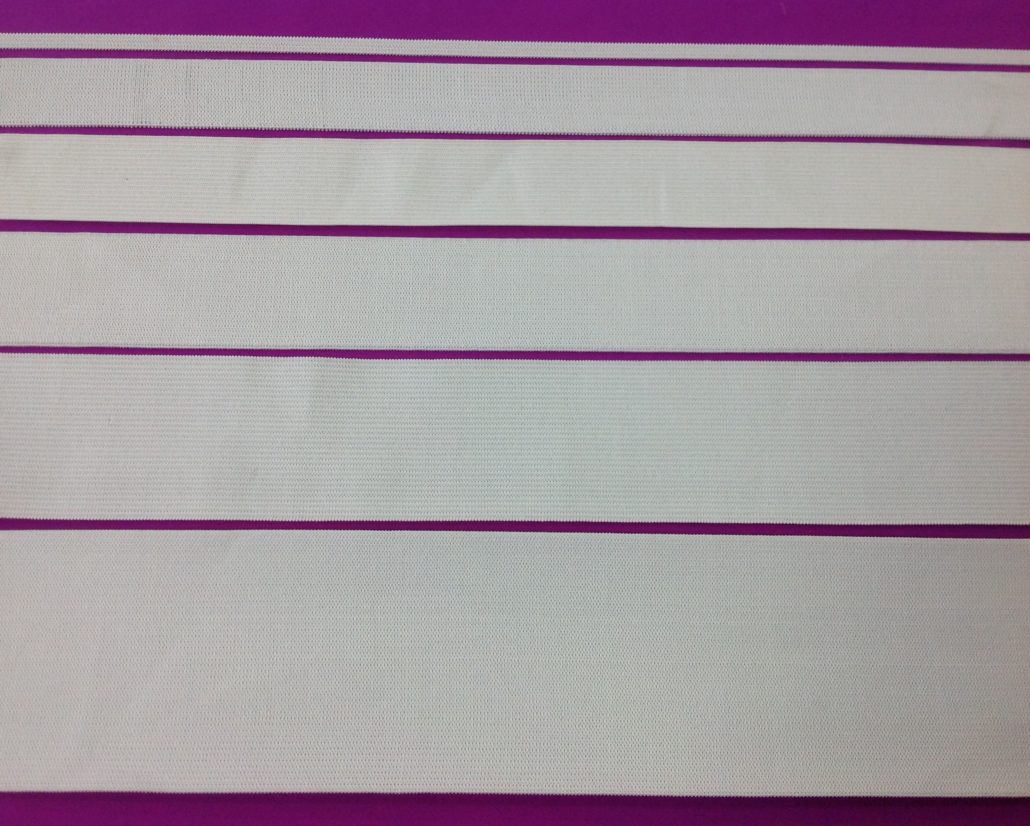
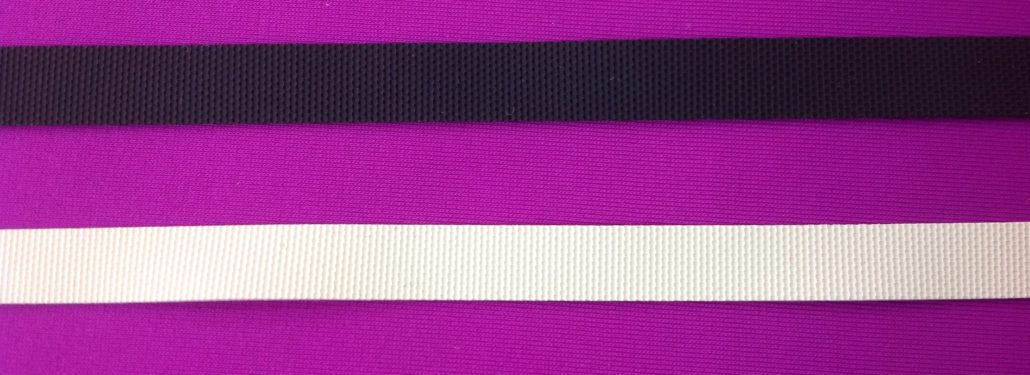
The most basic elastic is called Tunnel Elastic. It doesn’t have a plush side at all and it doesn’t have a pretty scalloped edge. It is your no-frills elastic. It is intended to be completely encased inside a tunnel, such as you would make along the waistband of pyjama bottoms. Some tunnel elastics contain rubber so if you have a latex (rubber) sensitivity, be aware. On the plus side, it is available almost everywhere and in many widths from 1/4″ – 3″ (0.6 -7.5 cm) as shown below. On the downside, it has a tendency to roll. It tends to grow in length when stitched directly to the fabric, so it isn’t a good candidate for several of the techniques I explain below.
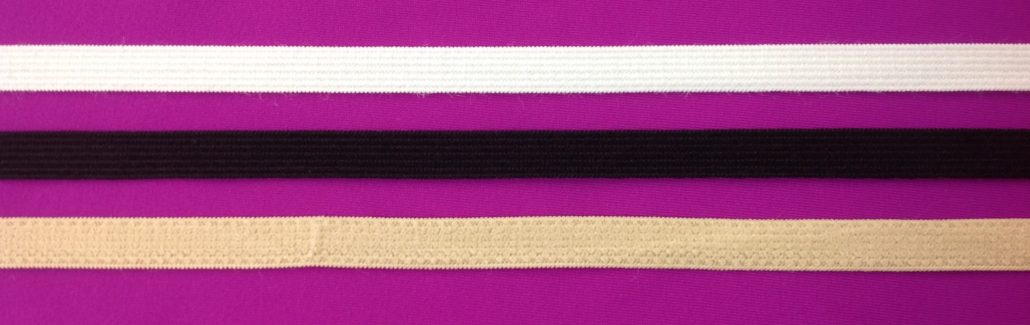
Then there is lingerie elastic, which has a plush surface on both front and back sides but no picots along the edge. Like tunnel elastic, it is intended to be hidden under a layer of fabric, rather than exposed. This is a very soft elastic and used for stabilizing lace edges or using in the legs and waist of panties. Because of its softness, it is not normally used for bra bands but reserved for panties. Ours is latex-free and contains only nylon and spandex. Available in three basic colours.
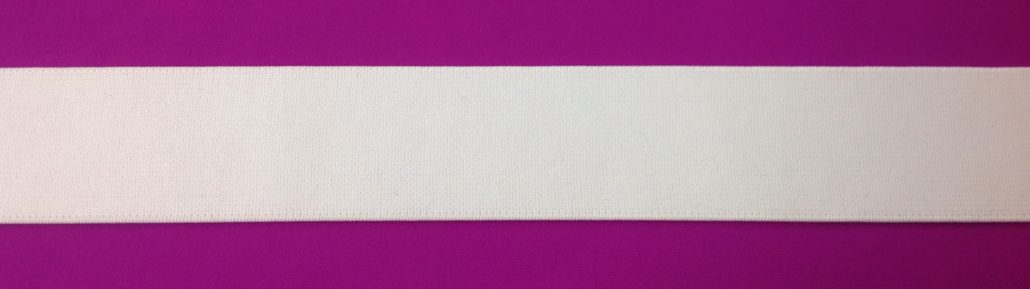
One variation of tunnel and lingerie elastic is plush waistband elastic. It has plush on both sides, but unlike tunnel elastic, it is intended to be exposed as a waistband finish or underwear, leggings, foundation wear, strapless bras and sports bras. It does not have any picot edges, and it does not roll in use.
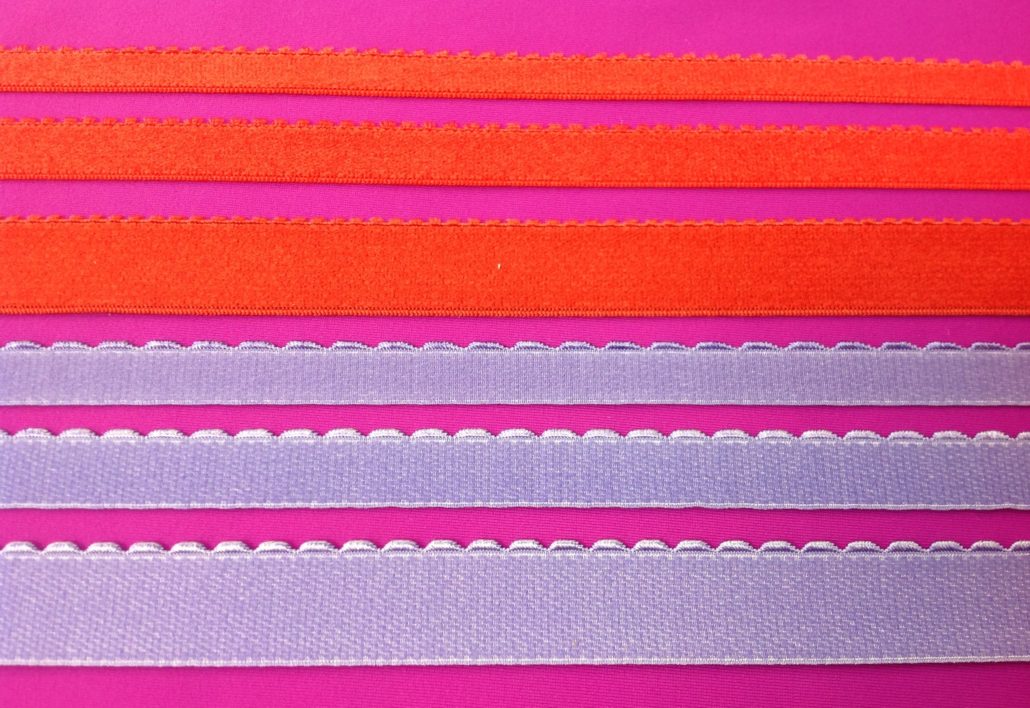
Another type of elastic is plush-back elastic or picot-edged elastic. This elastic has one plush surface and picots along on edge. The plush edge is the side that is intended to be seen from the inside of the garment. It will be the side that is in contact with the body. This elastic is primarily used for the top and bottom of a bra band because the picot or scalloped edge is intended to extend beyond the edge of the finished garment. Generally speaking, bra band elastic is firmer than lingerie elastic. All of our band elastics are latex-free and contain only nylon and spandex. Available in three widths (3/8″-3/4″ or 9-18 mm) and two densities (soft and firm). Sometimes bra band elastic will have a silicone bead running along its centre line. This elastic is intended to better grip the skin, as you might want for strapless bra edges or bodyshaper legs.
Lastly we have Filpar. Filpar is rubber elastic with a silicone finish applied to it in the manufacturing process so it feeds better in the machine. Ours also has ridges which also makes the elastic co-operate at the machine. It is almost exclusively used for swimwear, although the manufacturer also claims it could be used for other intimate apparel. If you have a sensitivity to latex, do not use Filpar. It is also intended to be hidden from view inside a turned edge.
| Tunnel Elastic | Lingerie Elastic | Waistband elastic | Band elastic | Filpar | |
| Bra bands | yes | yes | |||
| Panty waist | yes | yes | yes | ||
| Panty legs | yes | yes | |||
| Pyjama waist | yes | yes | |||
| Under lace edges | yes | yes | |||
| Sports Bra | yes | yes | |||
| Strapless bra | yes | yes, perhaps one with a silicone bead | |||
| Lingerie edges | yes | yes, softer versions only | |||
| Swimwear edges | yes | yes | |||
| Bodyshapers | yes | yes, perhaps one with a silicone bead | |||
| Athletic wear | yes | yes | sometimes | yes |
4 Ways to Elasticate Edges
The Flat Sew method
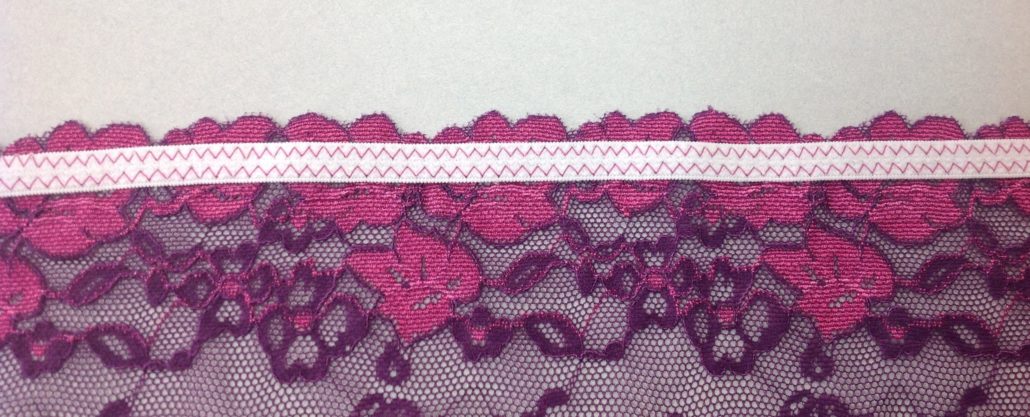
Flat Sew Method. In the Flat sew Method the elastic is sewn along the Low Point of the Lace (LoPoL) and is used to add a bit of strength and recovery ability to the scalloped lace edge. It will help to keep the often delicate lace edge from stretching out of shape. Normally, lingerie elastic is used for this method because you can sew into it and it still retains its stretchability. Another way to use the Flat Sew method is to use plush waistband elastic along the bottom edge of a sports bra, or leggings, or foundation wear. Use a wide three-step zig-zag stitch spanning almost the width of the elastic…
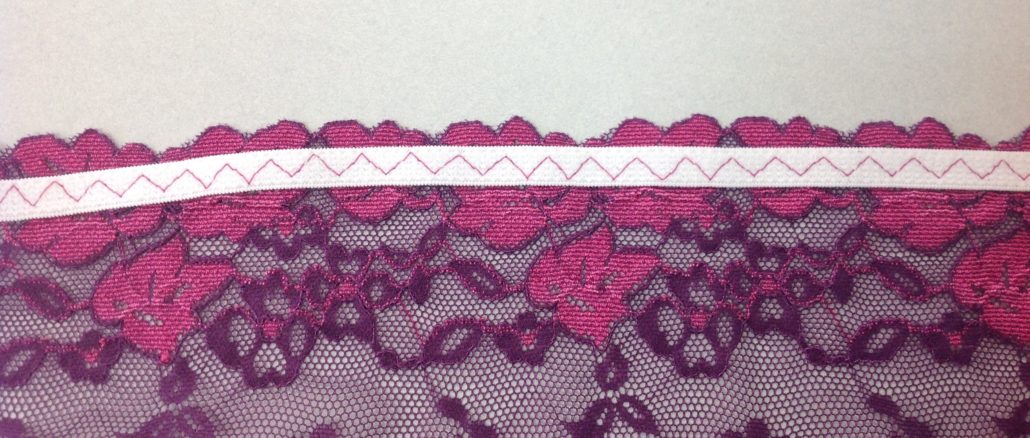
…or two rows of a smaller zig-zag, depending on the width of the elastic.
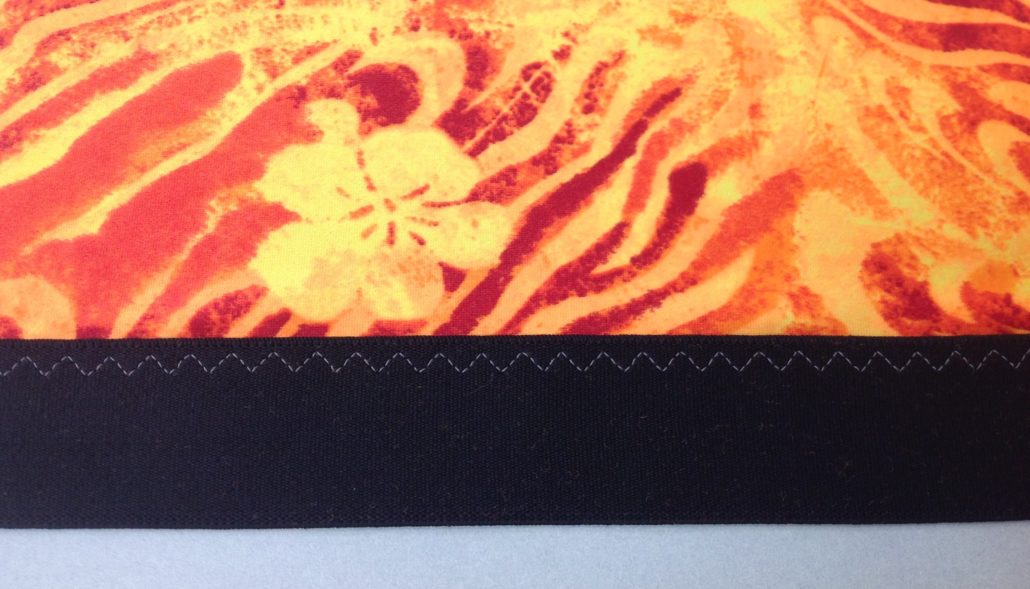
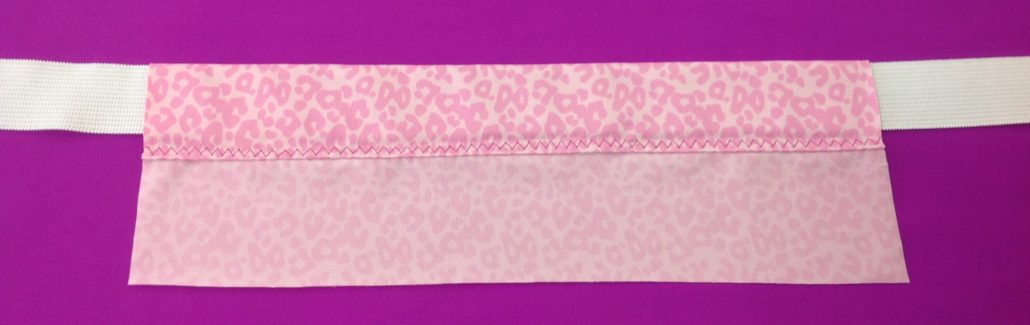
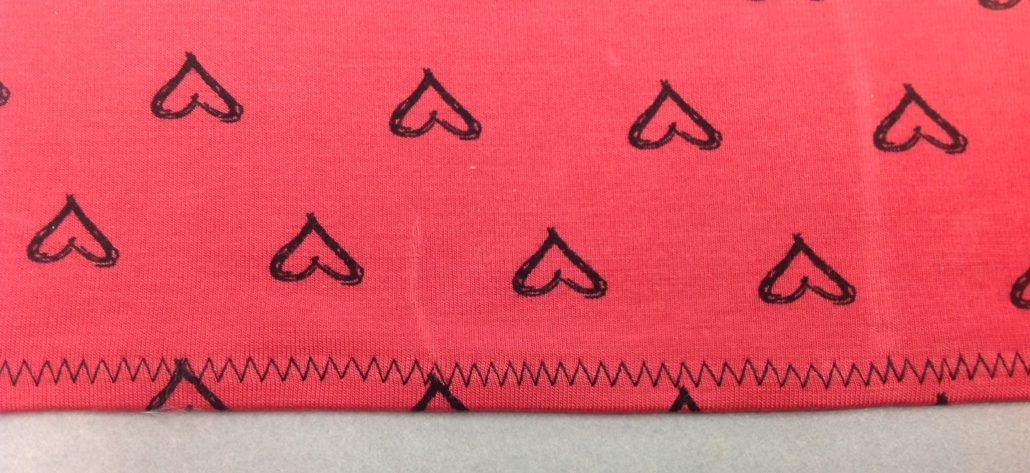
A variation of the Flat Sew method is used to attach waistband elastic of underwear, pyjama bottoms, sports bras, bustiers and bodyshapers. The wide qelastic is simply overlapped onto the fabric and sewn along one edge with a three-step zig-zag or a cover stitch.
The Facing method
The Facing method, also known as the Exposed method because the fuzzy side of the elastic will show when the garment is seen from the inside. This is the most common method used to sew elastic when making a bra. The picot-edged elastic is usually used for this method because the pretty picot edge extends above the edge of the fabric and the soft, plushy side rests against the skin when finished. A lot of women use this method for panties as well. To sew elastic with the Facing Method, align the non-picot edge of the elastic with the raw edge of the fabric. Stitch just under the picot edge using a zig-zag stitch (width 2-3 mm and length 1.5-2.5). I pull the elastic just enough to show it that I’m in charge. By doing that, you will prevent the waving that can happen if you let the elastic feed on its own.
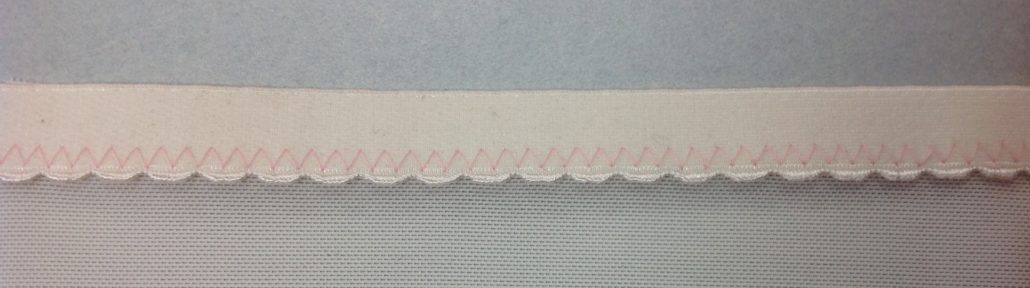
Nest, fold the elastic over the edge to the wrong side. Stitch a second time on the loose edge. This means in bra-making, you do not sew the same edge twice.
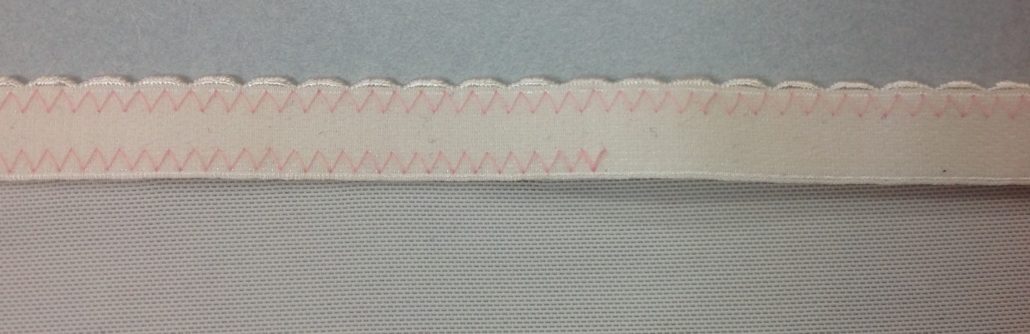
This is how the Facing Method of attaching elastic looks like from the right side of the garment.
The Tunnel method
Making a tunnel for feeding a length of elastic may be a method you may be familiar with if you have ever made pyjama bottoms. As you may have guessed, this method is usually used with tunnel elastic. In that case, you turn the edge of the fabric once or twice and stitch it down, leaving the ends open. The elastic feeds through the tunnel and sews into a seam. The only stitching on the elastic is the stitching to hold the ends secure in a seam. This method leaves the elastic with a minimal amount of stitching, but the elastic inside the tunnel may roll or twist.
The Turned and Hidden Method
The Turned and Hidden is avariation of the tunnel method and be used with lingerie elastic or swimwear elastic. In this method, the elastic is hidden from view by being stitched to, then turned under the edge of the fabric. Unlike the tunnel method, the elastic is stitched down. There are several reasons why you might want an elastic hidden inside a turned edge:
- the elastic may not be “pretty” enough to show off
- the elastic may not be a matching colour to the garment
- you may have elastic sensitivities so you prefer the elastic inside a layer of cloth.
- you do not want the picot edge of the elastic peeking above the edge of the garment
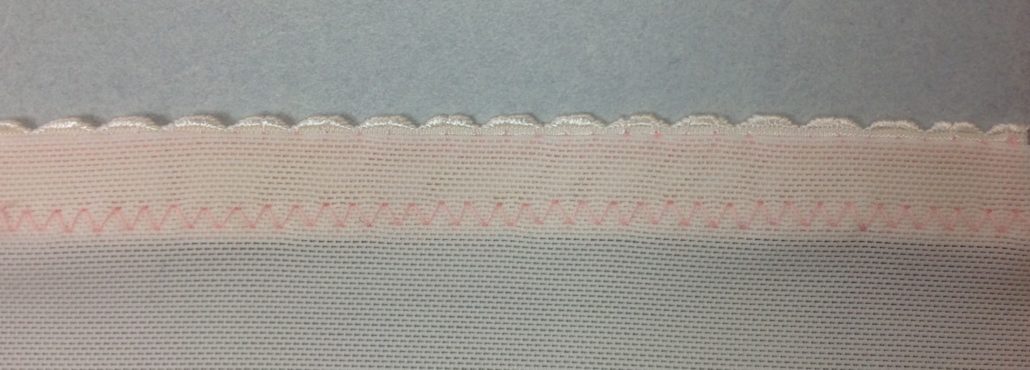
In this method, you sew the elastic to the wrong side of the garment, along the raw edge of the fabric. Zig-zag near the edge
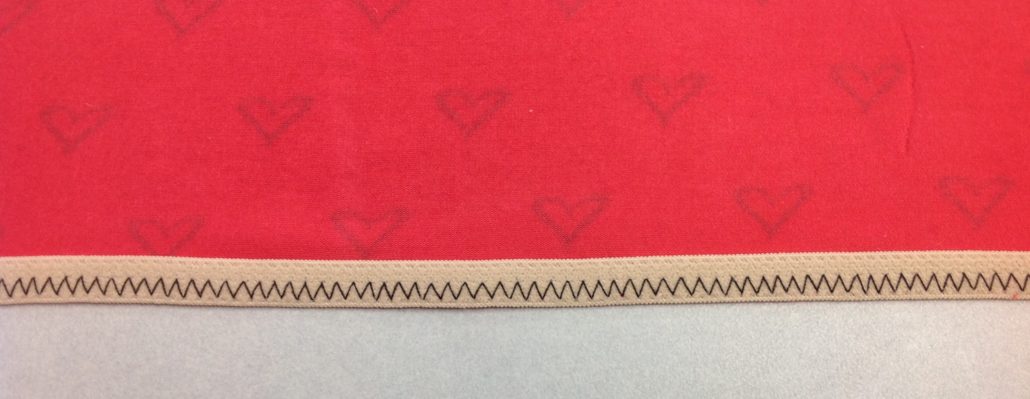
Then turn the fabric and elastic over itself, hiding the elastic under the layer of fabric it is attached to. Stitch again with either a zig-zag or a three-step zig-zag stitch along the innermost edge (the same edge you stitched already). This is the one exception to the “do not stitch the same edge twice” rule.
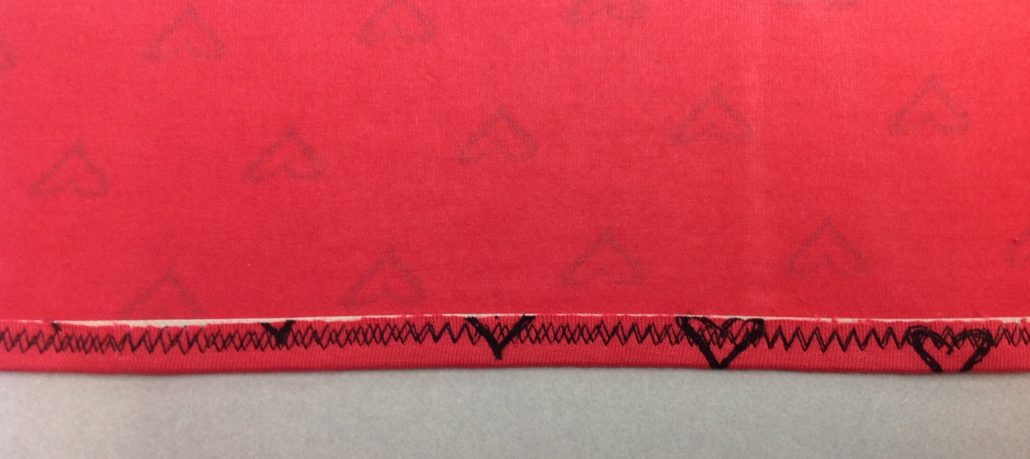
The fabric from the right side.


Thank you so much!
Thank you for this great elastic reference. I think I may actually know all these facts but I really like having them all together and compared.