Roses are red
Violets are blue
No coloured elastics?
Here’s what you do!
Yes, you can create custom colours to match your fabrics so your elastics, findings and hardware will all be colour co-ordinated. Here’s a bra that started out as white fabric, white elastics and white lace.
First let’s talk about the fabrics and findings that will dye well. Generally speaking, fabrics and elastics made of nylon or nylon/spandex blend will dye well with acid dyes (the kind I use). In another post I will list the things we carry that will dye successfully.
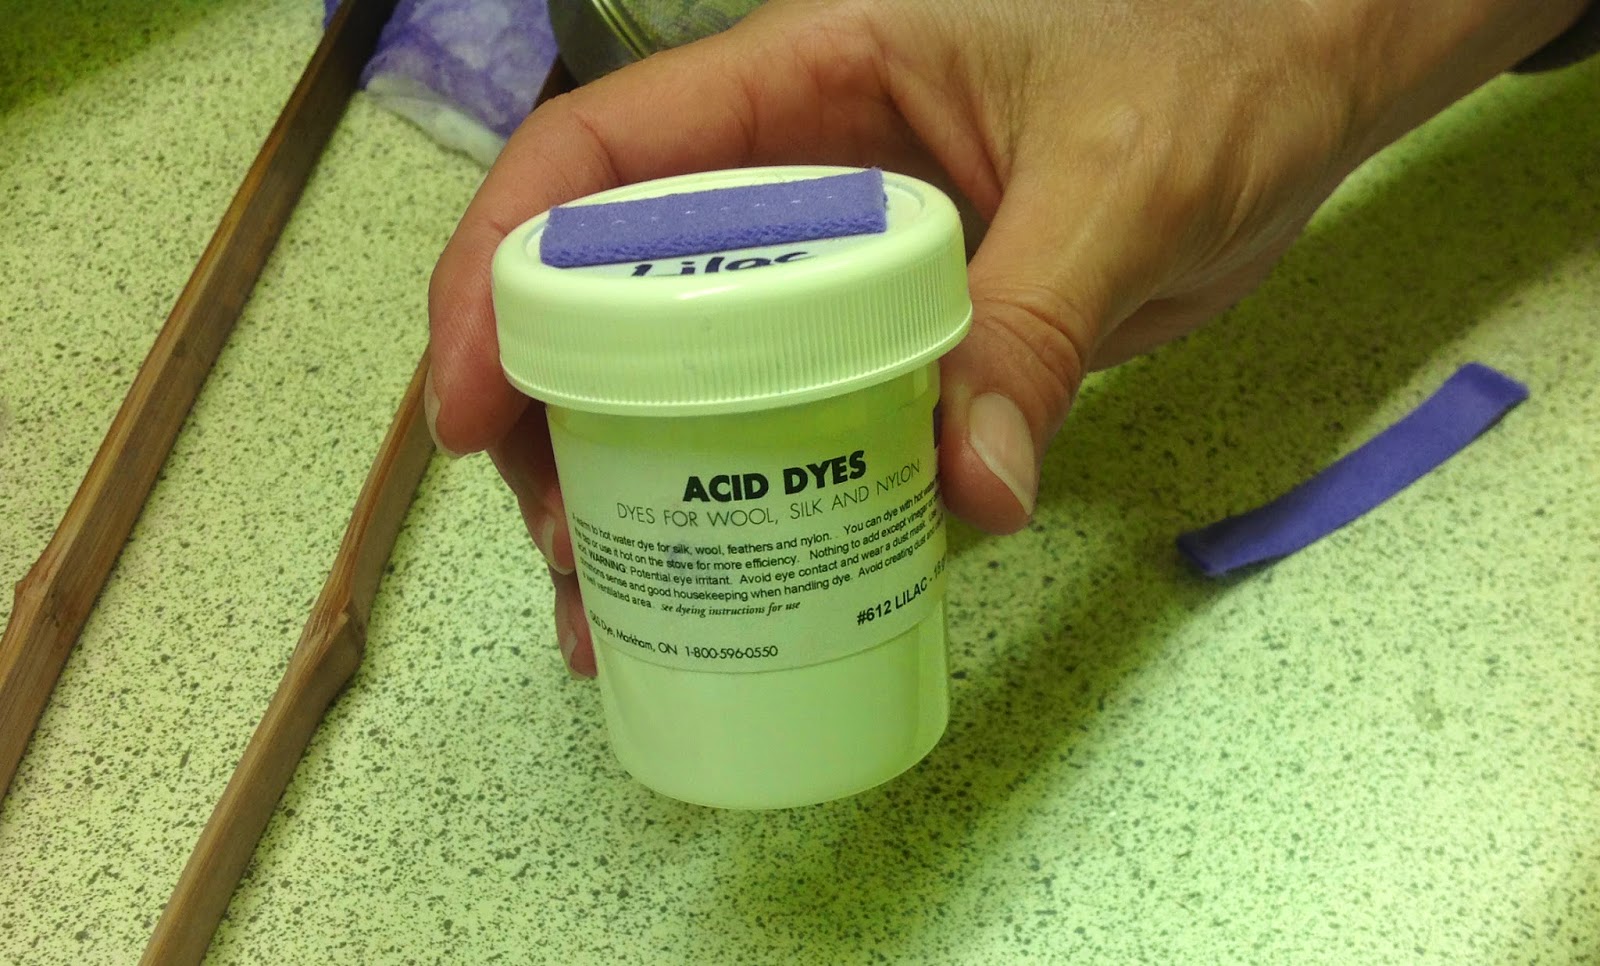
About the dye powder itself. I use acid dyes to dye nylon, spandex but it can also be used for cotton too. When I say acid dyes, don’t worry – it’s only a mild acid, like vinegar, specifically for nylon and nylon/spandex fabrics. We use Acid dye from G & S Dyes in Toronto but the same type of dye can be purchased from Dharma Trading in the States.
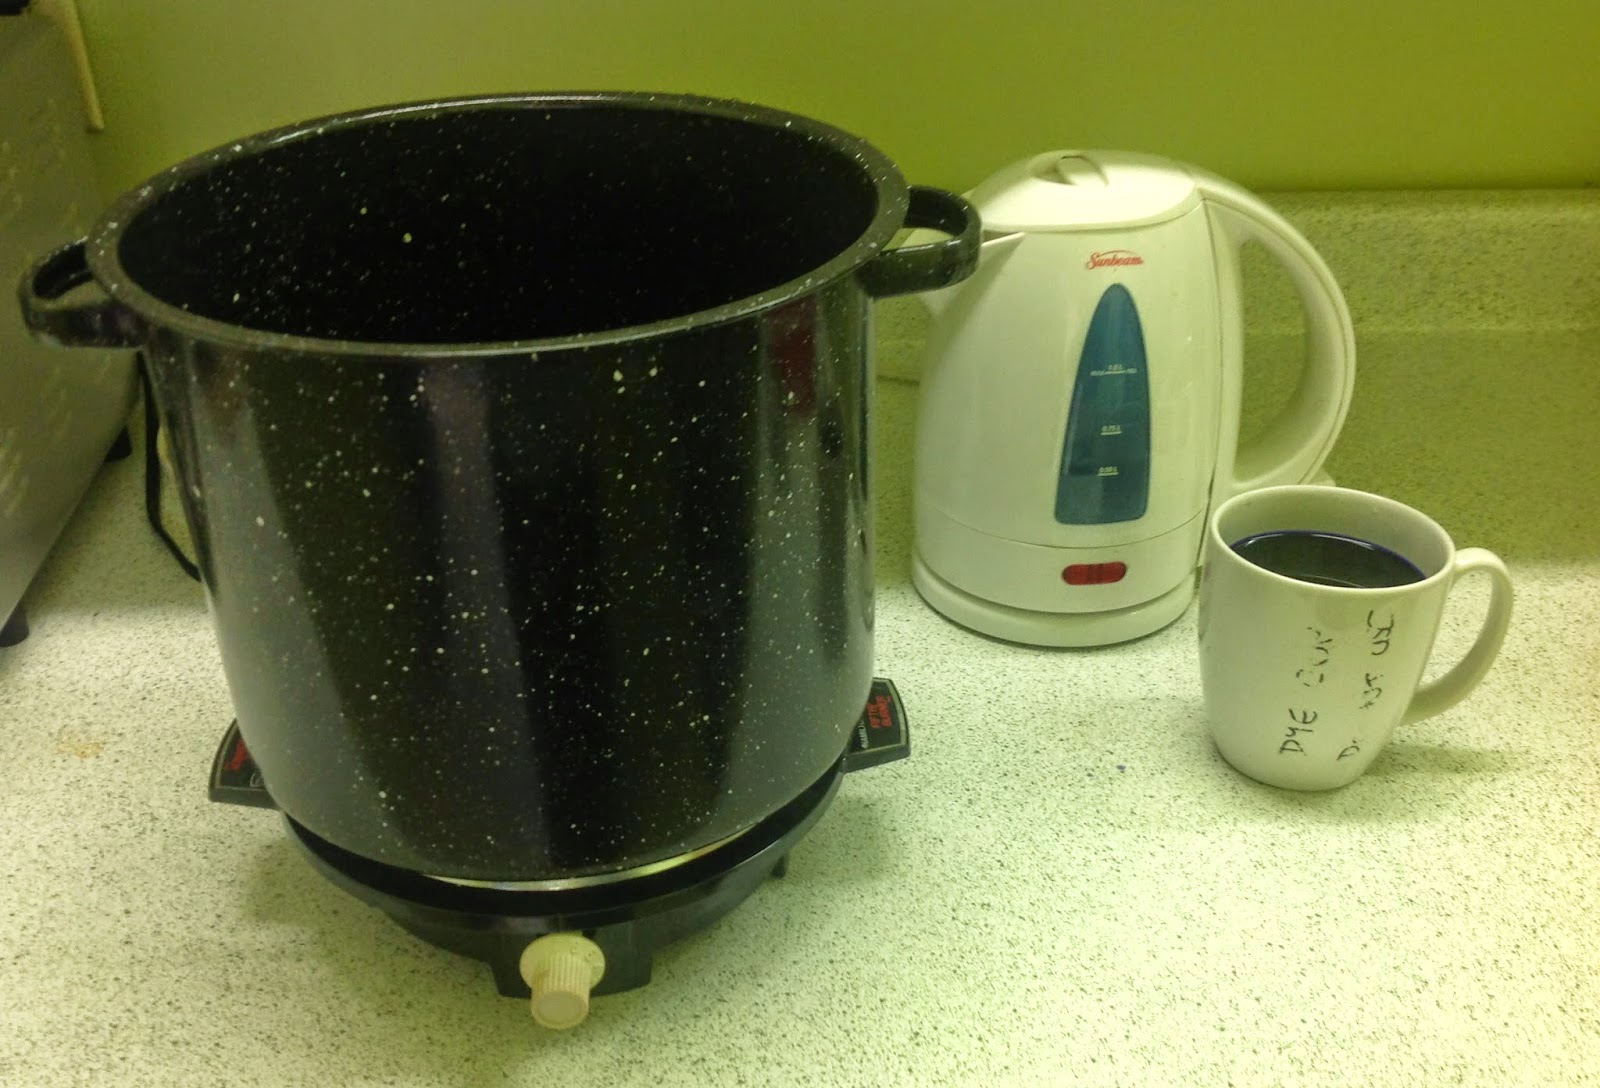
Assemble the equipment you need
- a stainless steel or enamel pot (not one that will be used for cooking)
- wooden, bamboo or stainless tongs to lift things out of the dye bath
- an old tea ball for the small findings (not your regular tea ball!)
- an old ceramic mug or cup to develop the dye colour
- a set of measuring spoons (again, not one you will use for cooking)
Do not use aluminum anything for any dyeing project. The dye reacts with the aluminum and will cause grey streaks or weird colours to appear on your materials (ask me how I know that!)
In an old mug or cup, put 1/2 tsp of dye powder and add a bit of boiling water to it. Stir and if you feel any crystals of colour, crush them with an old spoon. Let it sit for 5-10 minutes. This will develop the dye. This is very concentrated dye and we used 1/2 tsp to dye all of the stuff for one bra. We actually could have used a little LESS dye powder.
In the meantime, get a large ceramic, glass or stainless steel pot (NOT one from the kitchen but one you use only for dyeing) and put just enough water in the pot to cover the articles. You can add more later if needed.
Add the dye to the water in the pot and stir well. Bring the dye almost to a boil. You don’t need to boil the water for nylon…that’s why we used the boiling water from the kettle to develop the dye. But the water needs to be hot. I actually have this pot on a portable element to keep the water hot.
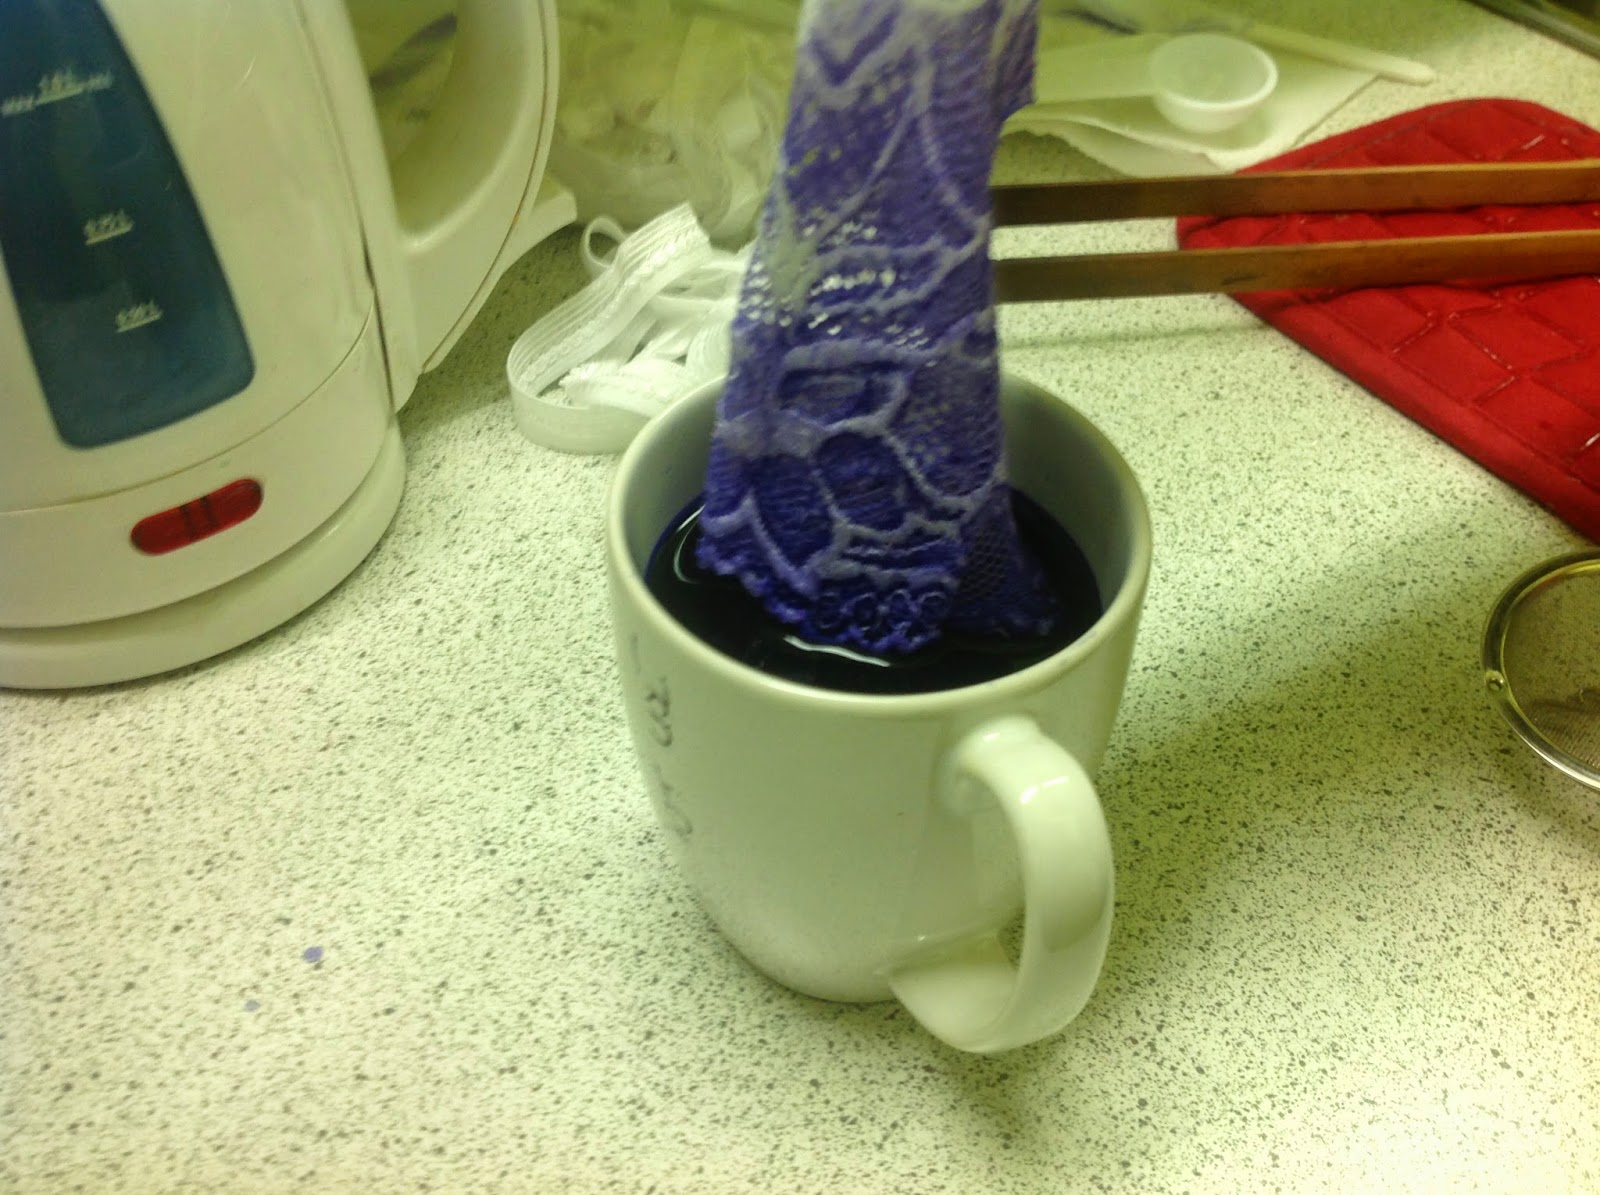
Test the colour on a piece of strap tape or strap elastic. Wet the sample before inserting it in the dye bath. If it takes the dye immediately, you know it’s a good candidate for dyeing. Nylon will take the dye immediately, so it does not have to be in the dye pot very long. Add more water if you want a lighter colour.
Add the sliders and rings to the dye bath first. They take the longest to dye (sometimes 15-30 minutes). I have an old tea ball that I put all the pieces of hardware in so they won’t go down the drain when I empty the water.
In the meantime, wet all the articles to be dyed in hot water. When the sliders and rings are the colour you want, take them out. It is time to add the other WET items. The 3 most important things to do while immersing items in a dye bath – stir, stir, stir! Nylon takes the colour right away, so if you don’t stir, you will end up with blotchy, streaky or unevenly dyed fabric. Take things out as soon as they are the right colour or slightly lighter.
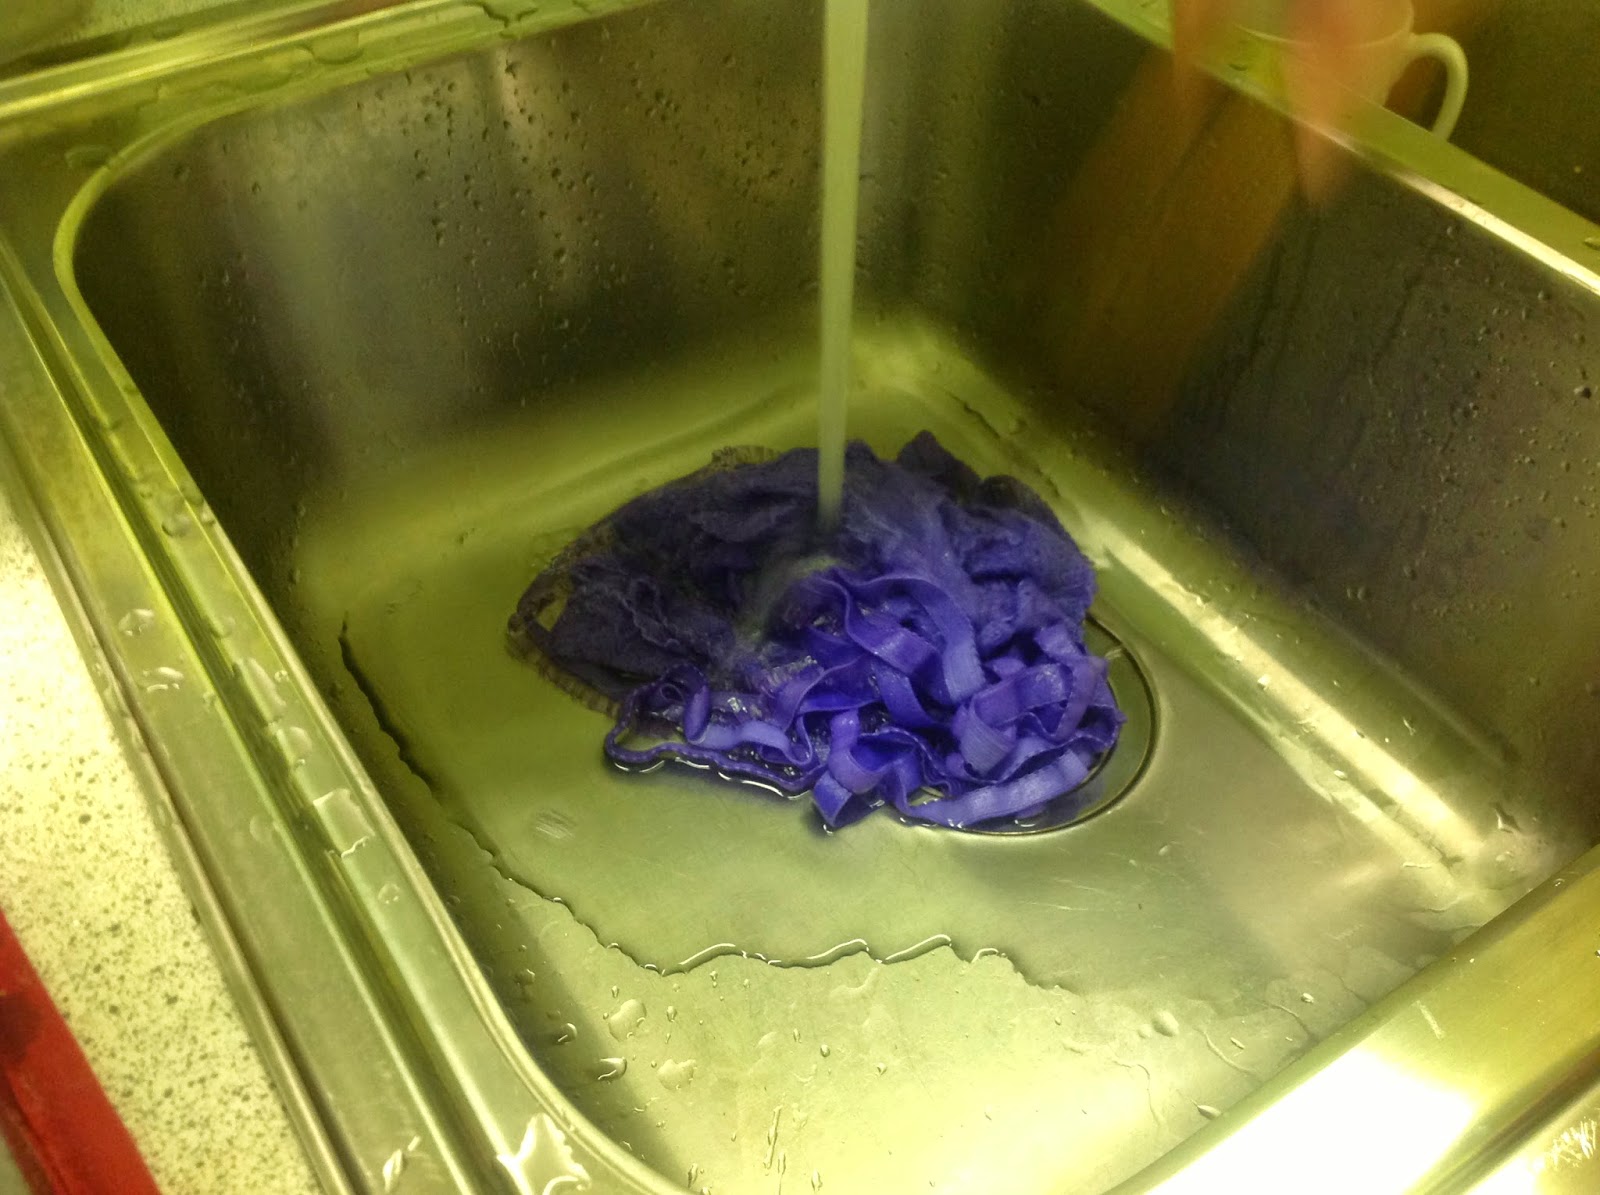
Rinse under tap water, and check the colour. If it is too light, put it back in the dye pot. Not all fabrics and elastics will dye exactly the same colour, but you should be able to get all your findings to be in the same colour family. It takes a bit of experience to get everything the right colour.
Some people use a bit of vinegar in the water to help set the colour, but I have not found that necessary with the things I have dyed. However, you can certainly use 1/4 cup of vinegar in a pot of this size, if you feel it is necessary.
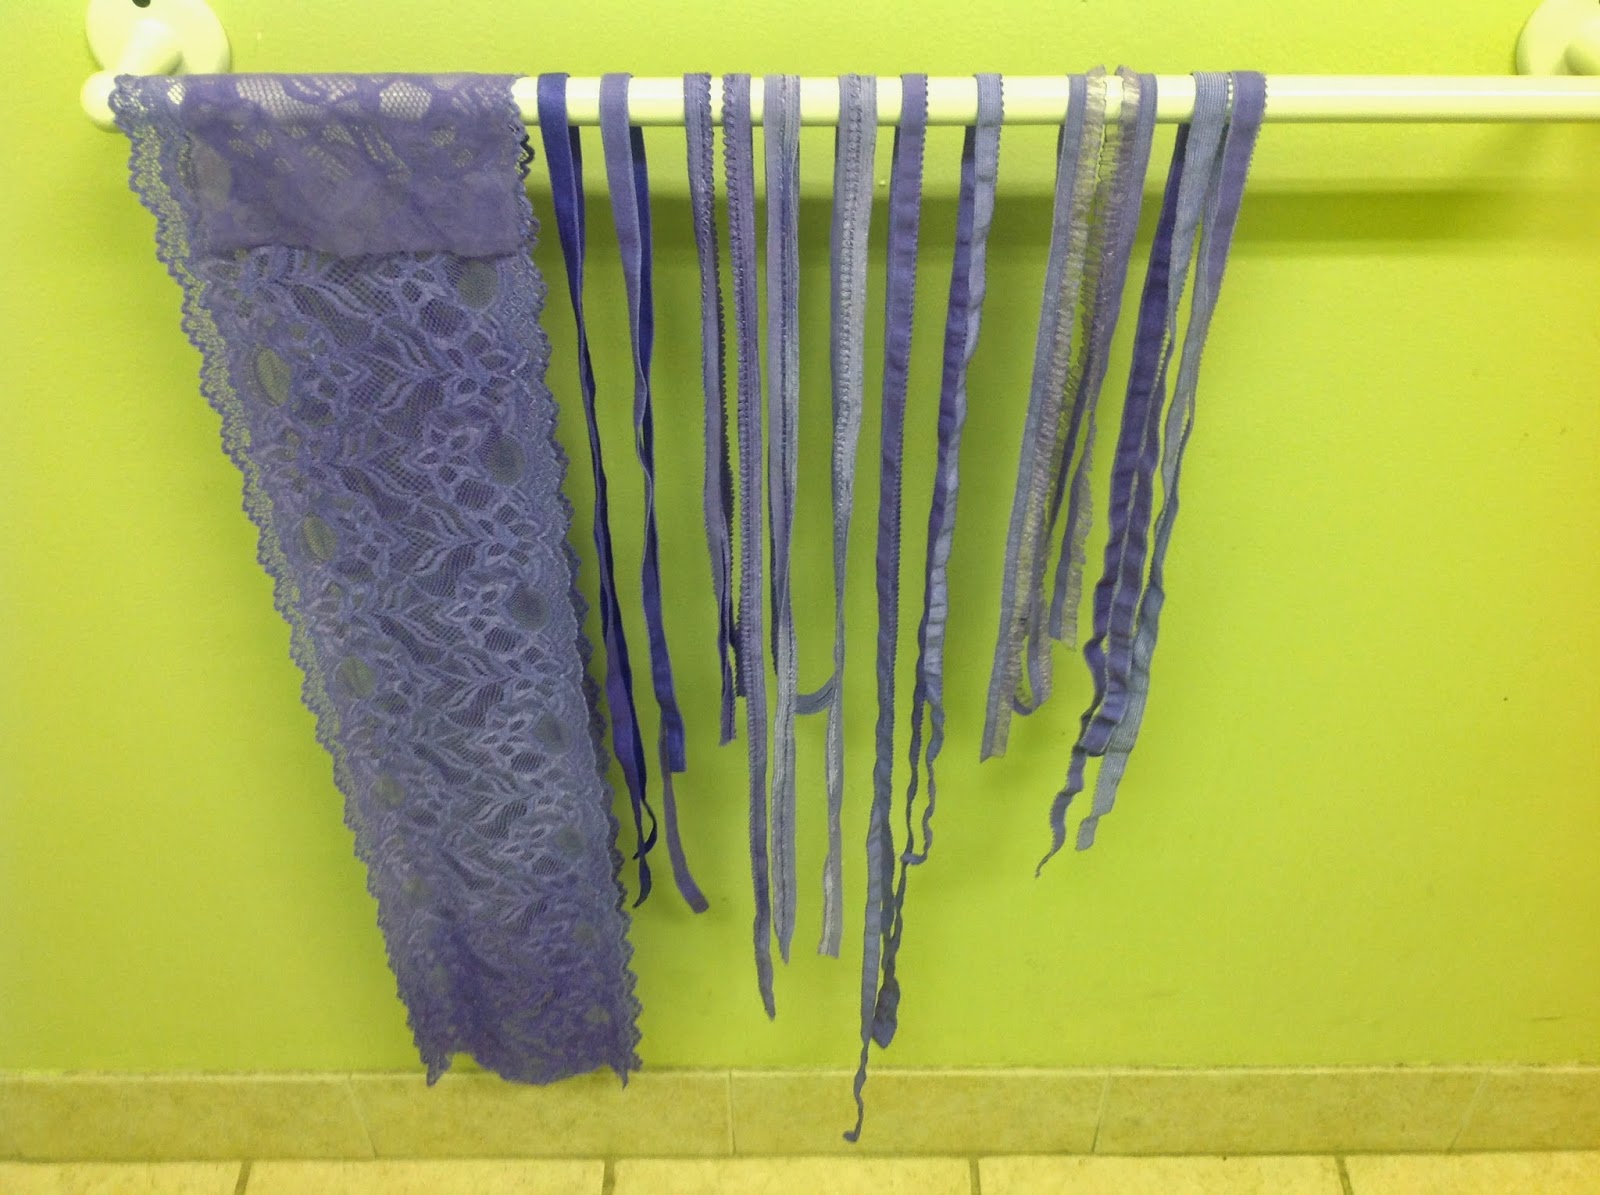
Rinse everything in water until it is clear, pat dry on paper towels (there should be no colour on the paper towels) then hang to dry.
You can actually see that part of the lace is starting to dry (the lighter parts) while the end (the darker part) is still a bit damp. Once it is dry, you can start to sew!


I have already and will definitely continue to recommend your services to others in the future.
Fabulous..such good service.”
Amazing write up! Thanks for this post
Have you tried mixing a flesh tone? I am tan and have never owned anything “nude” or flesh-toned that came close to matching me. Beautiful colors are great and I have dyed other fabrics…but I need some everyday lingerie that matches me.
I have only found a couple of mentions about dyeing flesh tones online, and both were for doll making. I don’t know what colors to buy to start experimenting with. So I am turning to the expert…any hints or tips?
Hi Beverly, thanks for sharing your dye method.
I was wondering if you have tried using Rit dye as it says it can be used for nylon fabrics when combined with vinegar in the dye bath.
I would pre-wash if I were concerned about any sizing in the fabric. Most of the fabrics I use for bra-making are nylon or nylon and spandex and they don't seem to need any pre-wash. As for washing afterward, always wash dyes items by hand and separate from other colours. Even though these dyes say they are colour fast, it is better to be safe than sorry! Thanks for your comments!
Thanks for all the tips. I'm working up the courage to dye for the first time. Do you do any prewash or post wash?
Yes, I have done that too! The only issue I have with that, is that the different parts of the bra can dye at different rates and can turn out many different tones. Sometimes you wonder if they are even in the same colour family. I find that the strangest thing about dyeing! I once dyed a bra burgundy. Some parts came out the right colour, but the straps were very dark, as was the hook and eye, but the sliders and rings were pale in comparison. I guess that's why I prefer to dye the components loose before assembly. For me, I feel I can control the results better.
I like dyeing my bras after construction. Make sure to use cotton thread. When a white bra gets dingy with age, I'll pop it into a pot and end up with spiffy new colors. I had one UGLY come out, orangey brown when it should have been peach. lol ohh well live and learn.
Forgot to add…they dry very quickly. Minutes, not days!
Well, isn't that funny? It's just fabric. maybe because the fabric is sheer and over a grey mannequin, that it looks more foamy. The foam cups are made of polyester so the only thing that will dye them is the I-dye Poly. However, I don't know if keeping the foam cups in boiling water for an hour will do them much good! The cut-and-sew foam in white dyes very well, so you could make your own foam cups from that. That would work!
I, too, thought that it was a foam cup. Can you dye the foam cups? If you had a white one, it could possibly take up the dye bath… but there might be issues wrinsing the dye out. And drying it might take days….
There are no foam cups used in this bra…only 15 denier (two layers with DOGS opposed) and a stretch lace over used as a power bar. The back is stretch mesh. It's not a bra with a great deal of support for larger women, but good for some smaller women. This is one that France made and she tends to do more delicate looking bras!
Nice Bra and colour! 🙂
Where did you find purple foamcups?