Fabric Magic – Trick 1
Have I got a neat trick to share with you! It’s like fabric printing MAGIC!
PROBLEM: Duoplex, our go-to main bra-making fabric is plain-Jane fabric, even though the colours are gorgeous when made up. I wanted pattern, colour and prints! Sorry, duoplex…but you weren’t getting my mojo going anymore!
SOLUTION: Print my own fabric!
This was so easy – your kids could do this and they would love it! Here’s how I did it.
Use any permanent fabric marker. I chose Setasilk from G&S Dyes in Toronto. Don’t get hung up on the brand. I went to Wal-mart and Michael’s and they both had LOADS of permanent fabric markers in TONS of colours. Pastels, brights, earth tones – you name it! Who knew?
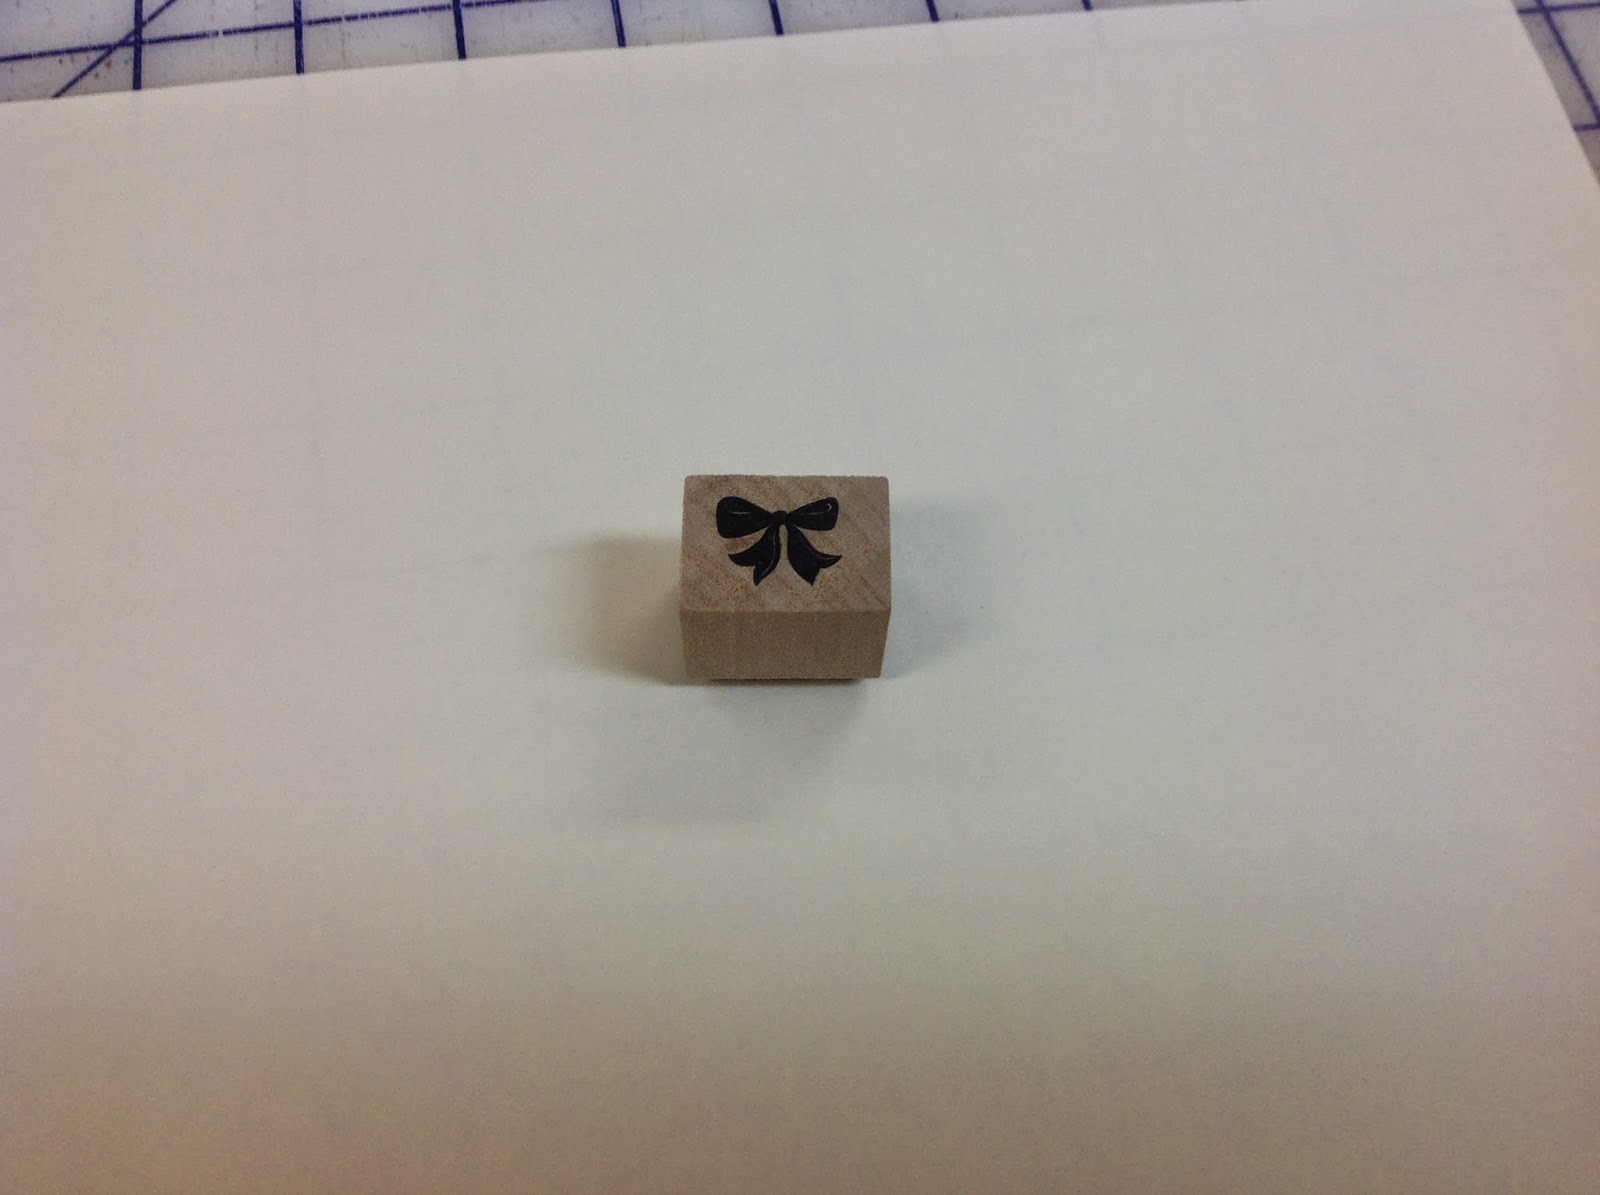
Then get a rubber stamp – I got a collection of small stamps at Michael’s. I picked this wee bow
Wet the stamp with the marker……
And stamp the right side of the duoplex (quick – before the marker dries). How easy is that?
Of course, once I stamped the cloth, the background looked kind of sparse. Even though they say “less is more”, I decided that MORE is more! I added small dots to the background by using the point of the marker in between the bows.
Once the fabric was completely printed (it took maybe 20 minutes total since the fabric quantity for a bra is not very big!) and dried (about 1 minute), I pressed it on the right side
And again on the wrong side, just for good measure. Now that the print is heat set, it is permanent and can be washed without worry!
And here is the bra we made with the finished fabric. isn’t it lovely? I was super pleased with the way this print turned out – now I want more, more, more! Hmmm….can you see more rubber stamps in my future? lol
Already I have a number of ideas of how to make fabric printing magic! I plan to share them all with you, so stay tuned!
If you try any of the fabric printing magic techniques, I would love to see what you do!
Happy Bra-making!
Beverly


Fantastic and sew easy ☺☺
That is so cool! I've stamped polka dots on a pair of pants (before sewing), but I did it with acrylic paint and I bet this method is way better! Hmmm. I've got some boring t0shirts that are begging not to be plain! 🙂
Oh no…yet another Craftsy class to watch. I will watch that one straight away!
I loved this project. I can't wait to do more!
And please do try your hand at printing fabric!
wow. using a permanent marker for a print instead of battling to wash it out of shirts. I like it.
You can try stencilling, too. It is faster. And fun. Use a make-up sponge for an applicator. You can buy inexpensive stencils, or cut your own by placing an image under a piece of Mylar or acetate. Then you just cut it out with a craft knife. I got the best info from stencilling fabric from Natalie Chanin in her Craftsy course.
I used to do that when I worked for Sulky threads, but I never though of doing it to make fabric for bras. Hmmmm…..maybe I will have to try that!
Funny, I just read on a blog this week that you could stabilize fabric with freezer paper (one side waxed, one paper only) by ironing the waxed side to the fabric and printing on it in an Ink Jet printer… I dismissed the info for dressmaking because of the limited size of the paper that needs to go through the printer, but that would be so neat in bra making with the small pieces!! I ordered my Craftsy kit yesterday and now I can't wait for my bra pattern and fabric kit to arrive!!
You should try it, Starr! It was so easy and the results were great!
Thanks – it was so much fun!
Great idea!
So cute, Beverly. Adorable!
It is so hard to believe this was so easy…and cheap to do!
It hit me like a ton of bricks…I am sure I heard angels singing in the background! lol
I know…right? It was scary easy!
I loved this technique! I will do lots more!
It WAS fun! I plan on doing lots more!
That is adorable. I've been experimenting with fabric dying and surface treatments for a couple of years, but didn't think of combining it with bra making!
OMG. It's fabulous. Who'd a thunk??
Ingenuous!!!
What a brilliant idea! Thanks for sharing, Beverly! 😀
Oh that looks fun!