Busty Girl Problem: You want to use a particular lace, but when you lay out the pattern, the lace is not wide enough to accommodate the pattern piece (usually the lower cup). What can you do? The solution is simple: if you need wider lace, make some!
You wouldn’t believe how many times this solution is used in Ready-to-wear, and once you get accustomed to seeing it and appreciating how well it works, you’ll find yourself using this solution again and again.
The lace joining method can be used for bra cups, as mentioned above, but also for underwear, where the pattern pieces are too wide to fit on a 6″ wide lace (for example).
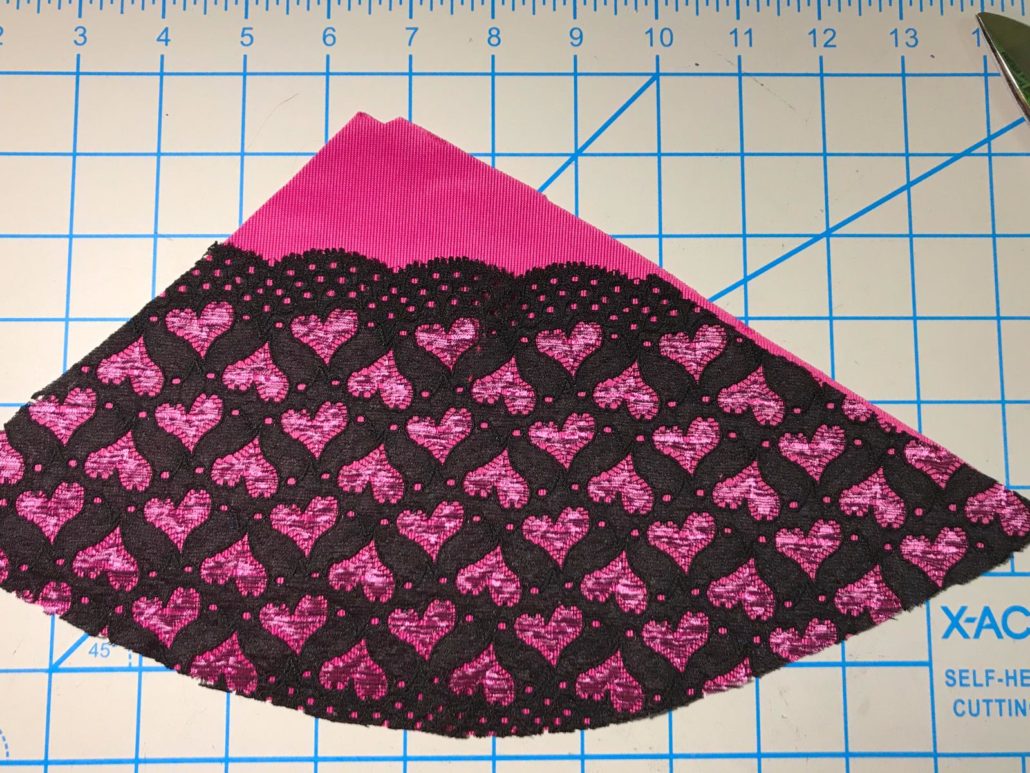
Linda of Uplift Custom Bras had a dilemma the other day. She needed an Ingrid in a size 8.25 BCD. That means from the apex (bust point) to the wireline crease under the bust has a height of 8.25″ (26 cm). The upper cup piece is almost 8.25″ as well, and wider than the 6″ (15 cm) lace she wanted to use as you can see here.

To piece this lace, we laid a second piece over the first, paying attention to how the pattern lines up between the two.
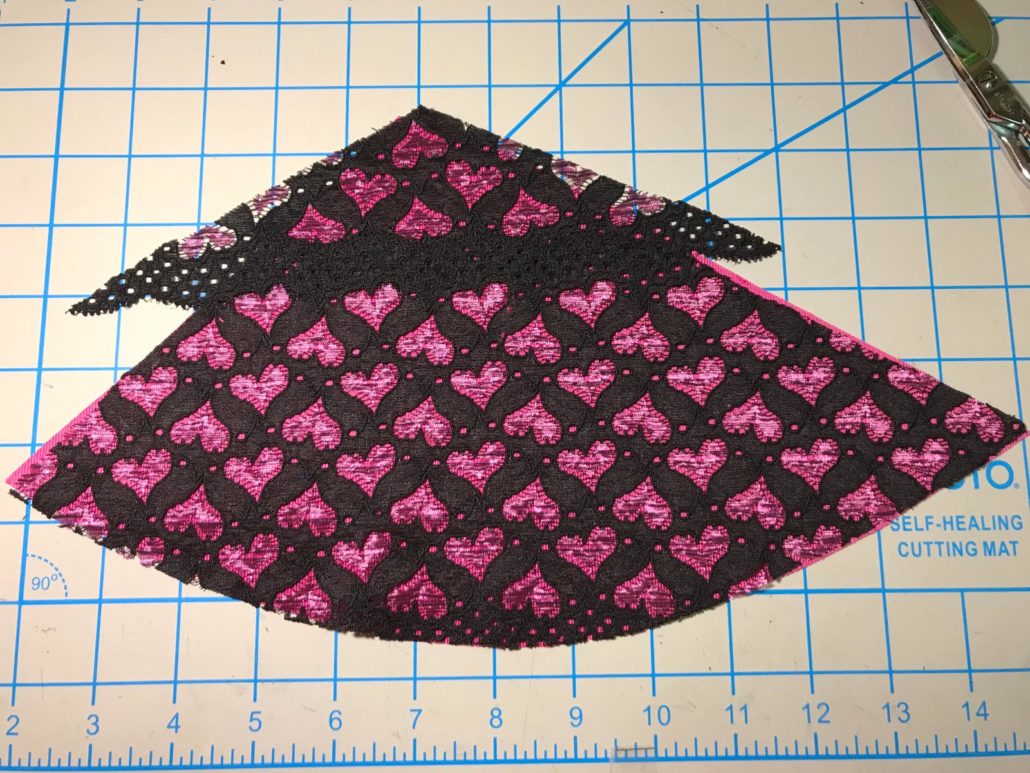
Once you’ve positioned the lace, use the pattern to cut the new piece to the pattern shape.
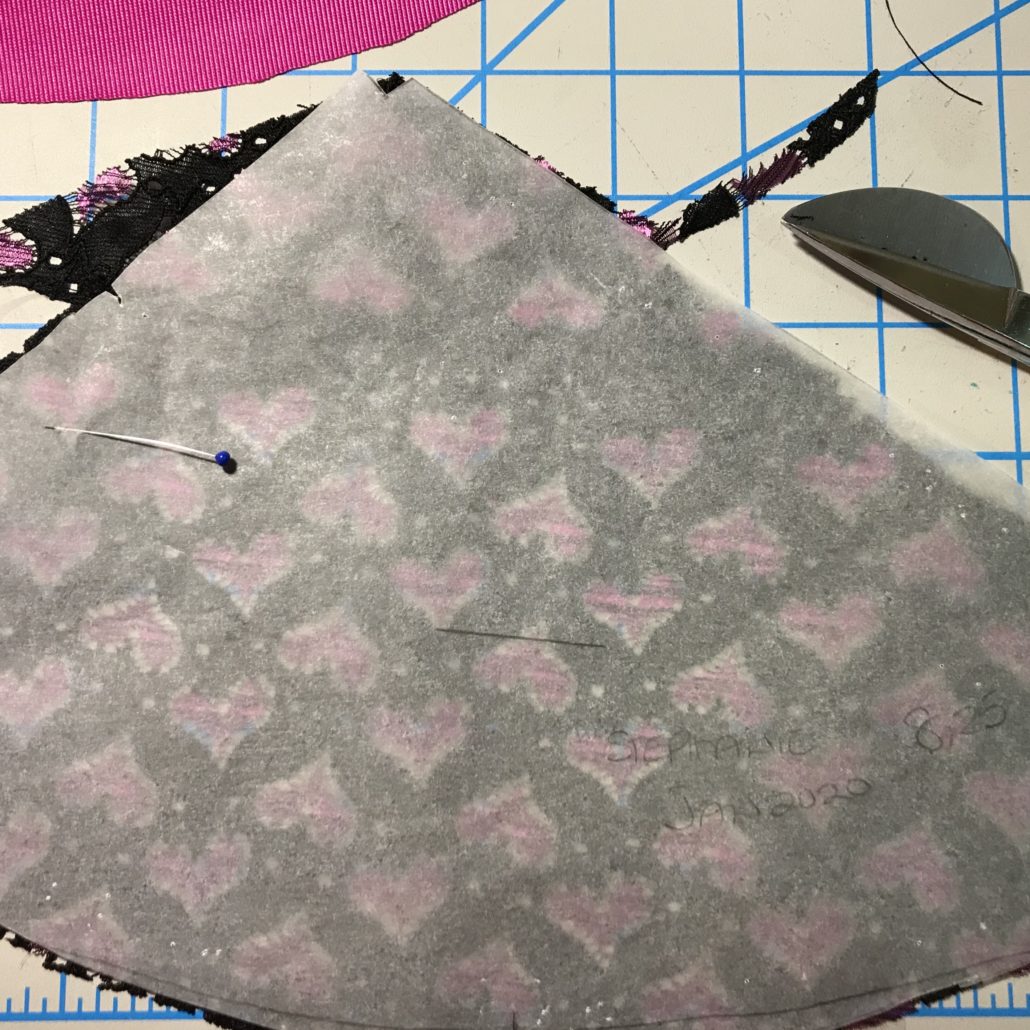
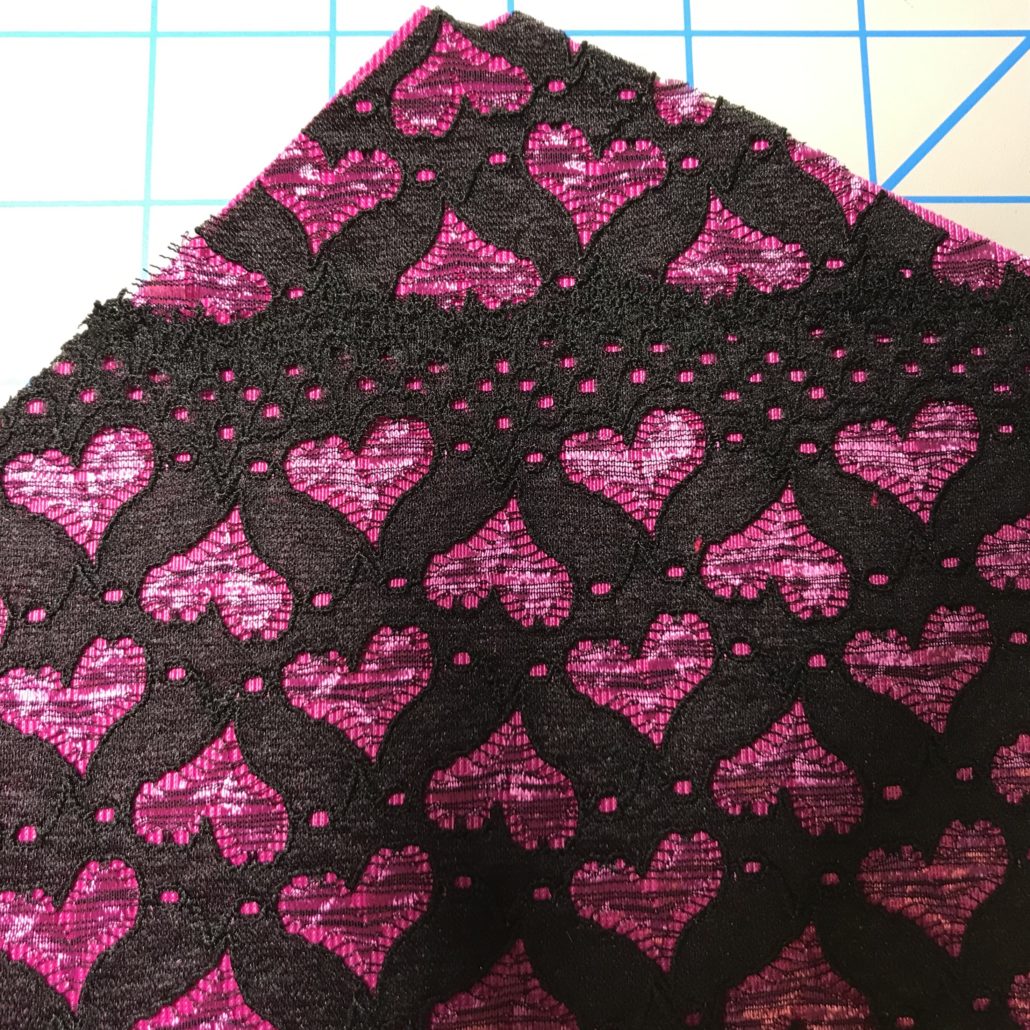
Use a zig-zag stitch to fasten one lace to the other. We show the duoplex under the lace for the photo, but in reality, you sew through the layers of lace only.
Once the upper cup is done, you can finish the bra as you normally would.
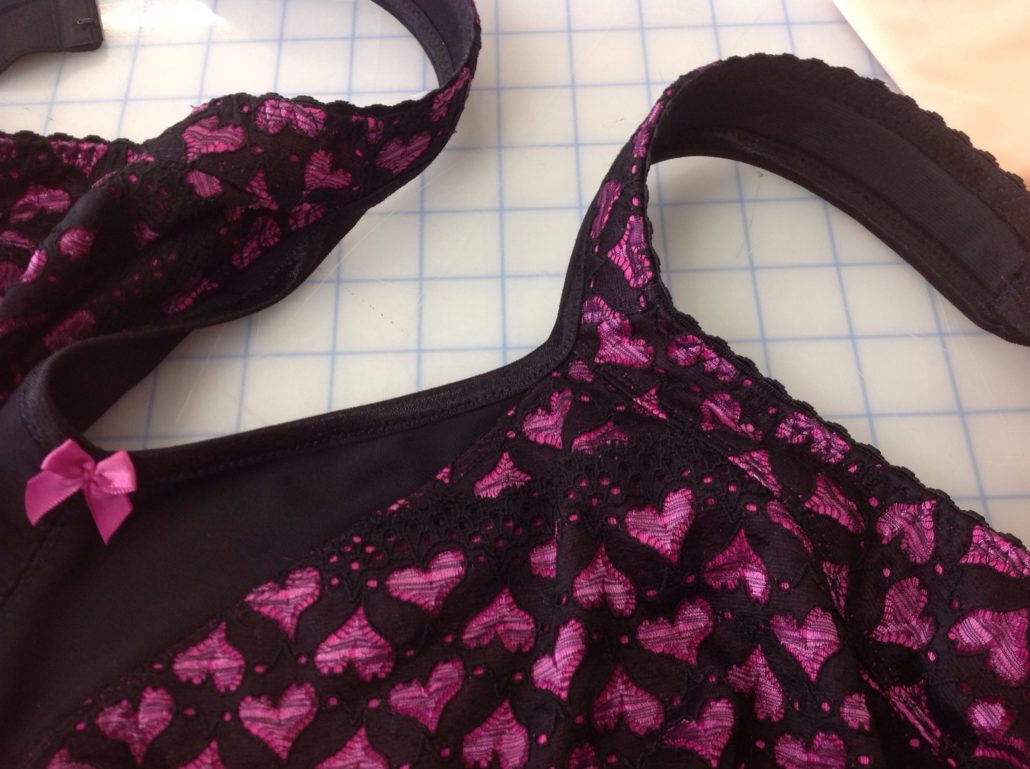
Here’s Linda’s finished Ingrid, made for her 8.25 client. You really do not notice the pieced lace!


Thank you for this. You always have the answer to my questions.
This is great … appreciate the visual. Likely the same situation can happen for any size when working with narrow laces. Nice to know with some creative puzzle piecing there are options.
Linda’s well endowed client has a beautiful array of custom bras. Lucky lady!
Perfect solution! Thank you.