If you’ve always wanted a front closure bra, but couldn’t decide which closure to use, you might have looked at the possibility of a zipper closure. If you think that might be a tough bit of sewing, don’t worry. In this tutorial, we’ll share how to add a zipper to your bra.
There are a number of closures for a bra. You might have considered a set of hooks and eyes or a front clip of some sort. The problem (as I see it) is the hooks and eyes add too much width to the front of the bra – that’s a space that already is very narrow, to begin with. Adding the sewing flanges plus the row of hooks and eyes adds a lot of
The front clips can be problematic too. Most front clips are designed to be used with a partial band bra. That’s a bra that must use underwires as part of its engineering. If you do not want wires, a front clip is out.
Likewise, if you have a larger bust, a front clip may not be available in a tall enough size to adequately support the whole bust. generally speaking, the width of a clip increases in proportion to its height, so even if you found a tall clip, it may be much too wide for the space.
A zipper may be the answer.
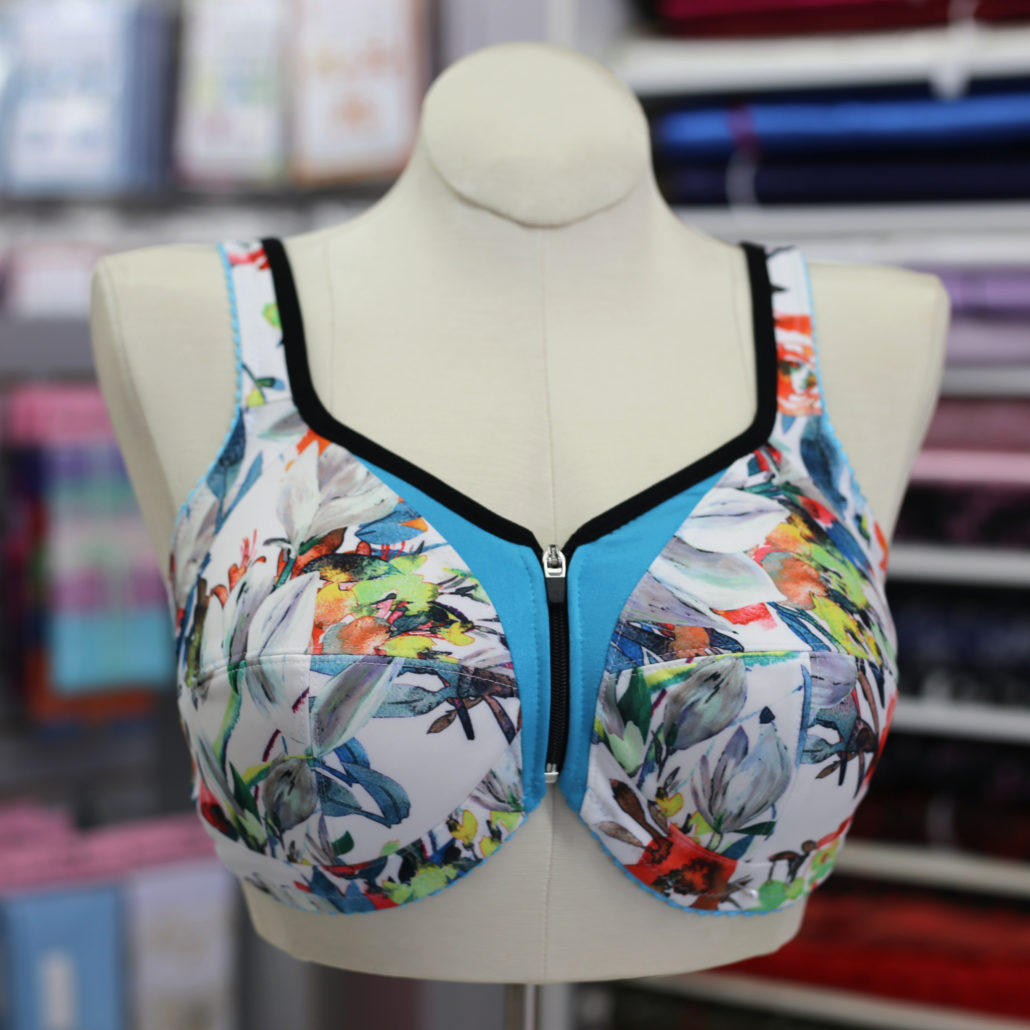
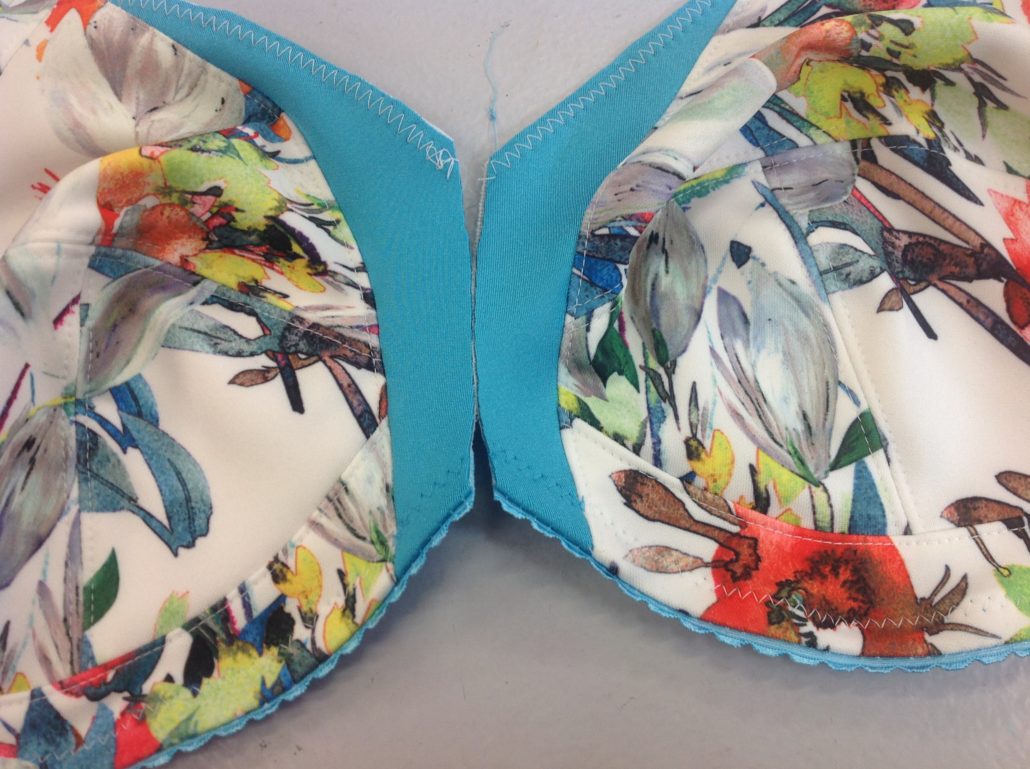
A zippered bra closure works best on bras that some “real estate” in the bridge area. This includes any integrated bridge bra with a centre front seam. The bra shown here is our Ingrid but a sports bra like Alison or Kerri), or any bra with a wide enough space to hold the zipper coil will work well. A zipper is even no problem with the Sweet Sixteen Bralette!
To prepare a bra front for a zipper, you need to consider the width of the zipper
You also need to add a seam allowance for the zipper. Zipper tapes are 1/2″ wide (12 mm). There is already a 1/4″ (6 mm) seam allowance on a bra with a centre front seam. Therefore you will add another 1/4″ (6 mm) to that.
All in all, you will be adding 3/8″ (9 mm) to the centre front seam of the bra.
Install the zipper
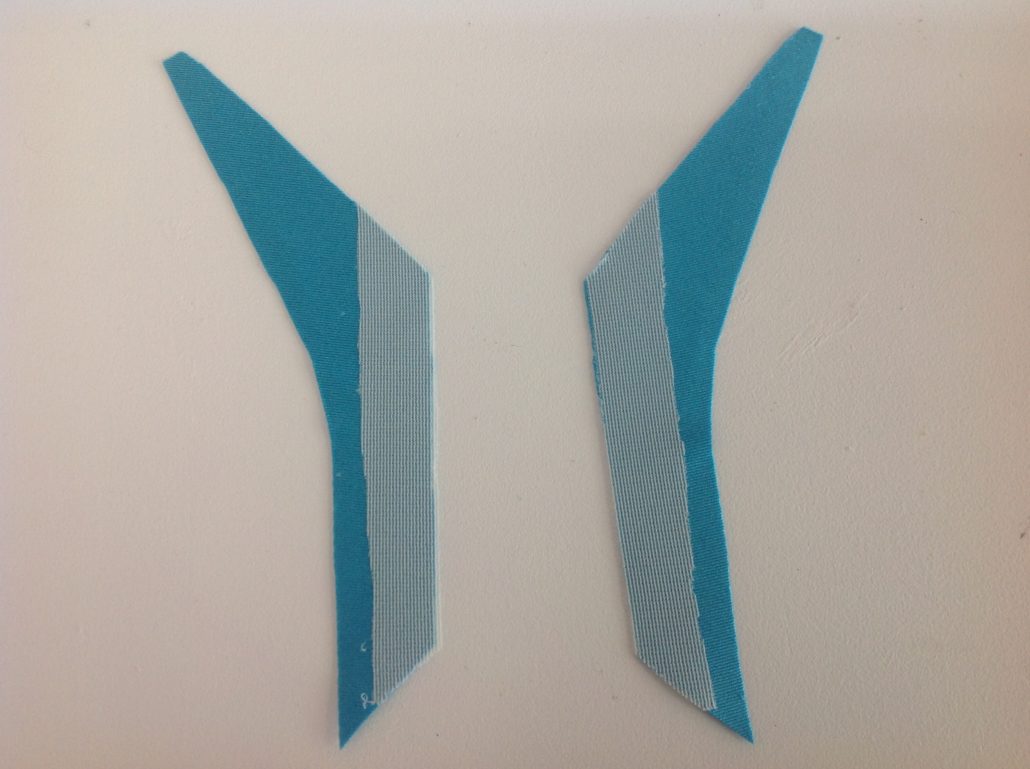
Stabilize the back of the fabric in the area where the zipper will be inserted
Then, sew the front panel to the cups. The pattern we show here is the Ingrid, so your bra might look a little different.
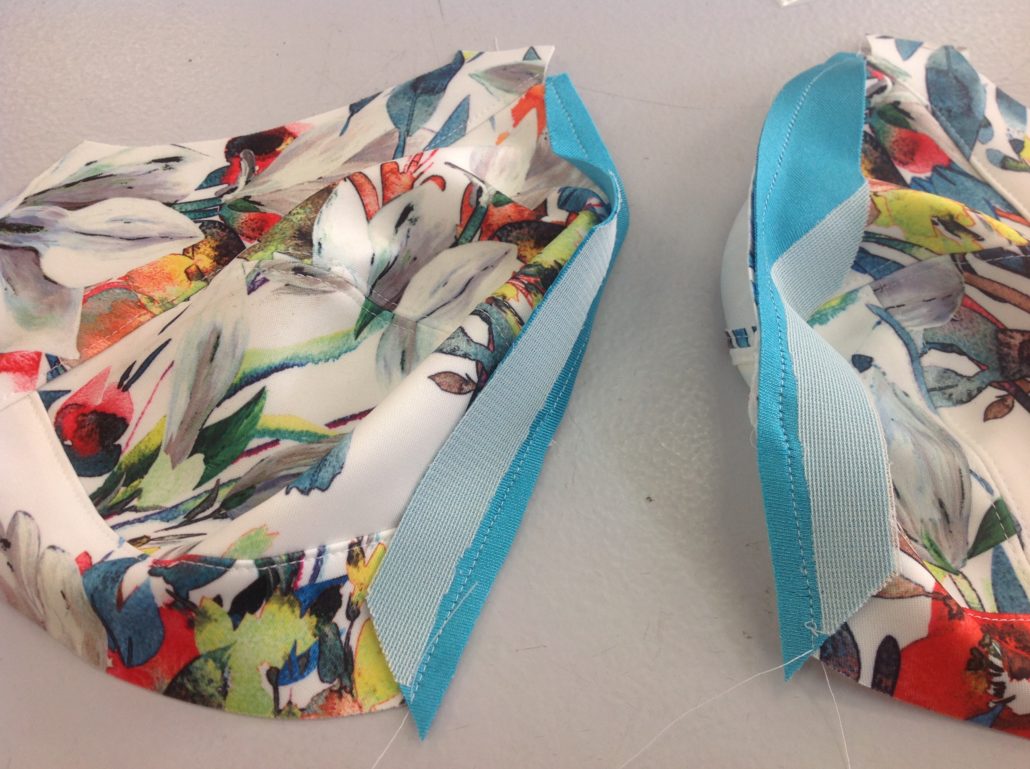
Next, add the neckline stabilizer. A stabilized neckline edge goes a long way to keeping the bra against the chest wall. Don’t ignore this support
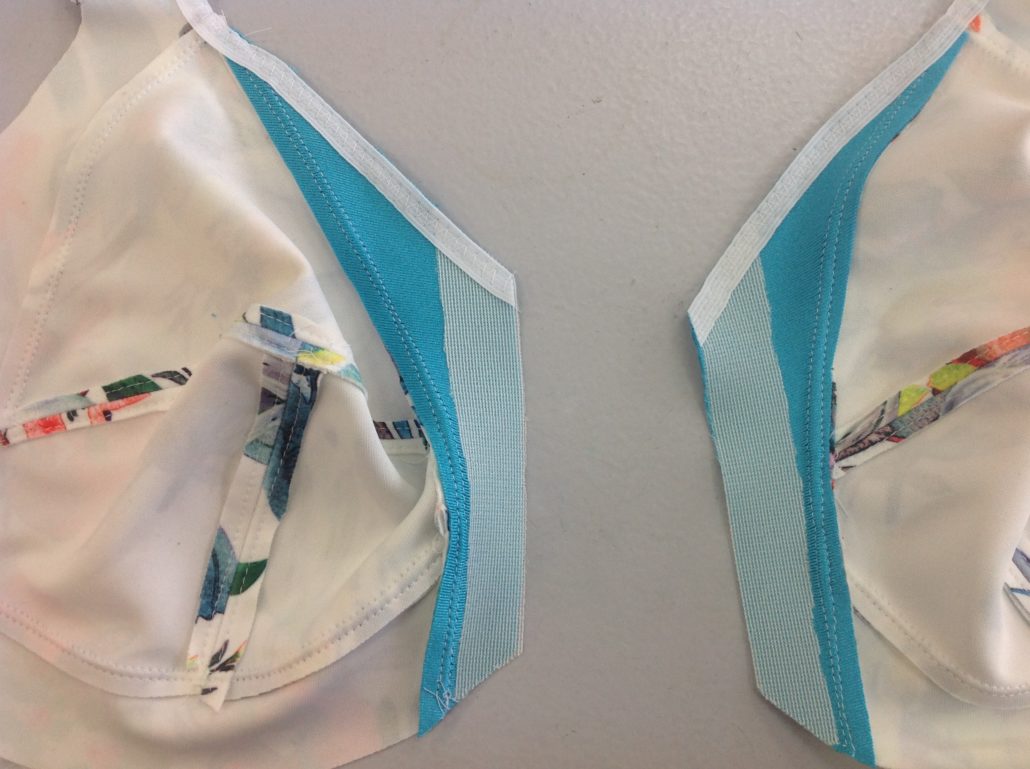
Add the bottom band elastic.
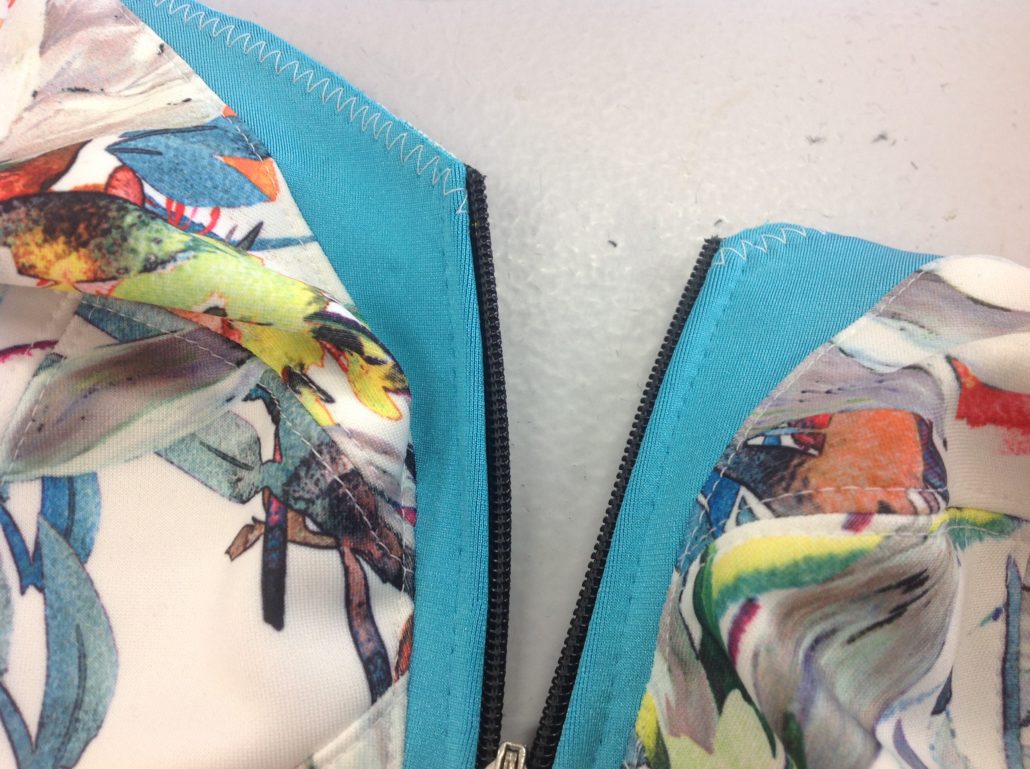
Now you are ready to add the zipper. Choose a separating jacket zipper. You may find a dress zipper too lightweight for a front closing. A “big tooth” zipper is quite bulky but we found a zipper that was just right for the job. It also had the advantage of being able to lock at any height, allowing us to partly un-zip if we wanted to.
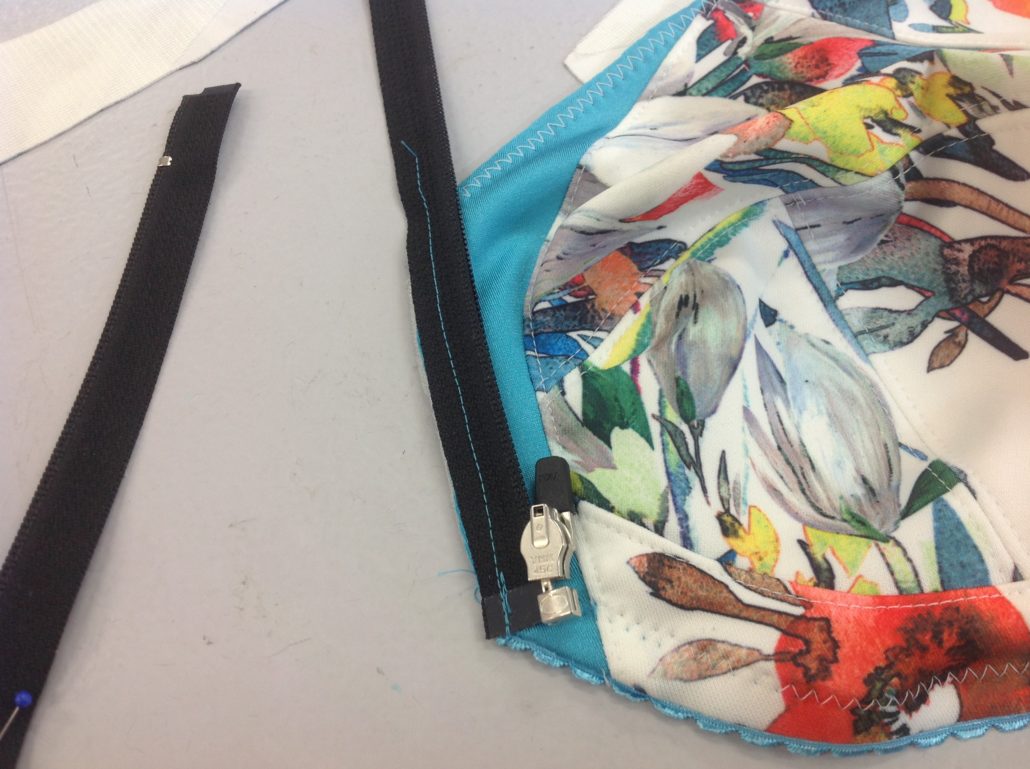
We basted the zipper in place, aligning the edge of the zipper tape along the raw edge of the fabric. The bottom edge of the zipper is level with the bottom edge of the bra. Once you are sure the two bottoms are even with each other, go ahead and stitch once again, close to the zipper coil, using a zipper foot on your sewing machine.
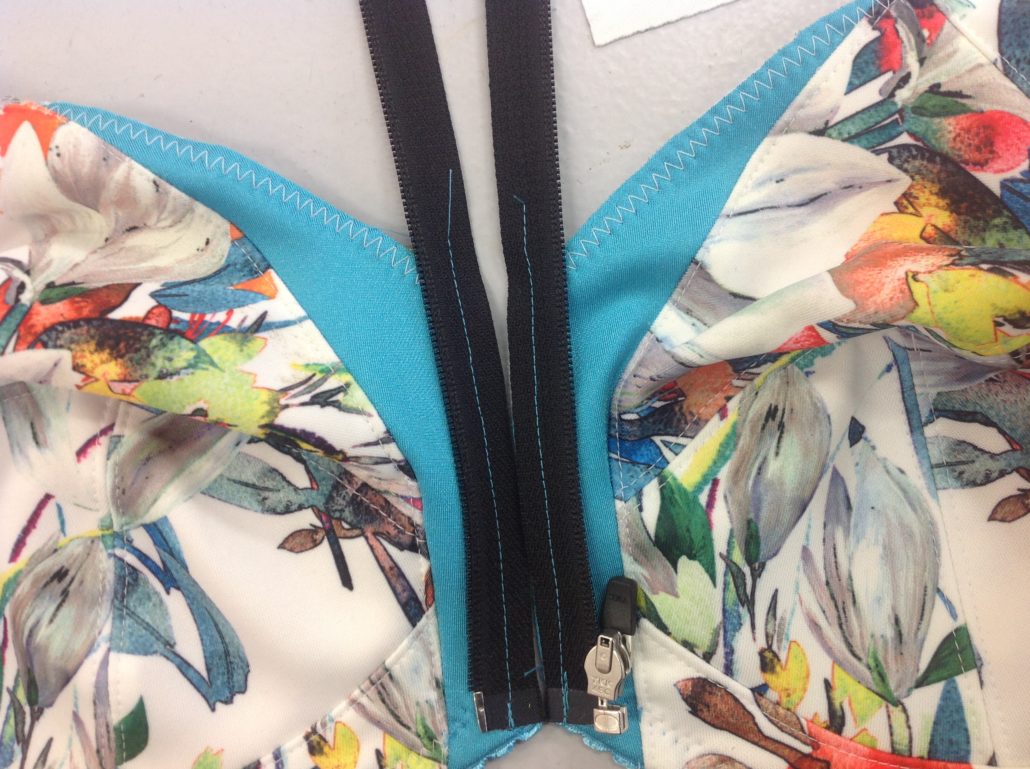
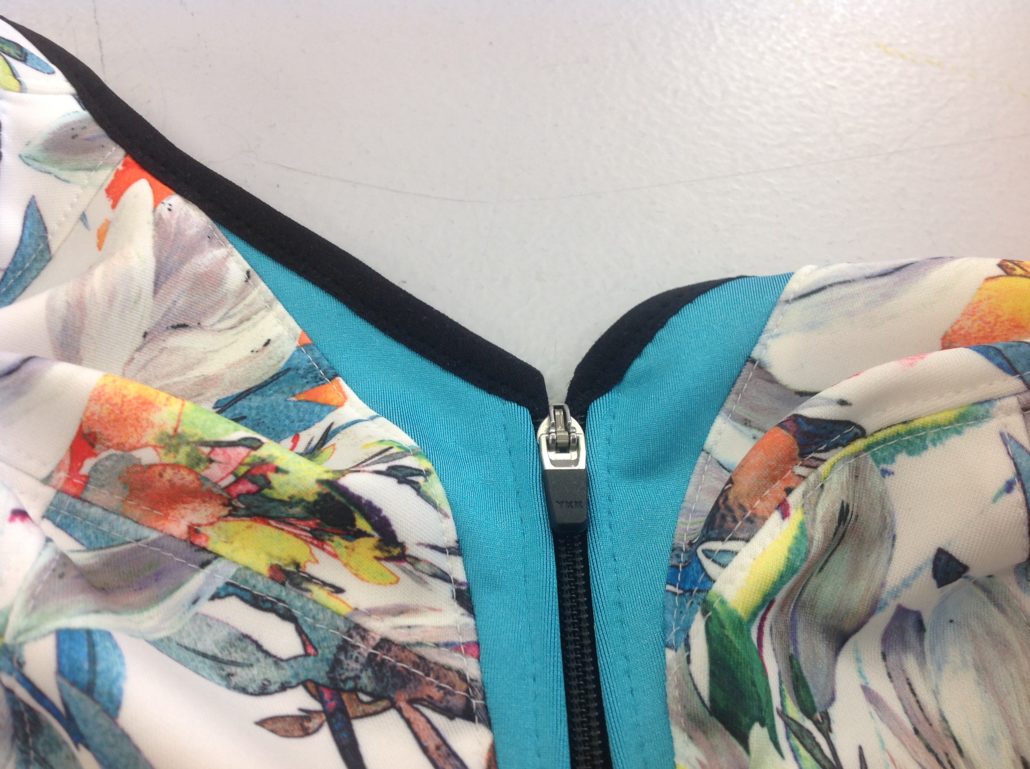
Turn the bra to the right side to check if all is well. if it is, then topstitch the zipper on each side. At this point, you’ll be glad you added the interfacing along the zipper coil! Topstitching a zipper on stretch fabric without that fabric being stabilized is a sewing nightmare.
Only after the topstitching can you cut off the excess zipper coil. Do I need to mention to lower the slider to the bottom before you cut?
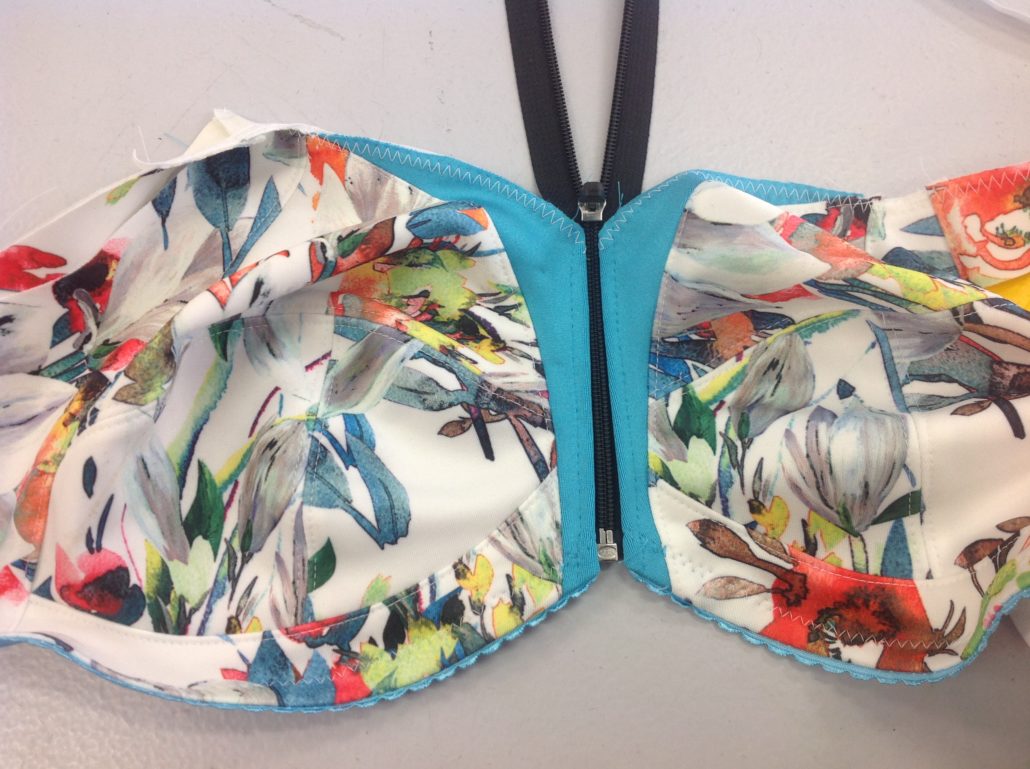
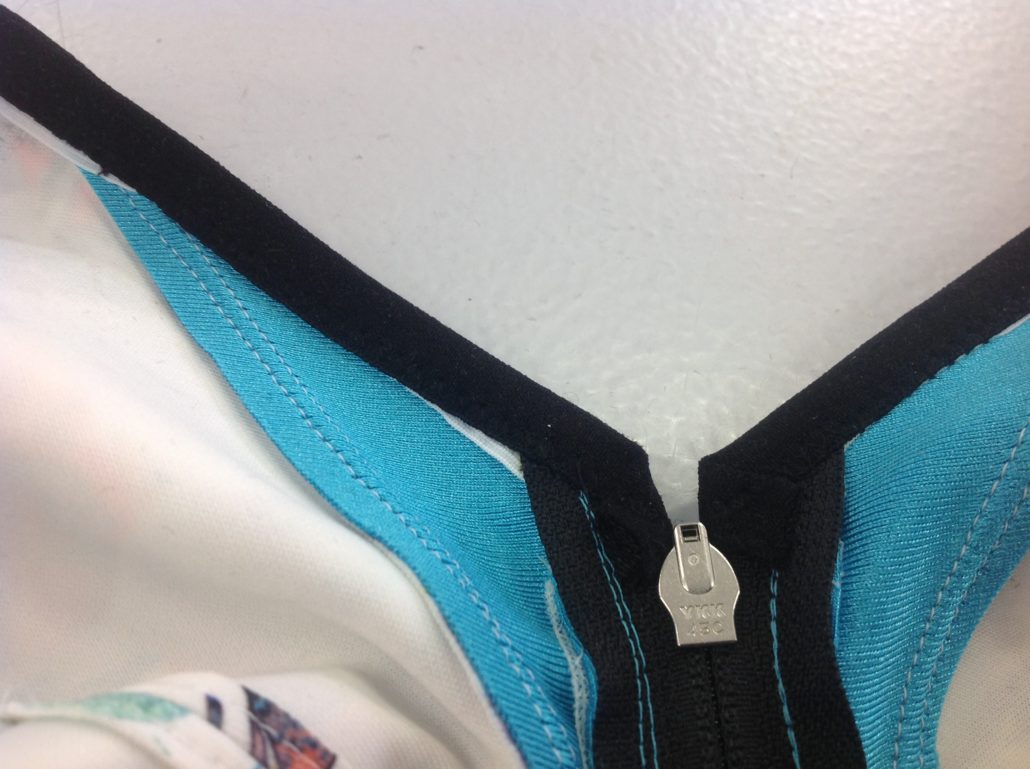
You can add the fold-over binding to the neckline edge, which also finishes the top of the zipper nicely.
On the inside, the fold-over can turn back and be hand-stitched in place.
The finished zip-front bra, ready for you to wear.


Hello,
Where can I buy a zipper to add into front of my bra
Beryl
Right here on our site!
Great tutorial!!!! I was just wondering if instead of adding the 3 mm for the zipper coil, shouldn’t I remove that amount from the pattern in order to keep the circumference right? If I understand it correctly, the zipper teeth add width.
Greetings from sunny South Africa, Great inspirational tutorial, thank you Beverly.
I’m still a novice in the bra making world but find it absolutely fascinating.
Never thought that I would get involved in this fascinating new hobby at age 62.
Thank you so much! I’ve been looking everywhere for a front zip tutorial!
I’m on the journey to manner my own sports bras/bras, and I love how supportive the front zip is. Thanks so much for a great tutorial! I can’t wait to trying making my own!
I love front zipper in the sportbra, thank you for the tutorial!
Great tutorial and excellent photos. I was able to see how you turned the fold over elastic around the top edge of the zipper–something I always feel looks sloppy when I do it. What type of fabric did you use for the turquoise front? Is that a thin scuba, the same weight as the flowered scuba? The bra is lovely–I love my Ingrid, and need to make one that uses pretty fabrics. Is the scuba lined with bra lining? Thanks, Beverly! Lovely story of you and your employees on the television. Bra Makers is something in which we Canadians feel great love and pride. Thanks for all your hard work!
The front is Scuba with sheer cup lining underneath, along with double knit power net for the front neckline and back band. We now carry the locking zipper too! Thanks for the kind words about the show, but how did you see it down in NB? I wanted my sister to see it but I don’t know if she was able to.
The video is available on YouTube and pops up when searching for the shop name. I saw it too and would love to visit the store, I live in North Idaho but have traveled farther than that for a great sewing center/store!!
Excellent tutorial Bev. I’ve been doing this for years on my modified bras but you have managed to add more information to my skills base. Thanks so much. Do you carry the zippers you mentioned now?
Yes, we now carry the locking zippers shown in the tutorial!
what can you do if the client has tried a zip front in the past and the zipper either splits or undoes?
I would first suggest that perhaps a dress weight zipper was used instead of a separating jacket zipper. The second thing is the bra must have been VERY tight in order to split the coil zipper. Coil zips are VERY strong and can withstand up to a hundred pounds of force before they split. In the case of un-doing while wearing, have you tried our new Lock Zipper? It locks into position at any level and it the perfect weight and type of zipper for any sports bra. It’s brand new and we carry it here!
Great tutorial! I love it, but don’t know that I have enough real estate to add a zipper. Still, thank you for such a great tutorial.