Horizontal Hocus Pocus
As promised in this last post, I am sharing with you how to convert your Classic Bra to a horizontal seamed cup. If you want to do that, stay with me for background theory. It’s not magic or horizontal Hocus Pocus, just good solid bra theory!
There are hundreds of thousands of styles of bras in ready-to-wear, yet each of them is different from the others in some way. Let’s not consider the fit for a moment, but the style lines of the cups alone themselves of bras can make the bra look entirely different from another bra brand or even within the same brand. Style lines = seamlines!
Seamlines in a bra can take on any number of configurations but generally speaking there are three major categories – Diagonal, Horizontal and Vertical. Seamlines must cross the apex (except in one notable bra style) and are named from their uppermost originating point.


- Horizontal seaming is the best choice for support for the larger bust
- Horizontal seams offer the most opportunities for shaping
- Horizontal seams offer the most opportunities for reducing the cup for an Omega breast
- Horizontal seams are the seams of choice for a strapless bra cup
- Horizontal seams are the seams of choice for a balconette cup
- You can have the roundest cup with a horizontal seam
- Below the horizontal seam, you can split the cup into multiple lower cups

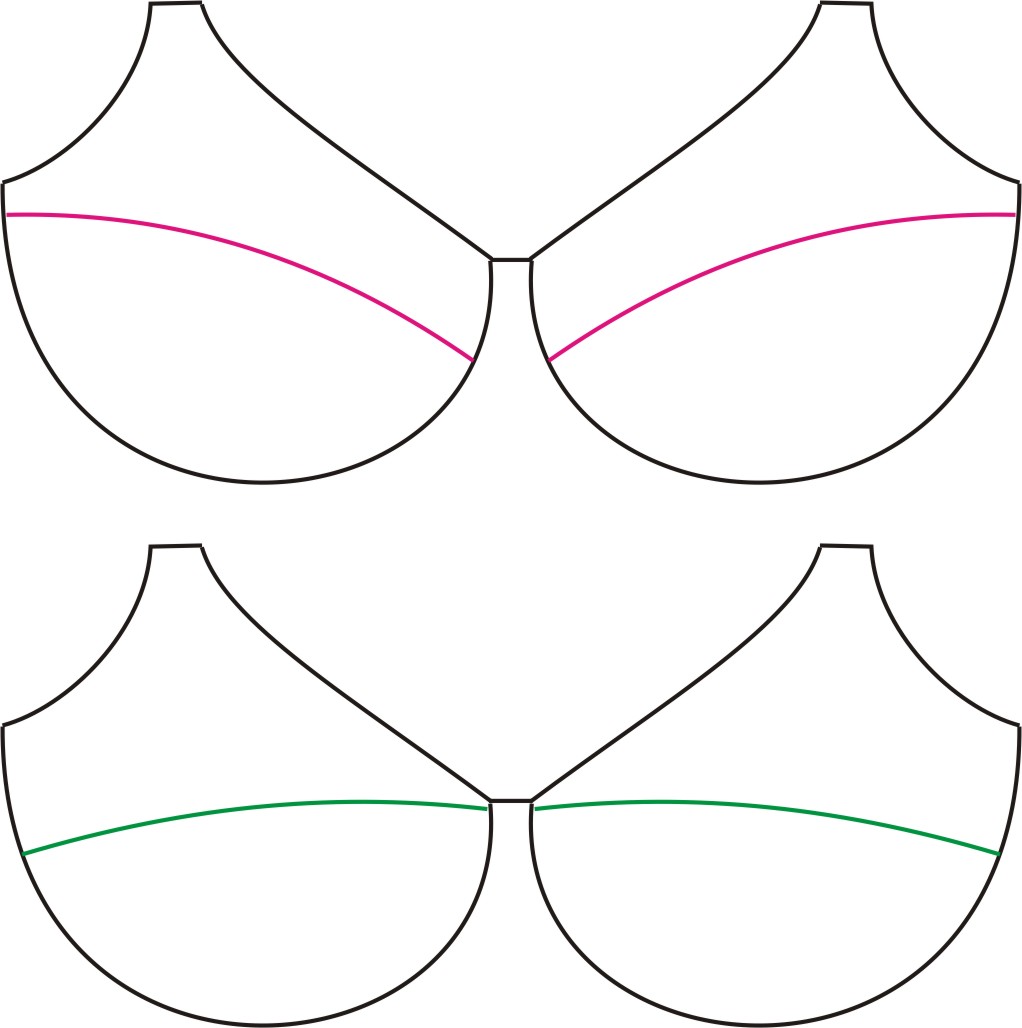
Then draw straight lines from the apex notch to the edges of the cup. You should have 4 straight lines. Label them as shown here. Lines 1 and 2 should be equal in length and so should 3 and 4. Now cut off the curved bits and put them aside for now

Now decide where you want the new line. You can try on the Classic bra, and mark the place where you think you’d like the seamline. Generally you want the line in the front lower on the body than the line at the underarm.
Check out these two cups that are identical except for the seamline orientation. The one at the top has the seam in the front lower than the side – the one below has the seam lower on the side. The horizontal line on the second drawing is going to interfere with the trim around the neckline edge (too much going on in that small area) but the whole cup looks “sad”, like a frowny face for your boobs.
I wanted the new front seamline about half-way along the front edge. I drew the line to the apex, then cut off that triangle and move it to the lower cup. I have transferred the paper from the upper to the lower cup.


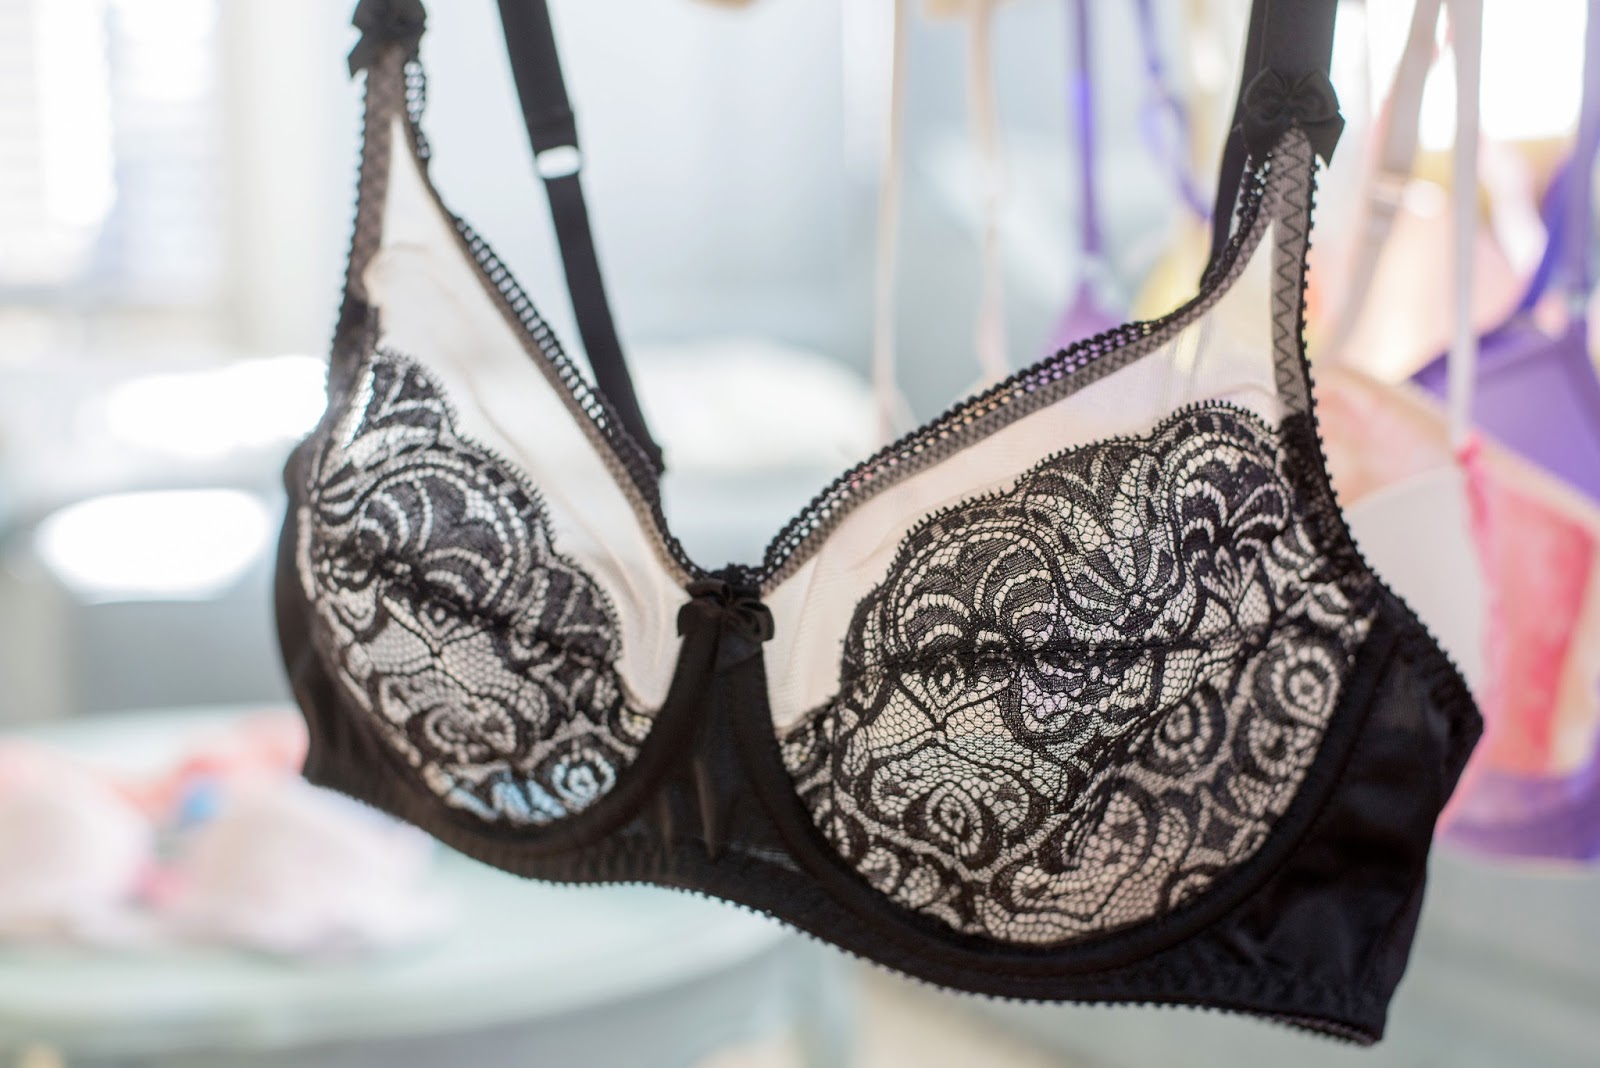
Or make one like Linda of Uplift Custom Bras did using an alternate colour way! Linda does such an incredible job on her bras – I often cannot tell them apart from very expensive RTW!


Dónde puedo encontrar el molde original? Excelente explicación. Gracias
Beverly, these posts are so helpful. I have both of your books, and have read the print off of them! I think the most helpful tidbit of information I learned from your books in my bramaking process, is that the lift is in the upper cup; adjusting the cross cup seamline was key for a great fit for me.
I am eternally grateful for you and your knowledge of bramaking, and your gift for teaching.
Beverly, you always make it look so much easier, when you break it down and demonstrate it so well, thanks for sharing all this magic !