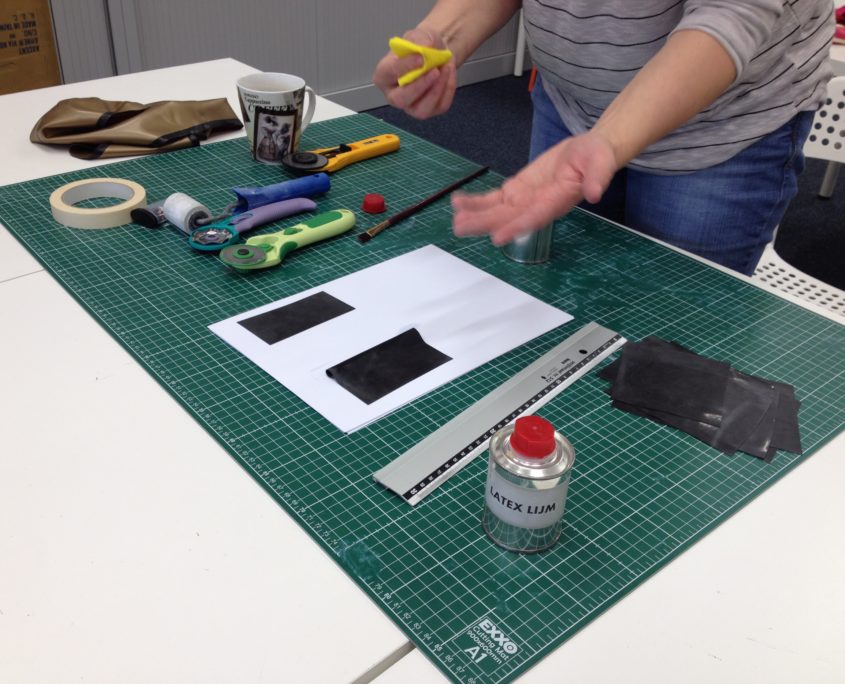
If you have ever wanted to glimpse into a fascinating world of which you know nothing, I strongly suggest you take a class in which you learn how to work with latex. I took such a class recently in Amsterdam, where I went with 19 other ladies (and one gentleman) on the European Lingerie Tour. One of the highlights of the tour was a class in how to work with latex, which was held at the studio of Latex Repair in this building, which houses a gathering of creative spirits and artists from all types of media. Here is the link to their website: www.LatexRepair.nl

Our teacher was Amber, who literally wrote the book on how to work with latex. She started in it about 20 years ago and has never looked back. Although the book is in Dutch, the pictures are easy to follow and especially so if you take the class. The book comes with the class! Our class was small, with only 6 at a time, so we had to break our group into 3, over 3 days. It worked perfectly.

I had never worked with latex, although I do have a slight contact latex allergy, so I was very curious as to how it would affect me, if at all. (It did but not until the end of the day, and I did wear the non-latex gloves while handling the sheets) First you have to re-jig the way you think about sewing. The seams are held together, not with stitching, but with glue, specifically, Contact cement. But that’s not all. Each seam has to be scrubbed clean first with acetone. Oh the fumes! You can see the cleaning of the seam area results in the latex curling up. That is both normal and essential. Once the cleaning dries, the latex will flatten out.
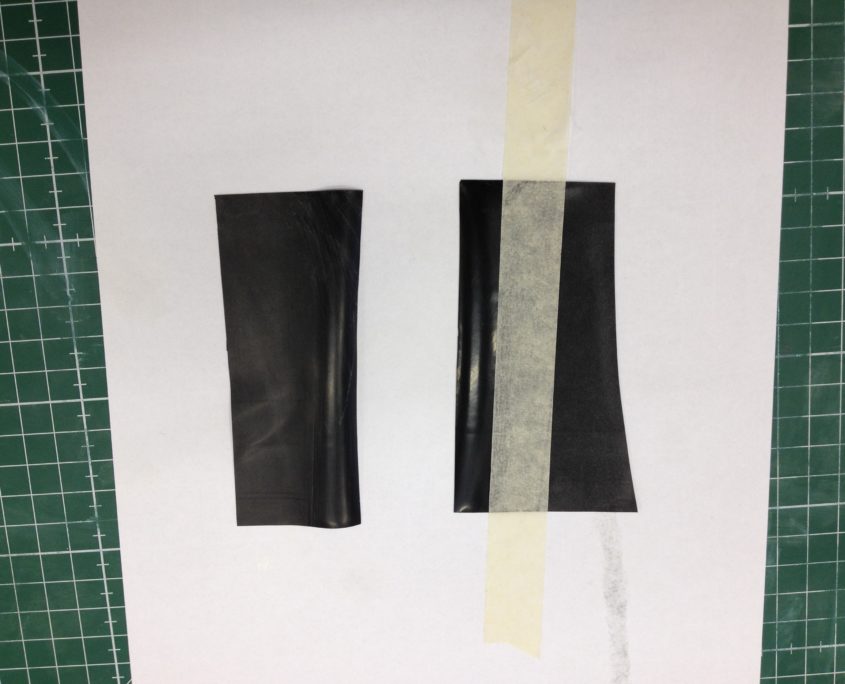
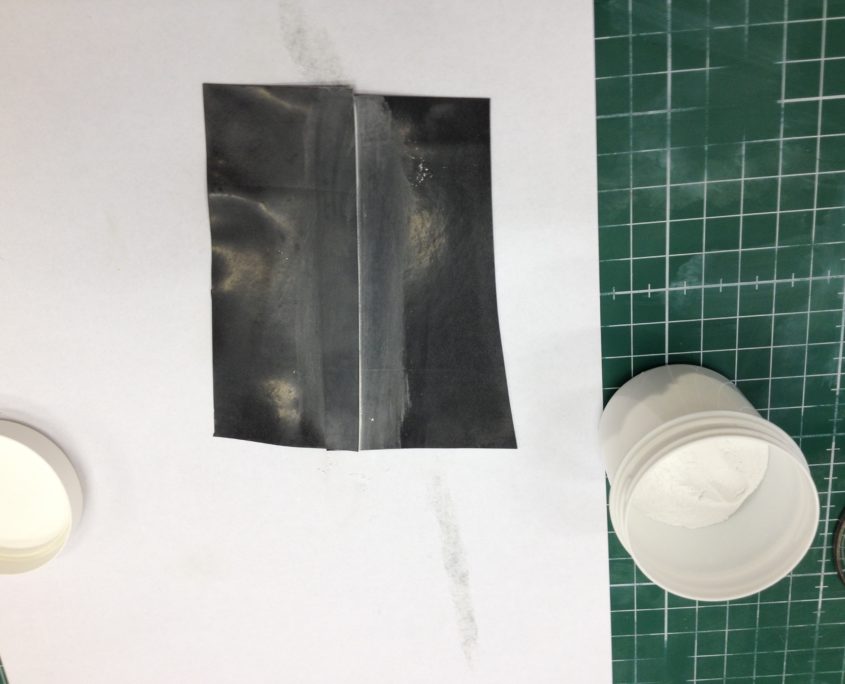
Since the seams are not sewn with right sides together, but overlapped instead, you need to apply a coat of contact cement to the wrong side of the piece on top and the right side of the piece underneath. We apply a width of adhesive about 1 cm (3/8″) wide to each piece and let it dry a bit until it is no longer wet. We used low tack masking tape to keep our “seam allowance” area nice and neat. You can see my seams are still wet
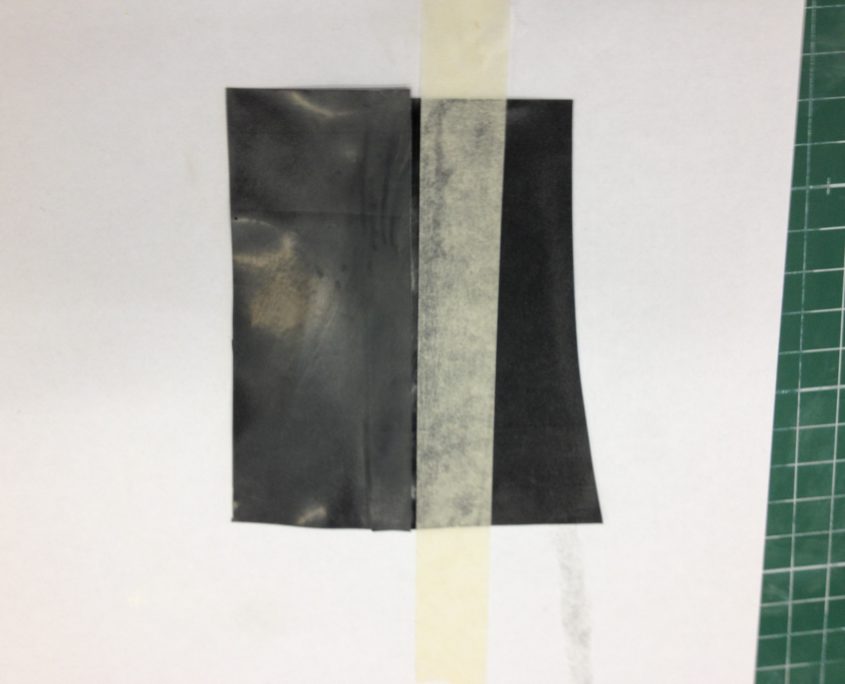
Then we stick the two pieces together. You don’t get a second chance to do this step correctly!
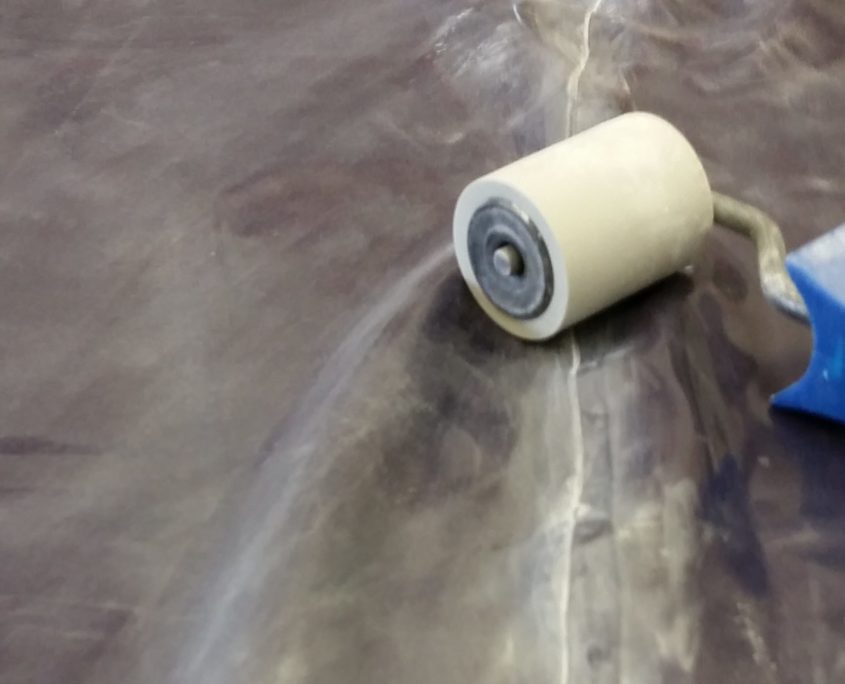
Then we use a roller to really bond the glue.
To clean off the excess glue bits, we use talcum powder (unscented!) and powder the seams.
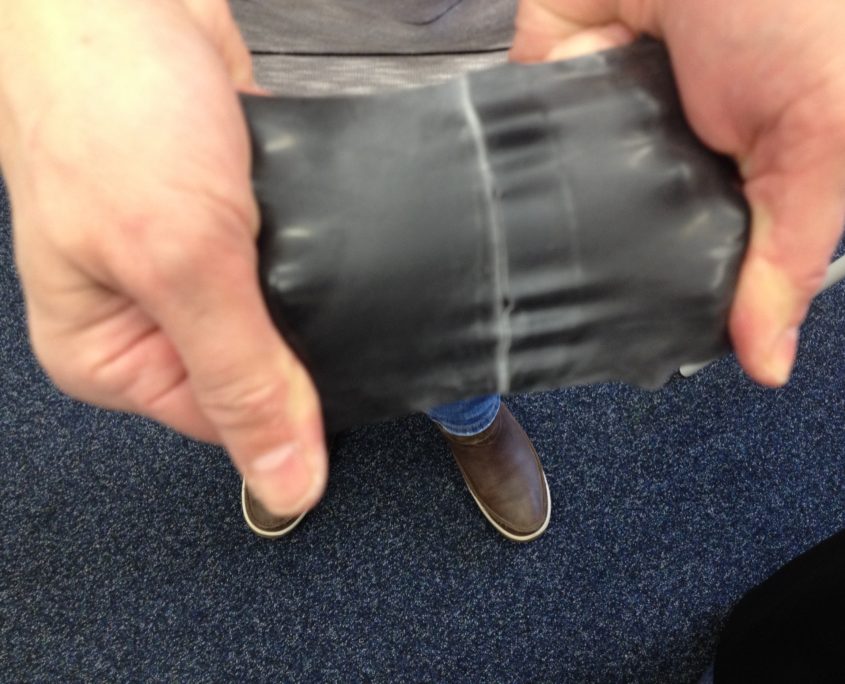
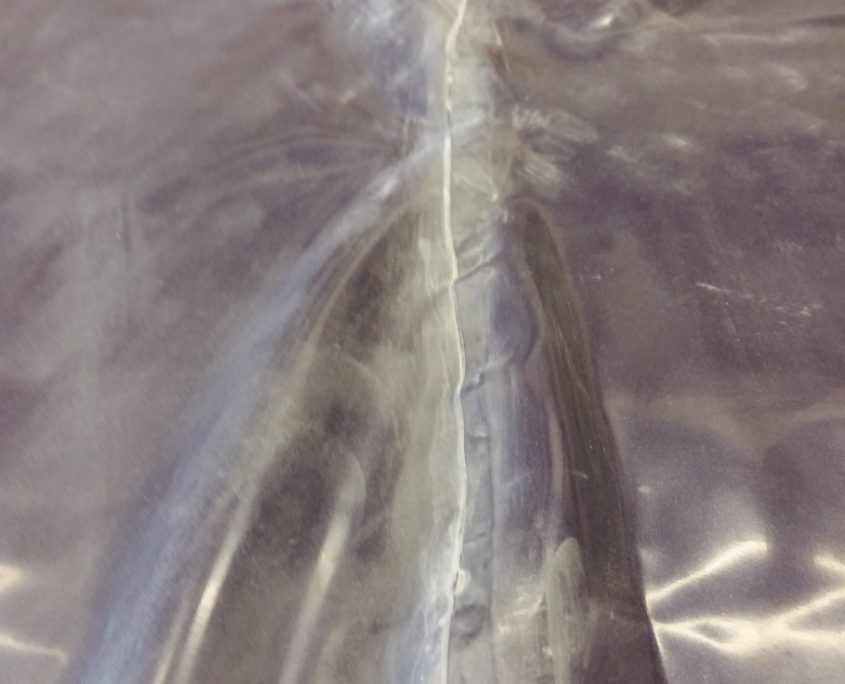
Check out how much this seam can stretch even immediately after gluing! That’s the neat thing about latex – it stretches and stretches! Think of a balloon – they are made of latex too!
This is how you do a dart. If you use a bit of thinner on the right side, it will temporarily stick the dart halves together while you fold the latex shape in half along the dart fold. The you can make a clean cut with the rotary cutter without the fabric slipping around and shifting out of place.

Since the V shape of the dart is now cut out and missing, you need to add a second layer on the wrong side to hold the dart legs together, like a patch on a bicycle tire. Make sure the ends of the patch are round and not square or pointed. Square ends or points will come loose.
Glue the patch for the back of the dart to the wrong side of the dart halves. One side at a time.
The finished dart from the right side. No bulk! By the way, pen marks come off the pieces easily with the acetone cleaner (thinner). No need to worry there.
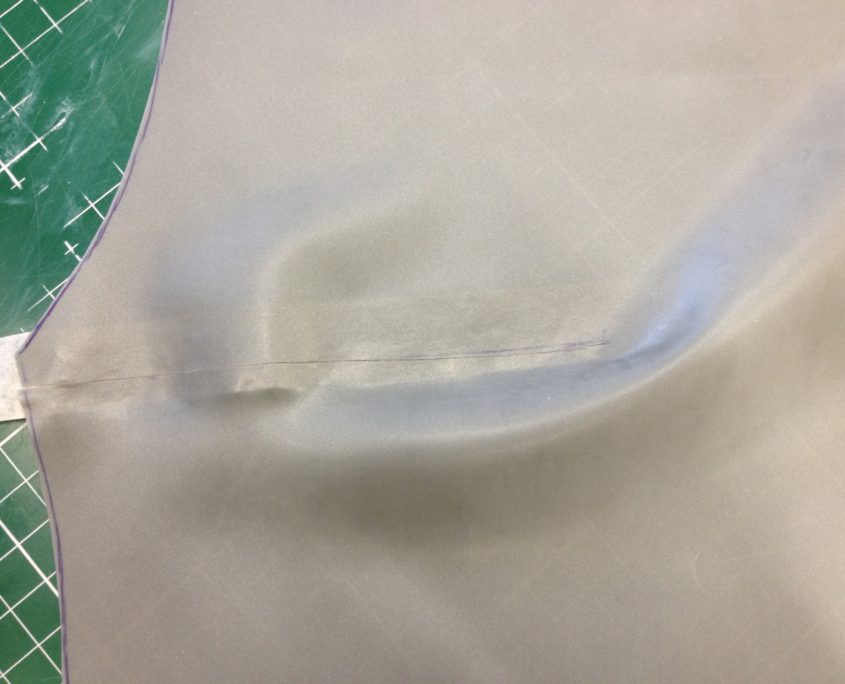
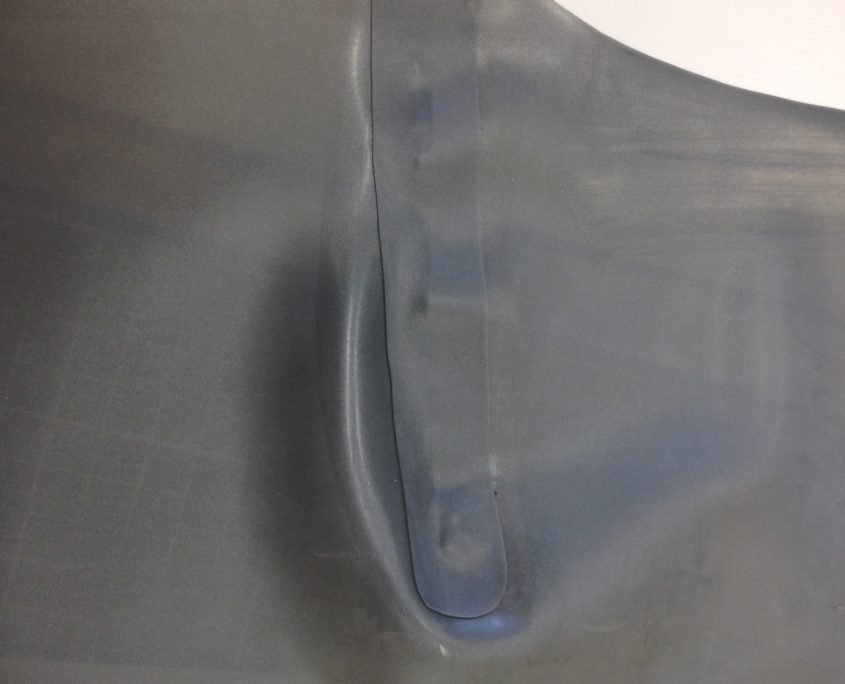
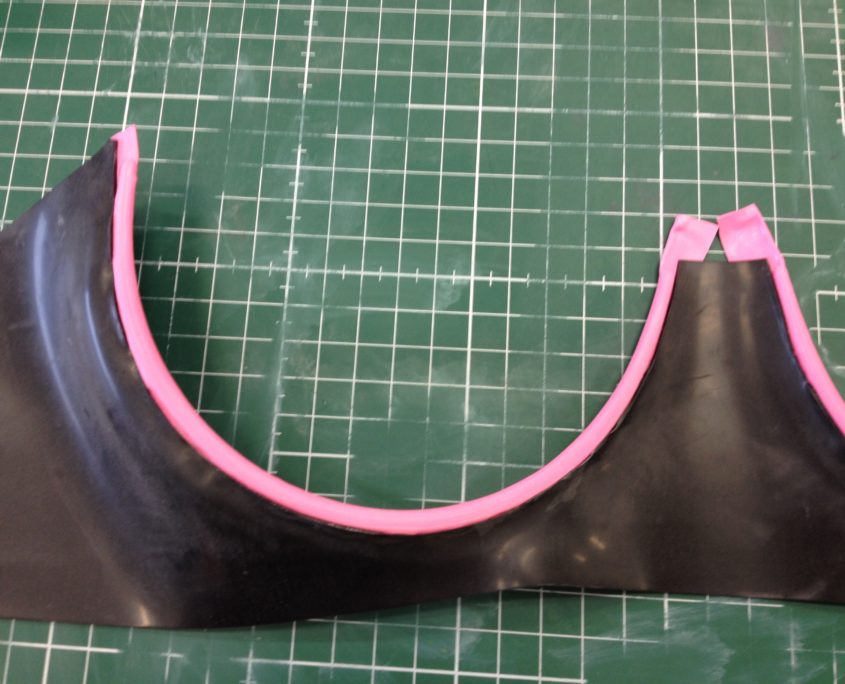
Once we have become proficient on straight seams, we moved on to the real challenge of constructing curves. It’s tricky to get the two curves to lie smoothly, especially on the .4 mm latex (the thin, stretchy one). it looks quite wrinkly but when the garment is stretched (as it is when it is worn) all will be well. Keeping the overlap allowance to 1 cm or less seems to be the key to successful seaming.
Panties weren’t too bad as the curve wasn’t too curvy, so it was fairly co-operative. The hardest garment I think was the skirt or the vest, because of the hip curve.
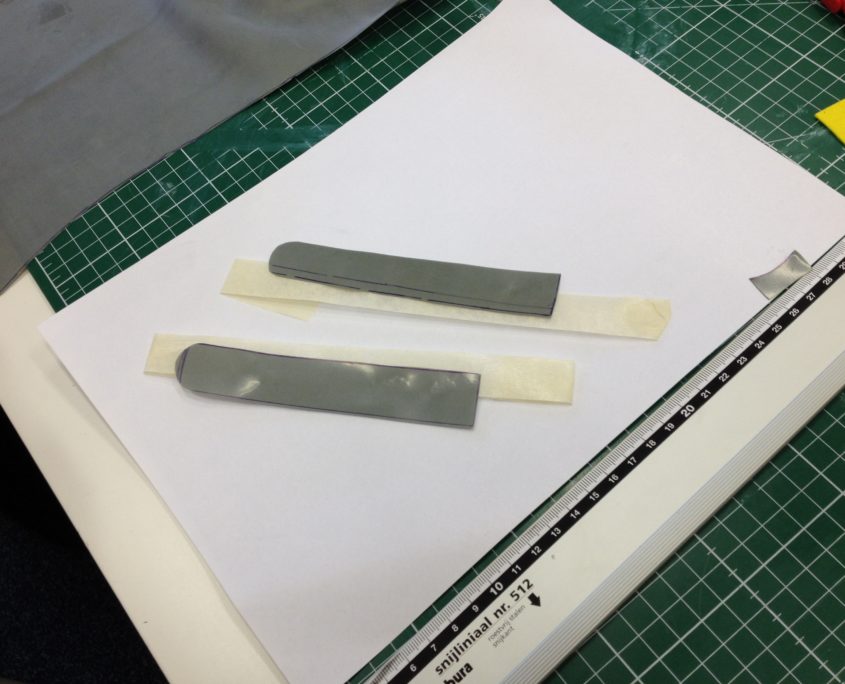
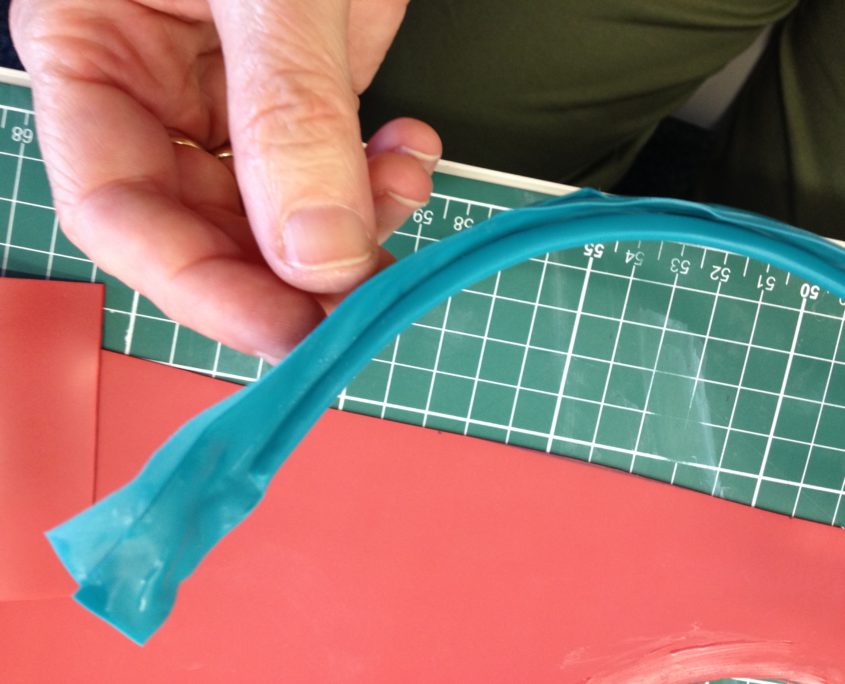
We moved on to making a bra. Again, you need to forget everything you know about sewing a bra because it isn’t the same thing at all. First we use a latex strip to cover the wire. You cannot use bare metal wires as they will stain the latex. We used plastic wires, but the covered metal wires we sell at Bra-makers Supply would work well too.
The the wires are glued to the frame, leaving a bit extra at the front just in case. The raw edge of the black latex snugs up against the pink strip that covers the wire.
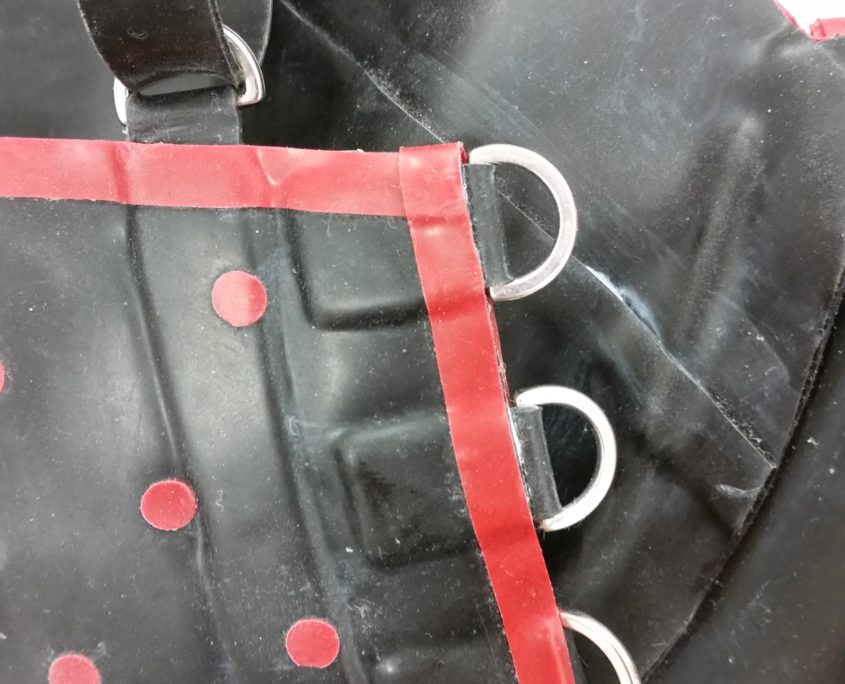
Here is the centre back area. Not your usual hook and eye, for sure. Like I say, you have to be creative when working with latex.
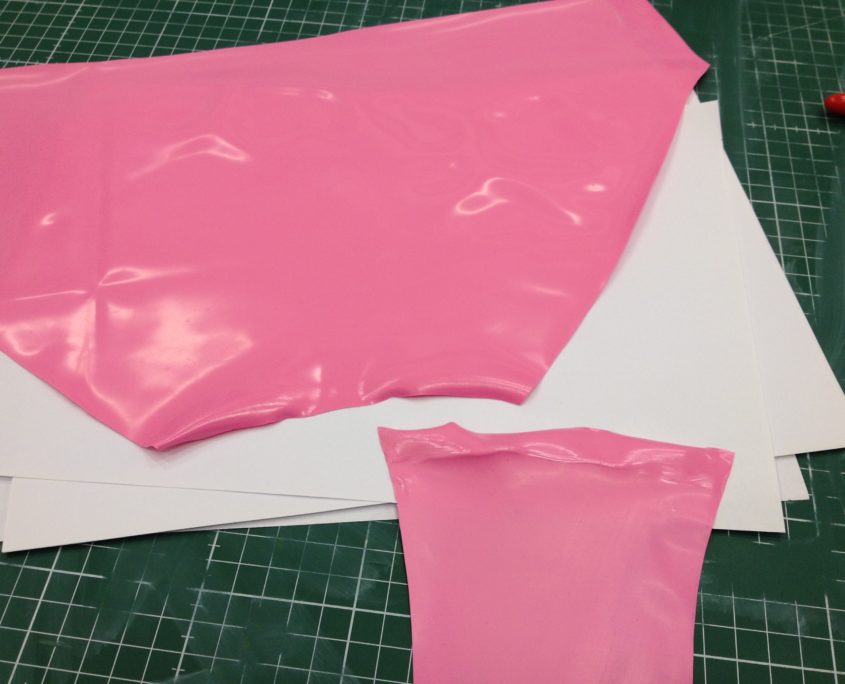
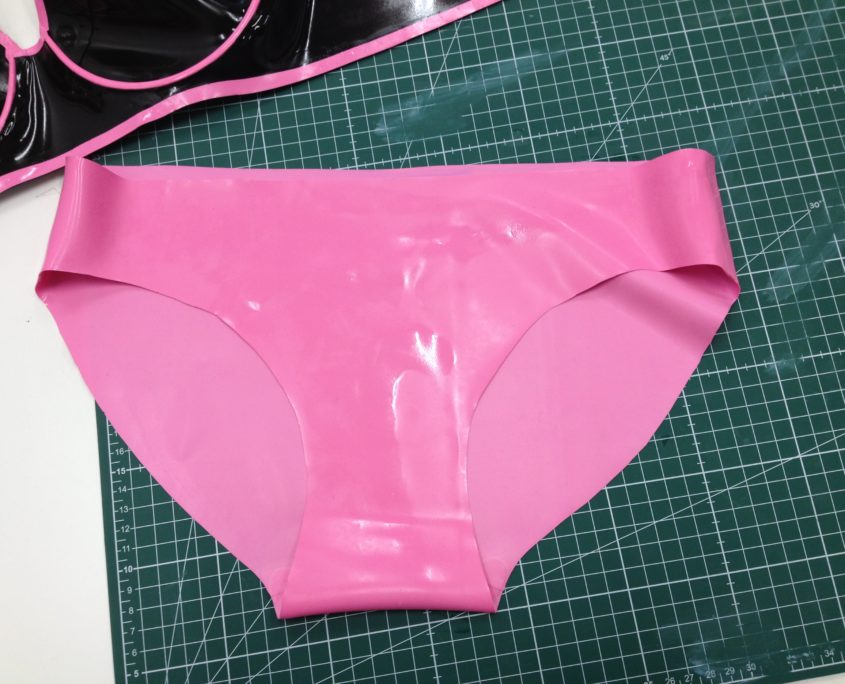
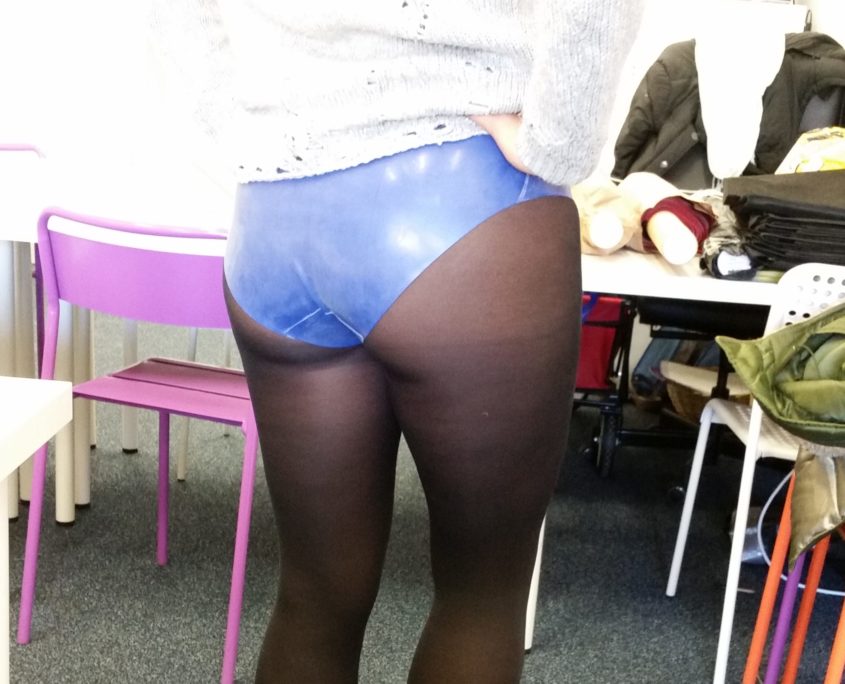
Here are some finished projects made from latex. I made these panties. I want to trim them up with some strips of black latex, or polka dots or something so they coordinate better with the bra.
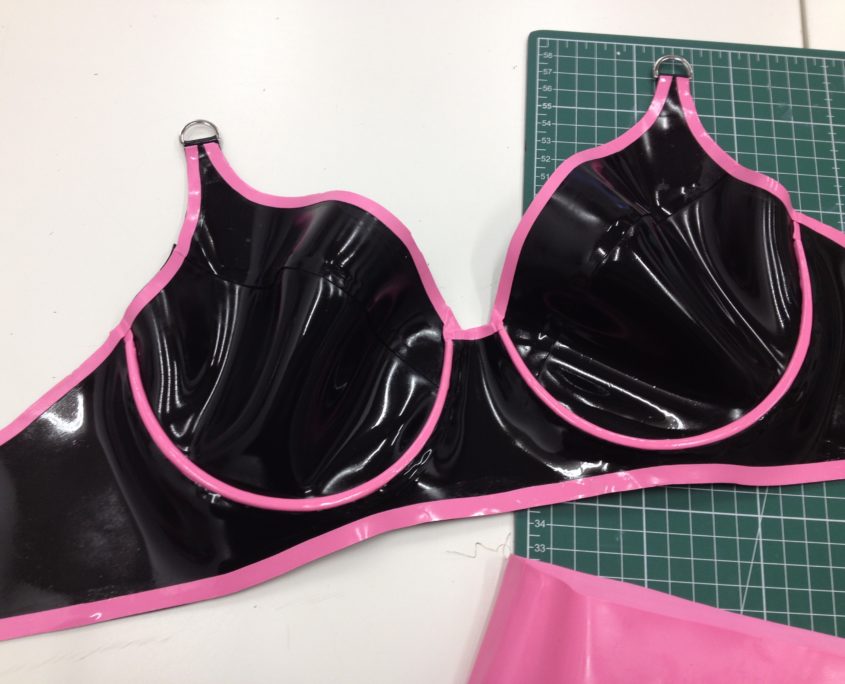
Here’s the bra I made. You knew it had to have pink somewhere! I added some contrast pink strips. Easy to do and adds so much to the design.
Here’s what panties look like on. Gaby made these for part of a Super Woman costume.
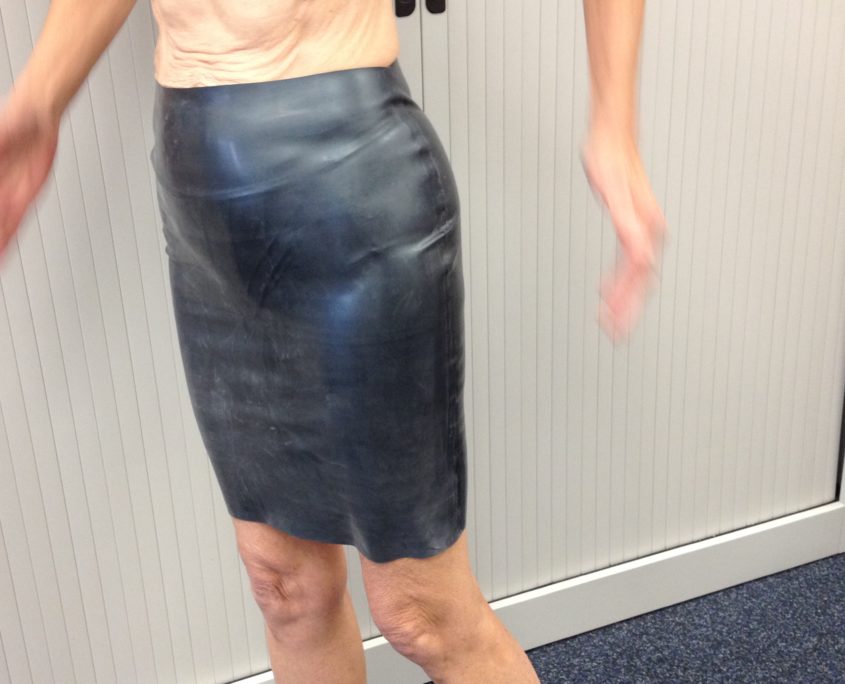
Here is a skirt that Jane made. You can see that the curves side seam smooths our considerably when worn. And a word to the wise, normally you go commando when wearing latex! Panty lines are a no-no! In case you are wondering why the skirt is no super shiny, it hasn’t be sprayed yet, with the final shine coat. Use a water based silicone spray to make that latex shine!
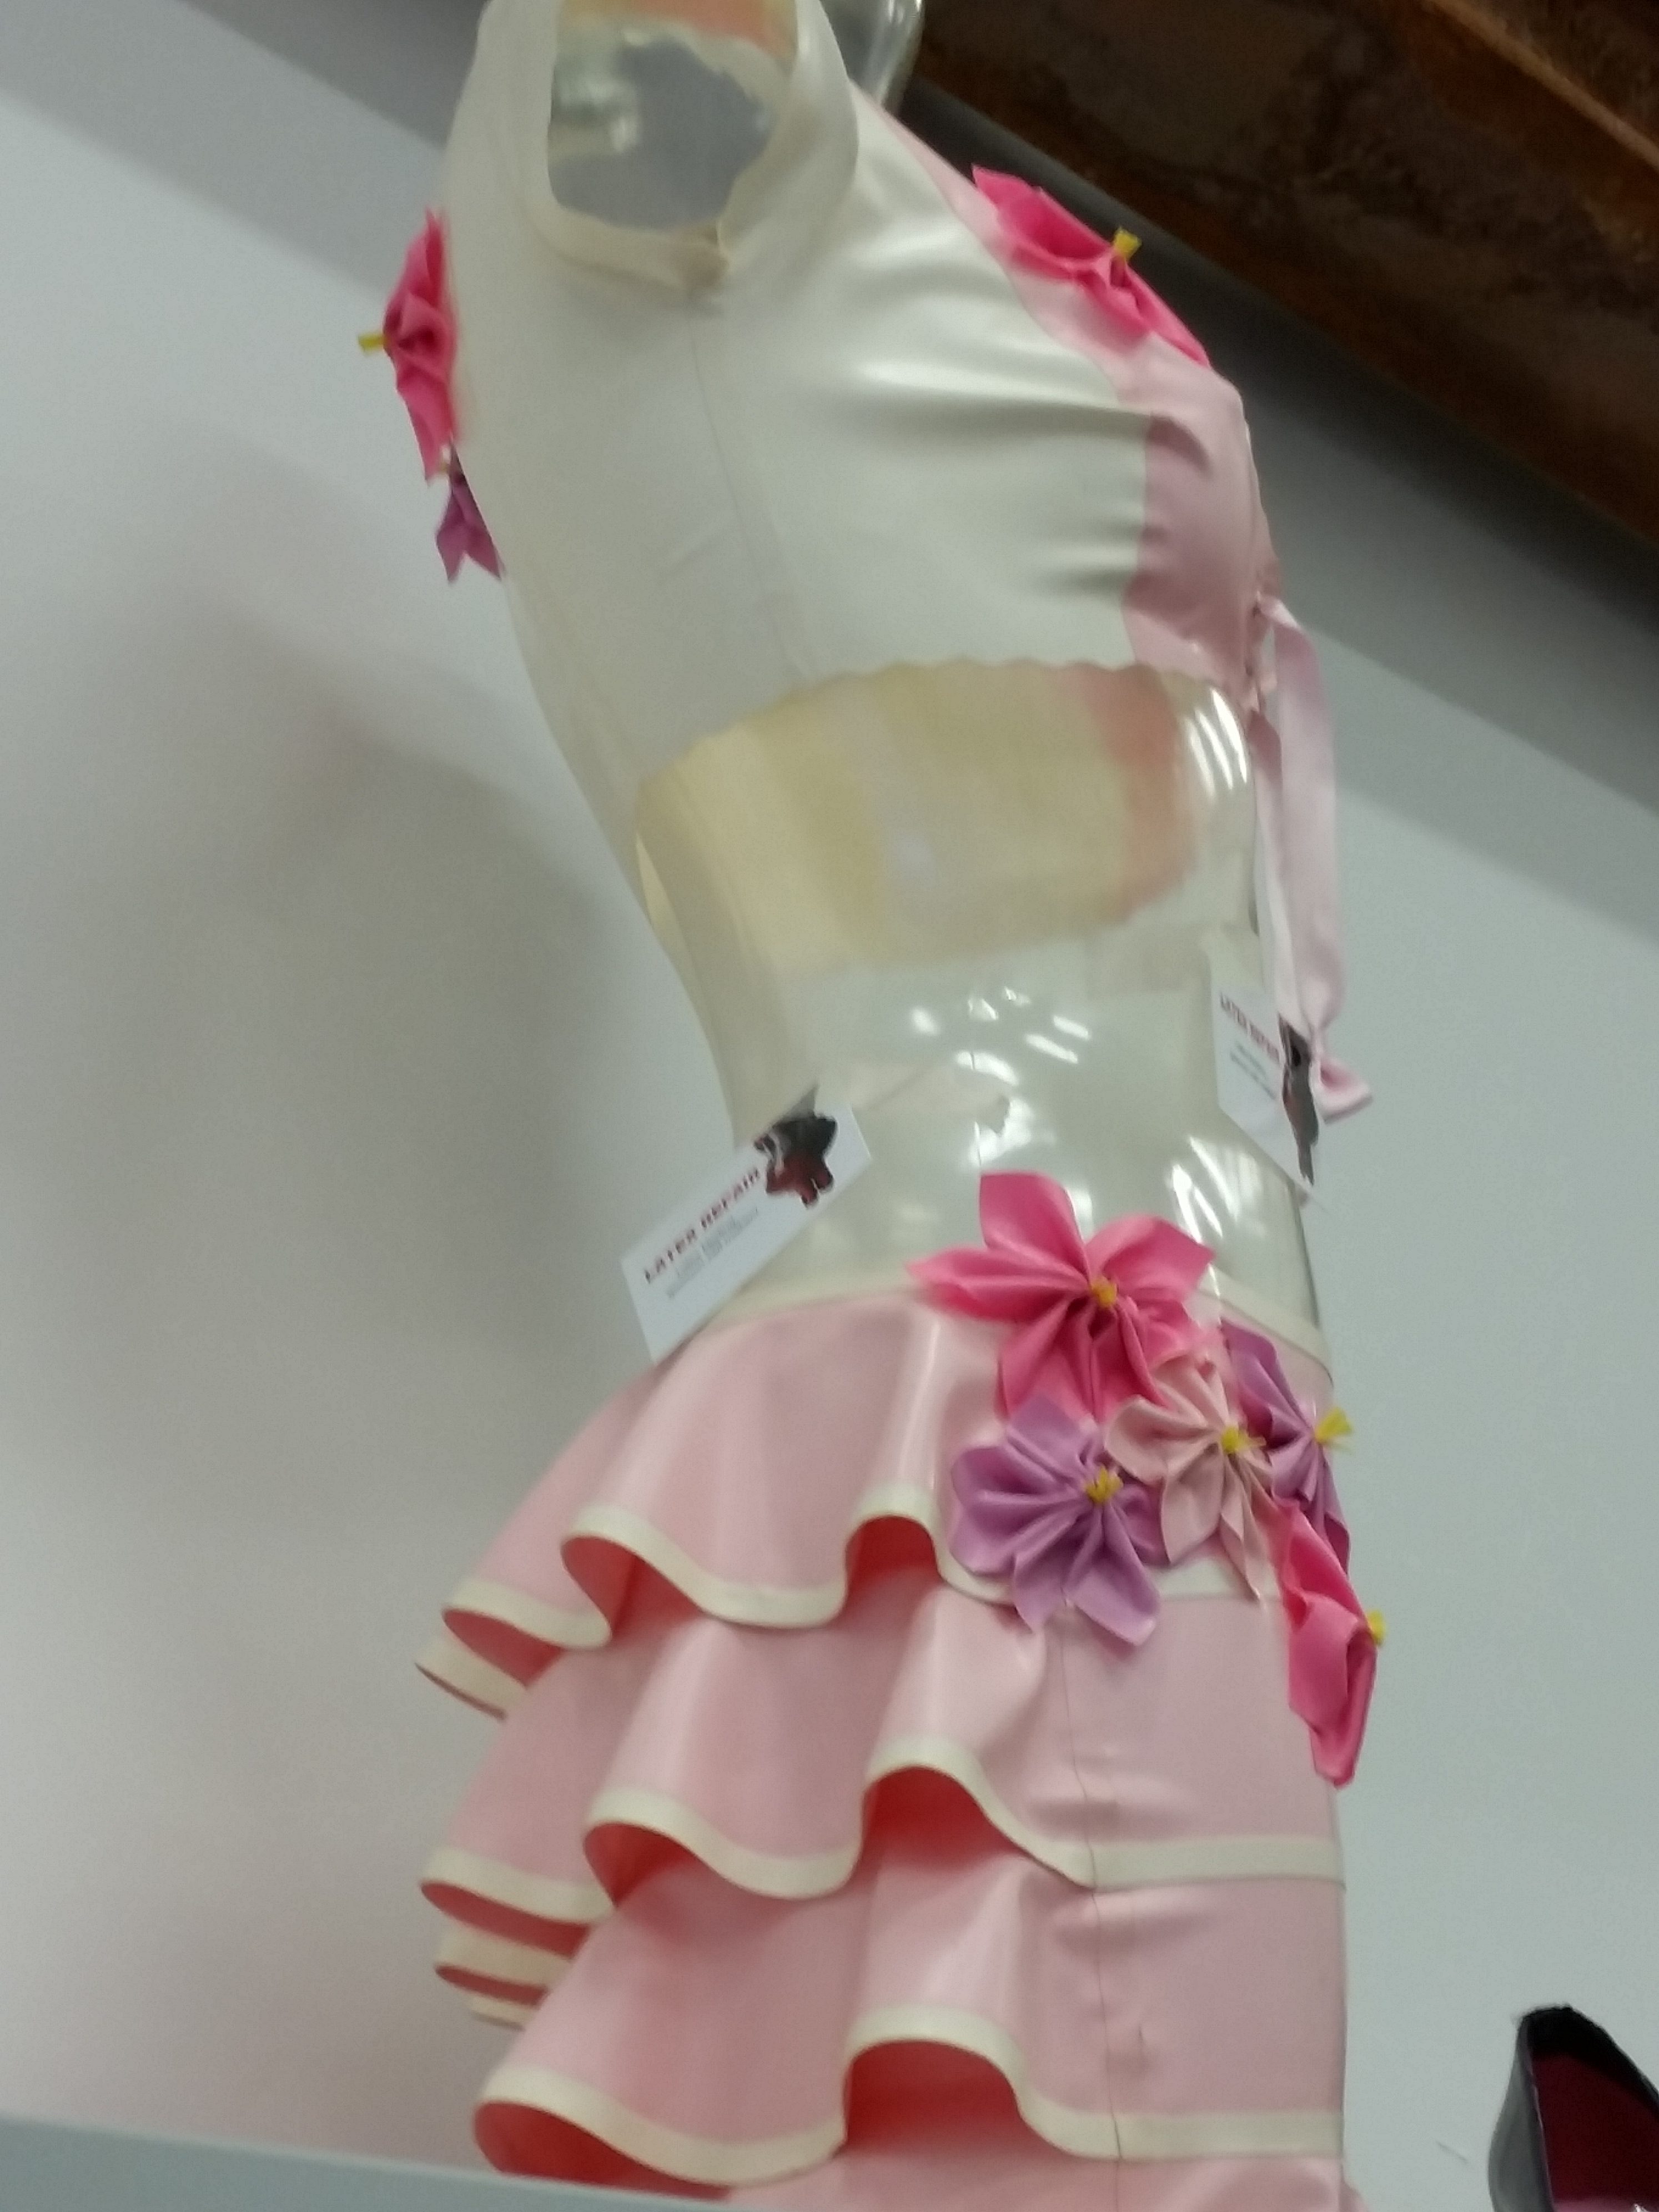
Here is a skirt and top our instructor, Amber made
Here’s another book I found on Amazon which was really helpful on how to work with latex. In English too.


where can I buy the material? thank you!
We do not sell it but it is available online. Just google latex fabric by the meter and you should be able to find it.
What kind of needle use for latex fabrics?
We do not use a sewing machine to make latex clothing as the needle will puncture the cloth and it will tear very easily. We use contact cement to weld the pieces together. The contact cement seam is extremely strong.
Fascinating little article. I found my way here because I used to make one-off stretch-PVC items of clothing. I loved using PVC but now I realise it’s time for everyone to migrate to latex before the planet is completely poisoned by chemical run-offs. It’s a daunting thought, using this “fabric”: I use a sewing machine, not a tub of glue. Thank you though, for making it seem a bit more achievable.
can you give me a blueprint of a latex catsuit
There are many patterns out there for catsuits. We don’t supply them. You would have to make up a sample in stretch fabric to make sure of the fit, then make it in latex
I’m having a little trouble. I have tried liquid latex, rubber cement and contact adhesive for my seams. I clean them with isopropyl alcohol first, let the moisture evaporate before applying the glue evenly to both pieces of latex, with 1cm width of glue. I let both sides sit for five minutes and then carefully stick them together, rolling over the seams with lots of pressure using a seam roller. When i stretch the pieces it just doesnt stretch as much as in all the how-to videos and just breaks apart then the glue peels off. contact adhesive has been the best of a bad lot of glues. What am i doing wrong? does it just need more drying time before i stretch it too much? It says “instant bond” “ultra strong” and “suitable for rubber” on the bostick packaging.
From my experience, you need a very LIGHT coat of contact cement (like the one shown in the post) on each side of the rubber. Heavier coats do not hold more securely, contrary to popular belief.
Use solvent adhesive for seams that get a lot of stress and stretch. Lay on adheisive both sides of seam thinly using a flat edge spatula (an old plastic credit card is ideal) . Allow to dry and then apply seams working your way along them Then use a flat roller to ensure they are compressed together. Wait at least overnight to allow glue to dry propertly Should be fine.
How do you go about cleaning it up so it doesn’t look dusty from the powder?
“In case you are wondering why the skirt is not super shiny, it hasn’t be sprayed yet, with the final shine coat. Use a water based silicone spray to make that latex shine!” That’s how you clean the talcum powder off too.
Please can you explain how the talcum powder removes the excess glue ? Does the glue still have to be wet? I am really struggling with my garment using a water based glue and I can’t seem to get the bits off
Thank you
It could be the wate-based glue that s the problem. To really work with latex, the glue actually partially dissolves the fabric, which then welds to the fabric underneath. I doubt if water based glue would do that. The talcum powder is there to make the bits of glue that may seep out of the seam non-sticky. the trick is not to have much glue seep out!
Did u try to stick it with Polychloroprene contact glue? Which type of glue is The best in Your opinion?
We used the brand “Contact Cement” by LePage, but Weldwood also makes one
Hi, really well put together page and very informative. I am a fashion student who is currently working with latex, just wanted to inquire about the latex knickers you made and ask where the best place for the seam to go?
Thank you
It could go almost anywhere but the most successful latex projects have as few seams as possible. You could even cut the front and back of panties together as one piece, thus eliminating the seams at the gusset altogether for example. Also, if you can cut them so the seams are as straight as possible, rather than curved, that will work better as well.
So interesting and fun but I think I’m itching and sweating just thinking about it!!!!!
I was starting to have problems by the end of the day, too. My throat was definitely starting to close up and I was higher than a kite from the contact cement!