
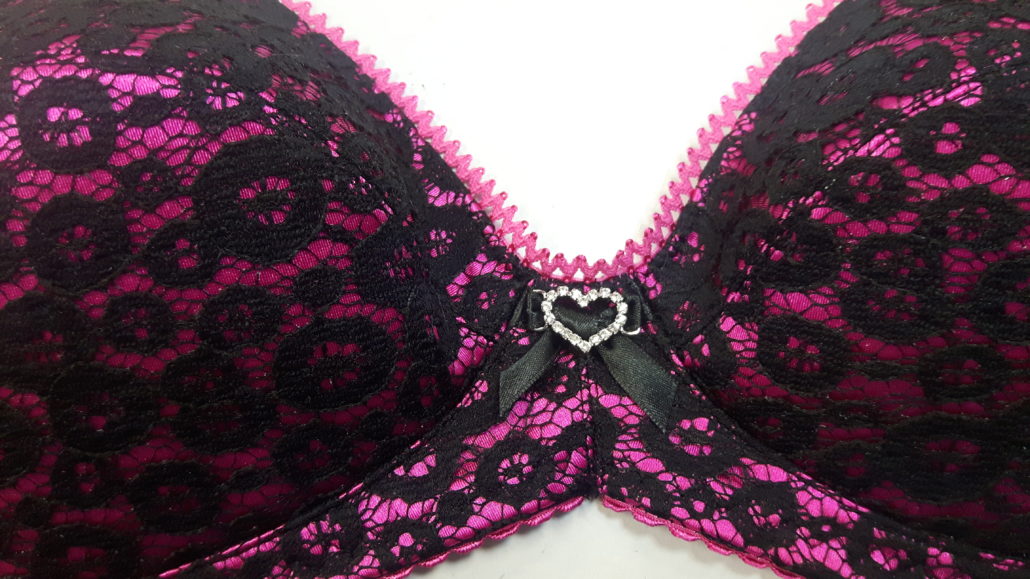
It’s the season when love is in the air, and what better tutorial to offer than one that deals with Tying the Knot? Hold on – I’m not talking about getting married! It’s about a vexing little bra-making issue you may have had in the past. Have you ever had a bra where the bridge is not quite wide enough to sew on a little bit of bling? Use this clever technique is used to attach a crystal connector to a narrow bridge. How do we do it – by tying the knot, of course!
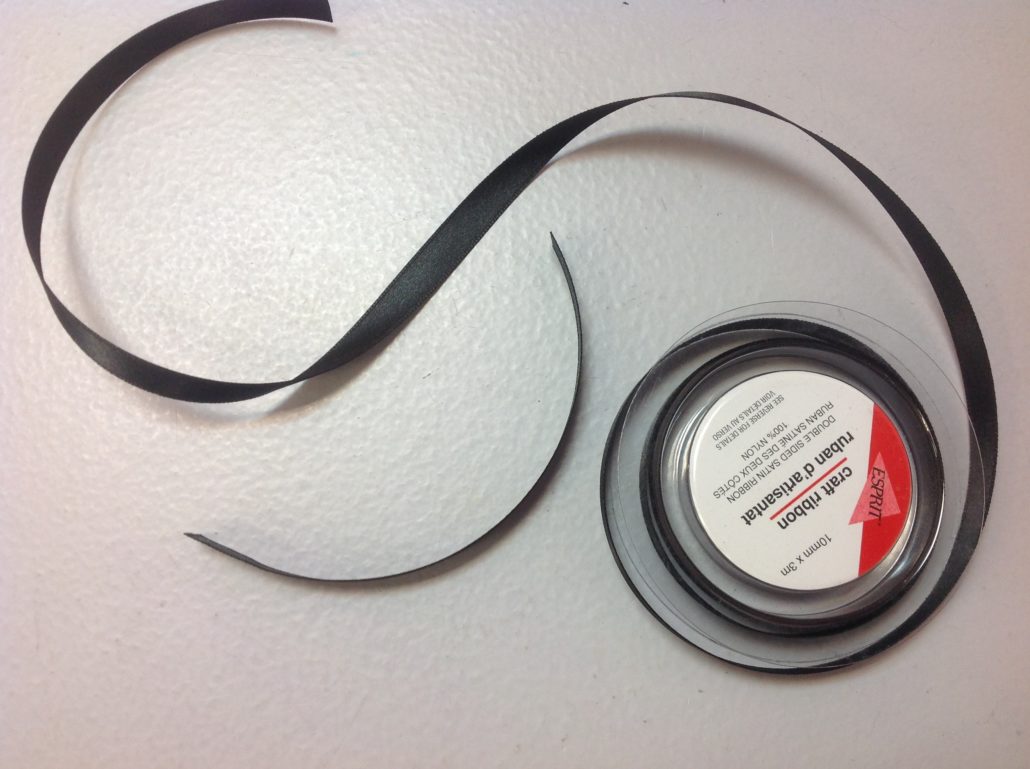
We start with ribbon wide enough to attach to the small tabs at the ends of the bling. Cut two lengths about 6″.
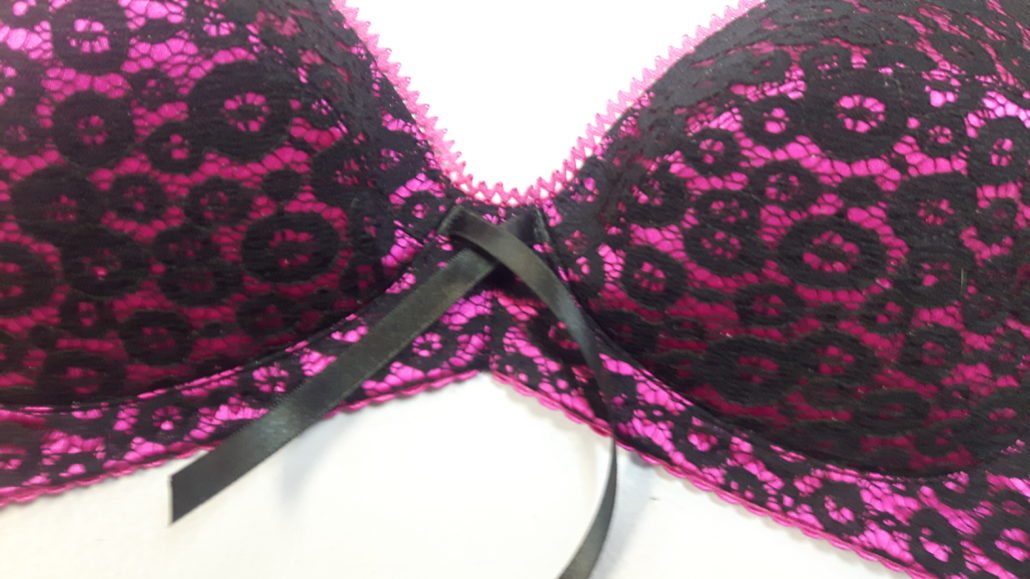
We are going to sew the ribbon into the wire line seam and leave its ends free to tie on some fancy bridge trim. Start by sewing the cups into the frame as normal. Then un-pick a small area at least 1/2″ down from the top of the seam line. A 1/2″ distance allows for the elastic turn under along the neck edge.
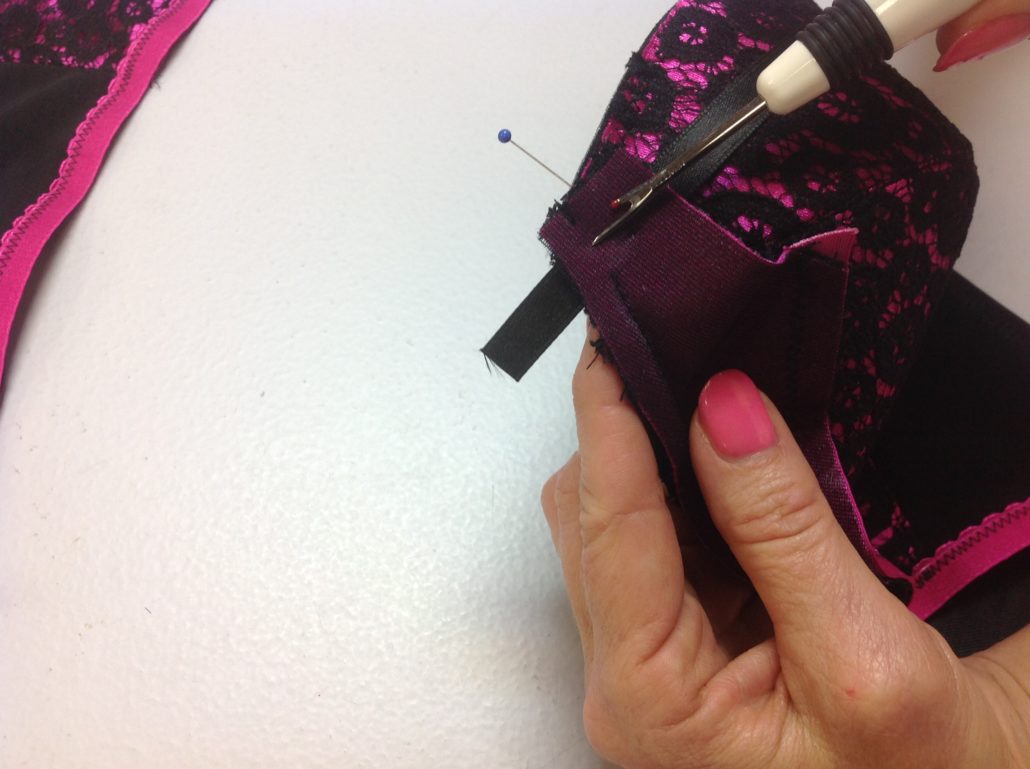
Insert the ribbon into the seam, but be careful to position the ribbon so it ends up in a straight line when the seam is pushed out toward the cup as it is when the channeling is sewn on. 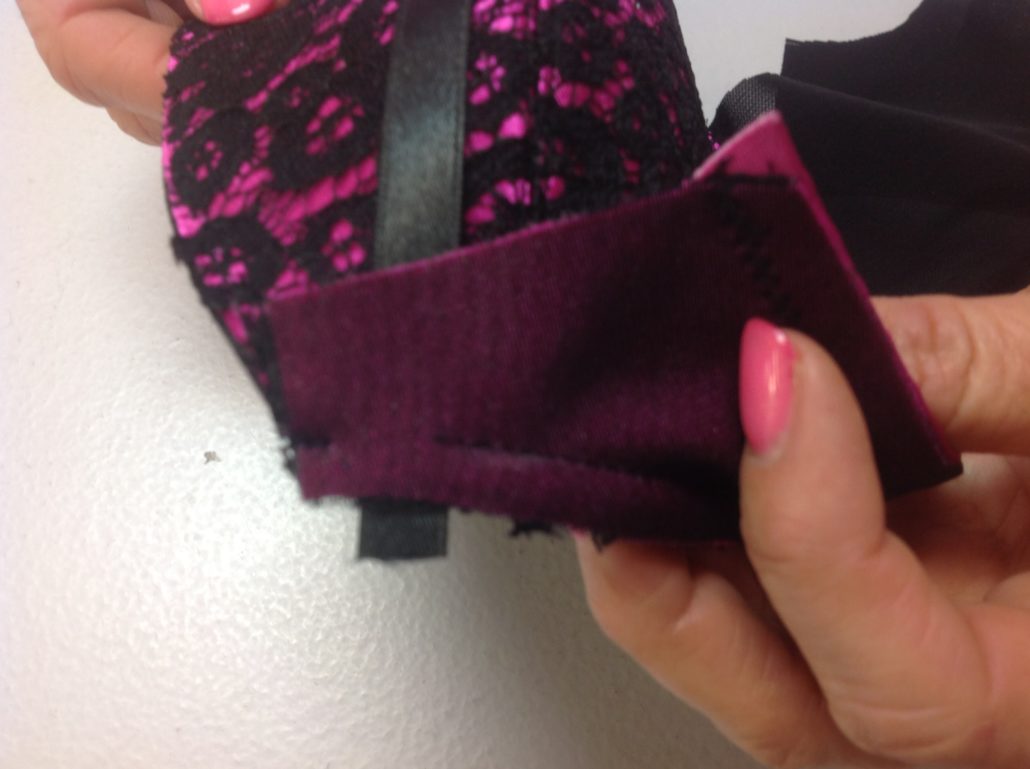
Now sew the seam shut to secure the ribbon. Apply the channeling as you normally would, keeping the ribbon out of the way during the two lines of channel topstitching. We stitched over the ribbon with the first pass, but you don’t have to. We had some space in the bridge width to work with. If you do not, then leave the ribbon un-sewn during the channel stitching. That will give you even more space to work with.
Now to Tie the Knot
Insert the ends of the ribbon through the slots at each end of the connector you have chosen and start tying the knot. In our case, we’ve chosen the Crystal heart Connector, but you could choose any of of our Crystal Front Connectors.
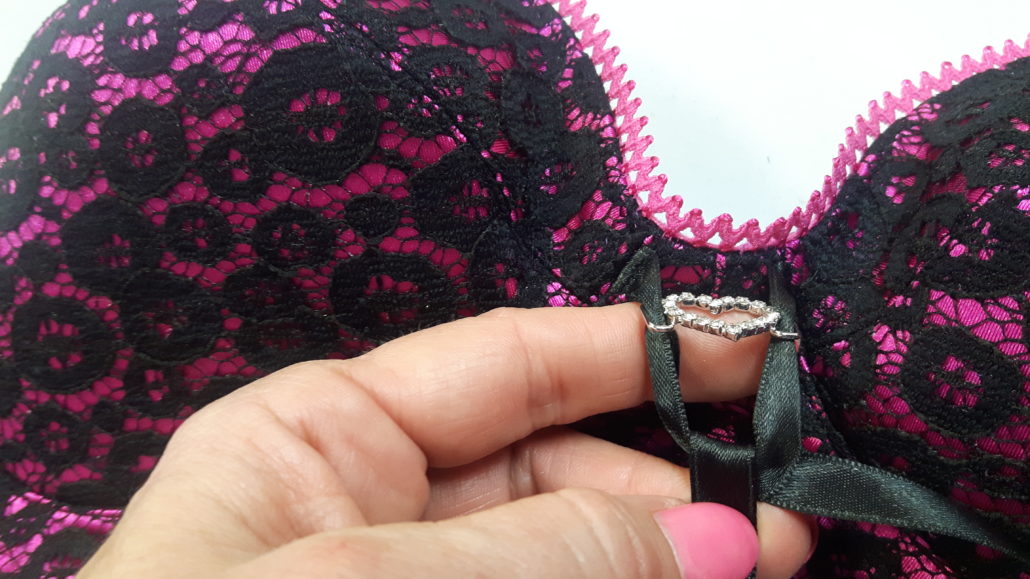
Snug the first part of the knot up under the connector until the connector is as high as you want it to go.
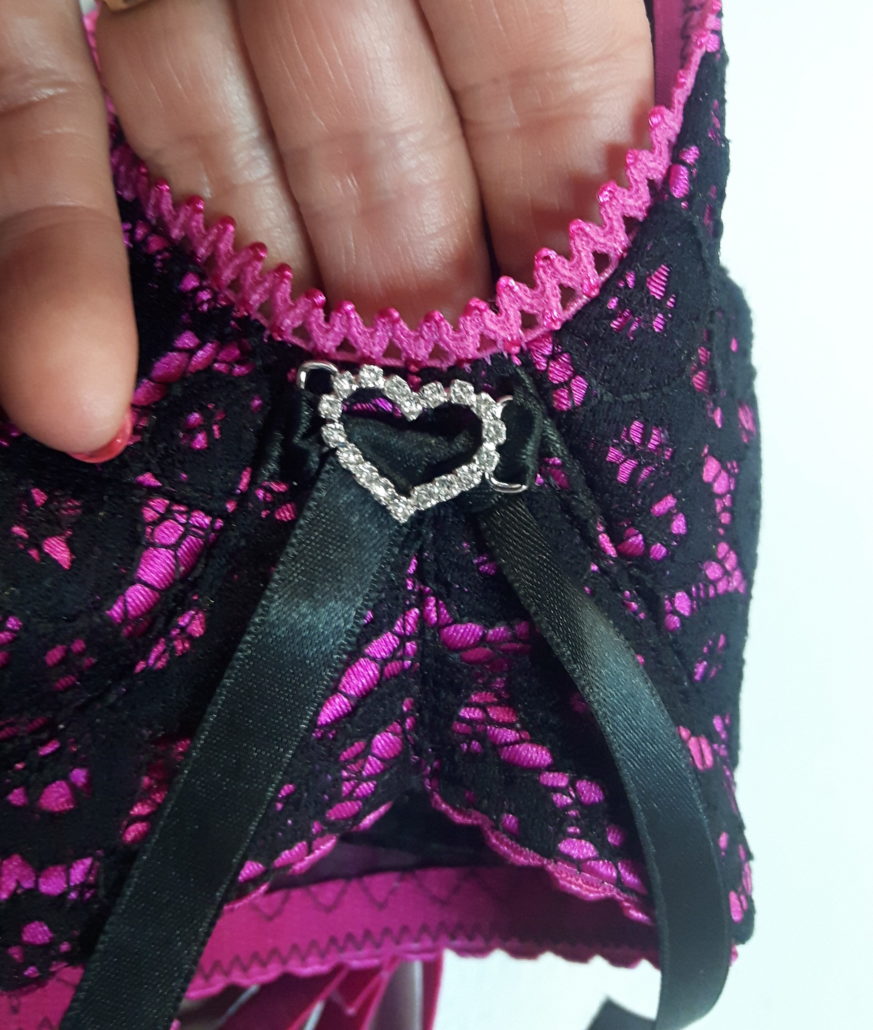
Tie the knot a second time to secure it. If you think the ribbon might untie itself over time, a few hand stitches will do the trick to keep it in place. Trim the ends of the know to provide an additional bit of interest tot the front of the bra. I especially like this treatment because the solid colour of the ribbon makes the crystal stand out against the main fabric of the bra.

Sew, until next time!
Your Fairy Bra Mother, Beverly


This will definitely work for me! Thanks for this tutorial.
We are happy to oblige, Donna!
That’s genius! So pretty too. Thanks for sharing.
You are most welcome, Michelle!
I never thought of sewing the ribbon into the seam! I’m always trying to tie a decent looking knot all on its own, then struggling to attach it at the right spot through all those layers! I generally end up leaving the center unembellished, telling myself I will get back to it later (which I never do, of course). Thanks for the tip!
Isn’t it a great technique? Glad you enjoyed it!
Saving this tutorial! Thank you for sharing!
Youa re very welcome and I am happy you enjoy these posts!