How to make a trimmed neckline
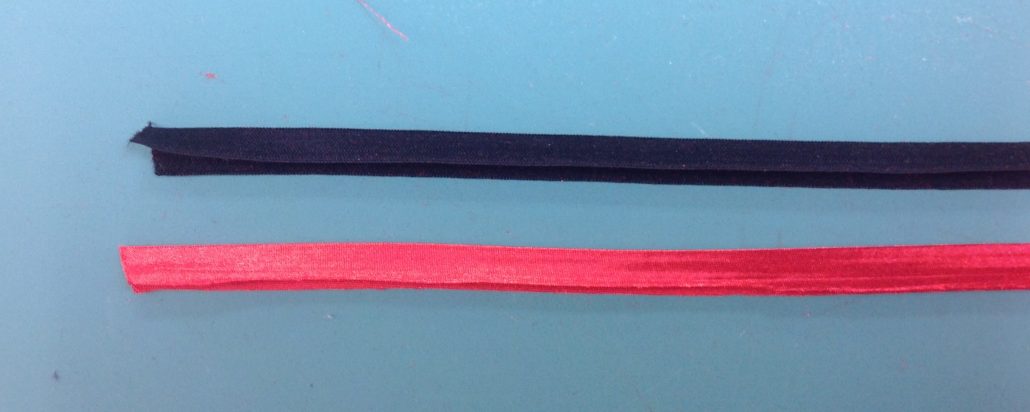
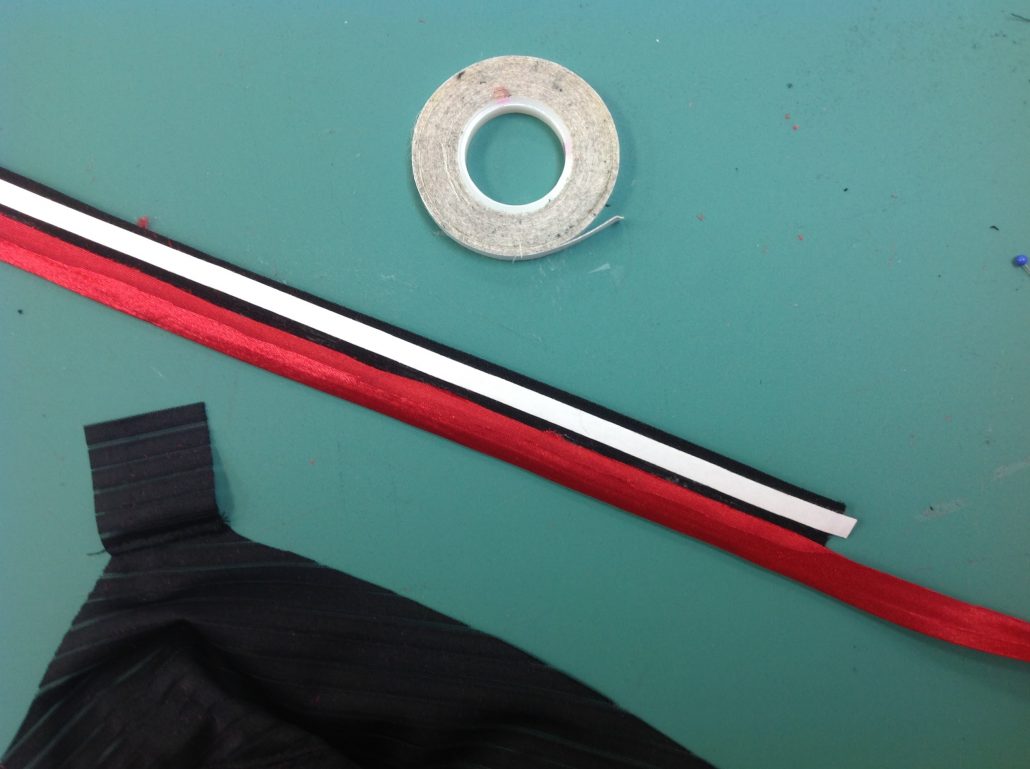
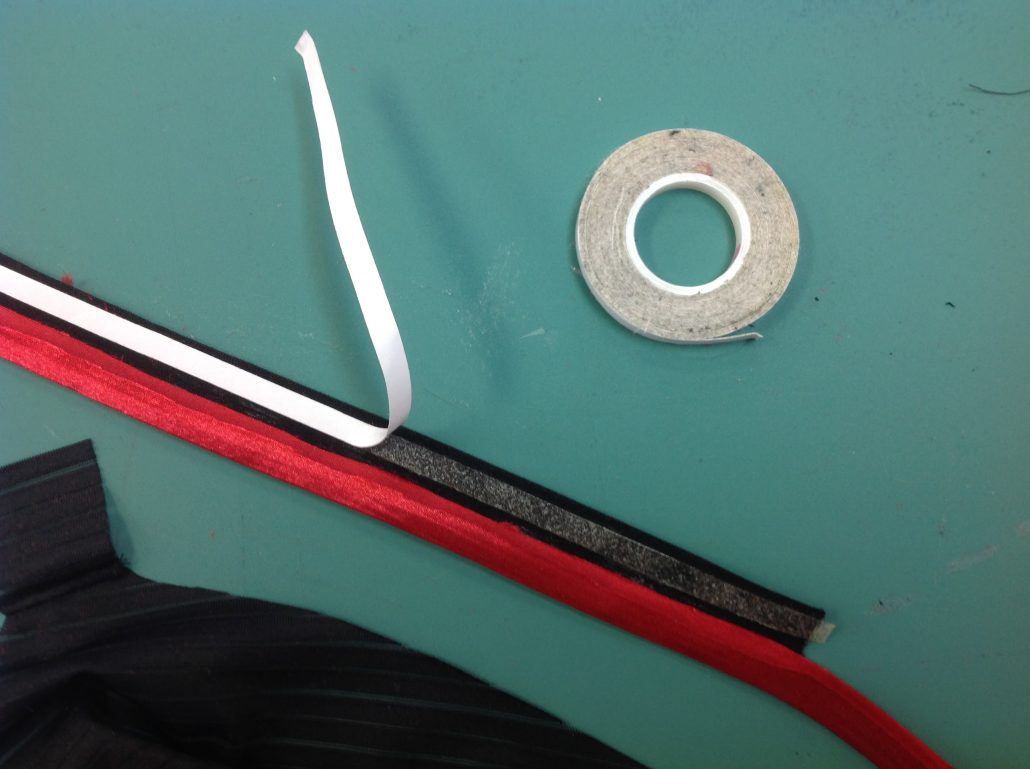
Don’t you love this beautiful neckline? A tiny sliver of red peeks out from the edge. How did we do it? I’ll show you how to make a trimmed neckline. It’s easy with a couple of secret weapons every sewist should have in her sewing room. Start by assembling the trim pieces. We used fold over binding in black and a piece of red bias tape we found at the store across the street.
Then we called on one secret weapon…glue stick….to hold the bias tape to one side of the inside of the fold over.
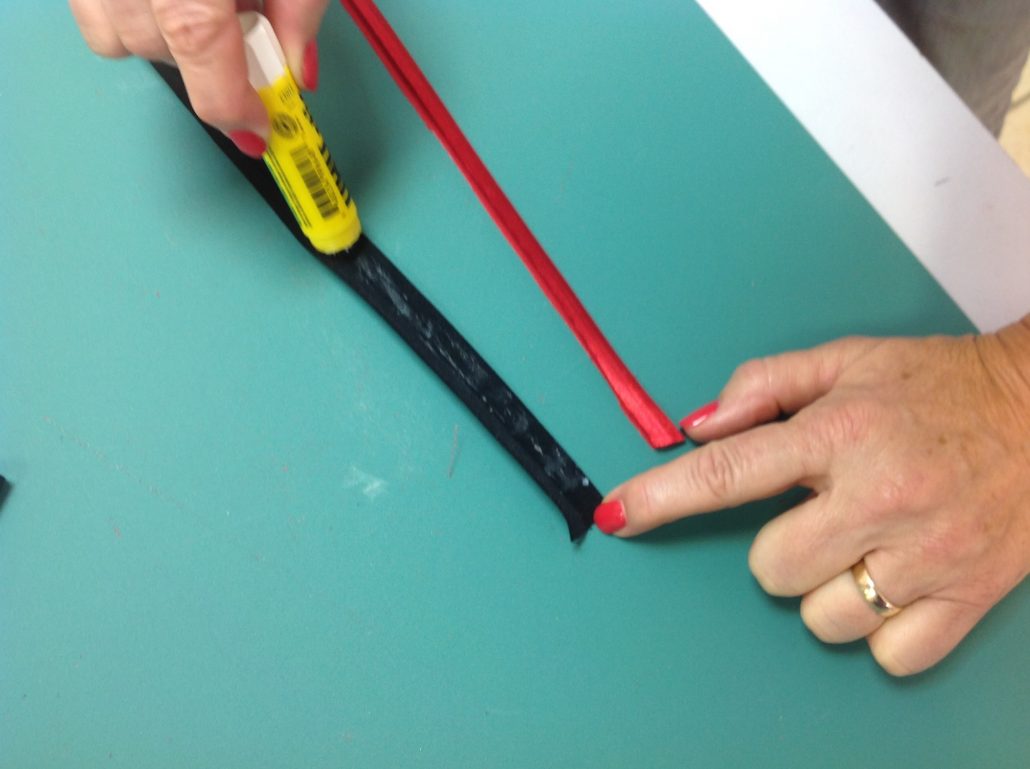
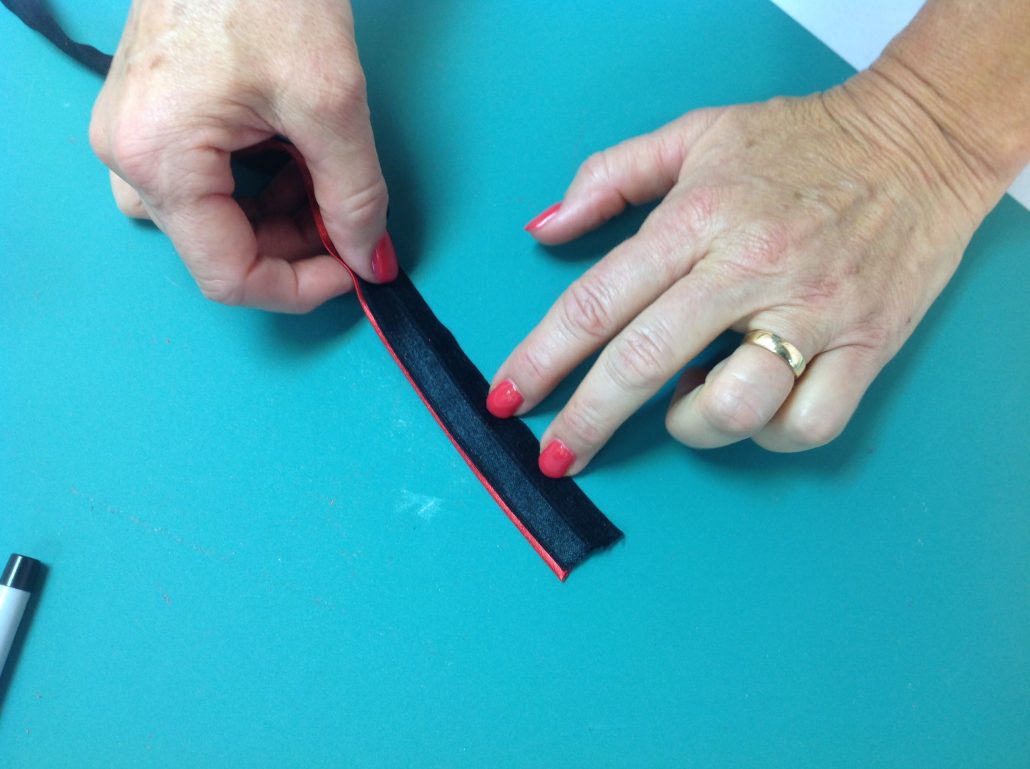
This is the inside of the fold over. You can see the folded edge of the red trim is facing outside. The (black) fold over is already finished on both sides, so we don’t have to worry about that.
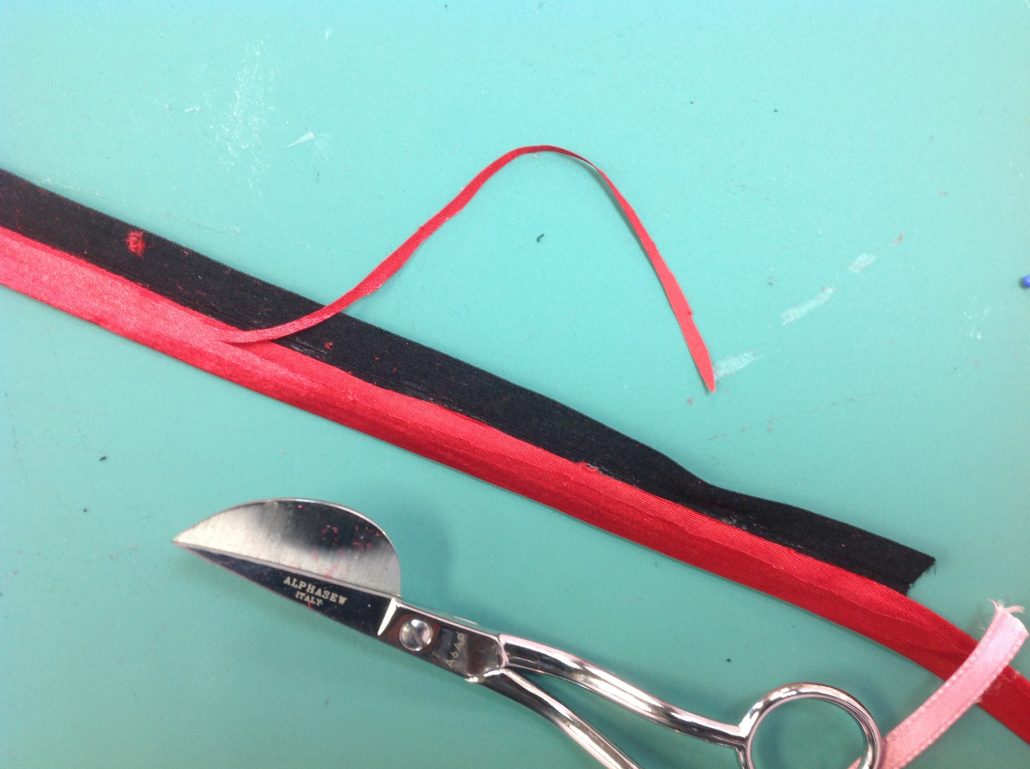
If the bias tape is too wide, just trim it off so the fold over will be able to, well…fold over. We used the applique scissors to get in there and trim without cutting through the fold over.
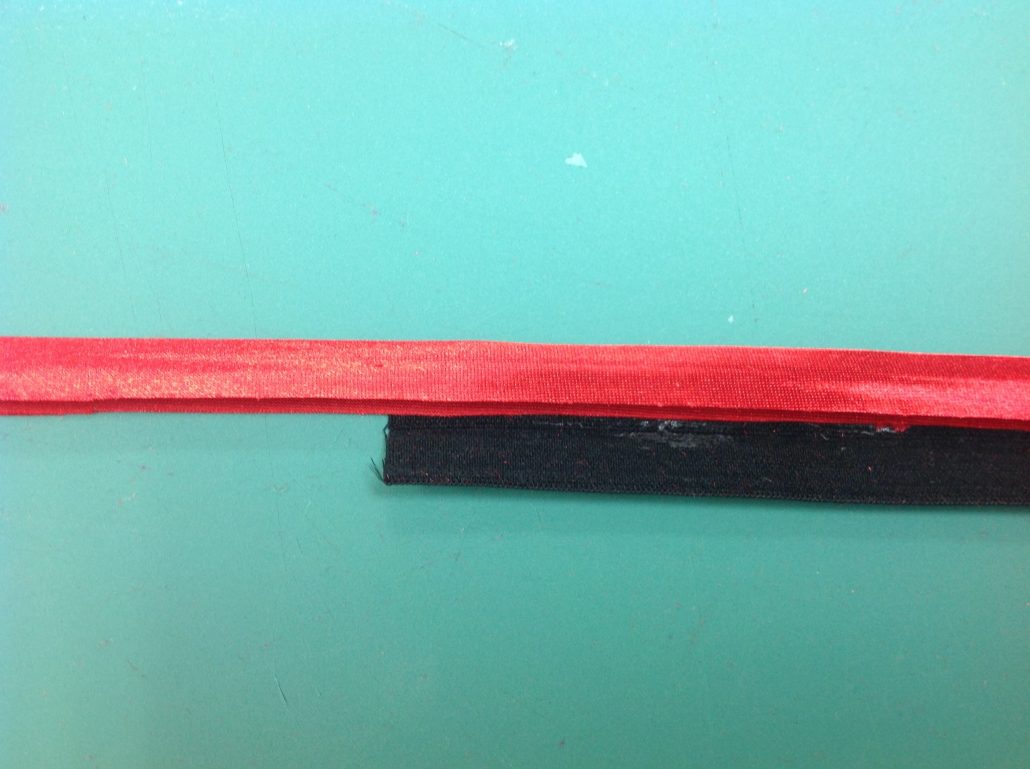
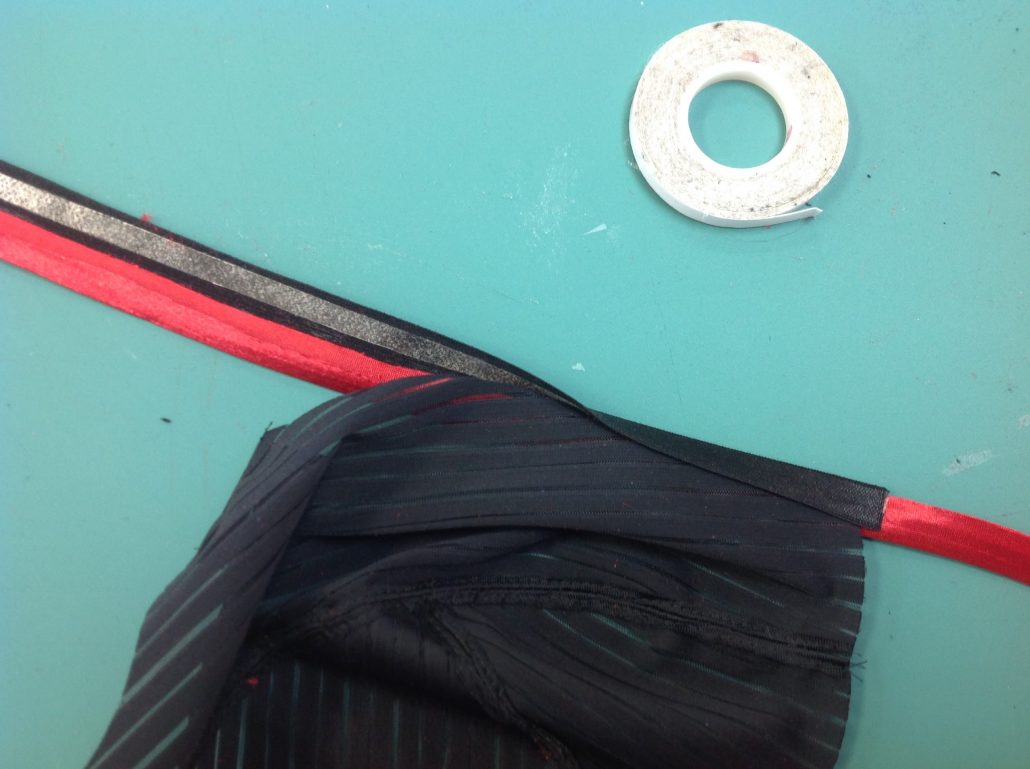
And this is what it looks like from the outside. You can see we kept the bottom edge of the red trim away from the fold line.
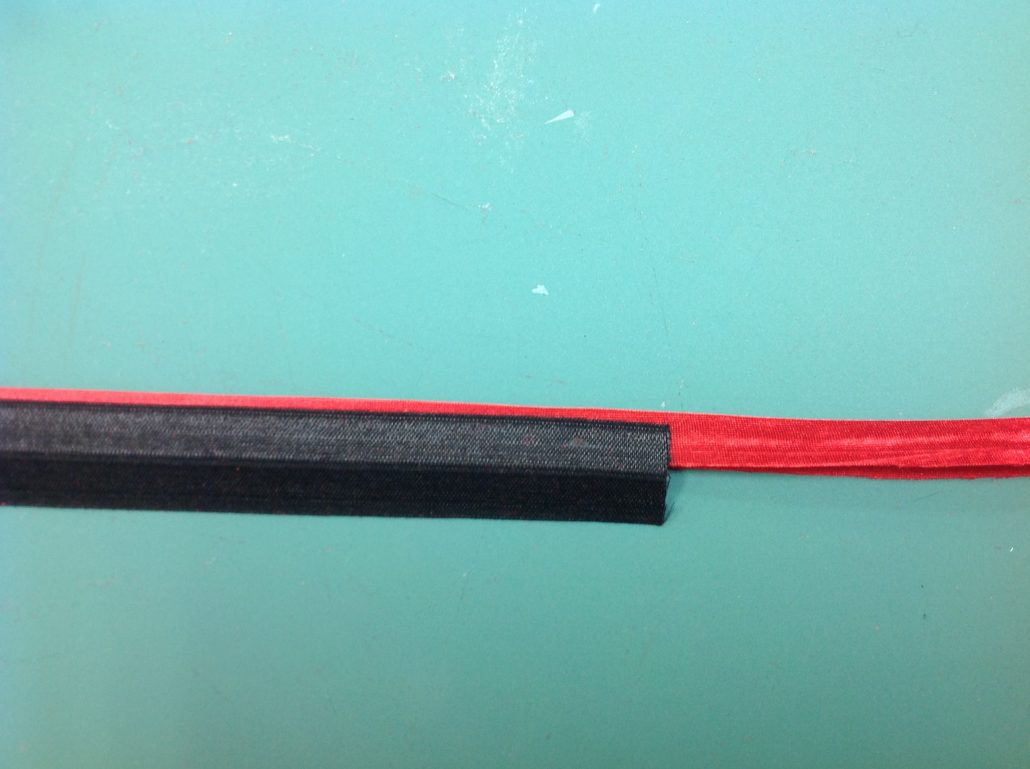
You can also see how thin we were able to make the red accent! We just wanted it to peek below the fold over.
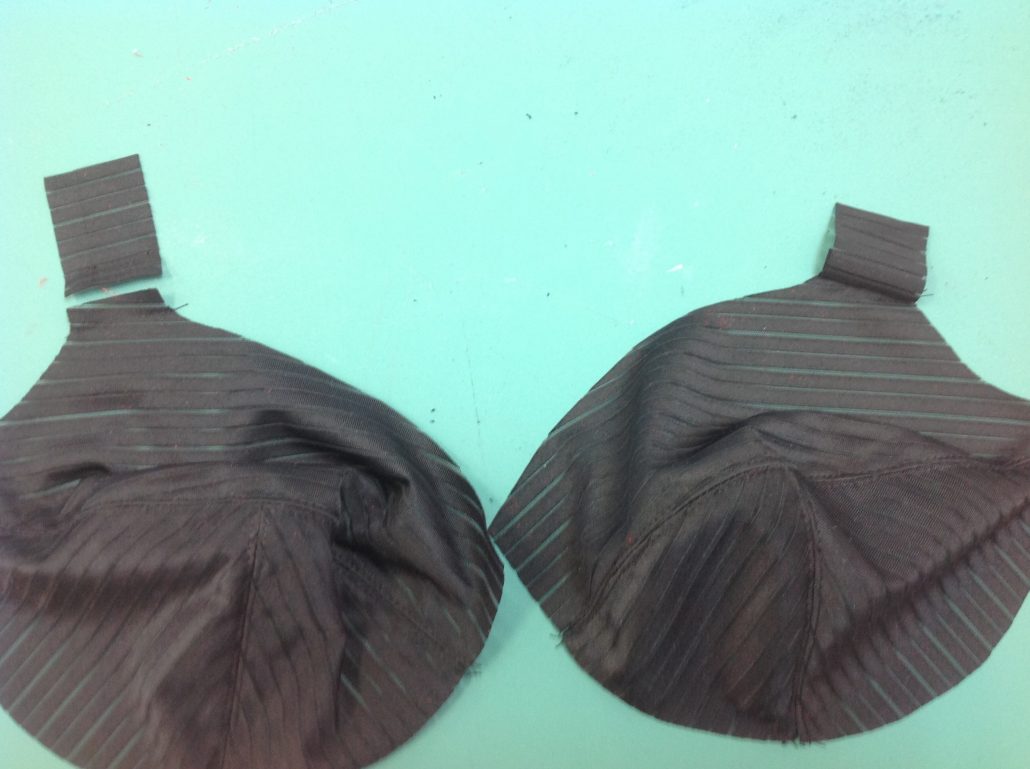
Get your neckline ready. Here we have sewn the strap extensions on one side and getting ready to sew on the other.
Wash-out Wonder Tape
We called upon another secret weapon from the sewing room. This is Wash-Away Wonder Tape, which is as you can guess, a double-sided adhesive tape that washes out of the fabric. It is great for so many applications in bra-making. We also use it to hold hook and eyes in place before we sew! Just put the tape on the inside of the fold over binding.
Then peel off the paper backing to expose the sticky part.
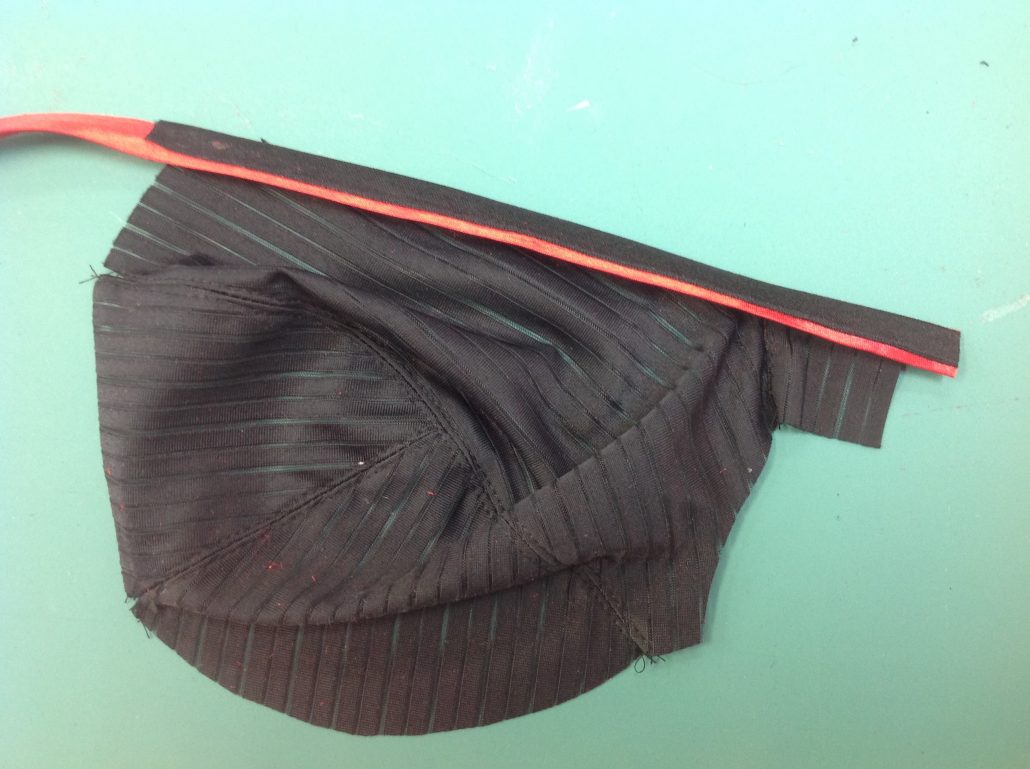
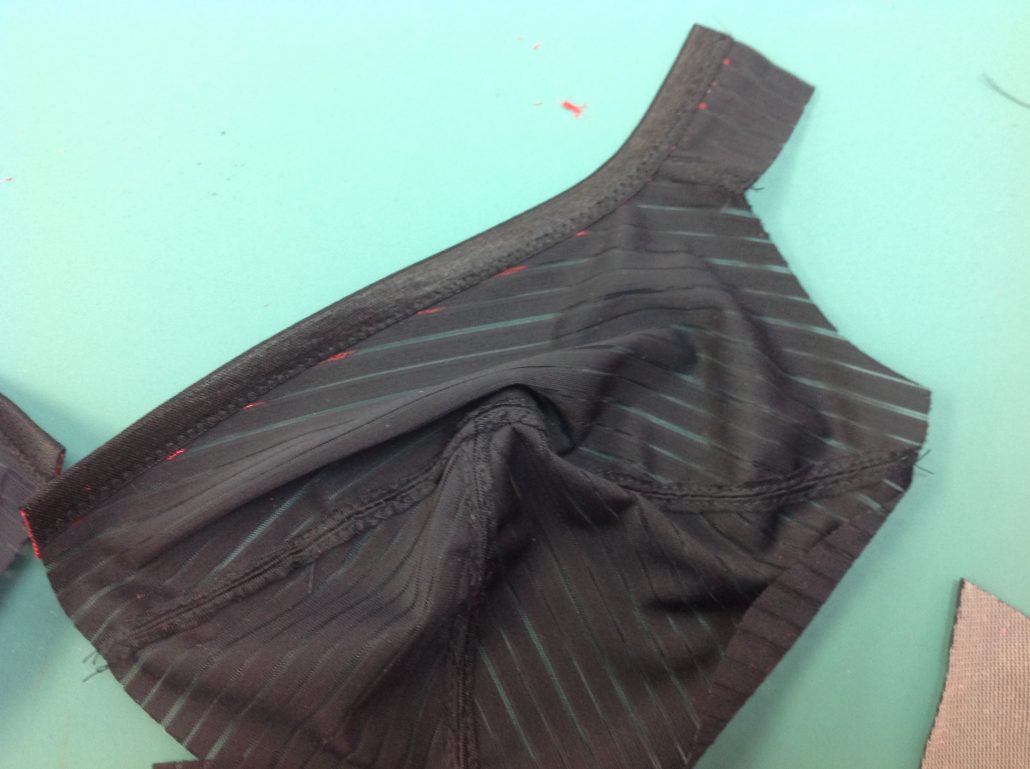
Press the fold over to the wrong side of the bra cup. make sure that raw edge is tight up against the crease line of the fold over binding.
Here it is from the right side after sticking the trim to the cup. Nothing has been sewn yet.
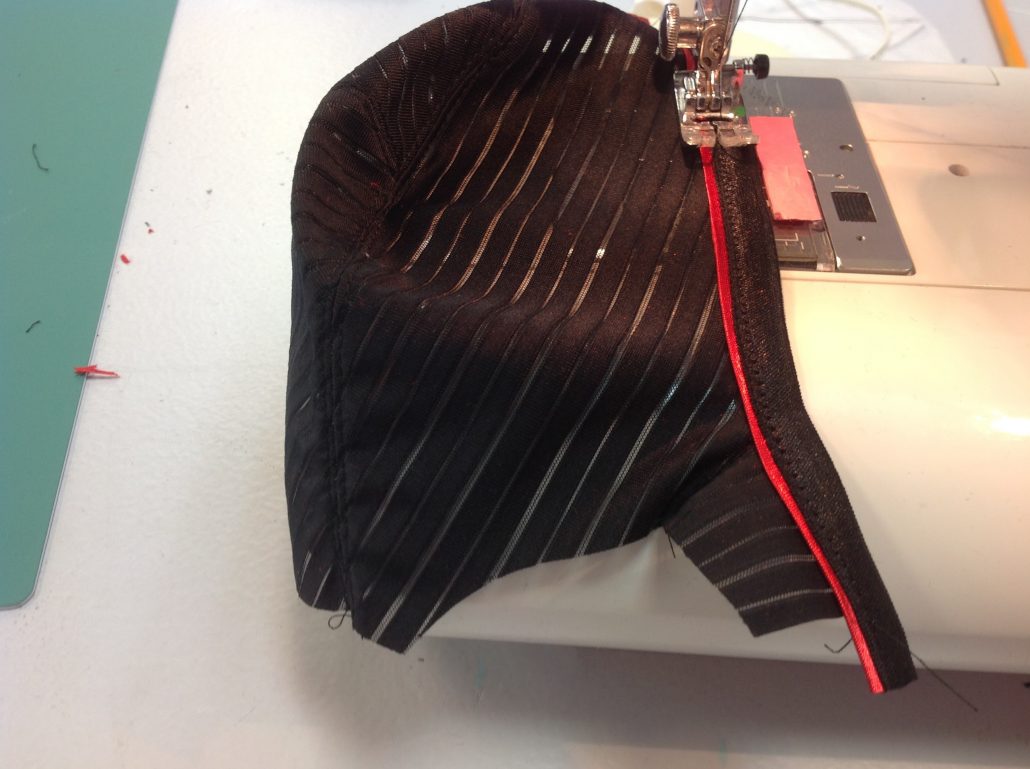
Now you can take it to the sewing machine. Use a small zig-zag stitch (L2 – W2 or something small-ish) to stitch through all the layers, right at the edge of the black fold over. Do not stitch on the red as the stitches will show.
I flipped the cup so you can see the inside. With any kind of luck, the zig-zag stitching is right on the edge of the fold-over binding.
That’s how easy it is to make a trimmed neckline!
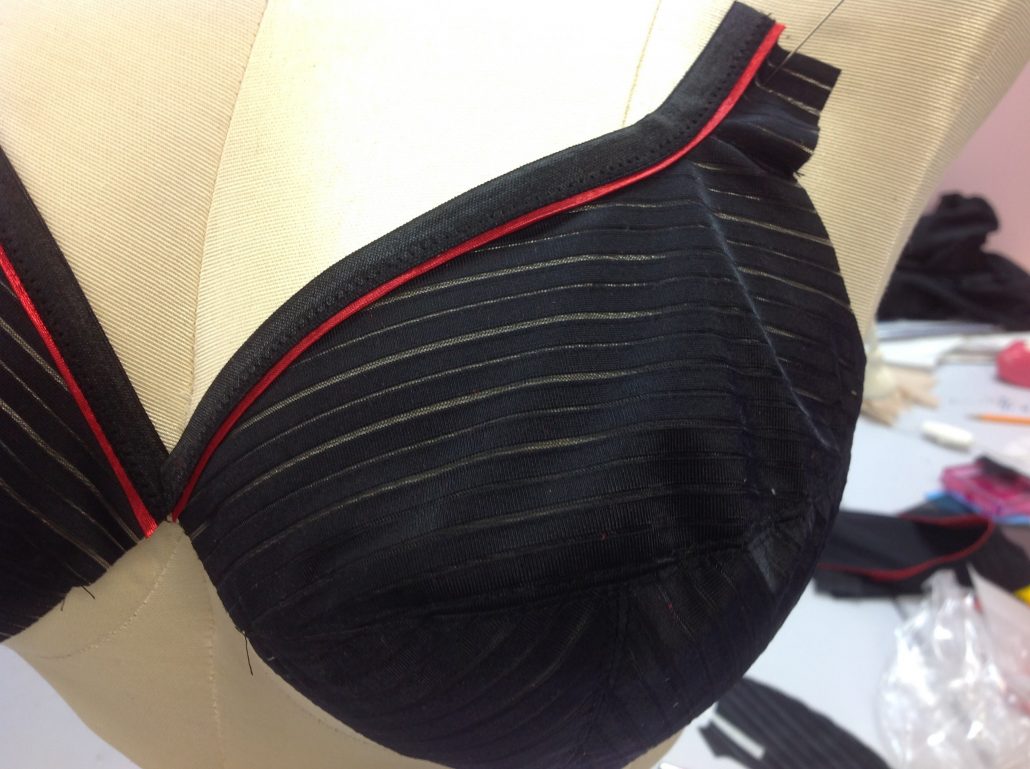
Here it is in the finished bra. Isn’t it beautiful?

As always, I appreciate and welcome your comments to this post. Did you add How to Make a Trimmed Neckline, to your collection of bra-making magic?


Thank you so much, sharing this. I love the fabric of this bra.
Thanks! It’s one we are thinking about carrying in the store.
Thanks! It’s one we are thinking about carrying in the store.
Oh, that looks so sharp! Thanks for the tutorial Beverly, I can’t wait to try this!
That is stunning ,makes a plain black bra something special.
Every bra you make should be special in some way!
That red contrasting trim is really a smart choice and much easier to make than I had imagined. Brilliant use of tape and glue. I’m going to try this technique with piping on a swimsuit top. Also, I really like how the black fabric shows the dogs.
We love trimming up necklines this way. Very clean and tailored looking!
Lovely bra. What a striking affect with just a little touch of color. Now I have to shop for some food over tape. Thanks fairy bra mom.
In stitches
I love using fold over binding. Such a lovely accent with no fuss!