The dictionary defines a chevron as “a line or stripe in the shape of a V or an inverted V, especially one on the sleeve of a uniform indicating rank or length of service.” Today, I am not going to show you how to make your own sergeant’s stripes, but rather how to turn stripes into chevrons, to make your bra-making a little more…shall we say, regimented. But can you make a stripe match on the curved seam of the split lower cup? Yes, we can, but there’s a little trick we use to make that happen.
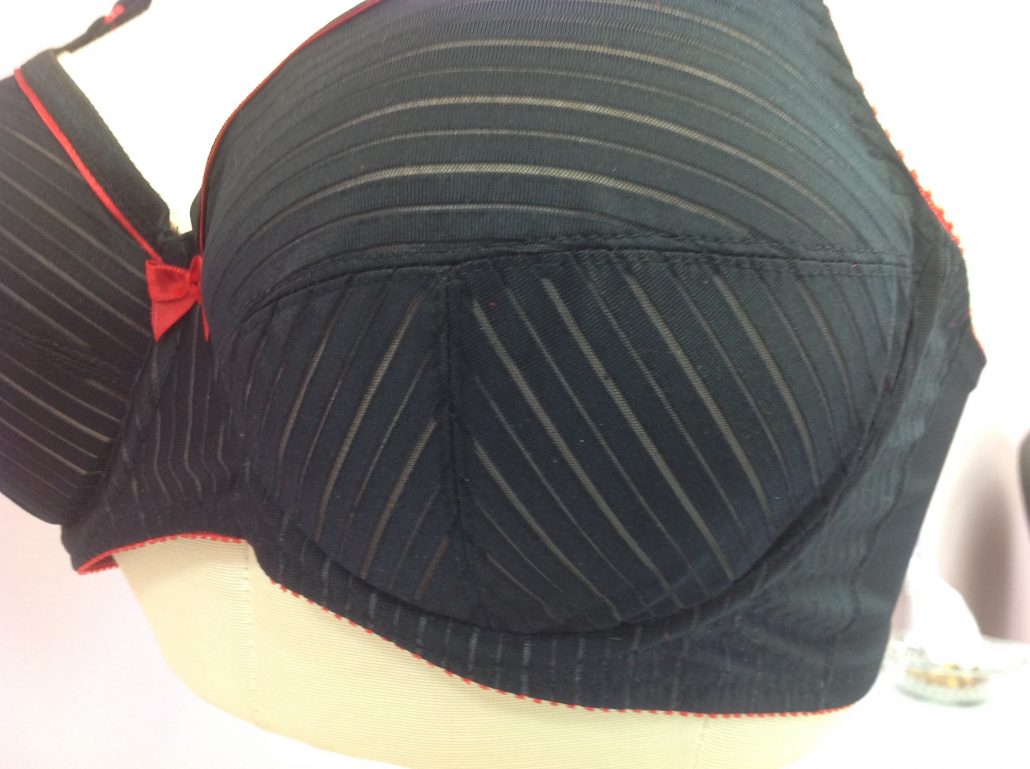
First you need a split lower cup, which allows the chevron to form when the seam is sewn. Do you remember how to do that? If you don’t you can find that blog post here, called How to Split the Lower Cup. You can also learn how to do it if you have the Craftsy class Sewing Bras: Construction & Fit. It’s in there too.
Once I split the lower cup, I need to mark the seam lines at the apex. Now I am going to extend the DoGS lines up to the cutting lines.
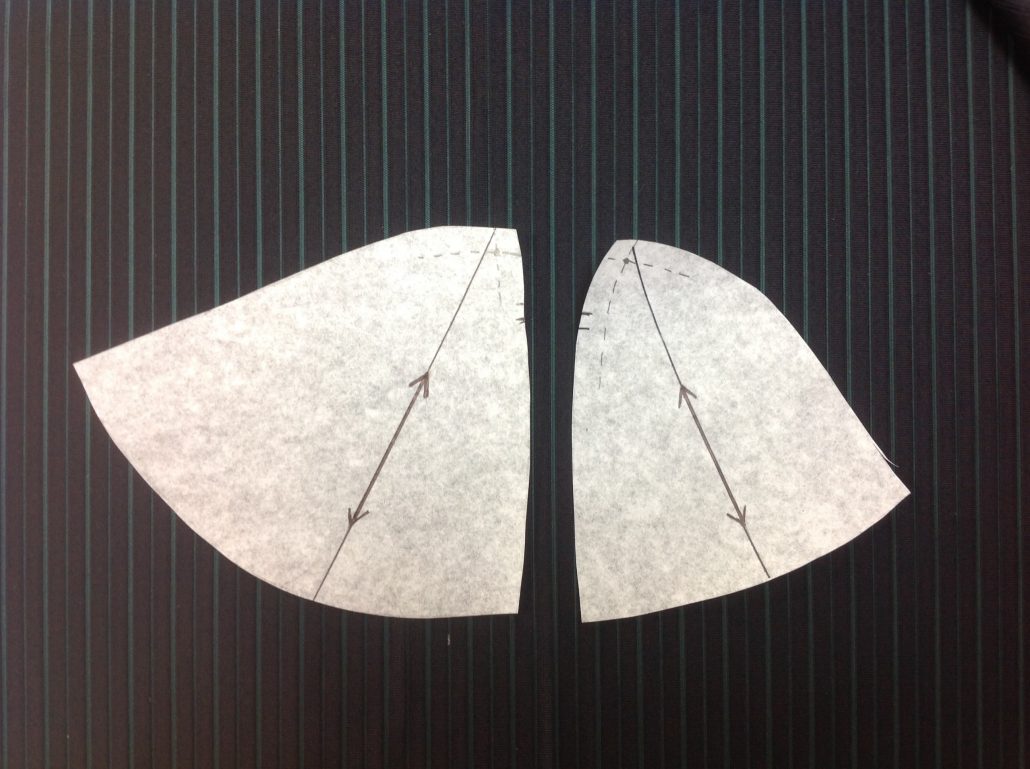
I want my chevron point right at the apex. So I draw my chevron line parallel to the DoGS line but right through the apex seam intersection. Now you can line the DoGS line with the stripe of the fabric. That’s the key. You must have the stripes matching at a common point – in this case, that is the apex point.
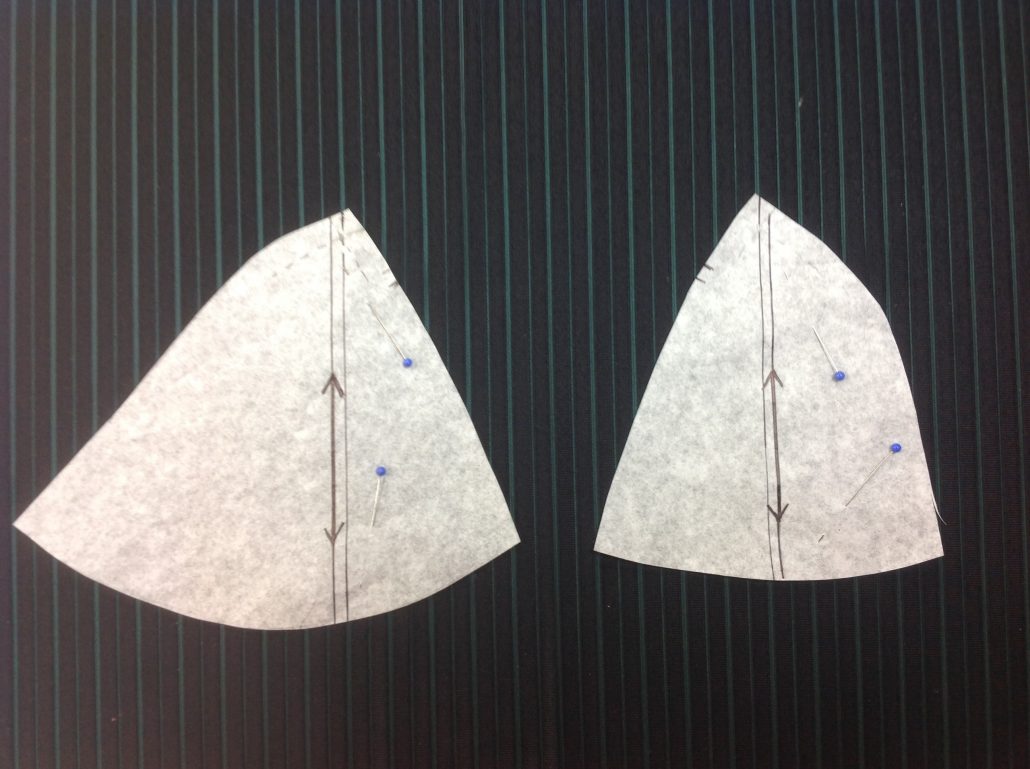
Now for the upper cup. This one is easy! Extend the DoGS line to the ends of the pattern. This will make the stripe alignment easy.
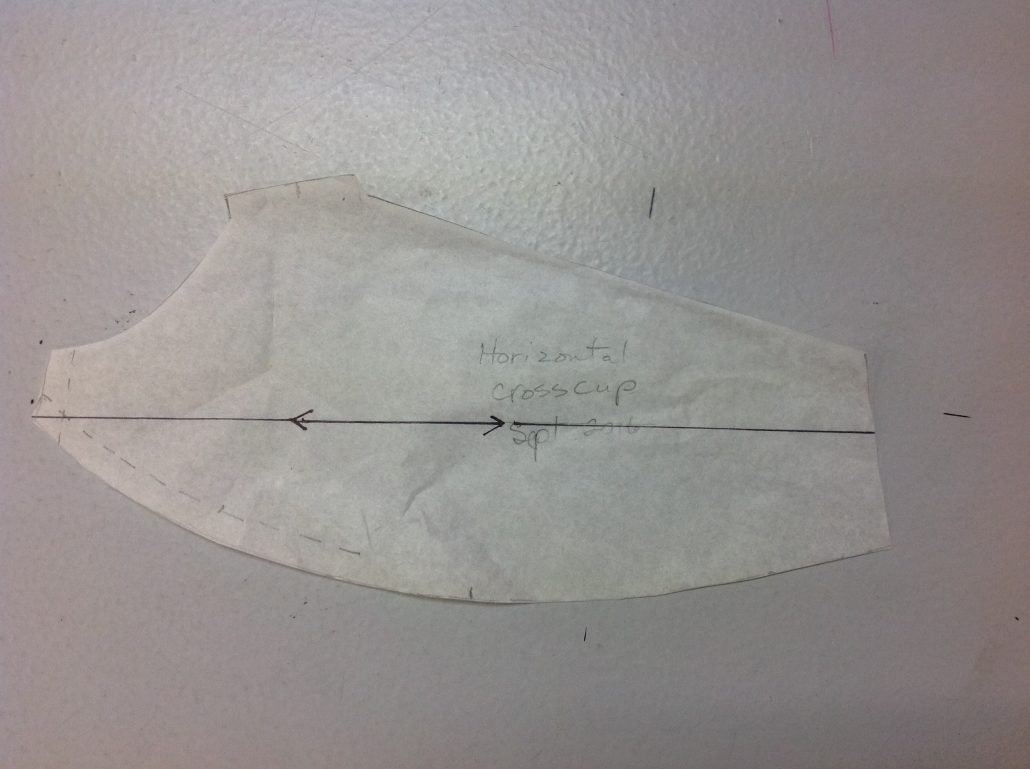
Line up the DoGS along the stripe of the fabric. It is easy when the DoGS line extends to the ends. No more guesswork!
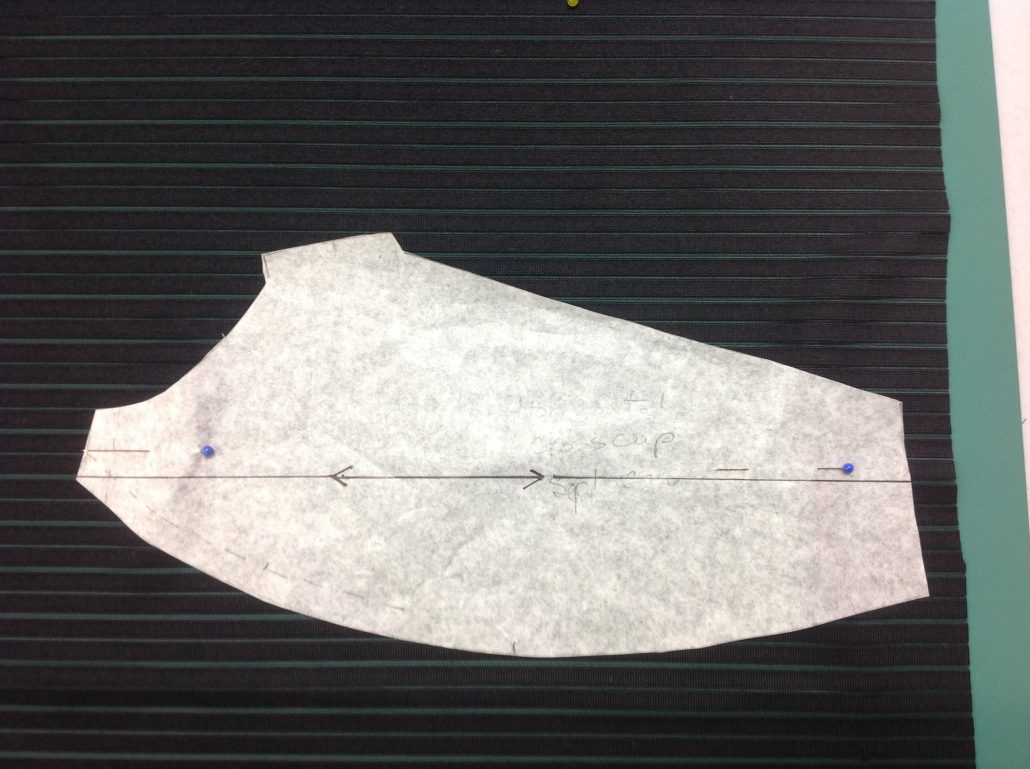
Ready to Sew?
Here is the lower cup cut out. We’ve marked the seam lines so you can see the stripe on each side of the lower cup points right to the apex seam intersection.
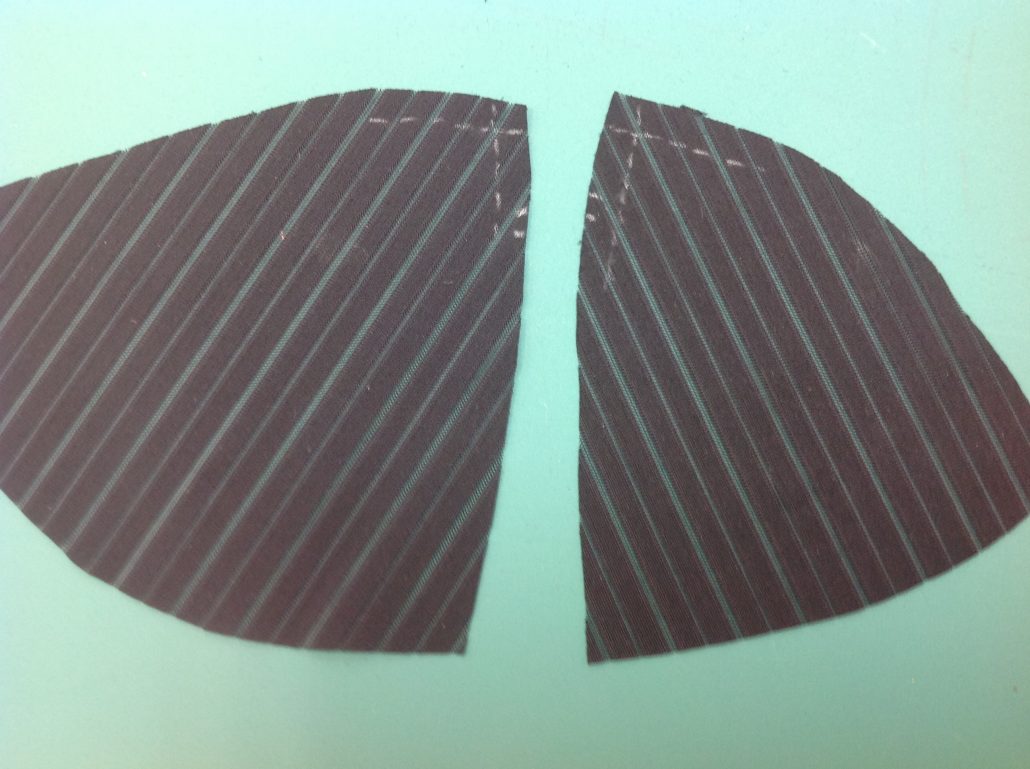
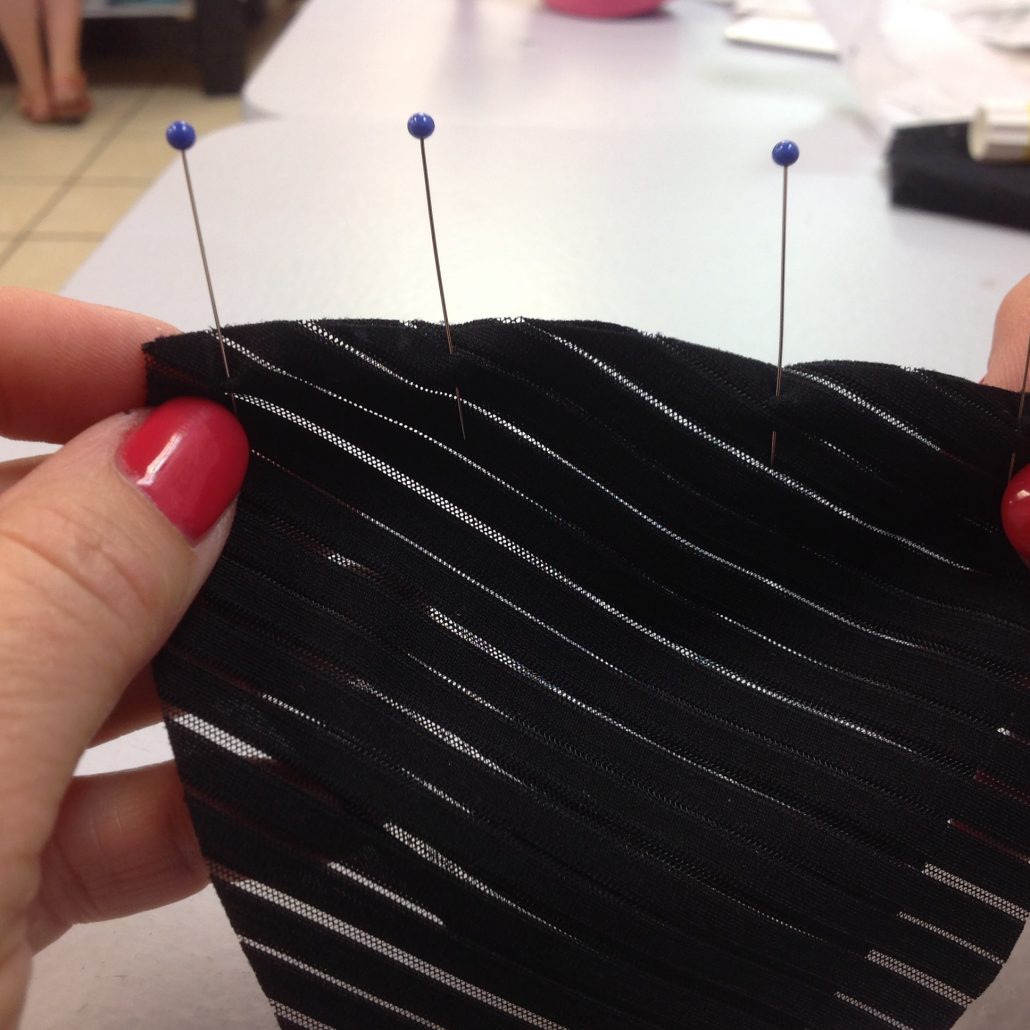
Pin the two stripes exactly matching them at the apex. If you hold the fabrics apart a little, you can see them both as you pin.
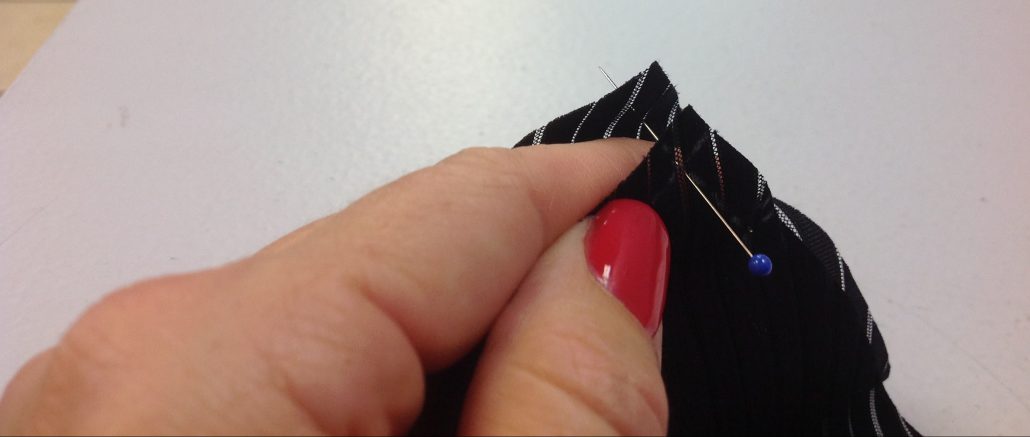
Stick a pin right through the layers and secure them.
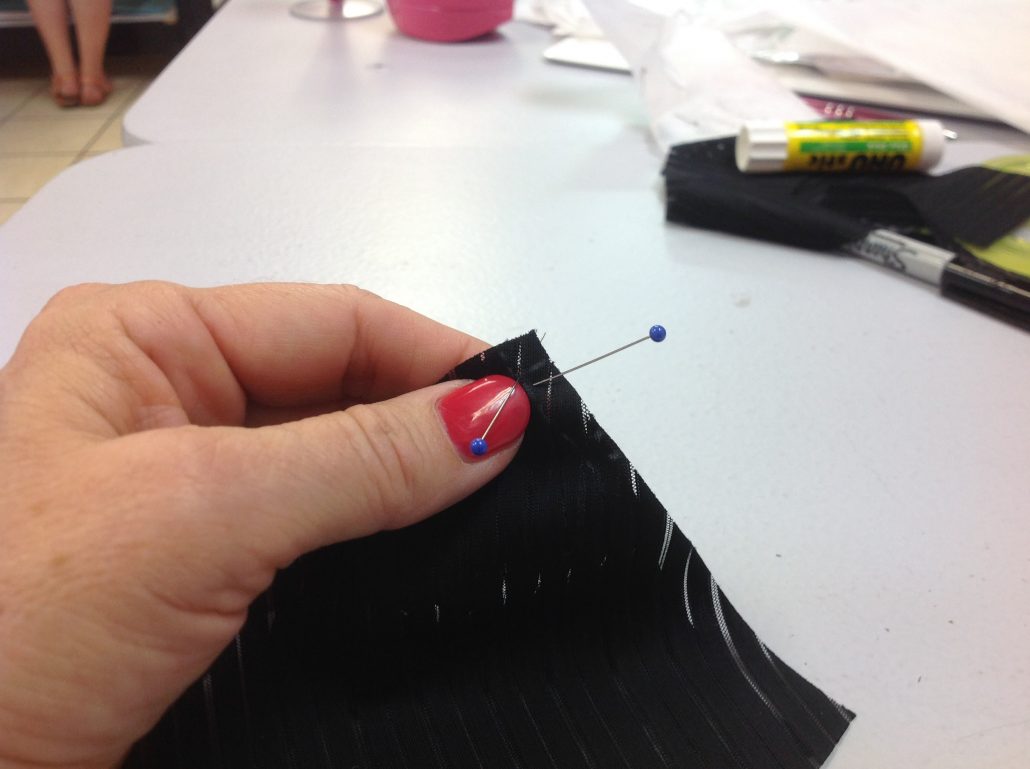
Now you can pin (or not) the rest of the way down the seam. You should see the stripes line up all the way down…and yes, you can see by the matching sheer stripes that, that is happening here!
The lower cup seam sewn. By the way, we took this picture on our classroom table. The hole you see drops into a glass bottle. The lid is screwed to the underneath of the table, then the bottle screwed to the lid. We drop any bent pins, broken needles into the hole for disposal later.
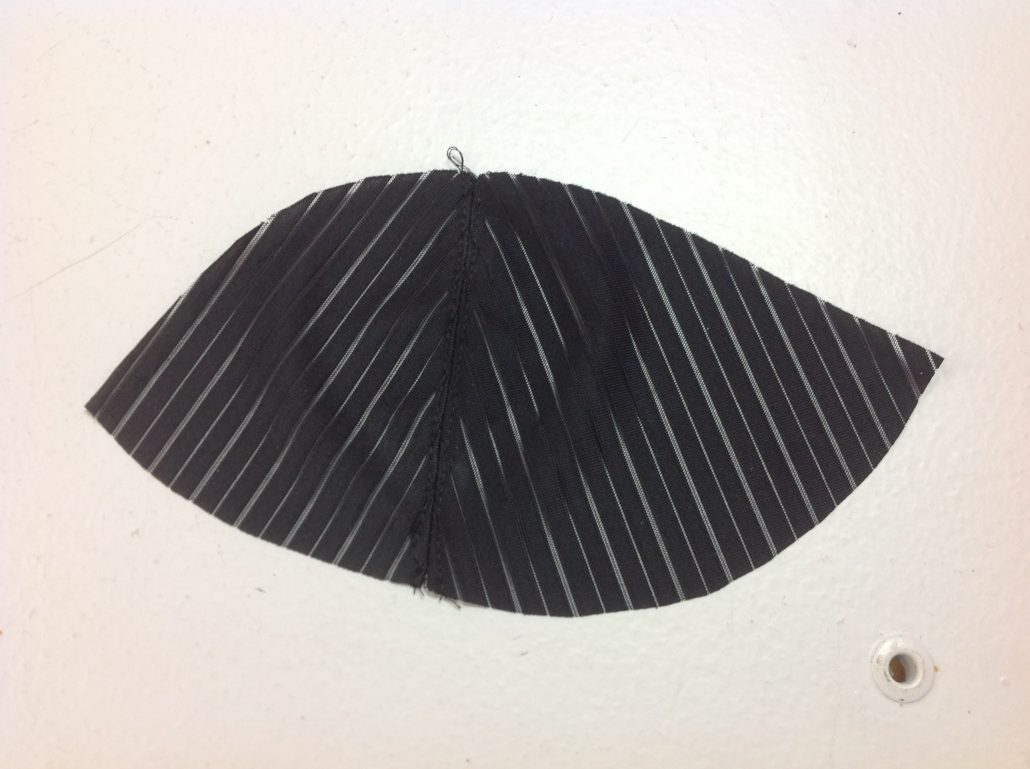
This is the cup all put together. Look at that matching! I have turned stripes into chevrons!
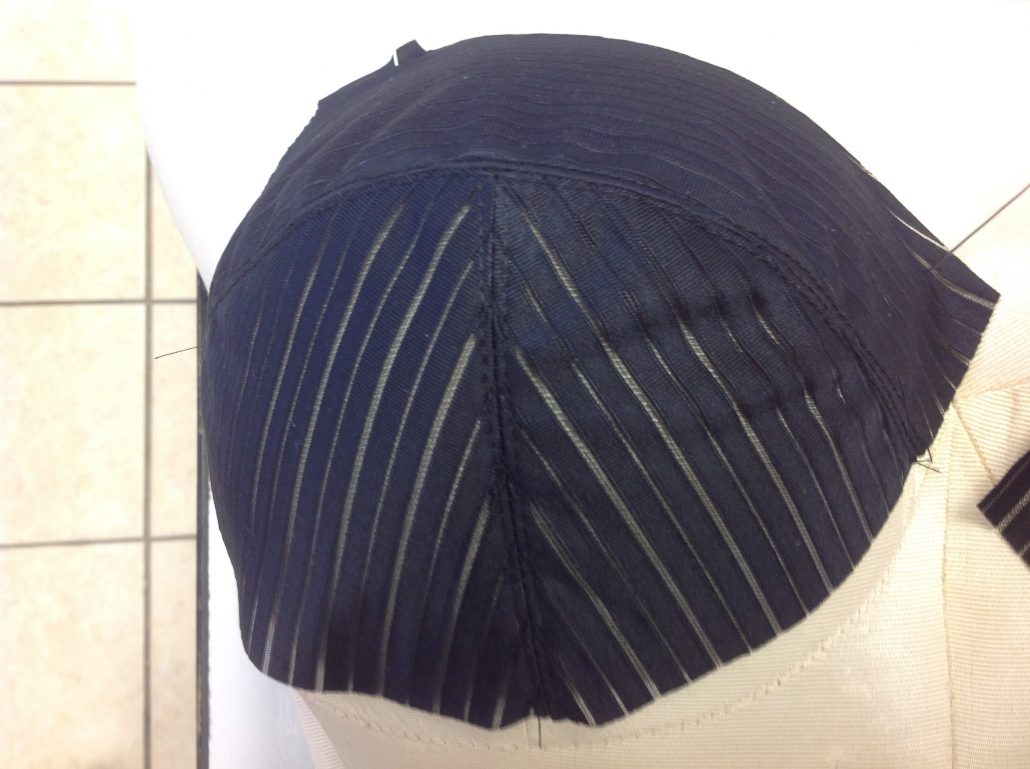
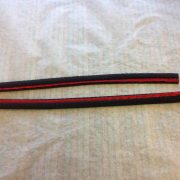
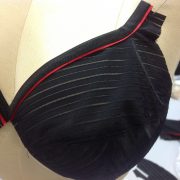
The finished cup. This is the same cup from the previous two posts..the trimmed neckline and the trimmed straps.

The completed black stripe bra with the trimmed straps, the trimmed neckline and the chevrons on the lower cup. Isn’t that stripe fabulous? I am so going to buy it for the store! Denise just “happened” to make this bra in her size so she is going to test the support and comfort of this fabric on our behalf!
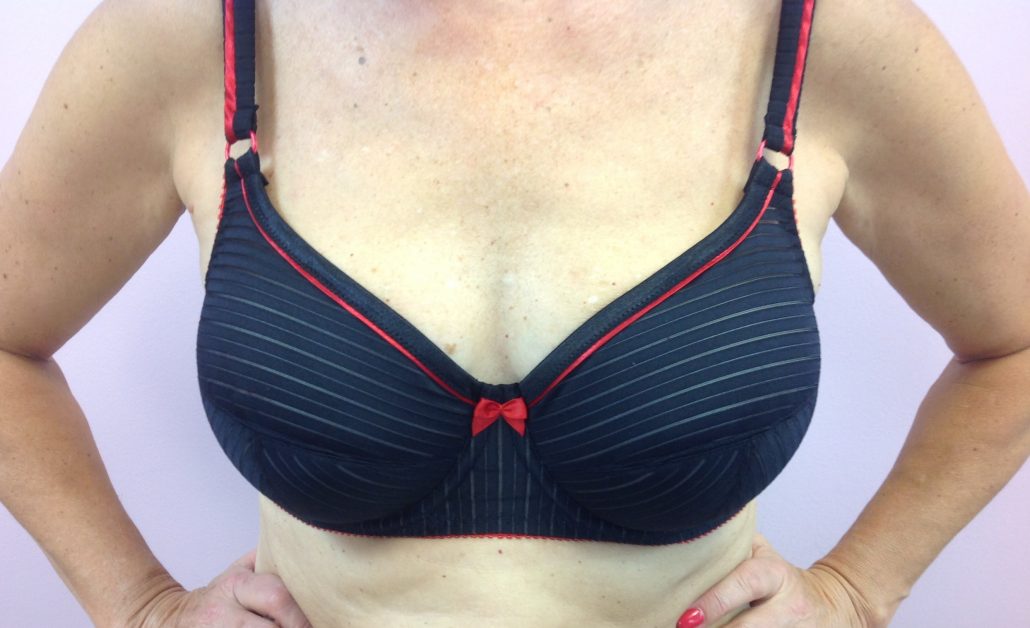
So what do you think of these techniques, this fabric and this lovely bra? Your comments are most welcome and appreciated!
Your Fairy Bra Mother,







Beautyful!
Thank you, thank you, thank you. This is just in time.
If you are working on something that uses this technique, I would love to see it!