People always ask if there is something a little more exciting and creative when it comes to bra straps. After all, the Classic bra “only” has fabric straps with elastic trim down each side. You may tire of that after sewing a few bras! If you are hankering for more play time in your sewing room, try today’s lesson on how to make trimmed straps for your bras. They are still fabric, but what a difference! They are also super easy, with the help of two of my favourite notions!

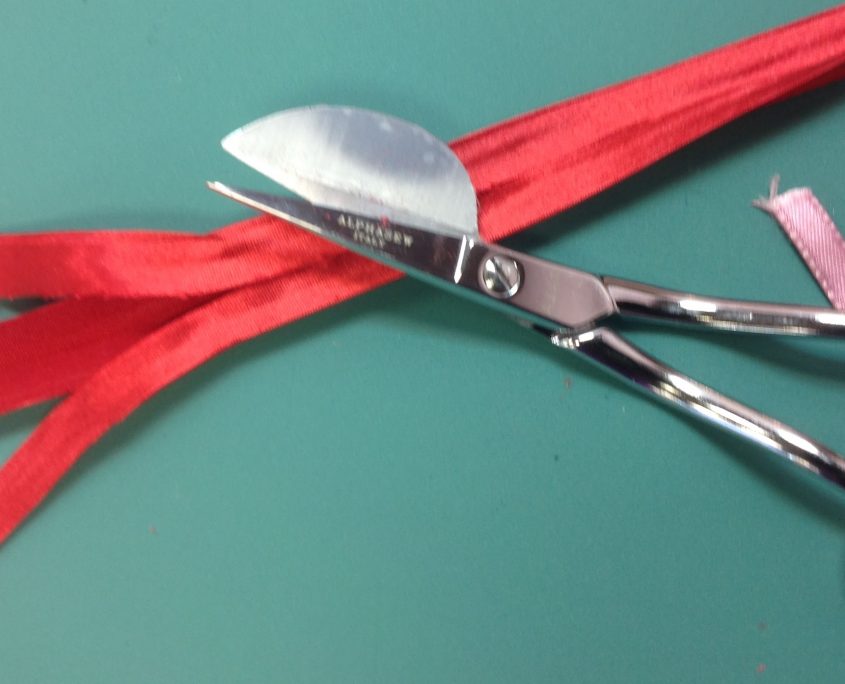
The first thing to do is to cut the fabric and the trim strips. We used some double folded bias trim (because we loved the colour). it didn’t have to be double folded trim and that extra fold added bulk, so we trimmed it off using our trusty duck-billed applique scissors. It didn’t need to be bias trim either, but that’s all they had at the store across the street!
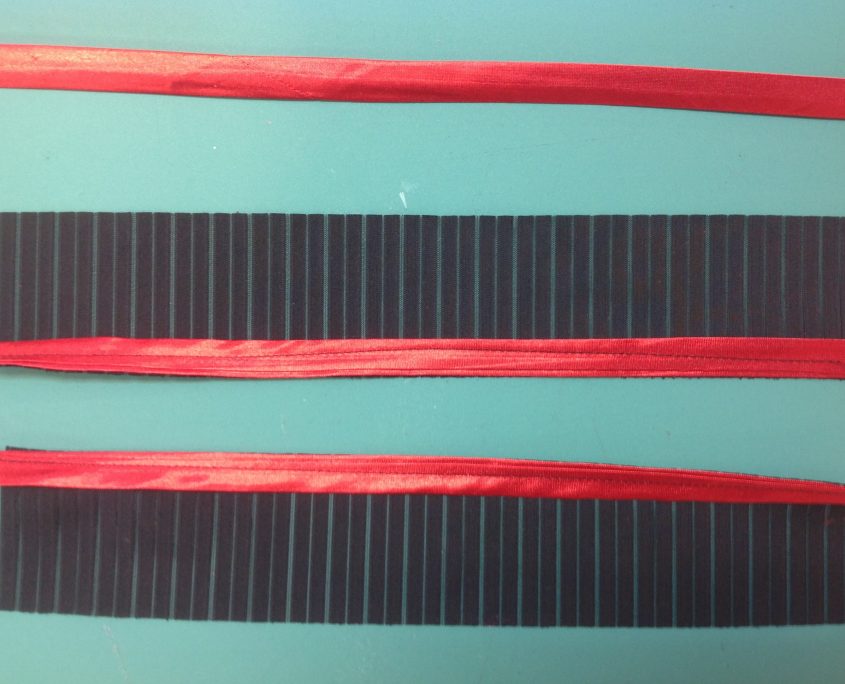
We cut the fabric for the strap twice as wide as the finished strap plus seam allowances. We wanted 5/8″ straps so we cut the fabric strip to (5/8″ x 2) + (1/4″ x 2) = 1 3/4″ or 44.5 mm. Then we stitched along the edge to hold the trim in place along the cut edge of the fabric strap.
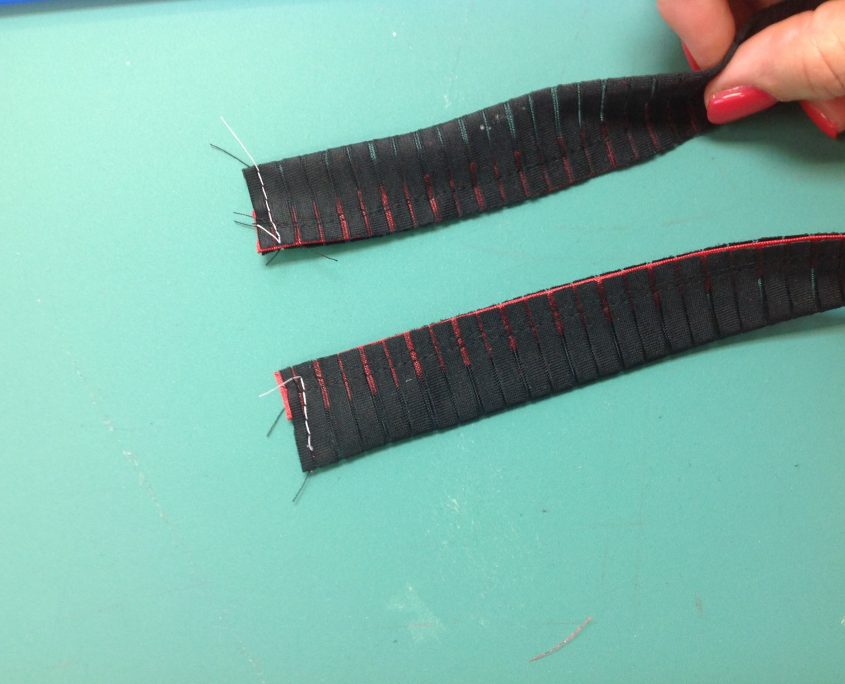
Sew the tube along the long edges. Also sew across ONE short end. We show it here in contrast thread. You won’t believe how easy this will be to turn right side out!
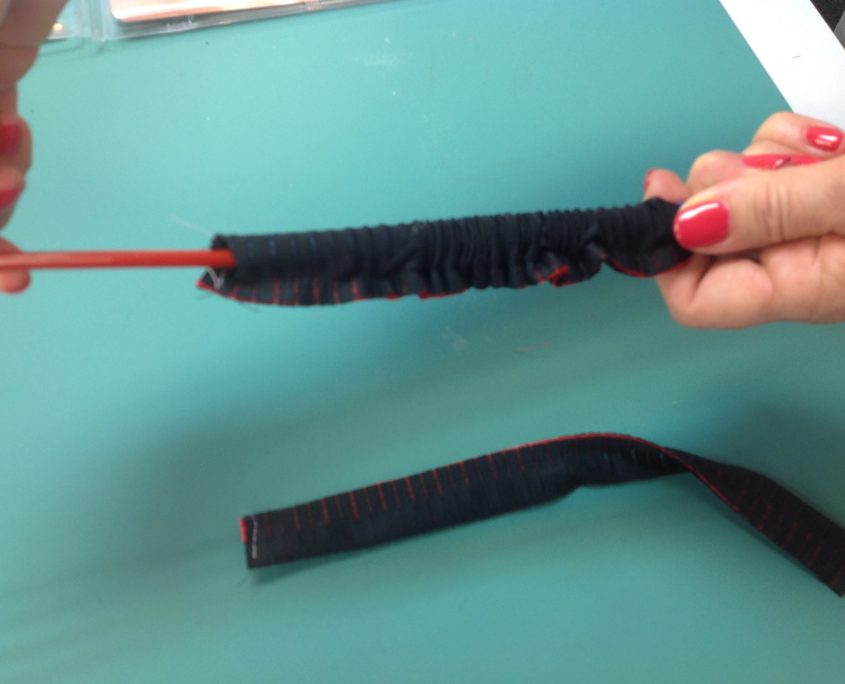
The Turn-it-all makes turning easy!
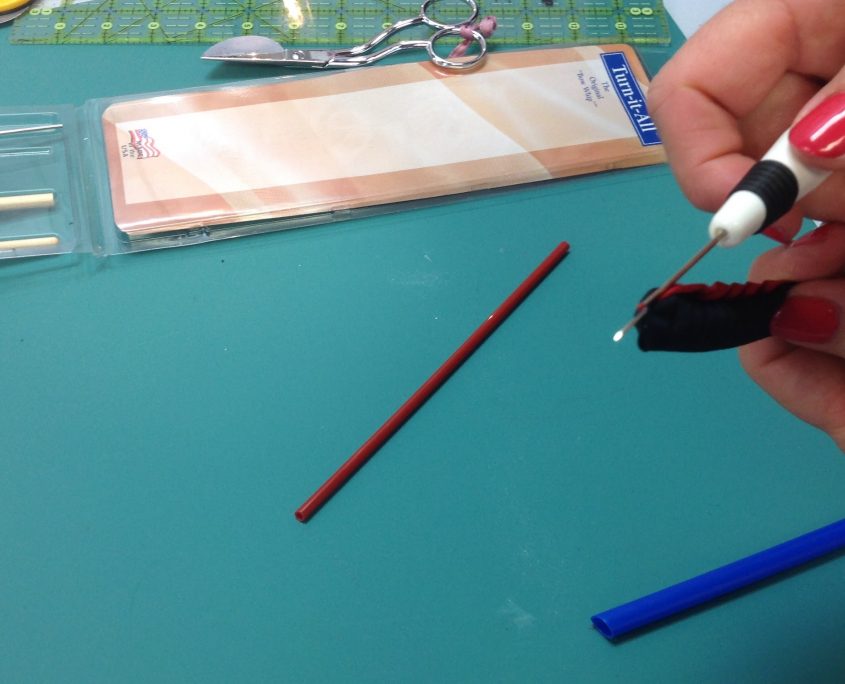
Use a Turn-it-all to turn any small tube right side out like magic.

I call the Turn-it-all “the stick and the straw” because that’s the way it works. Why didn’t someone think of this 50 years ago? Use the “straw” part that fits inside the tube you are turning. There are 3 sizes in the package. We chose the blue one. Slide it into the tube until it hits the sewn edge.
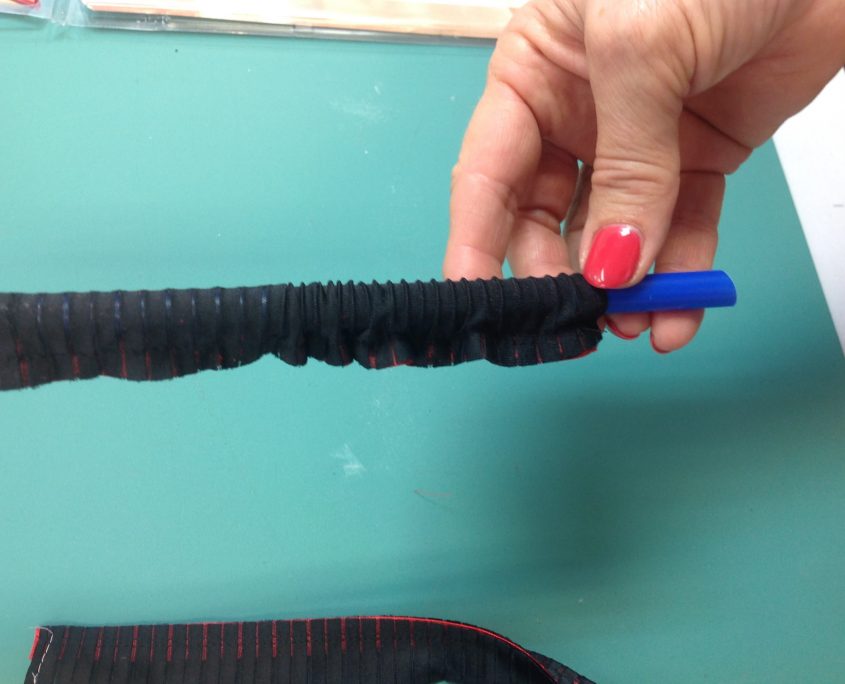
Then use the “stick” part to push the fabric inside the straw. Just a little nudge will get it started. Push the stick and at the same time, push the scrunched fabric on the straw. it takes a bit of co-ordination but don’t worry – it’s not like rubbing your belly and patting your head at the same time!
Once the strap is turned, you can pick out the stitching across the small end. If you were clever and make a strap a little longer than you needed, you can cut off the sewn end. Put away the seam ripper!
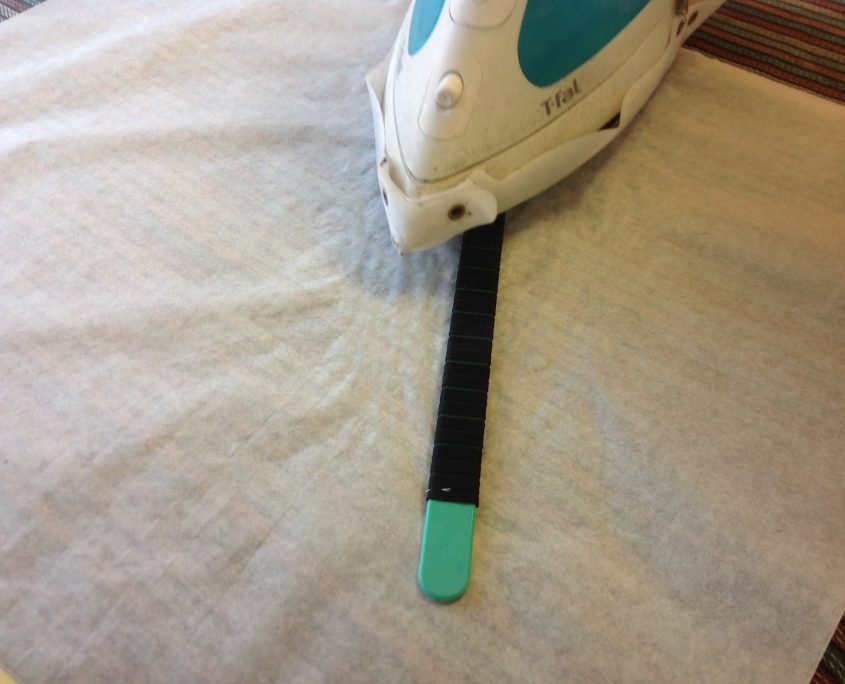
Bias Press Bars for pressing
Now you need to give the trimmed straps a little press. It’s easy-peasey with the Bias Press Bars. The correct name for them is Loop Pressing Bars, but I have always called them Bias Press Bars.
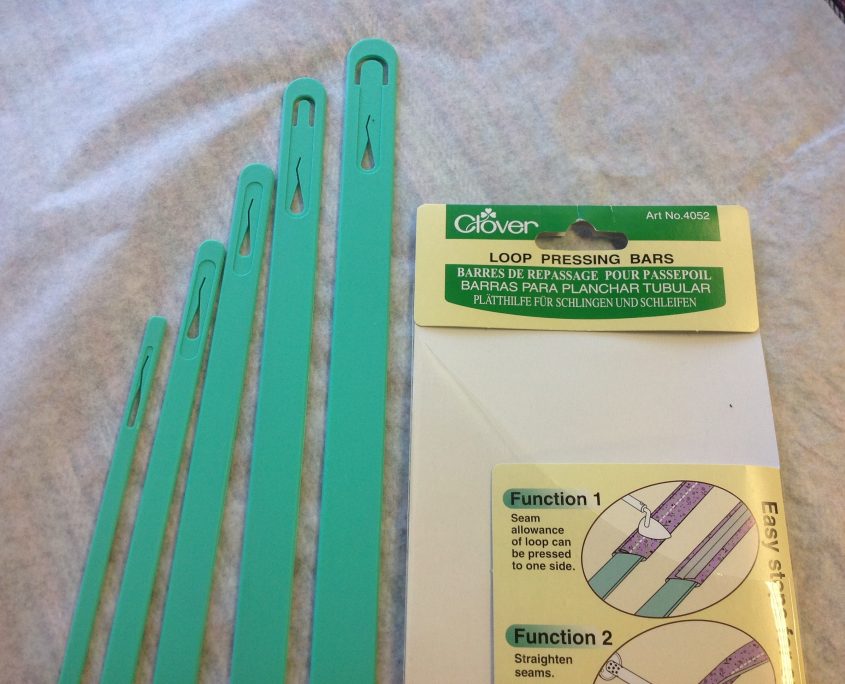
There are 5 sizes in the package, enough for any size spaghetti strap, or tube you make. Most sewists use it for pressing small tubes for quilting projects, but it it so much more useful than that.
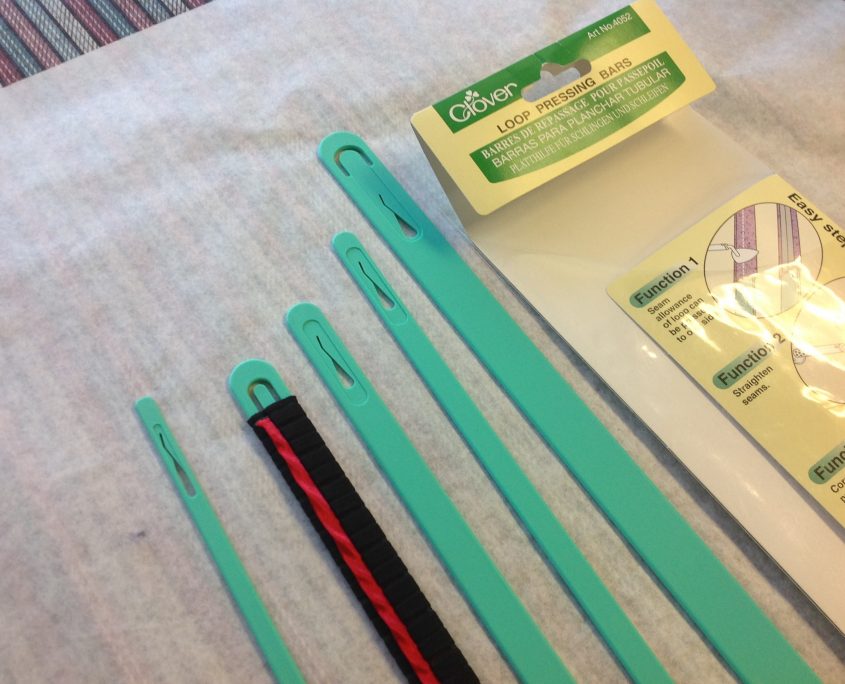
You can slide the pressing bars into the tube, then press without fear. The heat of the iron can’t hurt the press bars. They may curl a bit when heated, but they flatten right out once they cool.
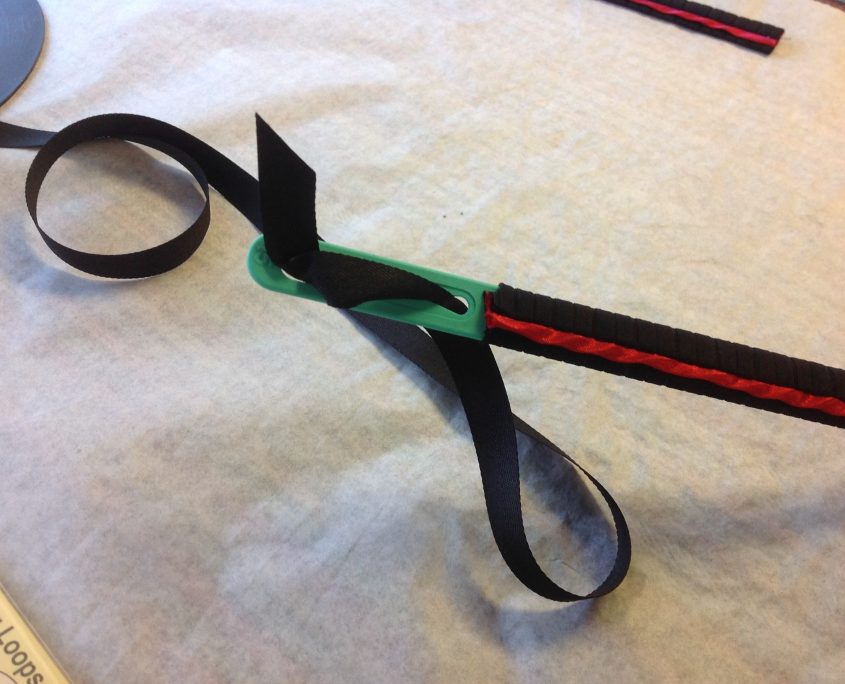
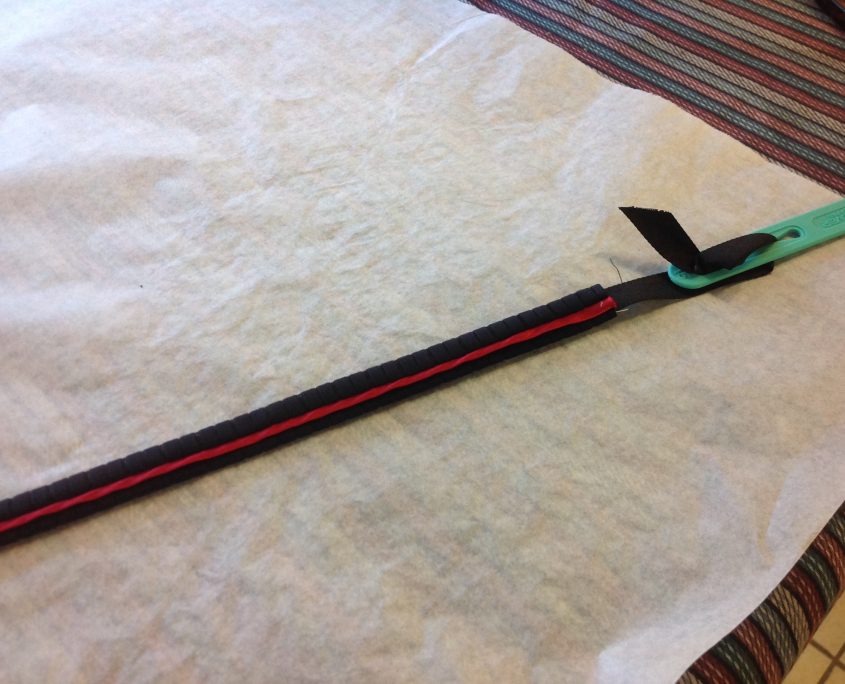
Another use for the pressing bars for is not related to pressing at all. There is a slot on the end of the bar that is perfect for inserting ribbon, elastic etc. in order to pull it through the tube. I found the tube strap a little too stretchy for what I wanted, so we put a strip of twill tape through the tube using the Press Bar. No more using a safety pin to pull tape though a tube!
The tube with the twill tape inside and the finished strap tube.
That’s how easy it is to make trimmed straps. Soon, I’ll show you how to make achieve a wonderful neckline trimmed in a similar way. Then you can see the whole bra we made. Stay tuned!
As always, I appreciate and welcome your comments to this post. Did you add it to your collection of bra-making magic?

P.S. Remember, we have a Facebook group just for you, called Students of the Fairy Bra Mother. You are welcome to join, ask questions, post photos and share your enthusiasm for making bras, panties, corsets and swimwear!


Ahhh, that was so much easier then how I was doing it, thanks for the tip !
You are welcome! I hope you try it next time!
I’ve seen loop turners before, but never the press bars. So much easier than trying to shape the strap without burning your fingers!
Oh yes! They are useful for any type of tube!
Can’t wait to try this! Thank you!
You are very welcome!