Now that the binding is finished, the bottom band can be sewn on and we will have our Yellow Polka Dot Bikini ready for the Grand Finale! Cut a strip of fabric at least 10″ (25 cm) longer than the total width of the two cups. We are going to use elastic across the bottom, so the width of the strips should be two times the elastic width, plus two seam allowances. It can be cut wider now and trimmed later if you aren’t sure of the width.
Press the strip in half lengthwise to mark the centre line, or mark the centre line with a wash-out marker. Position the elastic (I used bra strap elastic, but almost any elastic will do) along the centre line and stitch it down with a wide three-step zig-zag. This will hold the elastic securely yet still allow the elastic to stretch .
Once the stitching is done, mark the centre of the elastic. This will be the centre front of the bikini.
Next mark a seamline (shown in blue) the width of the elastic away from the edge of the elastic.
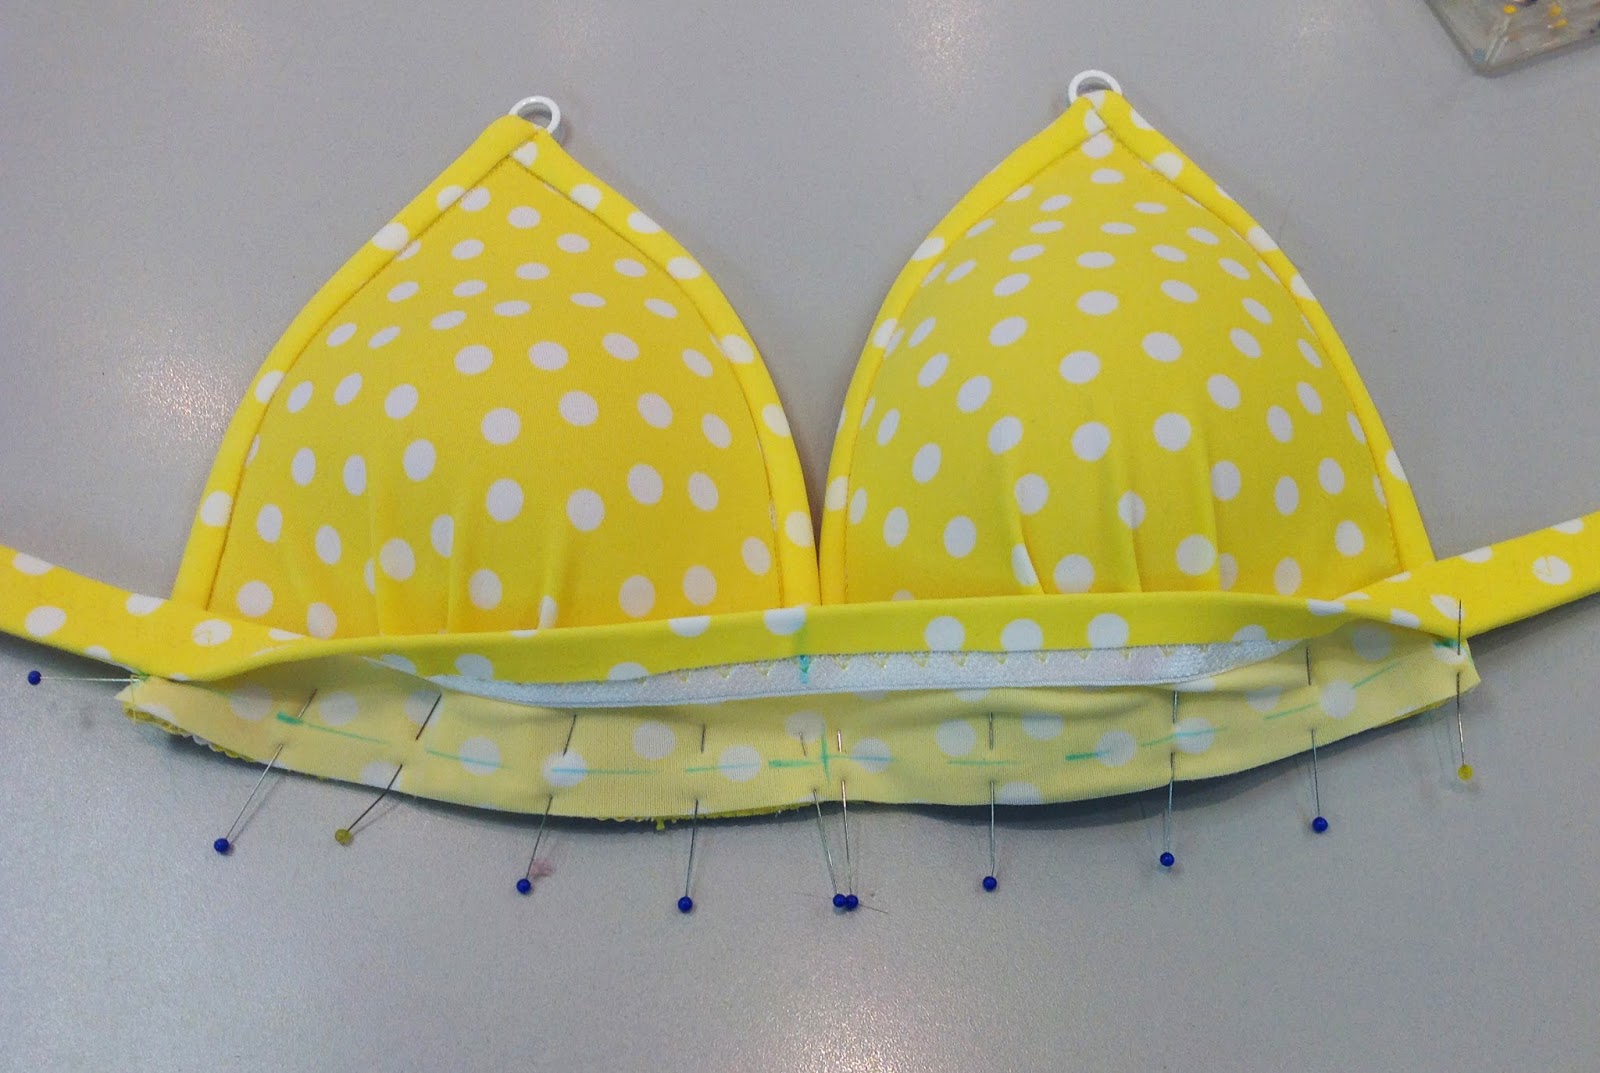
Also mark the exact width of the cups on the strip by pinning the strip to the cup and marking the ends.
Both cup edges are marked as well as the centre front.
Fold right sides of the strip together. Pin from the mark at the edge of the cup to the end of the strip on both sides.
Sew from the marks at the edge of the cups to the end of the strip. You will be sewing close to the elastic but not on the elastic. (We need to turn the tube that is formed – right side out) This tube will be the back of our bikini.
Close the ends of the strip. Only the middle section is open. You can trim off the excess seam allowance (if there is any)
Turn the ends of the strip to the right side. I used the Turn-it-all (the Stick and the Straw) that I described in my post here in order to turn the ends. Clip to the seamline at the edge-of-cups-marks.
Here comes another great use for a glue stick! I used it to hold down the seam allowance to the elastic. You can see where I marked the seam line on the opposite side to make it easier to sew in the next step.
Pin the un-sewn edge of the strip to the cups, matching the centre front mark and the two end marks with their corresponding places on the cups.
You can see now why marking the seamline was a good idea! Stitch along the marked line
Once the front is sewn, the back will turn to the inside very easily and can be pinned up so you can stitch-in-the-ditch. Having the seam glued down makes the back nice and neat for this step.
This is what the back will look like. We need to create the tube for the straps to travel through. This is such an easy back to make and it is a treat to wear. You won’t be afraid to come out of the water in this Yellow Polka Dot Bikini!
Fold the end of the band around the strap and stitch the end down. Cut off any excess band if you feel it is too long. This is a fairly thick area to stitch down. Walk the machine on the top edge if you think your machine will give you any trouble.
I’ve sewn the other end of the straps to the small rings I attached the other day. The straps will criss-cross across the back and through the opening in the band you just made as shown below. This is the most comfortable back (not to mention – the most adjustable) back you have ever tried on a bikini. Unlike a halter, there is no pressure on your neck. Plus the straps will NEVER fall off your shoulders. It is easy to untie, too if you want your back bared for tanning.
The final touch is to tie the strap into a knot right at the end. I stitched down the loose bit by hand, just because I like them to look like those Chinese ball buttons (only in miniature!)
Oh yes, you can use a damp cloth to erase any of the marks from the wash-out marker. Now, it is time fro the Grand Finale and to say, “TA DAH!” Your Yellow Polka Dot Bikini is finished!


It looks just like I remember it back in the day of the song that inspired you, beautifully done !
Bev, this is totally awesome as usual