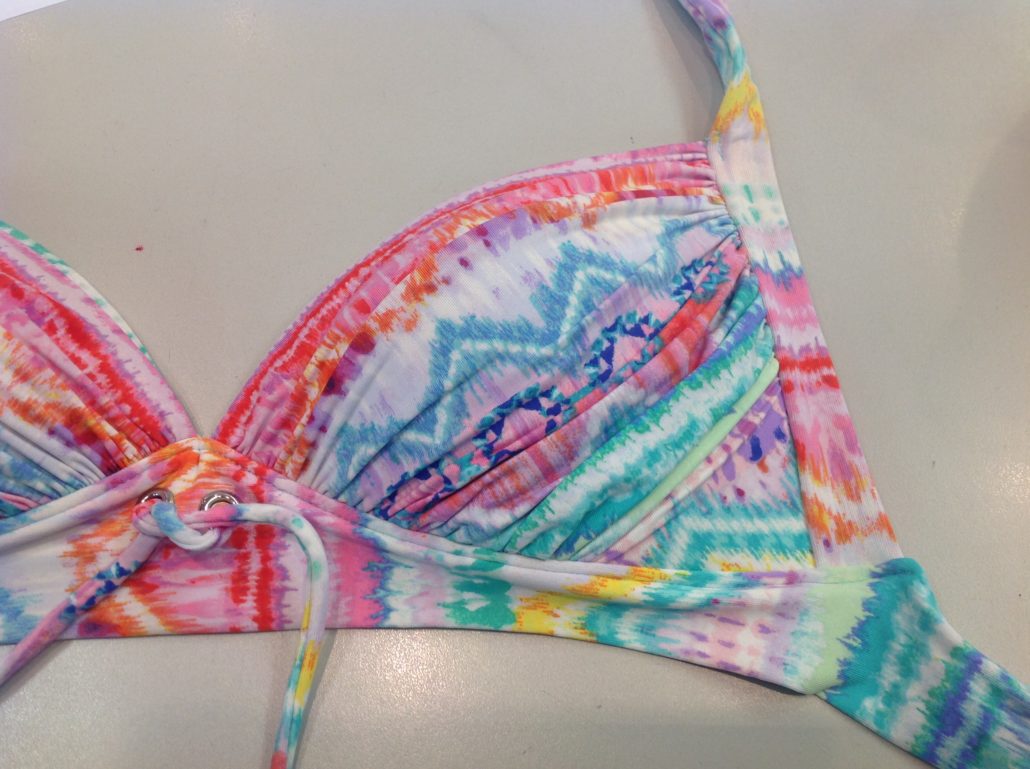
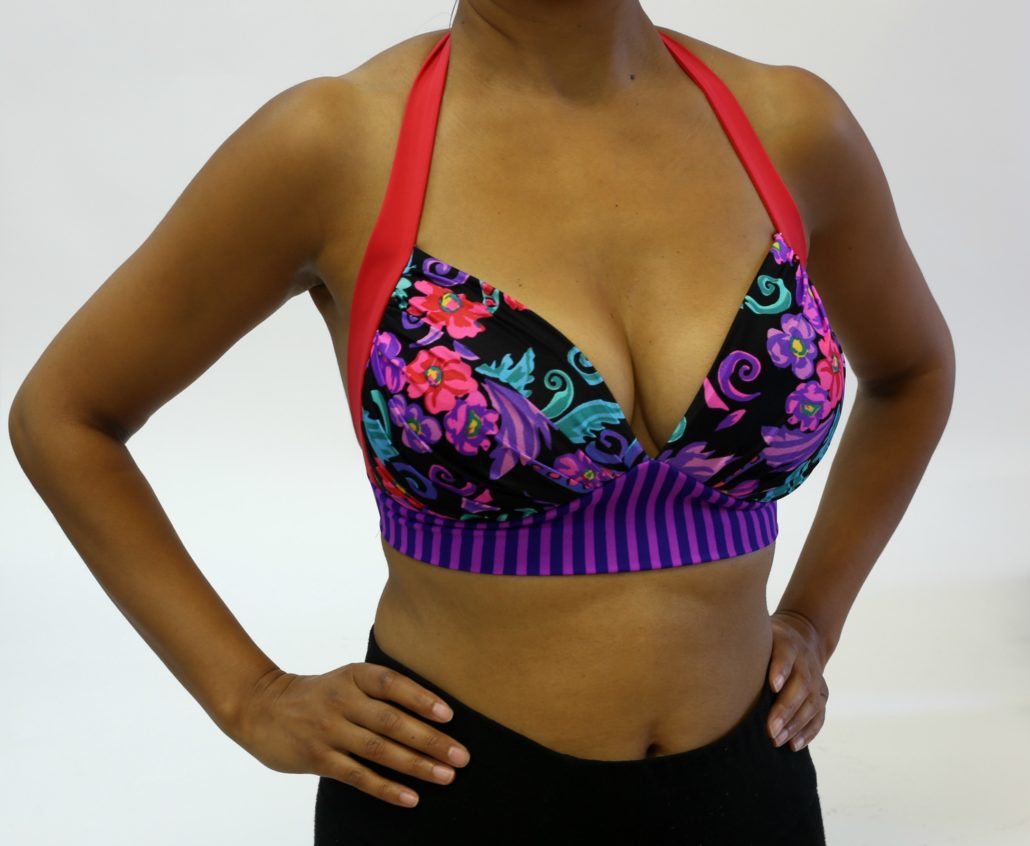
I love it when a customer brings in a garment from ready to wear so we can see it. Not only is it good for us to see what the trends are for that season, it gives us a chance to see behind the seams – and really check out the construction. In this case, we saw a ruched triangle top. Not only that but there is added banding along the sides that extend to create the halter strap. The side band helps to cover any breast that wonders out, so to speak, but best of all – the band actually pushes the breast toward the front. Imagine that – a push-up triangle!
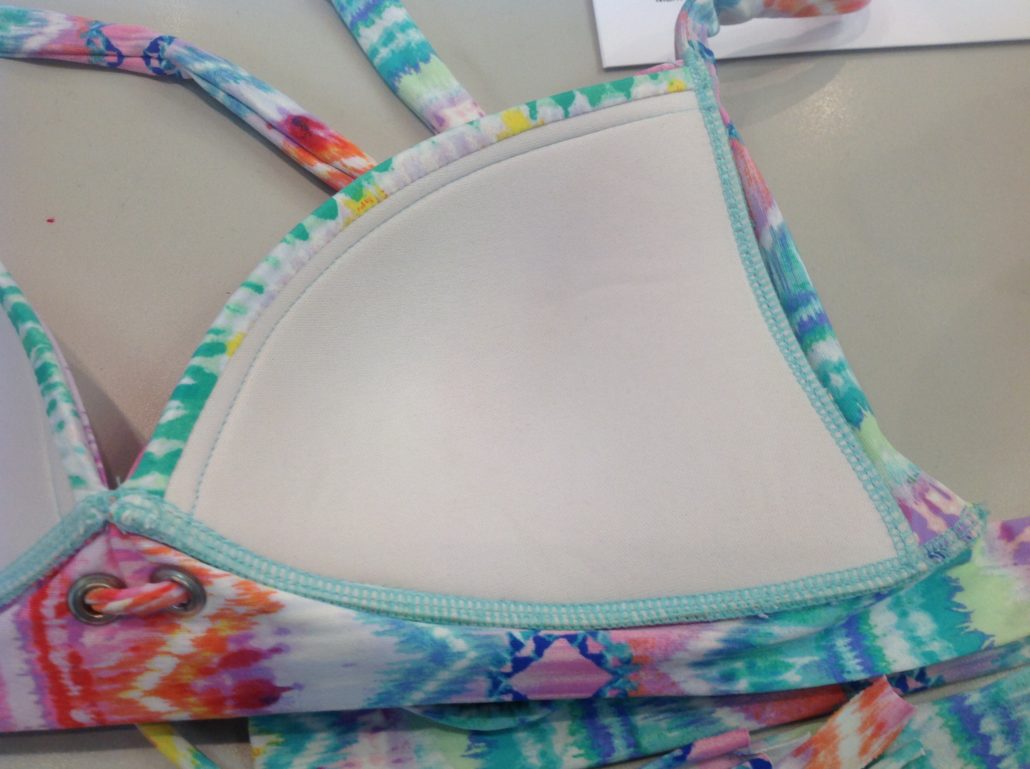
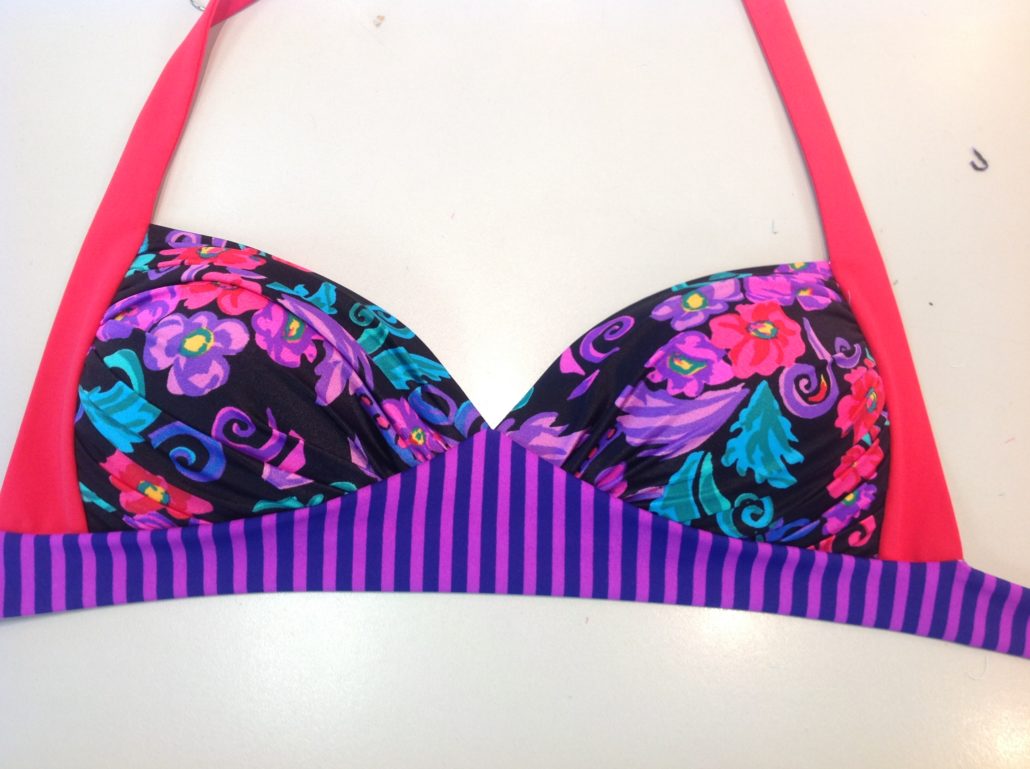
The inside of the same suit is shown here. The band at the underarm edge serves multiple purposes – it neatly finishes the underarm edge of the cup to provide more coverage. It also extends off the top of the cup to act as the halter strap.
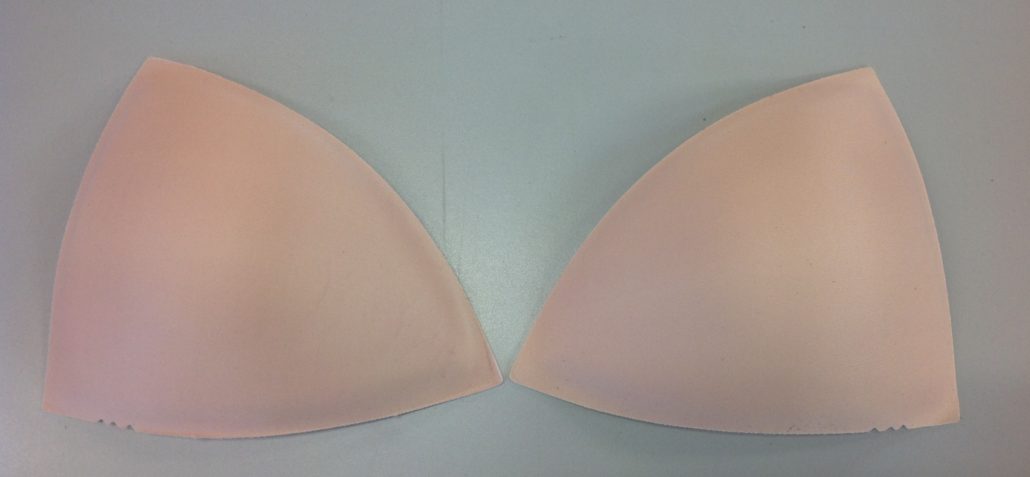
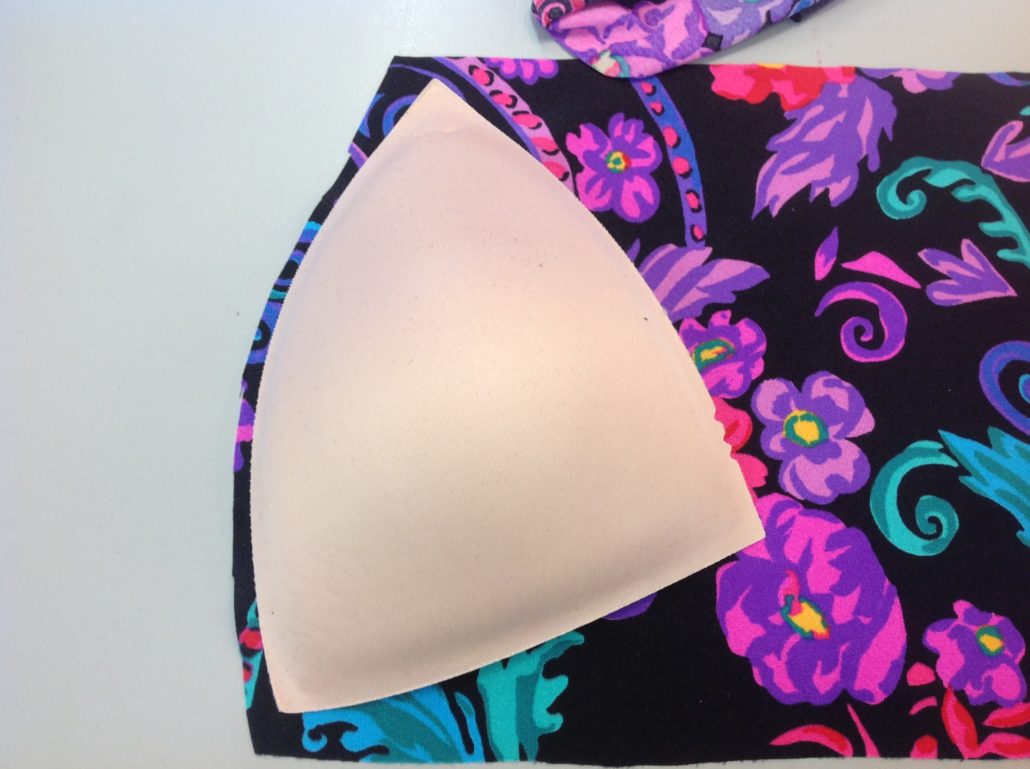
Pre-formed foam cups work best for this technique as cut-and-sew cups do not have the firmness to keep ruching pulled into the intended shape. In this case, the triangle foam cups work perfectly. We turned them the horizontal way rather than the vertical way – this was closest to the look from the ready to wear suit. I discussed this rotation of the cups in my last blog post.
The Ruched Triangle Top
The first step is to choose a lightweight, thin fabric with lots of stretch in both directions. This will allow the fabric to be pulled into tight even gathers. Measure the cup on the outside of the foam. You need fabric at least as wide as the cup is at its widest point, and three times the length of the cup at its deepest point measured from the neckline edge, across the apex to the bottom wire line.
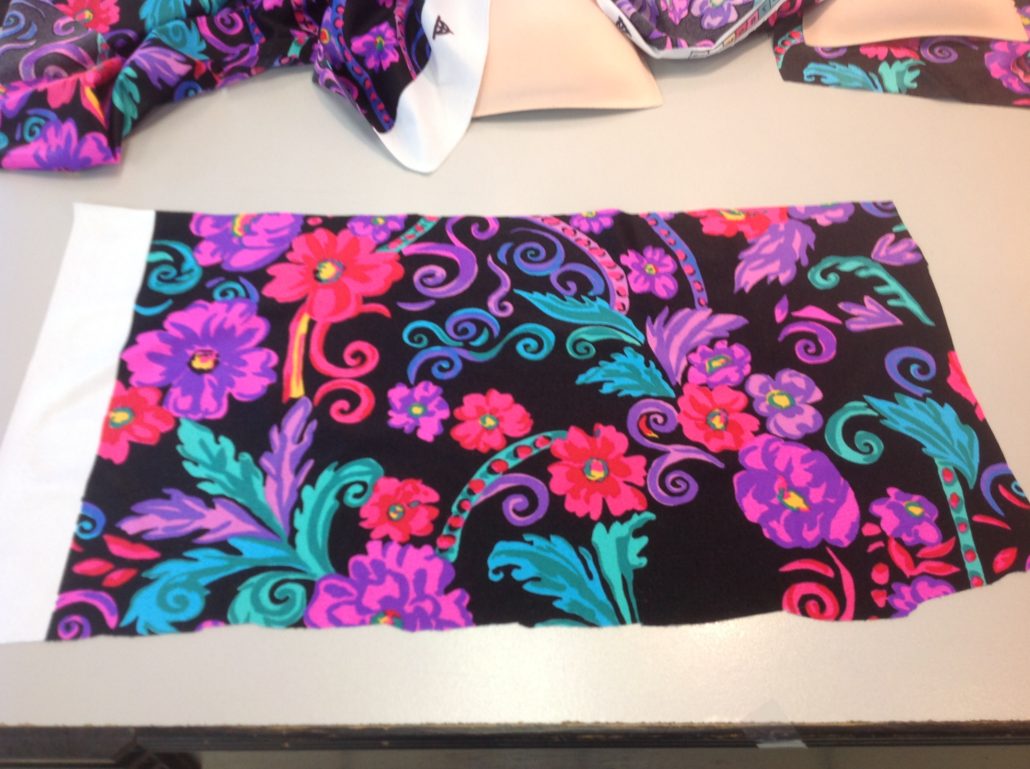
Position the cup on the fabric with right side of the fabric facing down. Leave at least ½” (12 mm) between the cup and the top edge of the fabric. Push the neckline edge of the cup until it makes contact with the fabric and trace the curve. Make sure that the cup is centred on the fabric from edge to edge so that when sewn, the whole cup will be covered with fabric. Cut 3/8” (9 mm) above the traced line.
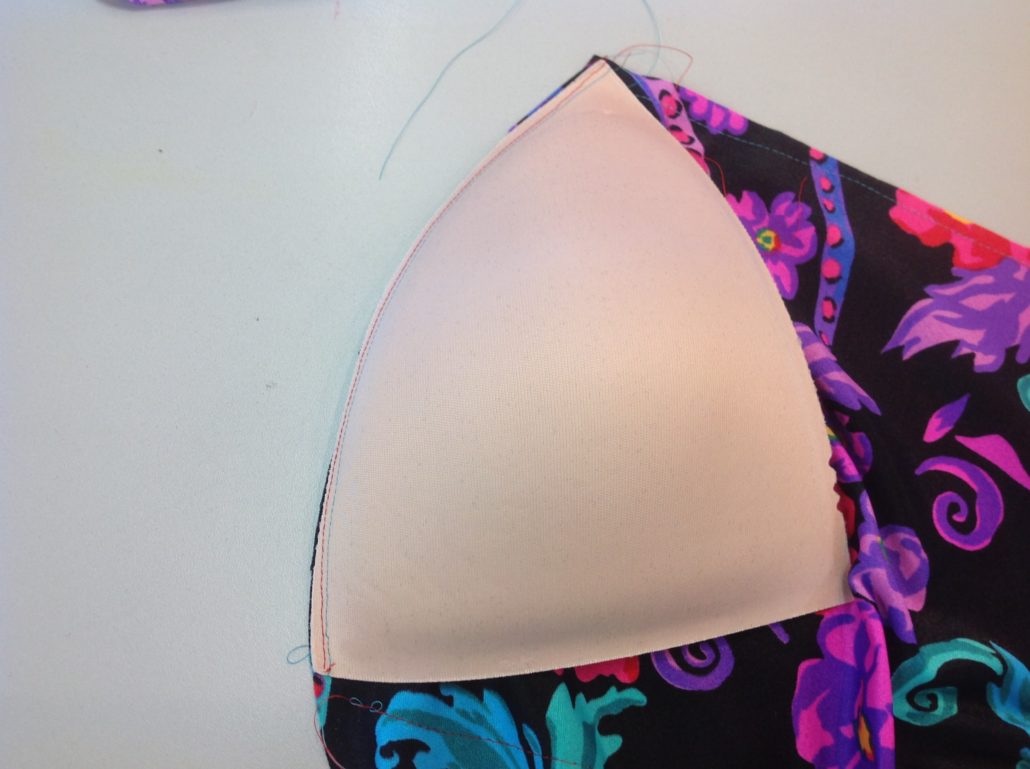
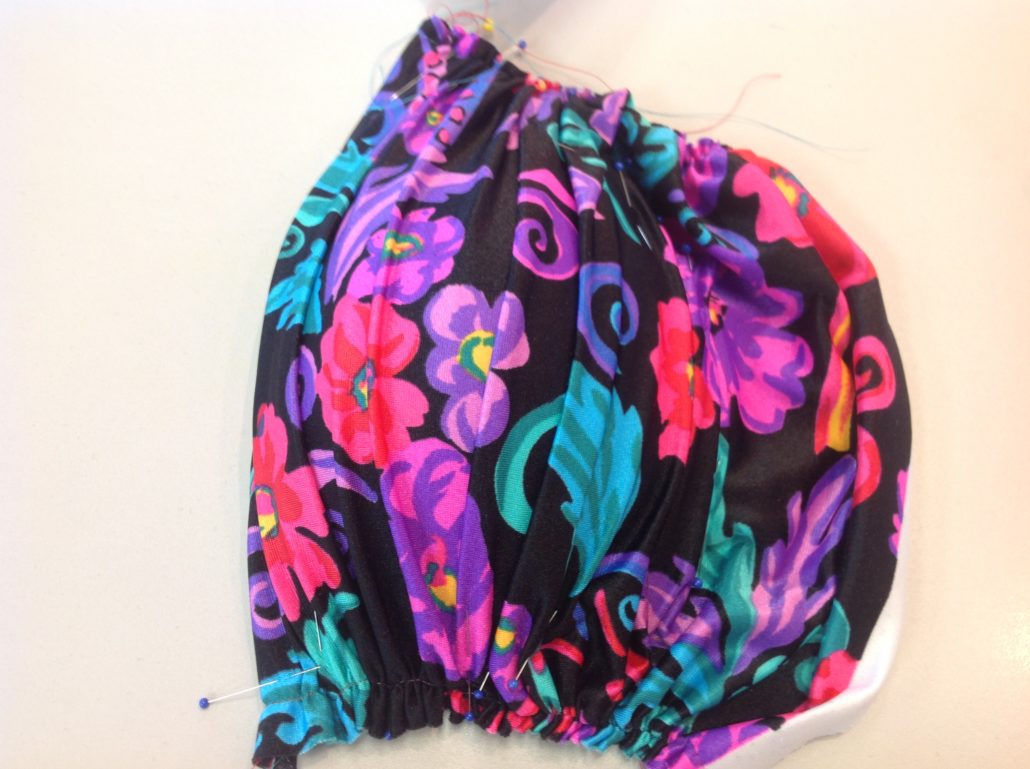
To ruche the panel, stitch two long straight stitch lines (length 3.5-4) on each side adjacent to the neckline curve. Leave long tails on the thread at each end. Then gently pull the two bobbin threads at the same time, while helping the fabric gather evenly along the length of the fabric with your hands. To make the roll-over edge along the neckline, with the right side of the fabric to the inside of cup, pin the curved edge to the edge of the cup. Stitch from the foam side about 3/16” (3 mm) from the foam edge all along the neckline edge. Turn the fabric over the edge to the right side of the cup.
Pull the ruching and pin it along the two edges, keeping the gathers as even as possible and ruching only until the gathers cannot be pulled horizontally any longer. The fabric should have enough tension on it that is forms small neat gathers that run straight across the cup to the other side, but not so much tension that it collapses the cup. You have to find that sweet spot of “just enough tension”.
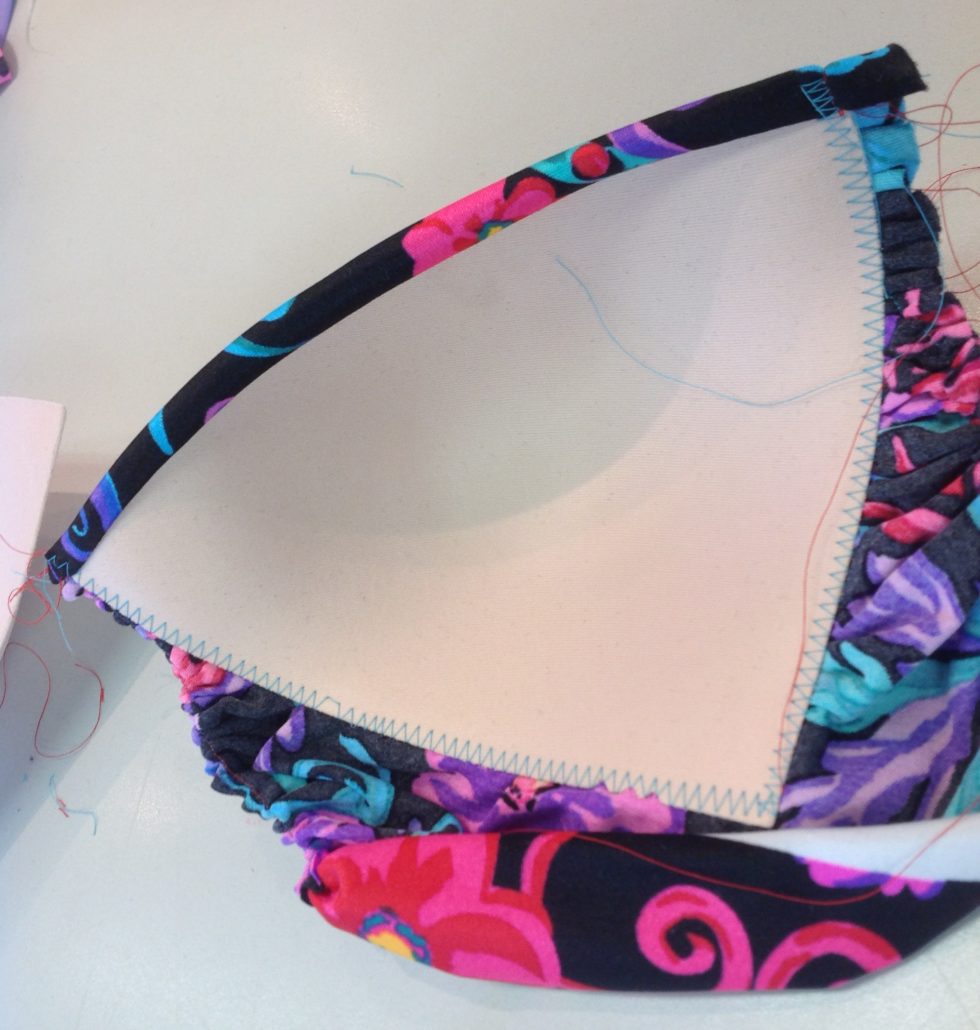
When you are satisfied with the pinned ruching, zig-zag around the two edges close to the edge of the foam. Trim the excess ruched fabric. The neckline edge is already finished. We are going to add a band that forms the halter straps and finishes the underarm edge, but that edge could be finished with fold-over elastic, or self-binding if you prefer.
The Side Bands
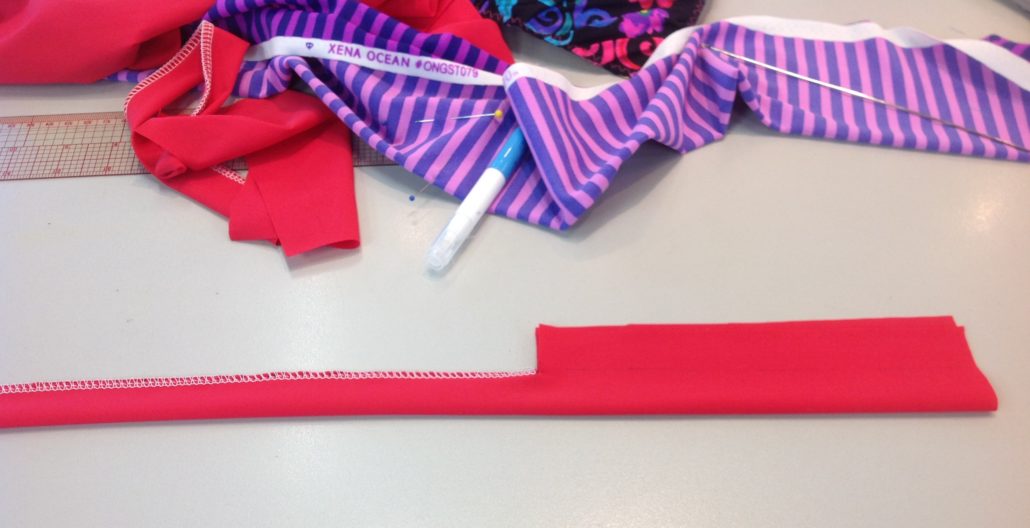
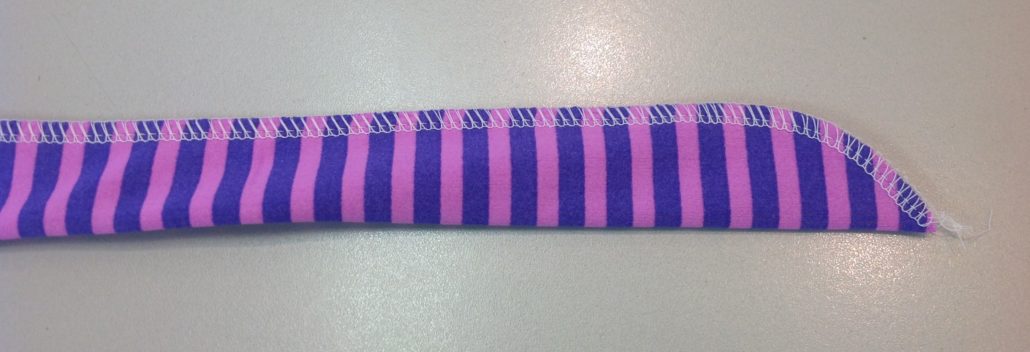
Cut the band twice as wide as you want it plus seam allowances. Cut the fabric long enough to cover the side of the cup plus the length of the halter strap. Mark the length of the side of the cup on the fabric, then serge the part of the band that will form the strap. Turn it right side out. I left the seam allowances on the cup area wider than usual – I wanted enough to make sure it all got included in the seam.
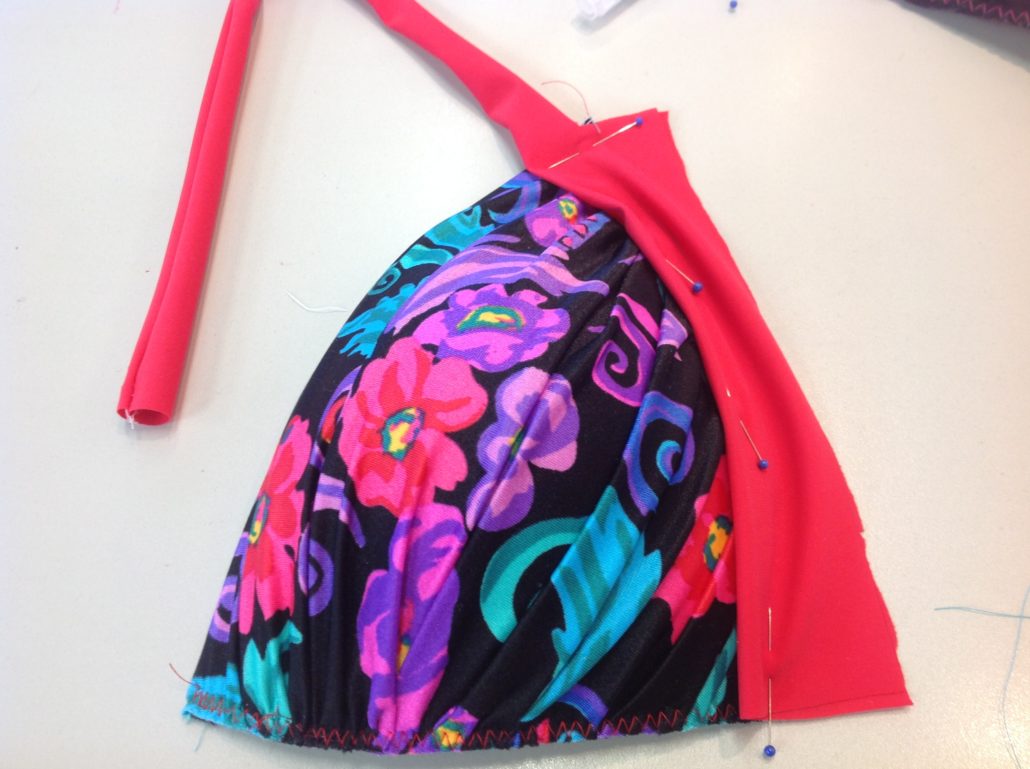
Sew the band to the outer (underarm) edge of the cup, making sure the strap stitching meets the point of the cup exactly.
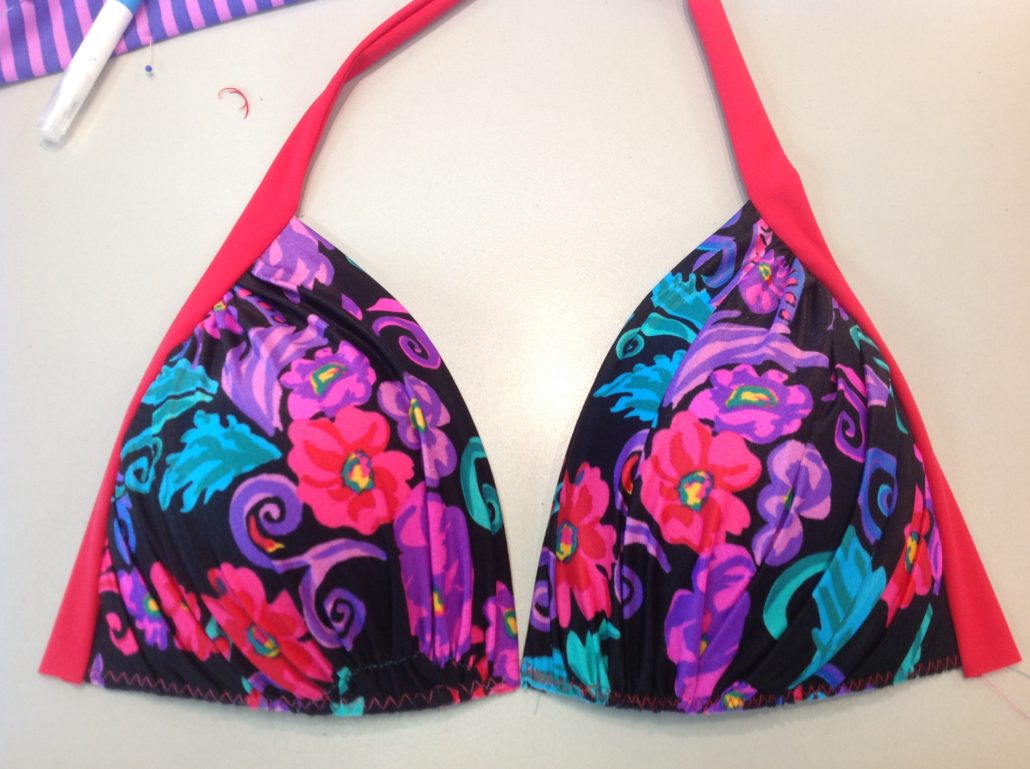
Here are the two cups with the band/strap unit sewn on.
The Bottom Band
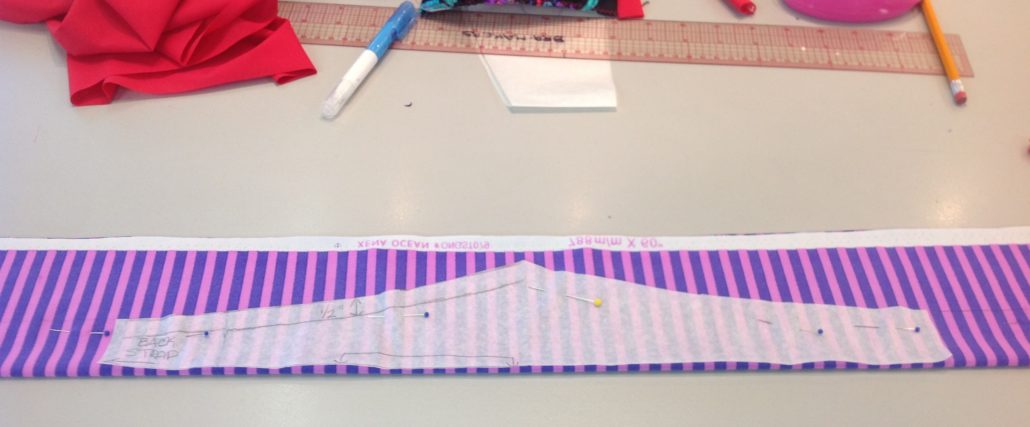
The bottom edge also has a band – what a great place to add a third colour! I made the pattern for the band by laying the cups on paper in what I think will be the correct orientation, keeping the strap point the correct distance apart, then trace the bottom edge. The cups will meet at the centre front. the pattern will rise toward the centre front as you can see here. I mark the place on the pattern where the cups end, but the fabric will actually continue on to make the tie for the back.

I am cutting the bottom edge on the fold of the fabric so I don’t have to finish it further. I did not interface the bottom band as I want it to be able to stretch around the body. However, if I were adding the grommets I saw in the original, I would interface the grommet area only. You can see the how the pattern piece slopes toward the centre front.
Next I serge along the upper edge of the bottom band up to the place I have marked for the cups to start, leaving the space for cups open. If you clip this spot where the cups will meet the band, you can serge the tie ends very neatly. I ended the tie strap section at the centre back by tapering to nothing with my serger.
Turn the bottom band right side out. Stitch it to the bottom of the cups. if you marked the spot between the cups and the tie band accurately, the cups will fit exactly into the open space. The seam will push naturally to the band side, which is what you want. You could topstitch that seam as they did in the original.
My finished Ruched Triangle Top. What do you think? Did we capture the flavour of the original?


You really make it appear really easy together with your
presentation however I find this topic to be actually one thing which I feel I’d by no
means understand. It seems too complex and extremely vast
for me. I am having a look ahead to your next
post, I will attempt to get the hang of it!
Brilliant and at the right time. I think there are a number of us who would benefit from the cup being turned sideways.
As I said, we discovered it when the customer came in the shop with this swimsuit and wanted a pair of cups just like hers! To my surprise, hers were exactly the same as ours, but turned sideways!