If you are making a corset or waist cincher for the first time, you might follow the pattern instructions and think that’s all there is to it. But did you know there are at least 3 ways to make a corset? That’s right – three different ways to seam your corset and lining and sew the boning in. Each is better for some types of corsets than another – and each has its place in your personal skill set.
The Lined method
This method is by far the easiest to understand for the beginning corset maker, and often, a go-to method for many professionals. The lined corset keeps the lining and main fabric together from the get-go and treats the two fabrics as one throughout the whole process. The downside? If you are working with heavyweight fabric plus a coutil lining, the bulk of those layers plus the bone casing might prove to be problematic for your regular sewing machine.
The advantage to using this method is that IF there is any fitting to be done, the panels can be un-sewn and re-sewn fairly easily. Even if only one panel needs adjusting (you inserted it in upside down for example) there is a minimum of fuss to re-do it. The bones definitely show so if that bothers you, this one is not for you.
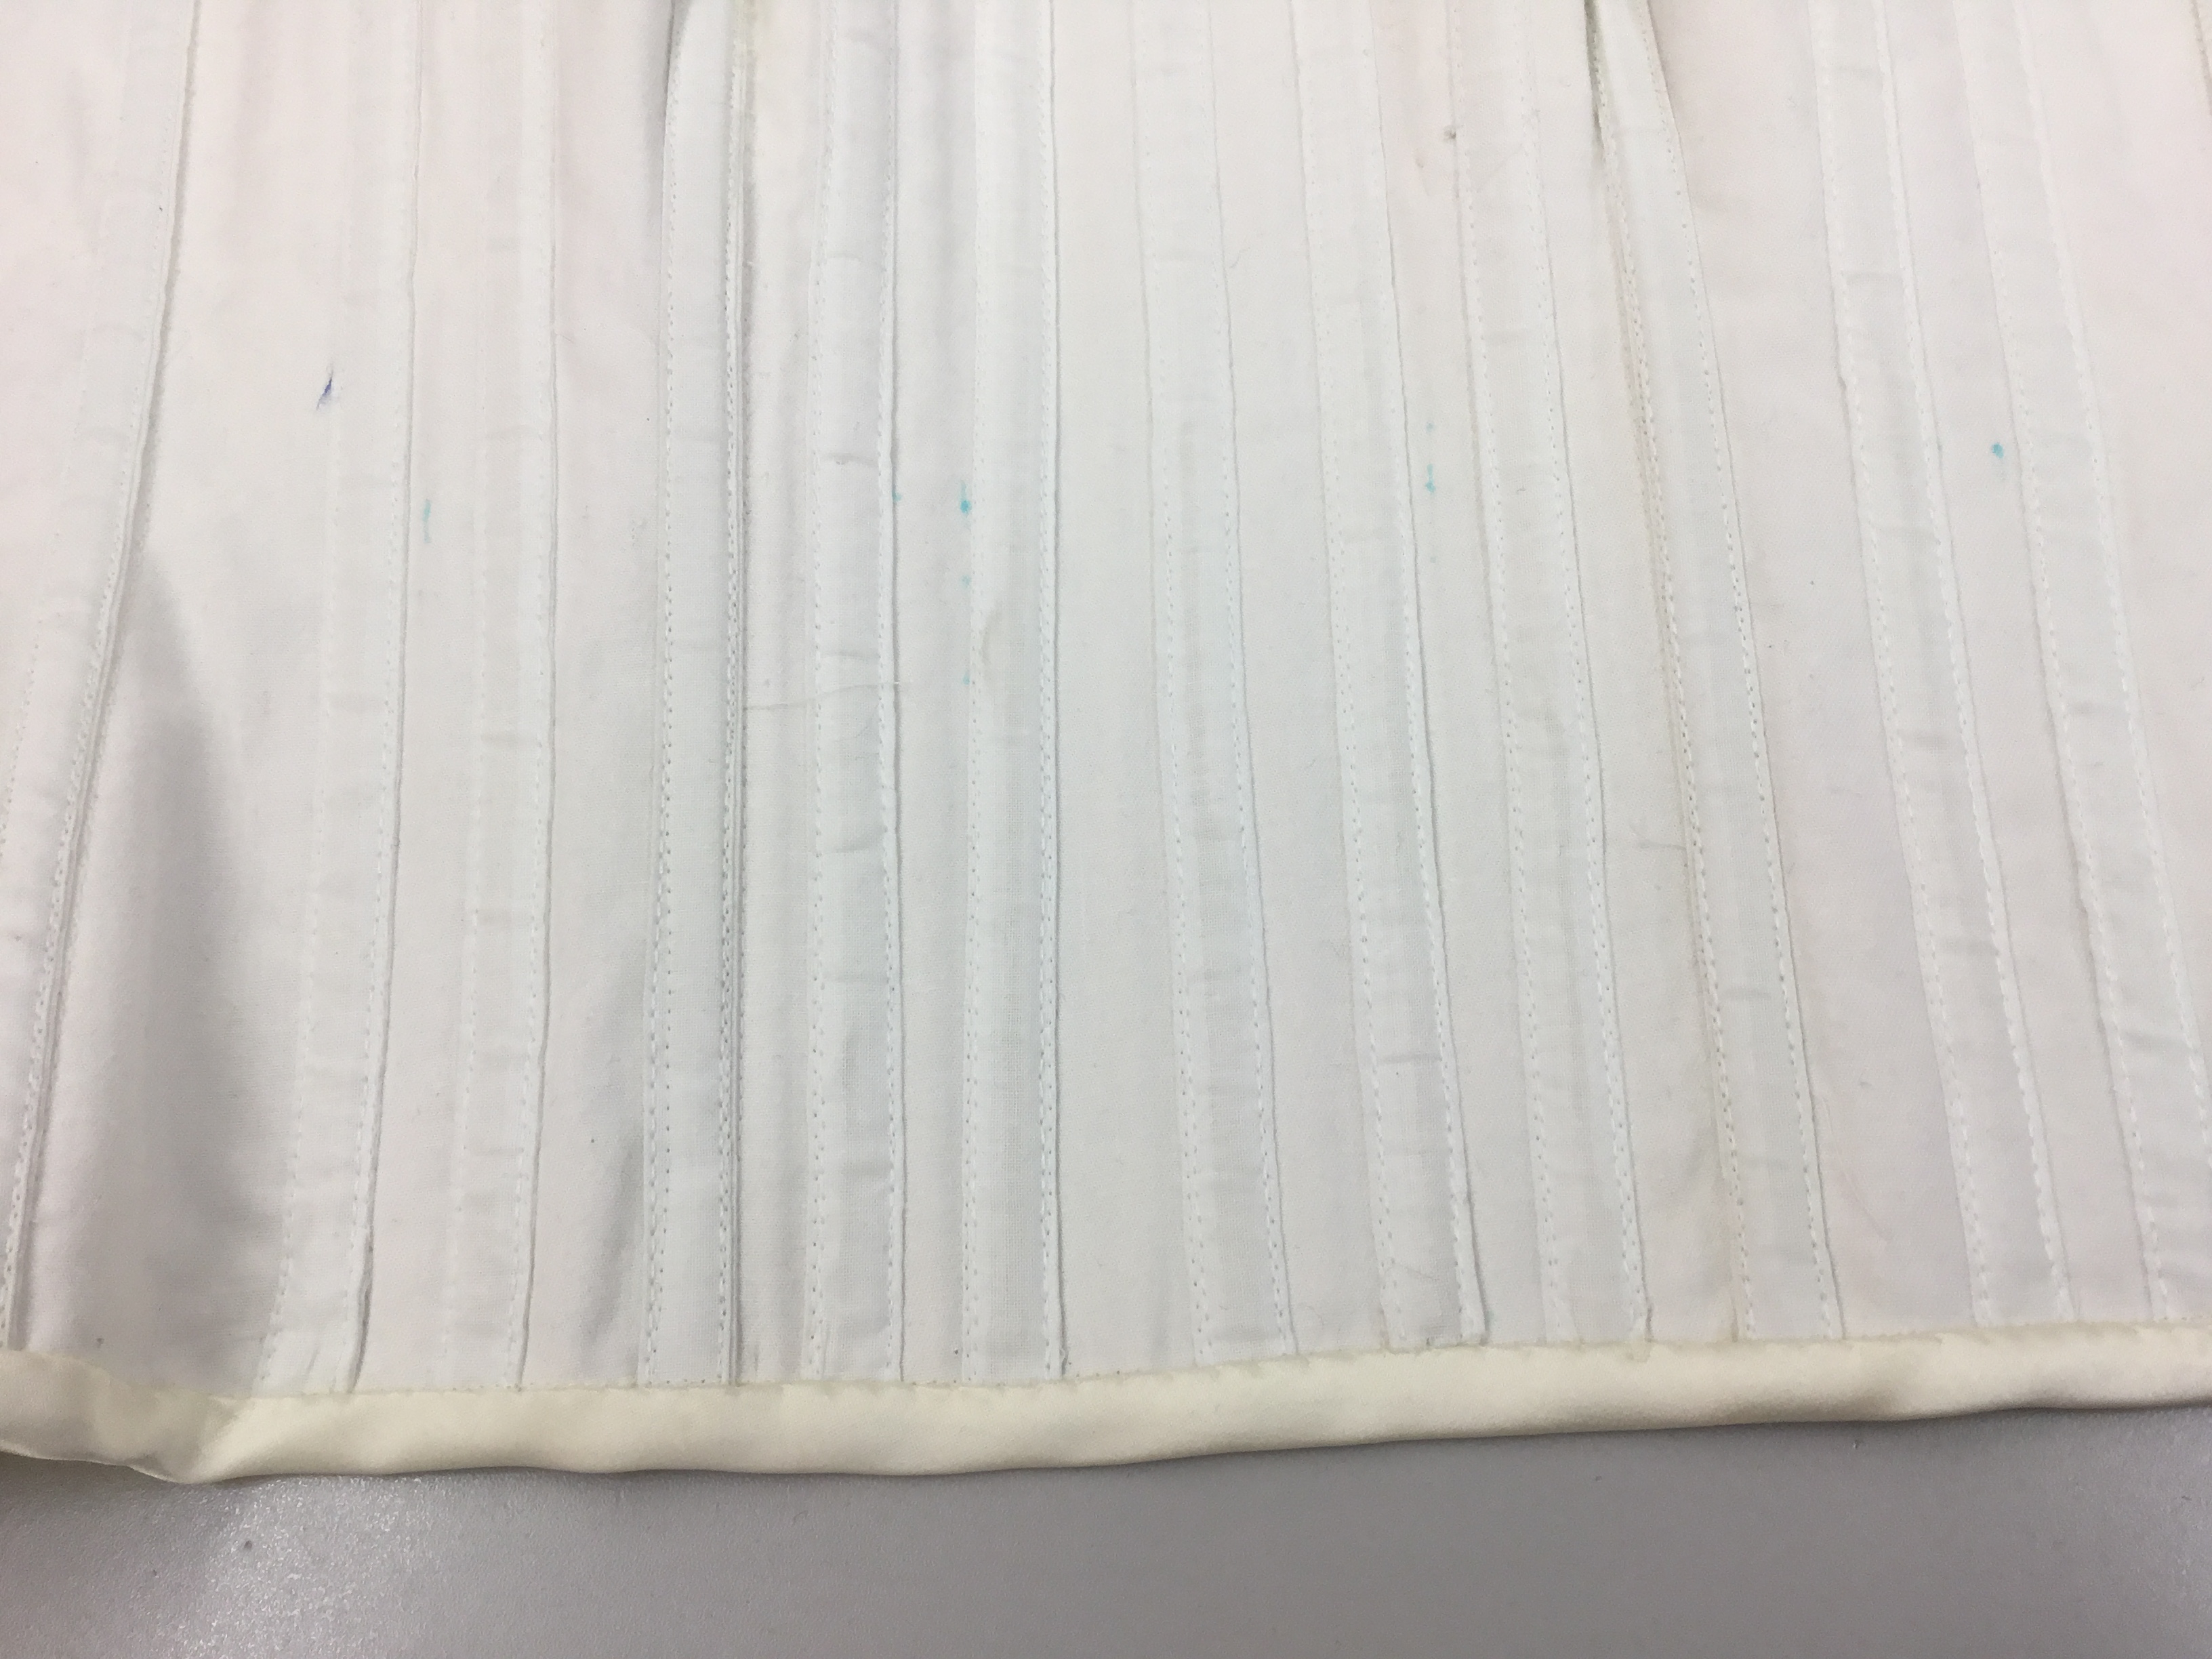
To do the lined method, cut each pattern piece in both coutil (the heavy lining recommended for corsets) and the main fabric and stack them together with wrong sides facing each other. Baste or serge around the perimeter of the pattern pieces. Now the pieces can be treated as one to sew the corset panels. The cone casing can be sewn (like channeling ) to the seam allowance and topstitched through all layers.
The Stitch & Flip Method
This is the method I include in my corset pattern, the Freedom Corset. The stitch & flip method, also called the Flat Felled Method in the corset community, takes advantage of hidden seams. This could work especially well for corsets such as a corset for Halloween, where you might try to keep the costs down. There is no added bulk of the bone casings at the seams.
The advantage to this method is in its simplicity – once you have sewn the panels together, you can stitch the bone channels directly on the panels. Can you see the downside? Here it is – If you need to make any alterations to an internal panel, you have to take all the seams back that came after ward. So a mistake on panel 3 means, 4, 5 and 6 need to be unpicked.
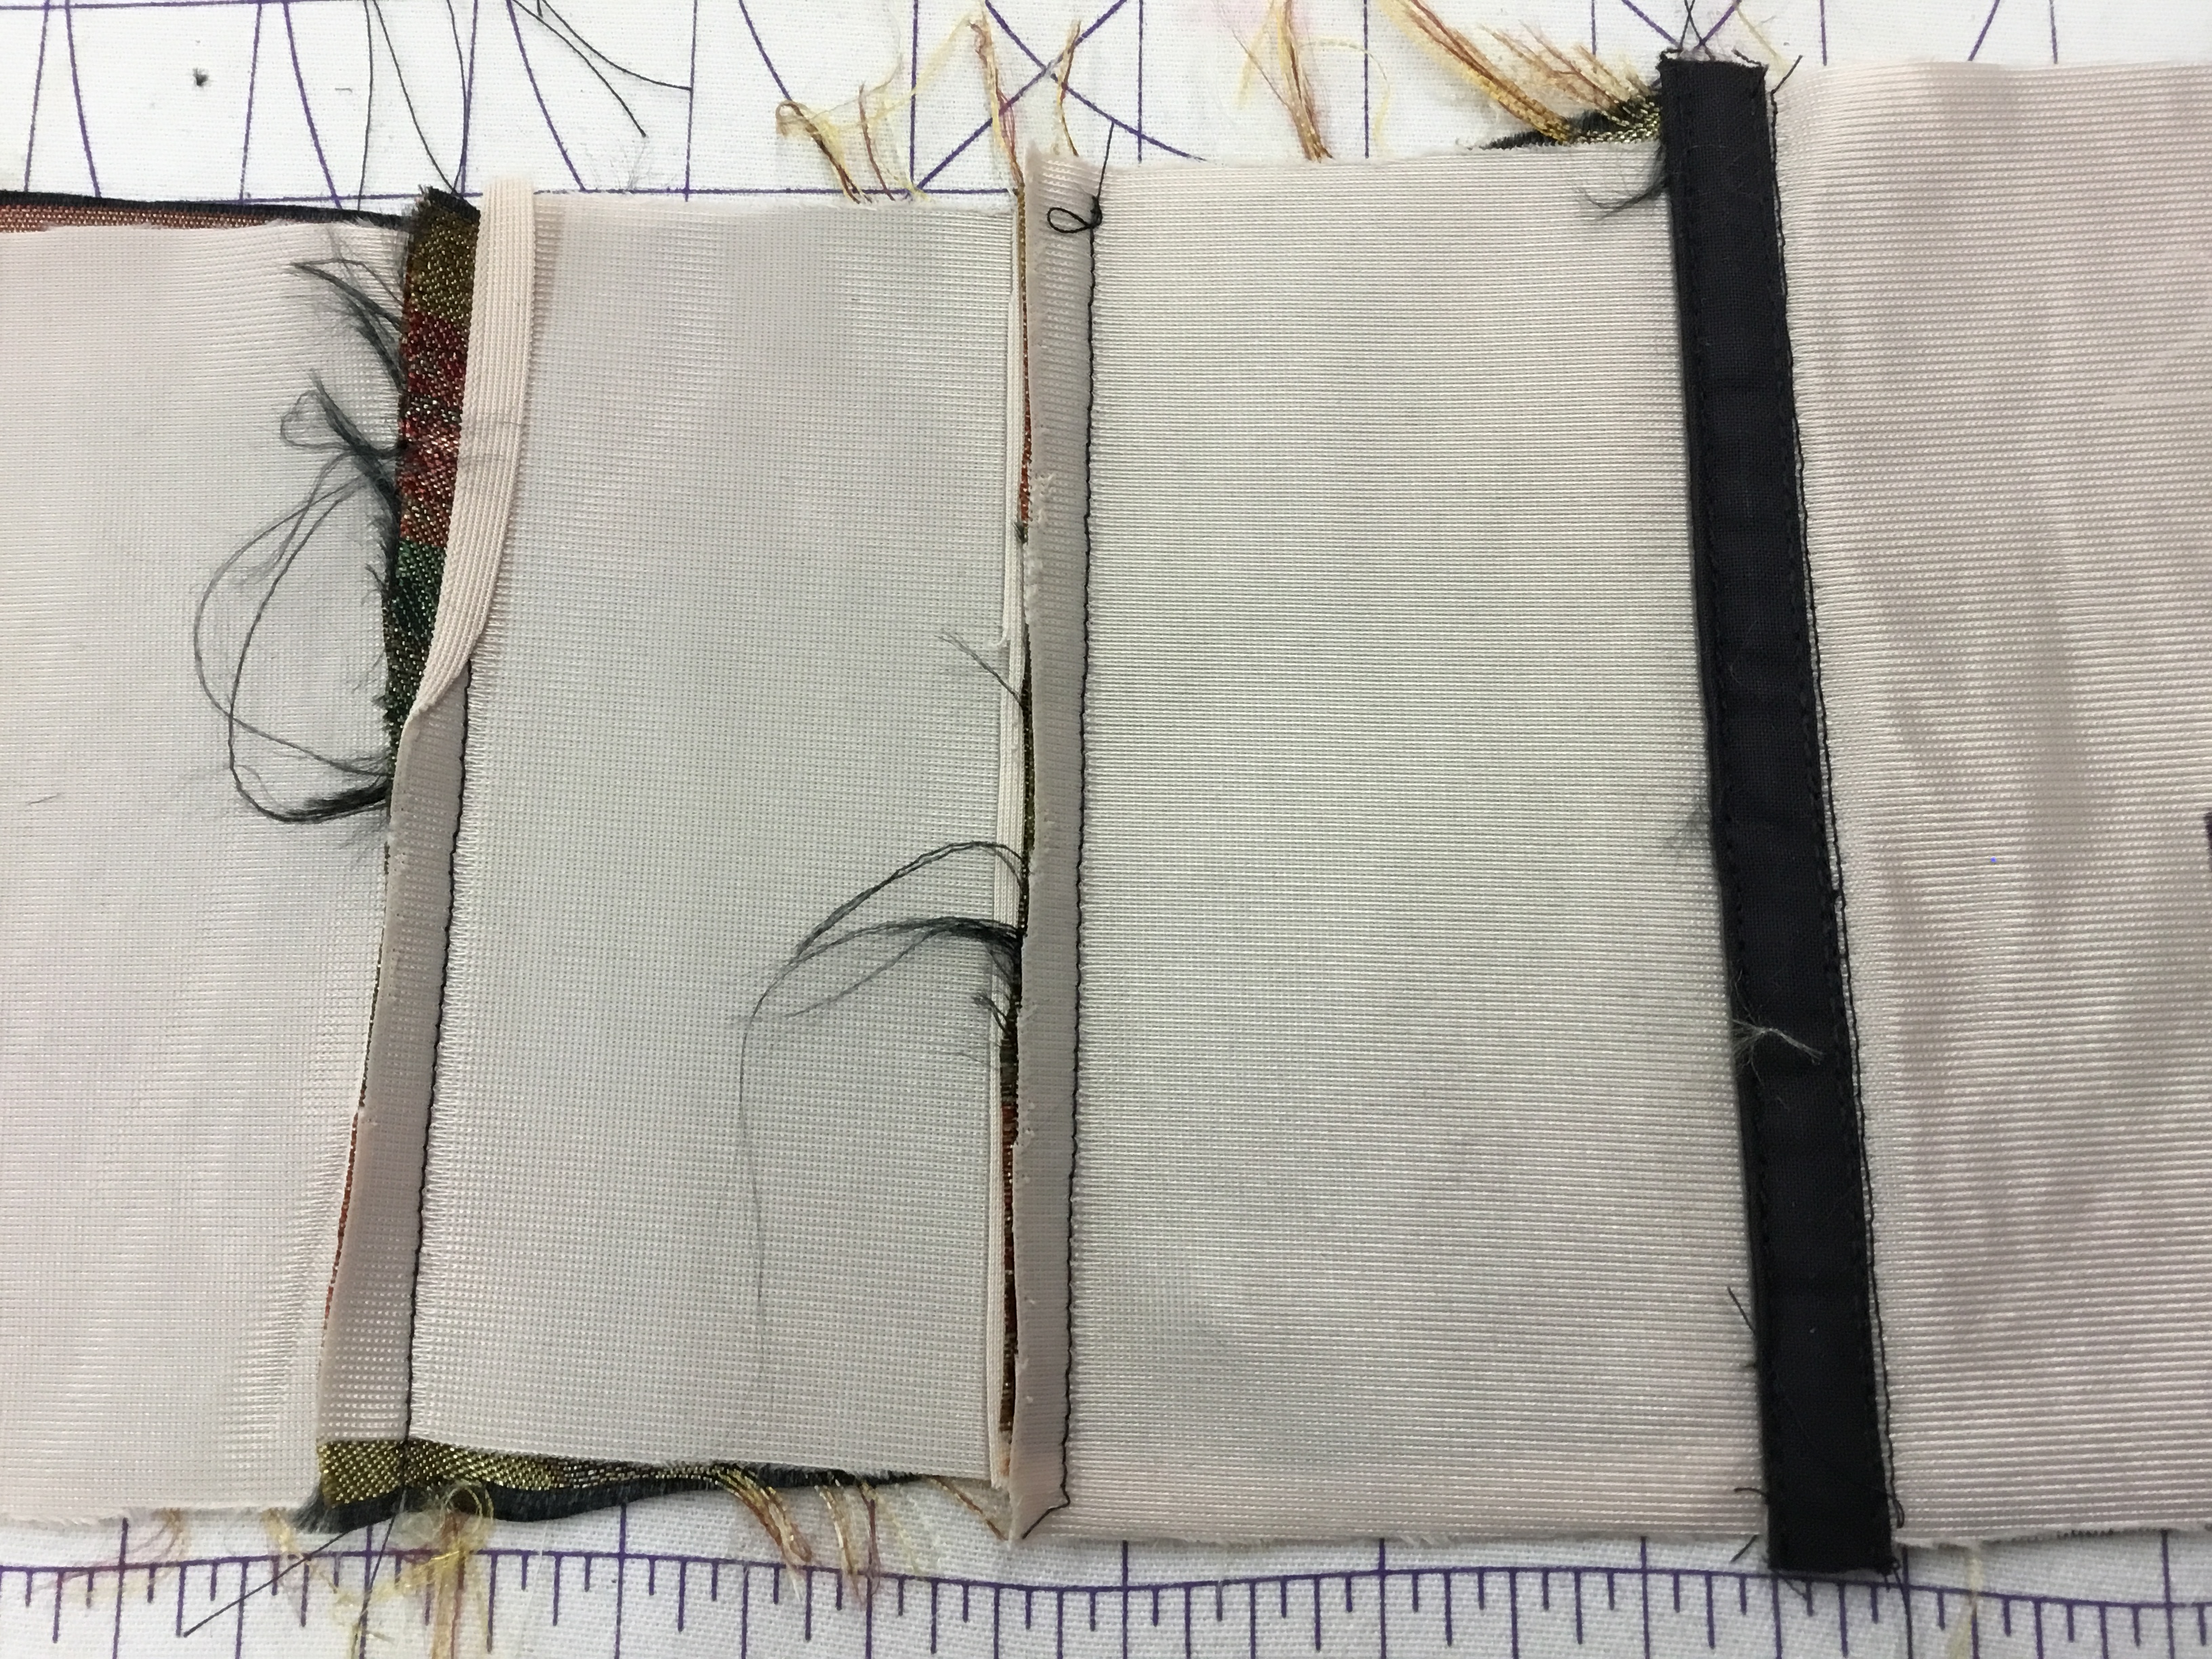
To do the Stitch & Flip method, always start with the centre panel and insert the busk. If there is no busk, then layer the lining and the main fabric with wrong sides together. Then layer the right side of the main fabric second panel to the right side of panel 2, and the lining to the lining side. Stitch through all 4 layers at the same time. I show the 4 layers off-set below.
When you press the seam toward the back (the only way it can go) the seam is completely finished inside and out. You can then sew the bone casings as shown below (be neater though!)

The Stand Alone Lining Method
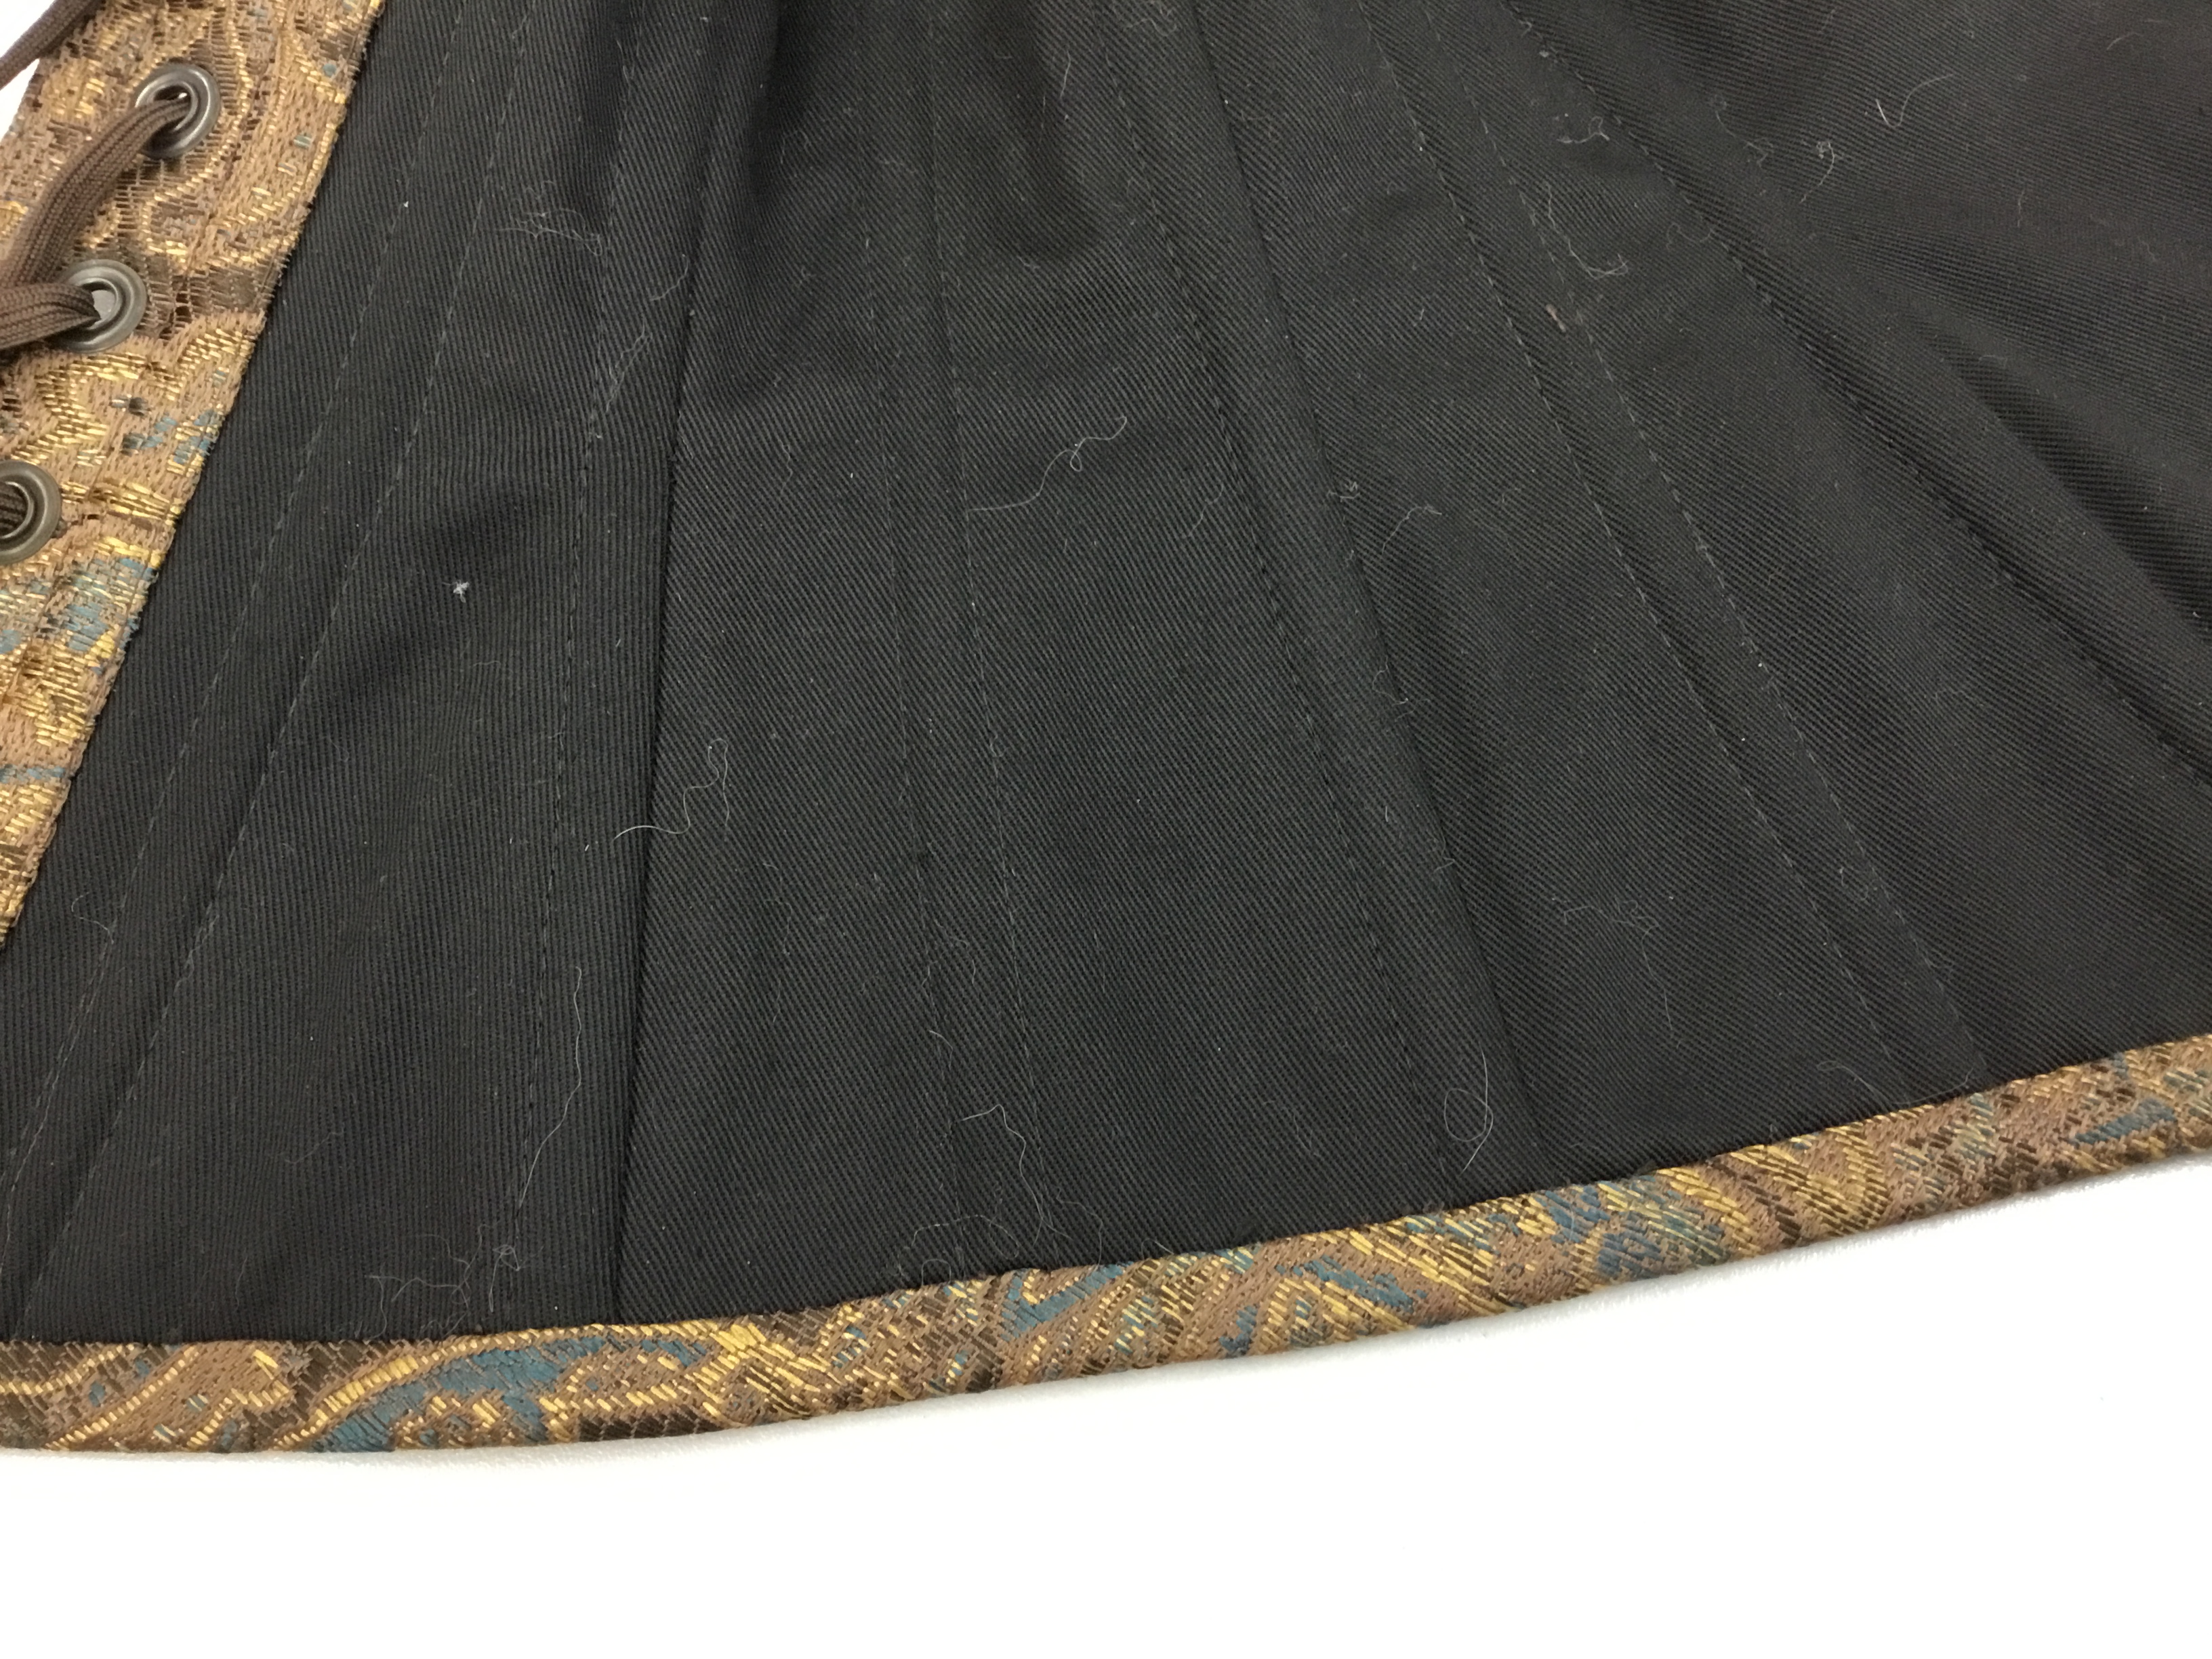
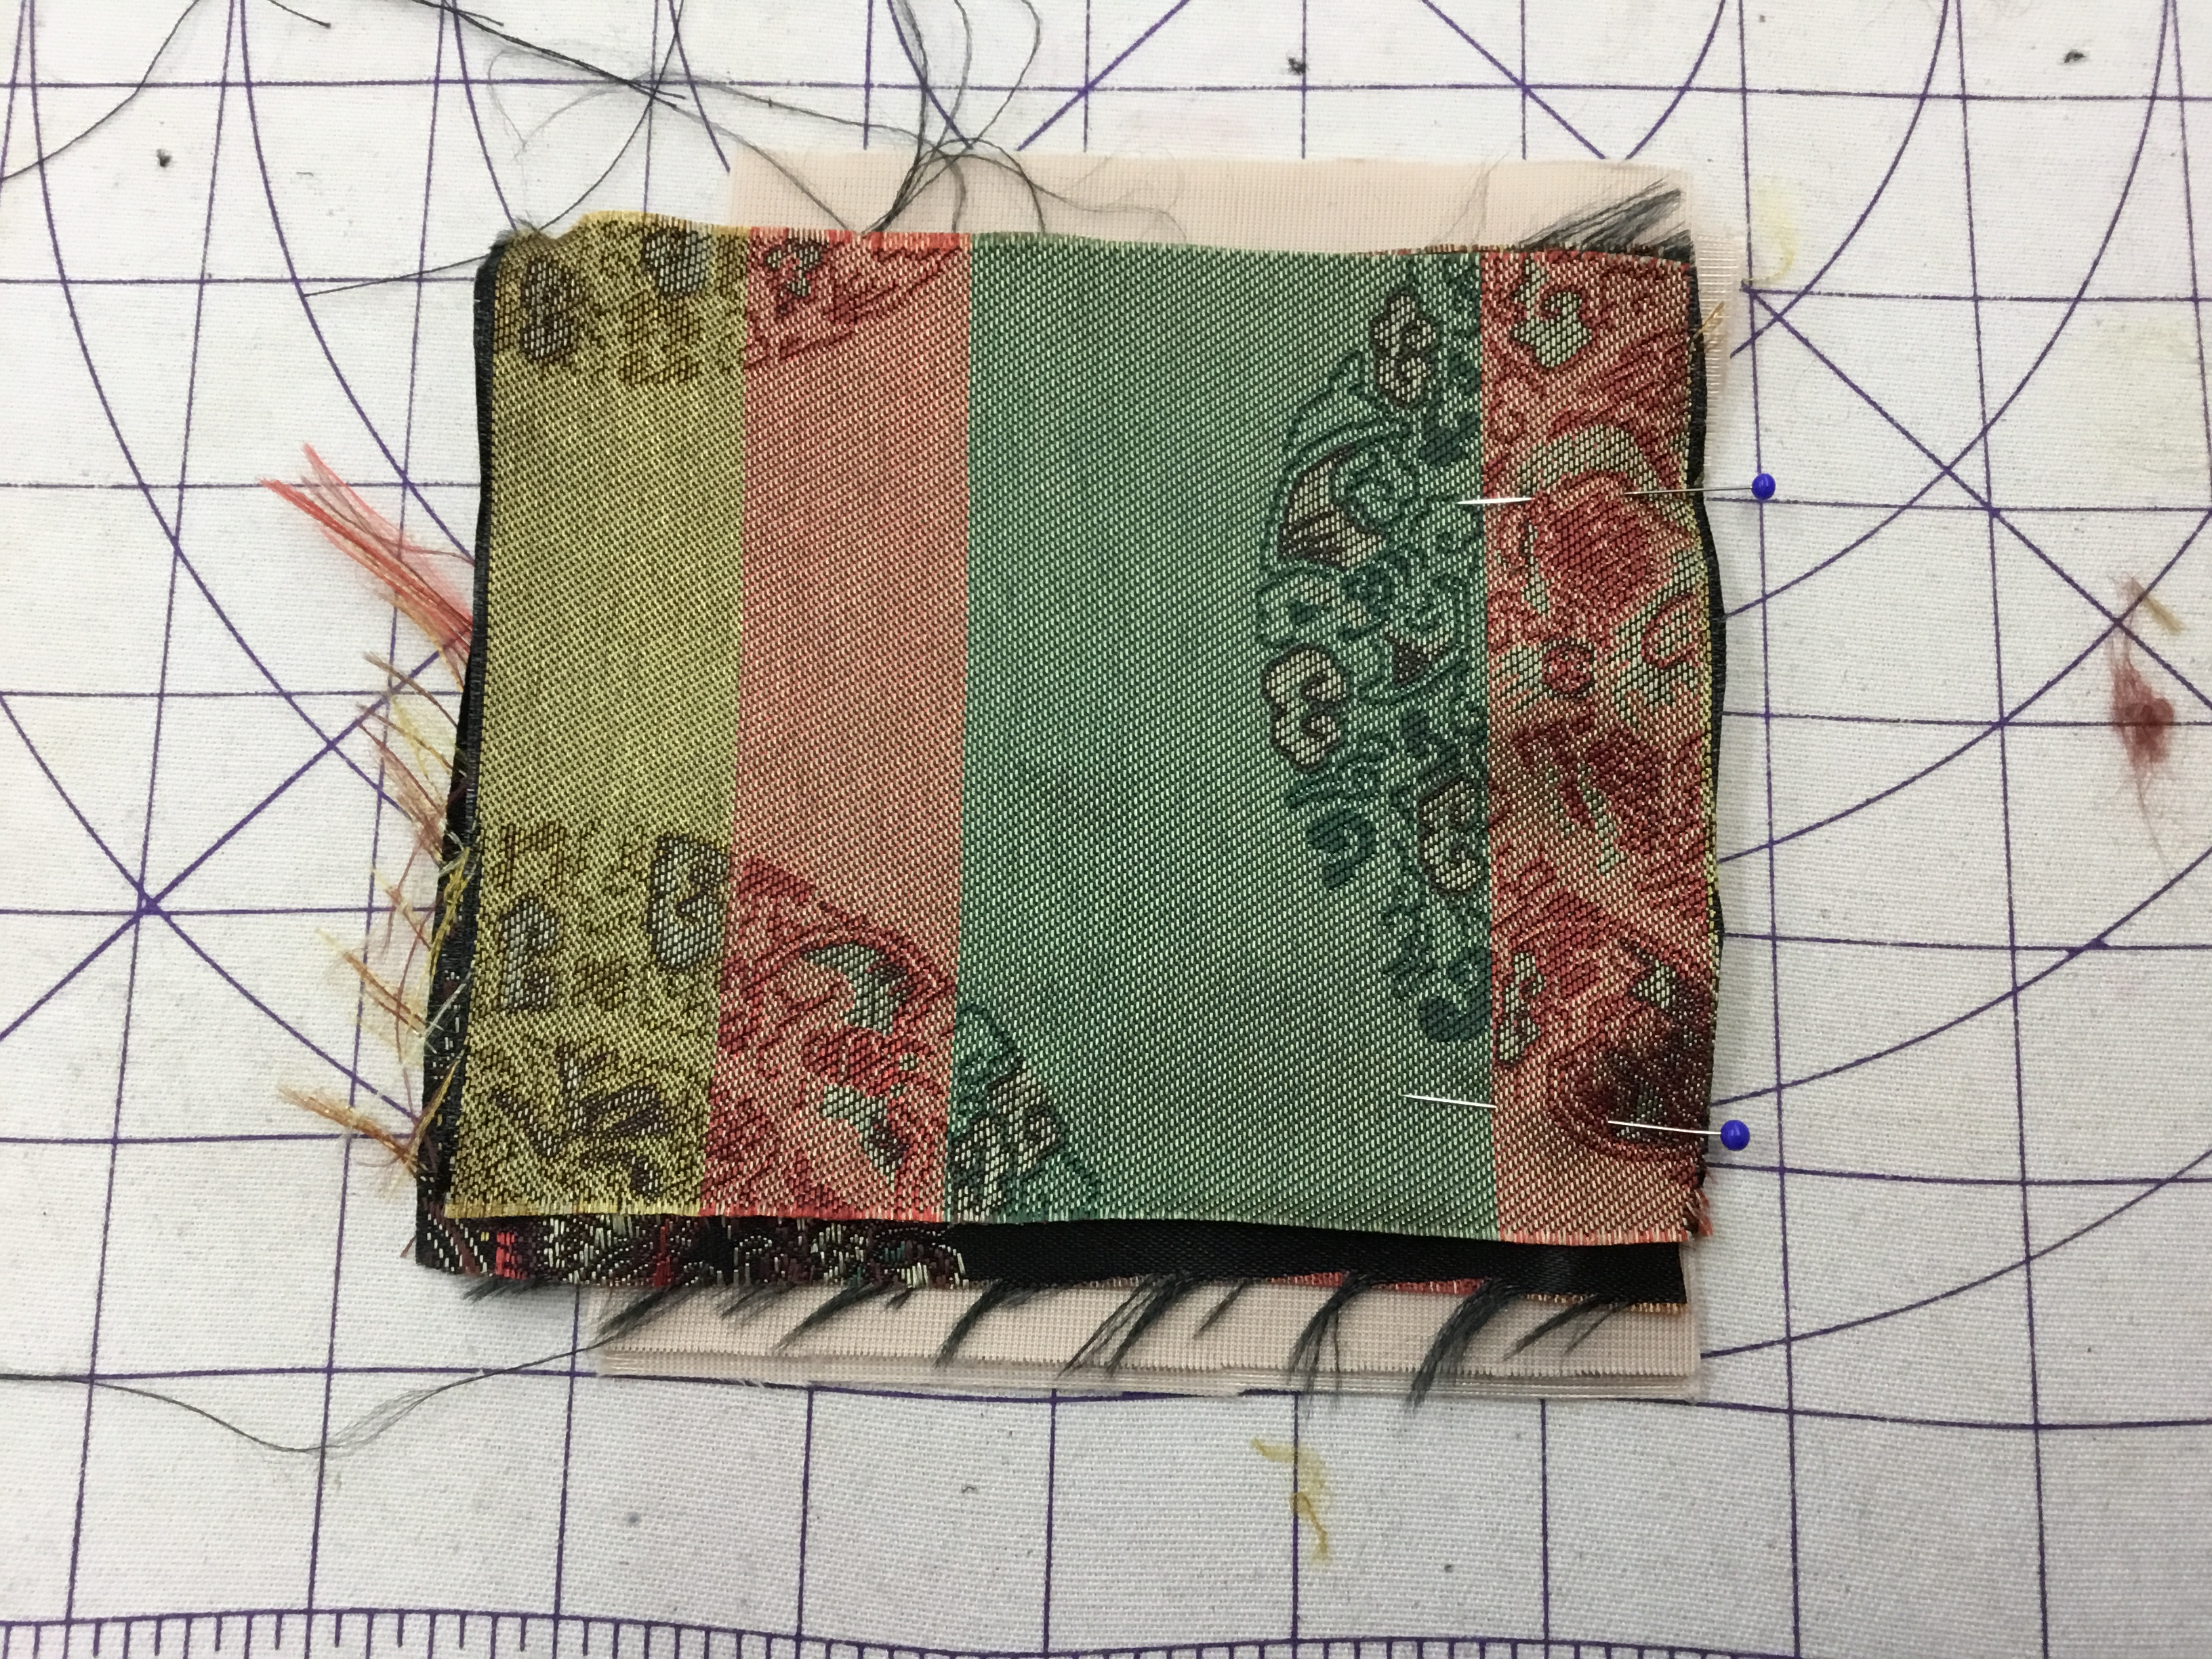
This last method treats the lining and the main fabric completely separately, so the boning literally is on the inside layer and the main fabric is merely a fancy cover. This method sounds easier but it can be tricky, especially when the outer fabric is delicate or is prone to fraying (even as you are working on it). In that case, I heartily recommend that you back the fragile fabric with interfacing of some kind to add some body to the delicate layer and prevents it from fraying. You can tell from the pictures above the fabric was fraying rapidly!
The advantage is that you aren’t stressing fragile fabrics as the main cover fabric is left comparatively loose over the lining layer. In addition, there are no bone casing stitch lines to mar the beauty of a richly patterned fabric. The disadvantage is that you are making two separate layers and you must be careful to have the stitching lines of the main fabric line up perfectly with the stitching lines of the lining. If the main fabric is too loose over the lining, the fabric may appear baggy.
To make the Stand Alone lining, sew the lining panels together and apply the bone casings to the lining only. Then sew the interfaced main fabric panels together. Place the boned liner to the main fabric wrong side and smooth the fabric over. Ideally the seams of the cover will line up with the seam on the liner. Do not insert the bones until the layers are sewn together.


Leave a Reply
Want to join the discussion?Feel free to contribute!