The newest pattern in the Jewel Collection from Pin-up Girls is the Amethyst Bra. Amethyst is a bra that uses lace edging on the upper cup and the front frame to create a designer look. It uses the same basic block as the Ruby bra. Like the Ruby, it has great lift and shape; however the addition of a lace edge band completely changes the look on the body. In addition, the lace edge upper cup with a short strap extension also with a lace border, is a look you’ve not seen from Pin-up Girls. We needed some samples for the launch and I thought, why not make an Amethyst for me?
You know they say shoe-makers children never have any shoes? The same can be said for custom bra-makers – we never make bras for ourselves, just for clients. In my case, the bras I design are always samples, or prototypes, or to fit one of our testers. Apparently the stars were aligned just right, so I made time at work to make an Amethyst for me, as opposed to “just” a sample.
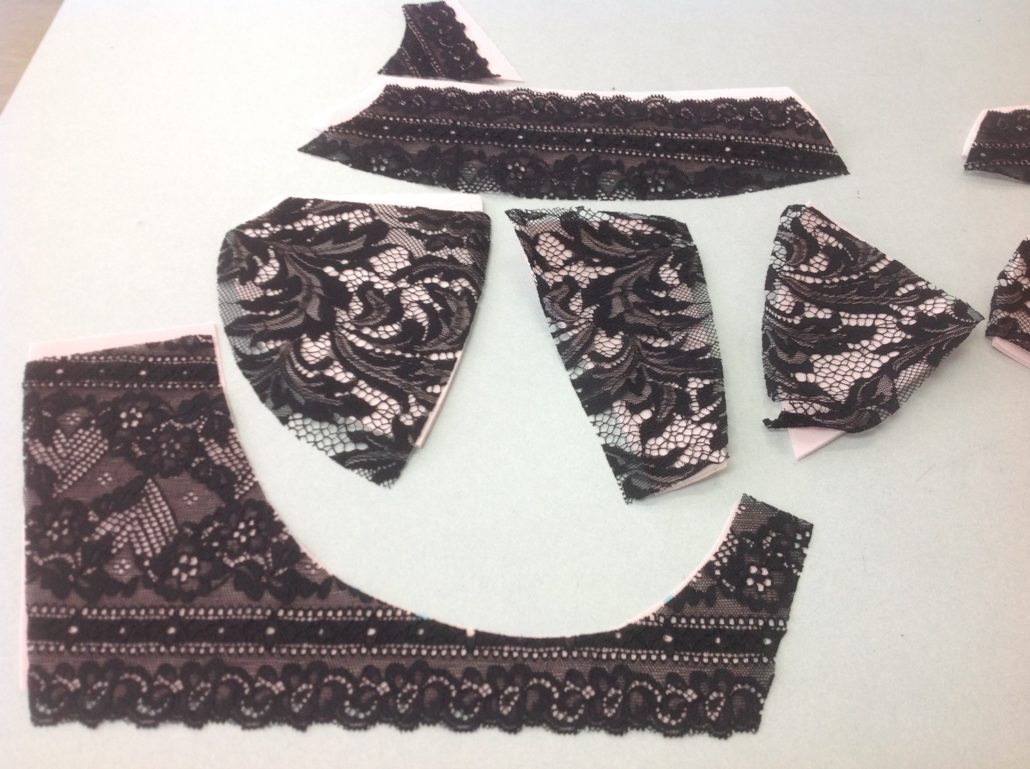
There are two views in the Amethyst pattern. Although the difference between the two may appear to be minimal, the visual impact is quite dramatic. The difference is in the lower cup. View A uses lace to cover the foam lining, while view B uses plain fabric. I decided to use lace fabric on the lower cup on lace edging on the upper cup and the frame. i also decided to use foam lining, which is something I have avoided in the past. (Like I said, the stars were aligned or something)
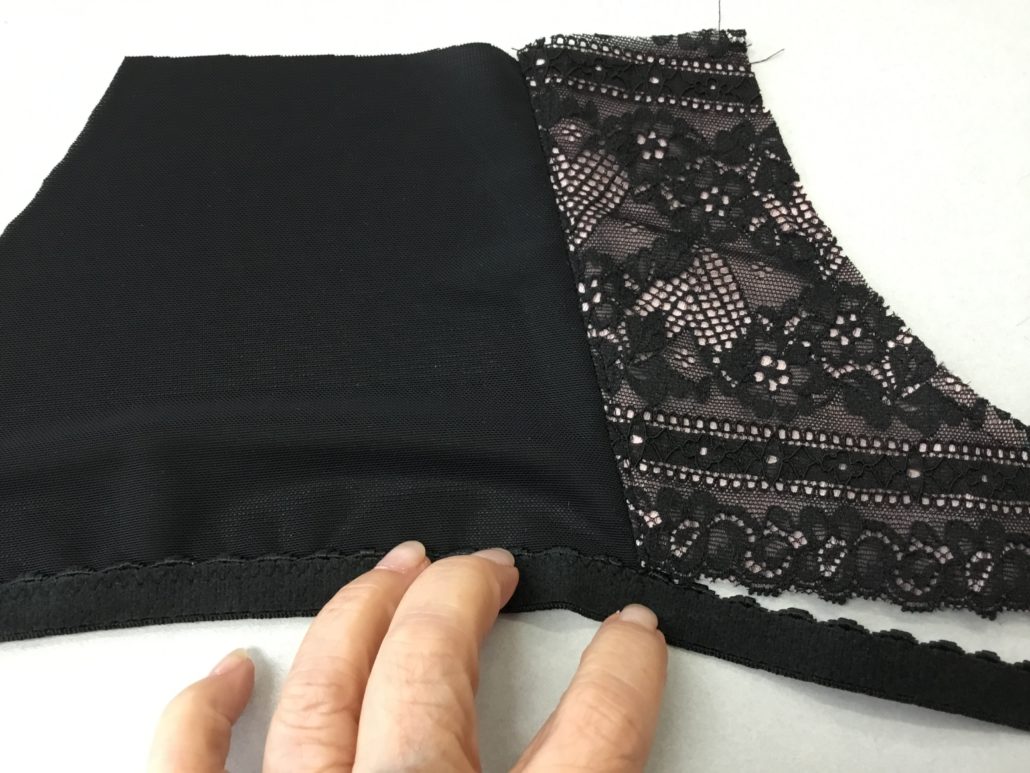
Sew the foam cup together. That’s a breeze, by the way. Use a zig-zag (width 4 mm and length 1 or 1.5 mm) and zig-zag across two pieces that have been butted together. Yes, I still mark the match points. Those pieces can easily get flipped around. I also added the fold-over elastic binding to the upper cup edge.

The short strap extension is next. I lined it with Duoplex. One thing I am particular about – I have a pink bobbin and a black bobbin and I switch them as I need to to keep the colour the same as the fabric is shows against. It’s an extra step but it is worth it, I think.

Then sew the strap extension to the upper cup. I used two rows of zig-zag stitch but you can’t even see the stitches.

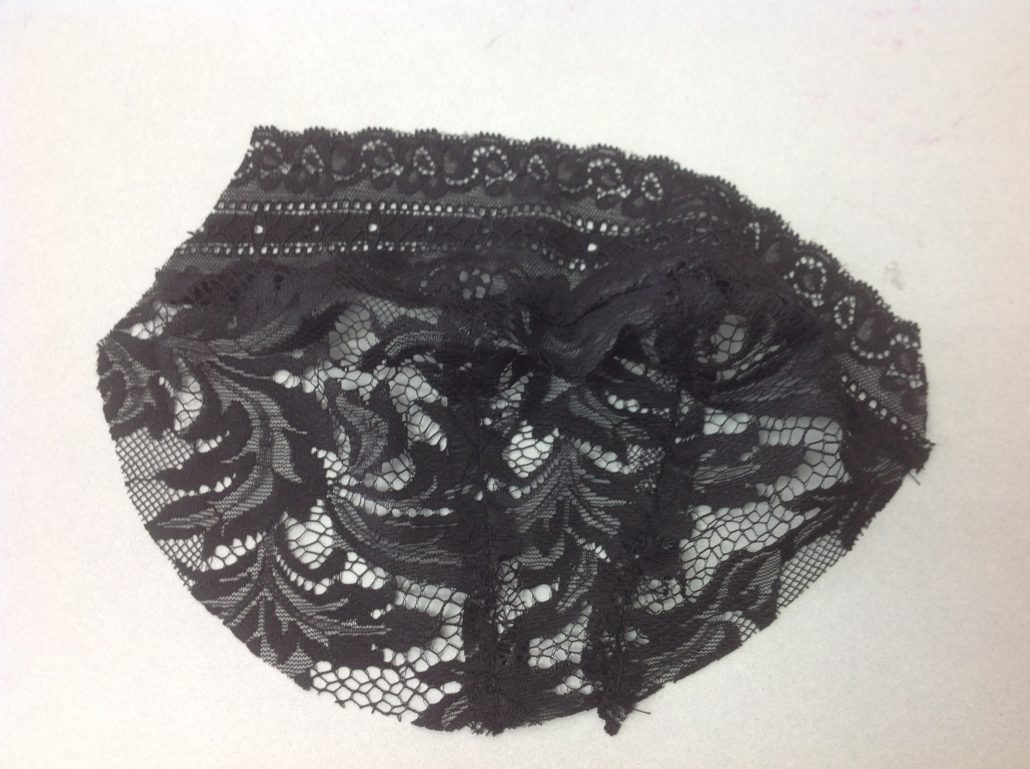
The cover is pretty normal construction. I pressed the seams open on the lower cup and used a three-step zig-zag to topstitch over the seam. I used our Chantilly Lace fabric on the lower cup, and it’s pretty forgiving with the stitching. But the seam to the upper cup, I pressed upward and did a single row of stitching.
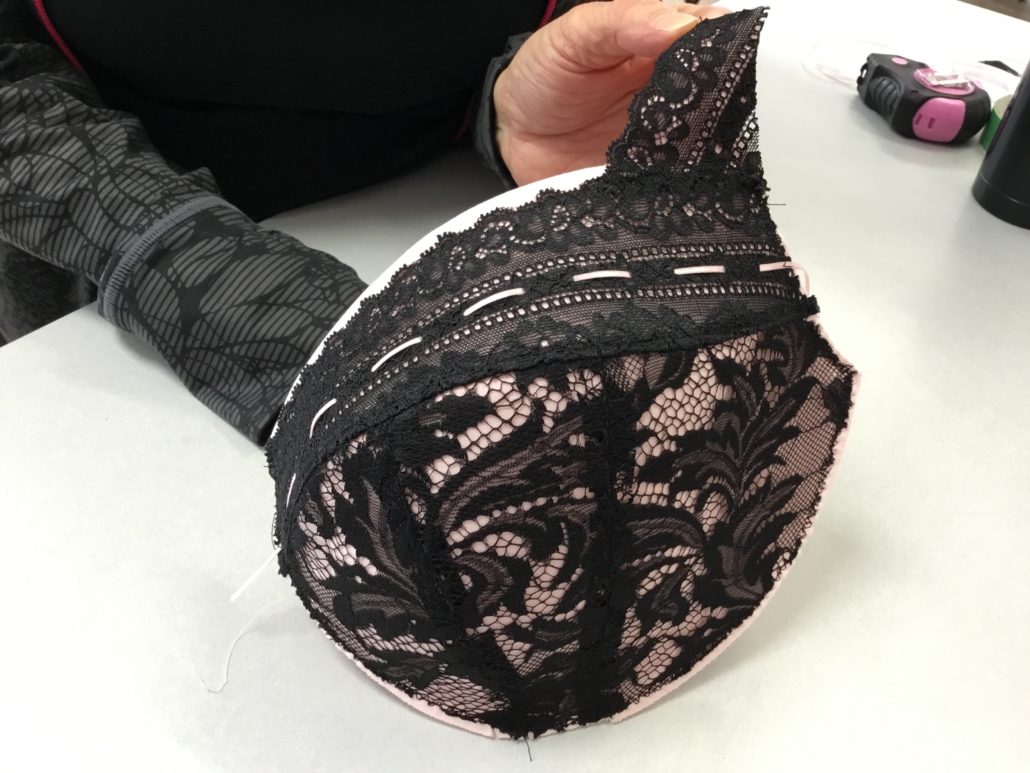
Then I put the cup cover over the foam. I positioned the lace edge down a bit from the top so the fold-over would show through. Then in a flight of fancy, I added a very narrow pink ribbon in the holes in the lace. This is an Amethyst for me, after all! Just a word to the wise, the Chantilly lace is non-stretch, so I wish I had allowed about 1/4″ extra around the wire line to allow for that. That would have made the cover easier to apply. You can see the lace in a bit on the wire line. I had to move it in that bit to keep the cup from collapsing when I smoothed the cover over the foam.
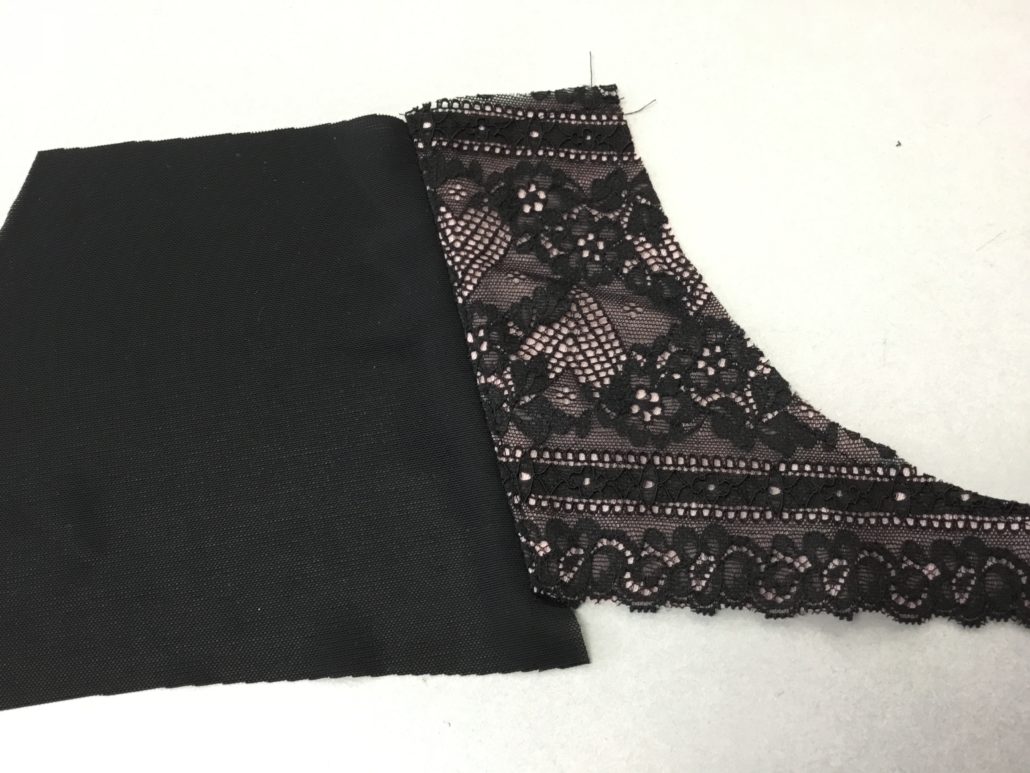
The Lace Edge Band
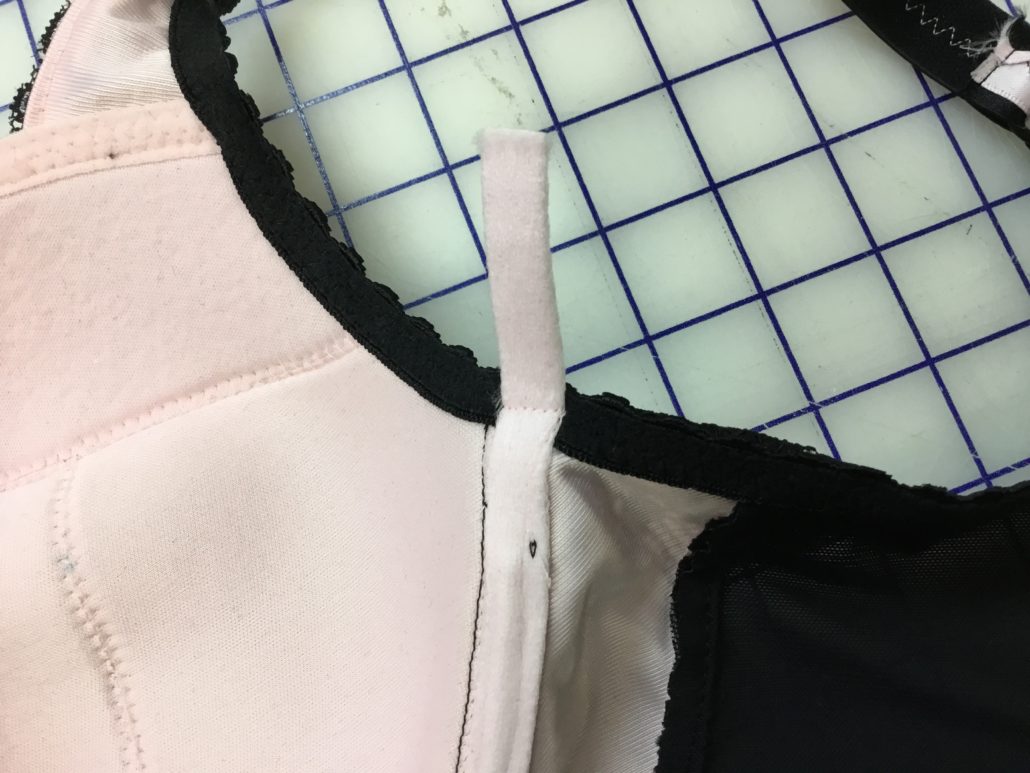
Notice the back band, when sewn to the front frame extends beyond a bit? That’s the way it should be, in order to sew on the bottom band elastic.
When you sew the elastic on, use a small zig-zag (width 2 mm and length 2 mm) to stitch it to the back band section. Measure the elastic the same length as the front lace frame, then continue sewing the back band elastic on the other side. The elastic should meet the front frame exactly. Don’t sew the elastic on the front frame yet.
Turn the elastic to the inside of the band. Stitch the un-sewn edge with a three-step zig-zag. When you come to the front fame position the elastic so that it covers the raw edge of the lining (in this case pink duoplex). Finally go back to your small zig-zag and stitch along the bottom edge of the elastic on the lace section. (It’s hard to see on the black, my apologies)

Putting the Amethyst together is easy from here on. One thing I will show you to another way to finish the channel. After the top band elastic is on, I topstitch the channel right to the top and insert the wire. But I don’t cut off that channel tail.
I fold it back on itself and hand sew it in place. Even though it’s not the prettiest looking technique in my skill set, I do this for three reasons:
- The channel is easy to open up if the wire needs replacing. Hand stitching is a LOT easier to remove than a bar tack.
- The wire does not extend all the top of way to the channel (I’m an Omega so that’s pretty normal). That extra layer of channel helps keep that area upright.
- That extra layer helps cushion my tender underarm area against potential underwire rubbing.

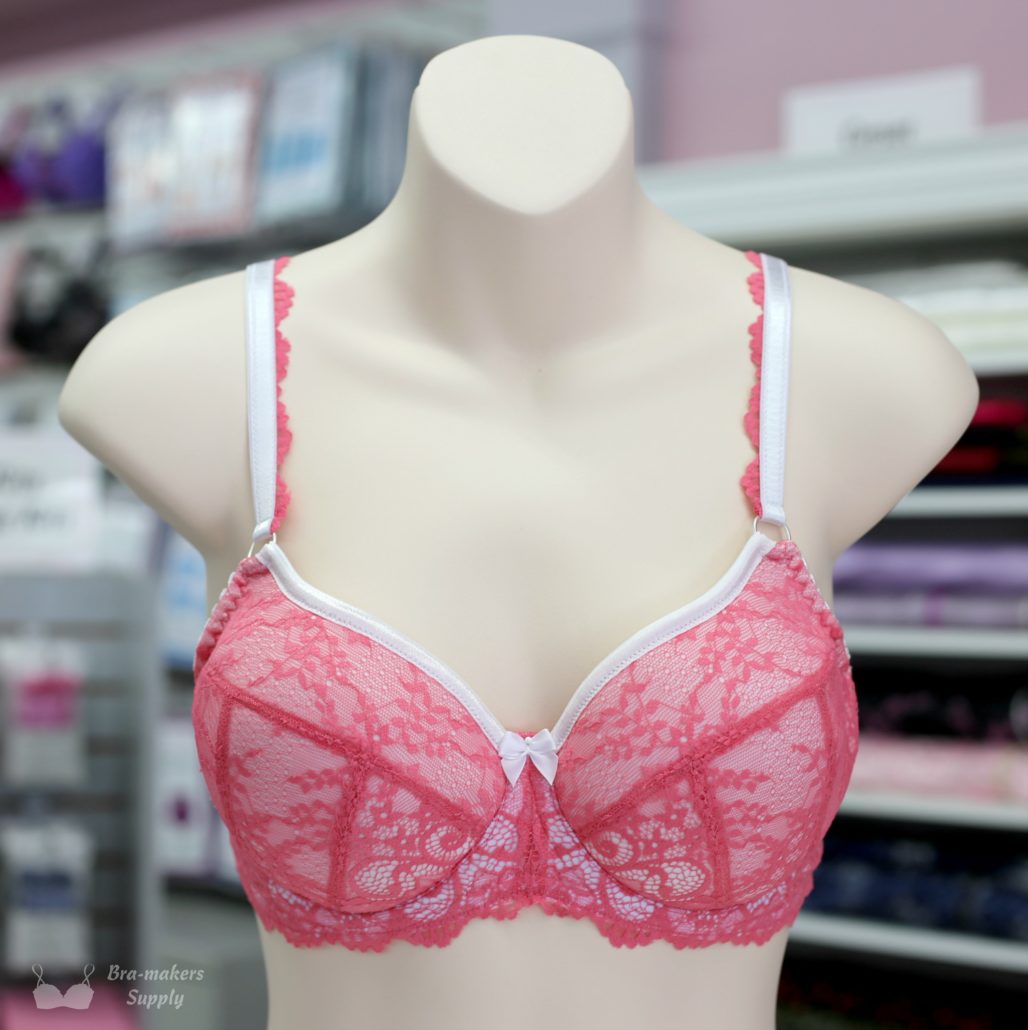
One other thing about the Amethyst pattern. It is completely interchangeable with the Ruby pattern. That means if you love the lace edge upper cup, but you prefer a plain band, you can use the Ruby band and the Amethyst cup. Likewise if you prefer the tailored look of the Ruby cup with its fold-over binding along the neckline edge, but you love the lace band of the Amethyst, you can switch those up too, like Denise did here.
So here is the Amethyst for me. Is it too pretty to wear every day? Should I save it for “special occasions”? No way! I am going to wear this Amethyst and show it off whenever I can!
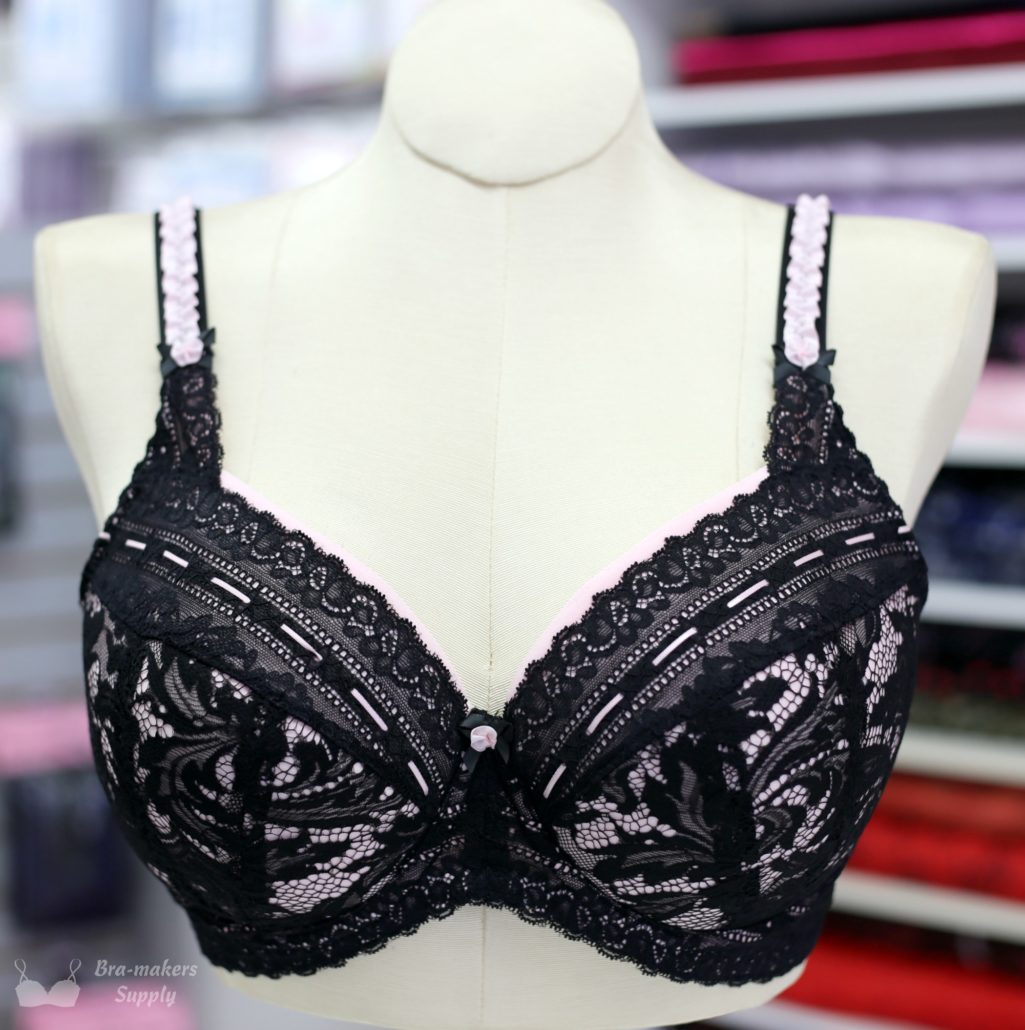
Amethyst Lace Bra Bra-makers Supply Pink and Black


I love it and love the straps.
What treatment did you go on the straps? They look scrumptious: 🙂
I thought someone might notice those straps! I will be doing a blog post (SOON) on those straps all by themselves!
I don’t seem to find the blog for the straps 🙁
Can somebody help me out? Thx!
Both of these are gorgeous, but the Amethyst stole my heart, even thought I’m not into lace. Must give it a try! Thank you for a very informative blog post <3
I love it, and this post! There’s so much information in here. Thank you.