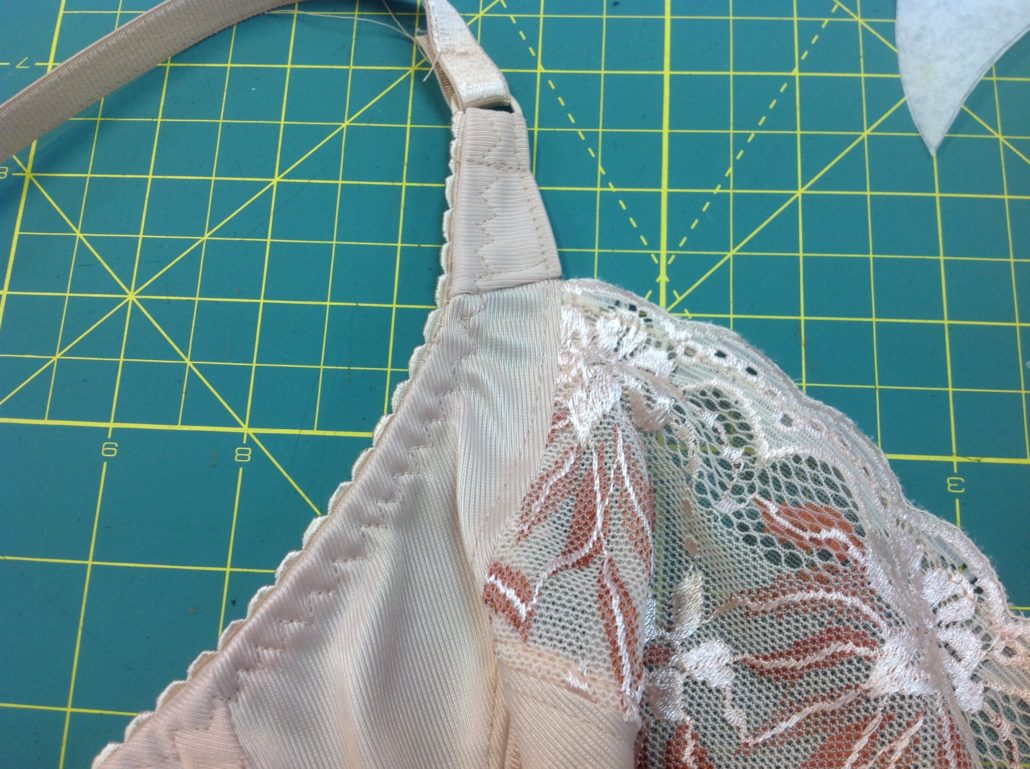
Once you’ve got that first bra under your belt, so to speak, women often turn to the Shelley Bra pattern for their second bra. It’s a great pattern. However the seam join between the power bra and the strap can be bulky. So what do you do then? Some women add a short strap extension to the strap tab, but that still has a bulky seam join as you can see here. How about if I show you a Better Shelley Strap Extension?
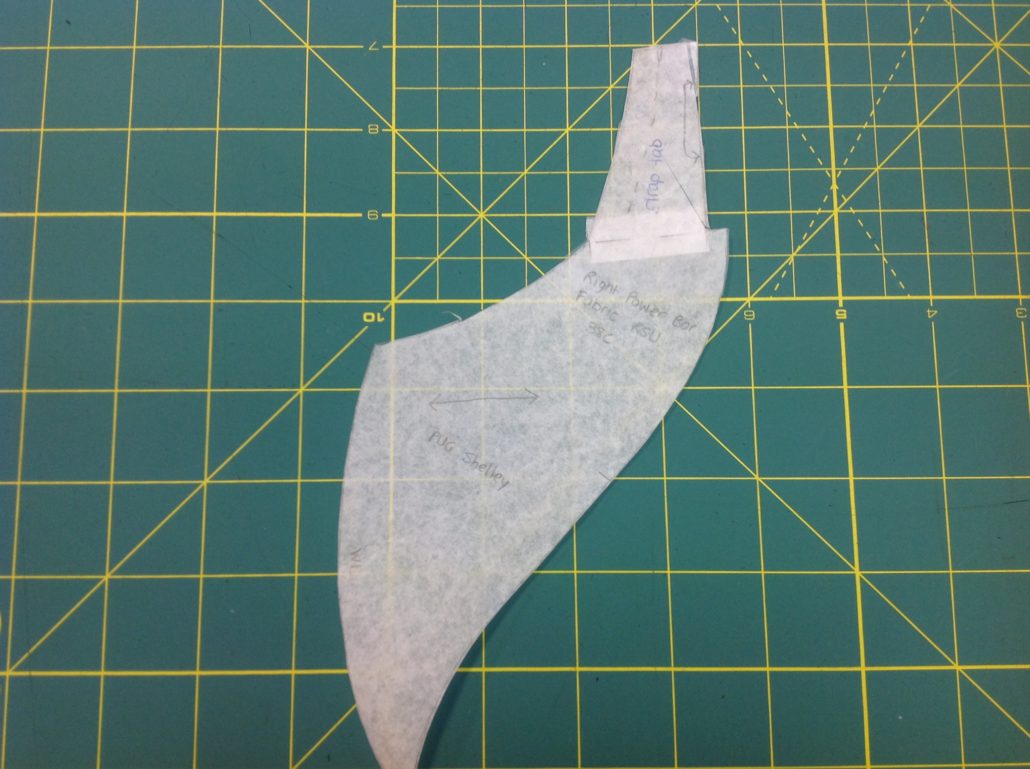
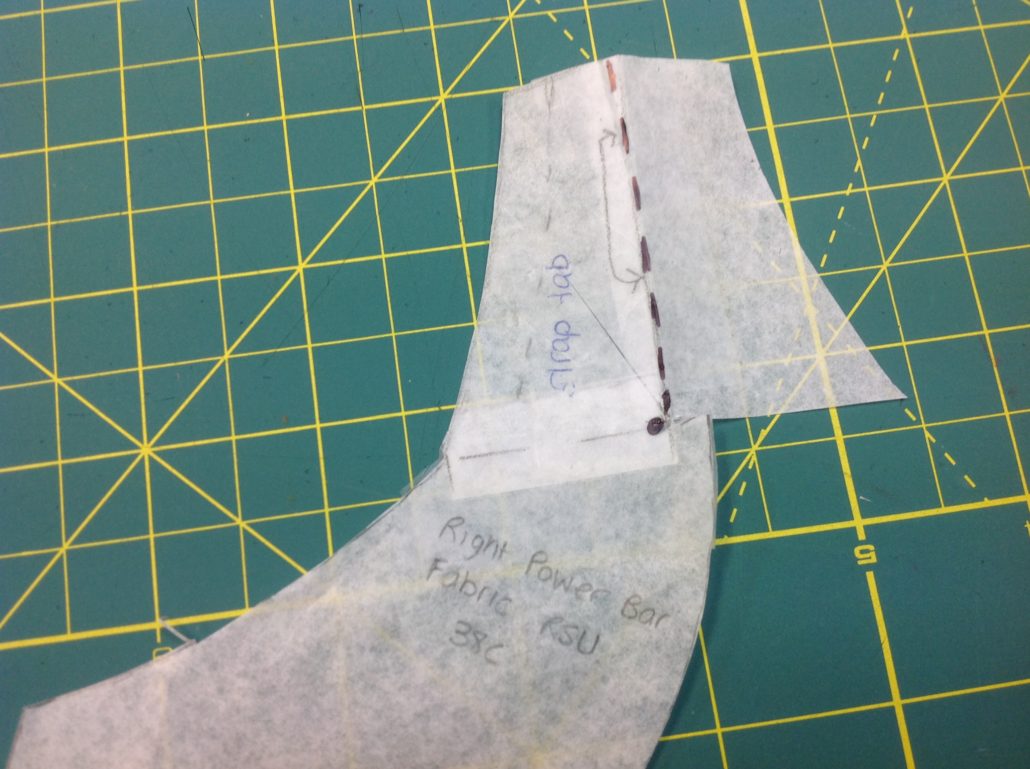
It all begins with a pattern modification. Here is the original Shelley power bar pattern piece.

Then we make a short strap extension as I show in the Craftsy class Sewing Bras: Designer Techniques. Essentially you want to make a truncated triangle piece about 3″ (7.5 cm) long with a seam allowance of 1/4″ (6 mm) along the bottom edge. You also want to mark a “cut on fold” line at the front neckline edge.

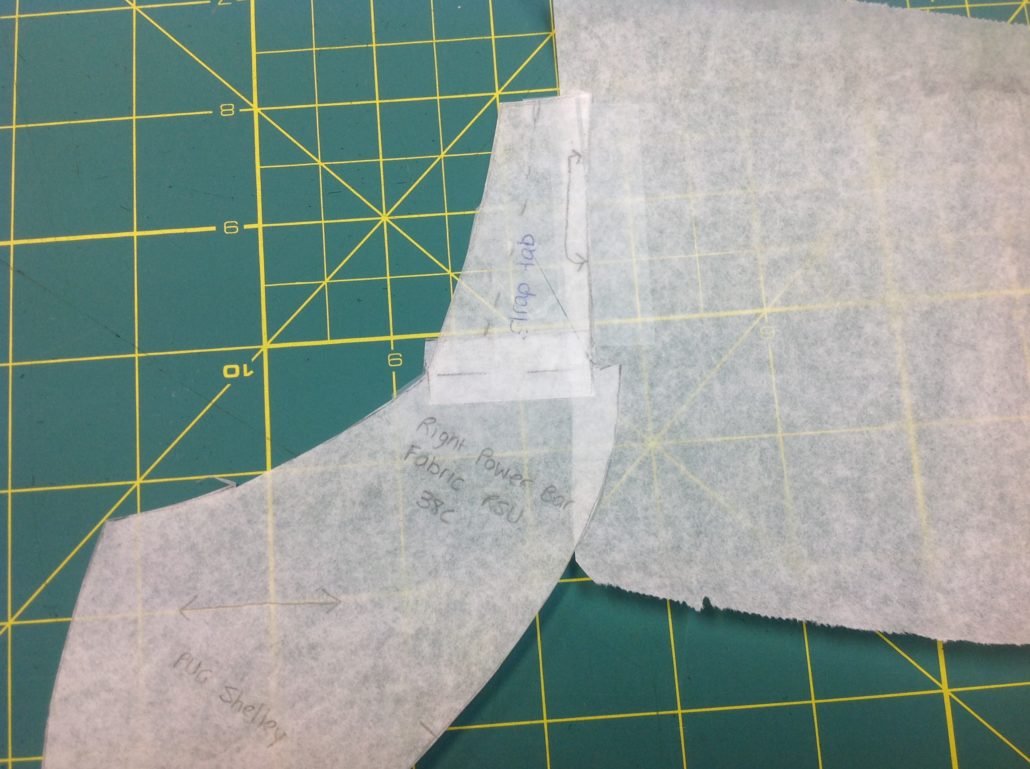
Tape the two pieces together as if they were sewn, aligning the seam line (not the paper edges). The paper will overlap by 1/2″ (12 mm) You will see that the “cut on fold” edge sets back from the power bar by 1/4″ (6 mm). That is correct.
Now for the Better Strap Extension!
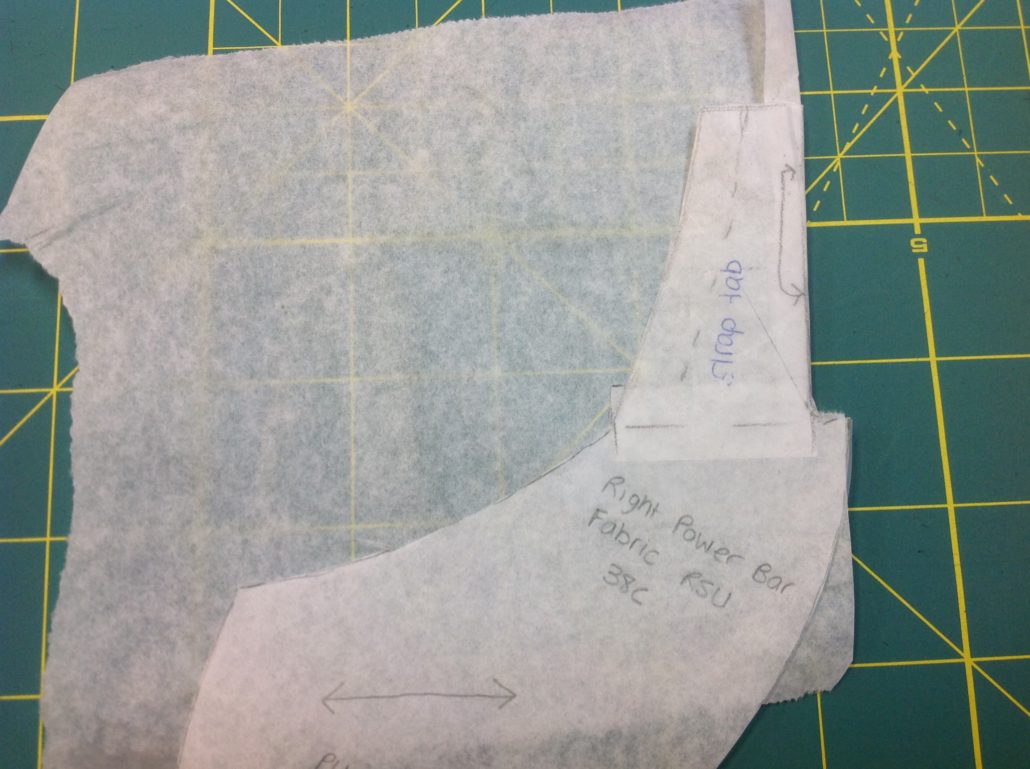
As it is right now, we have to finish off the neckline edge, which would result in a turned under edge that might not look very neat. Ideally, we want that edge cut on the fold so it will be finished without sewing. But how can we do that? We tape a piece of paper to the “cut on fold” edge. Yes, I know this is a bit of overkill here.
Fold the paper back exactly on the fold line.
Cut the strap extension shape so you get a duplicate of the original side. Cut the bottom even with the original seam line. Mark a dot at the bottom of the fold line. There will be a cut in the paper to the dot if you have done this correctly.
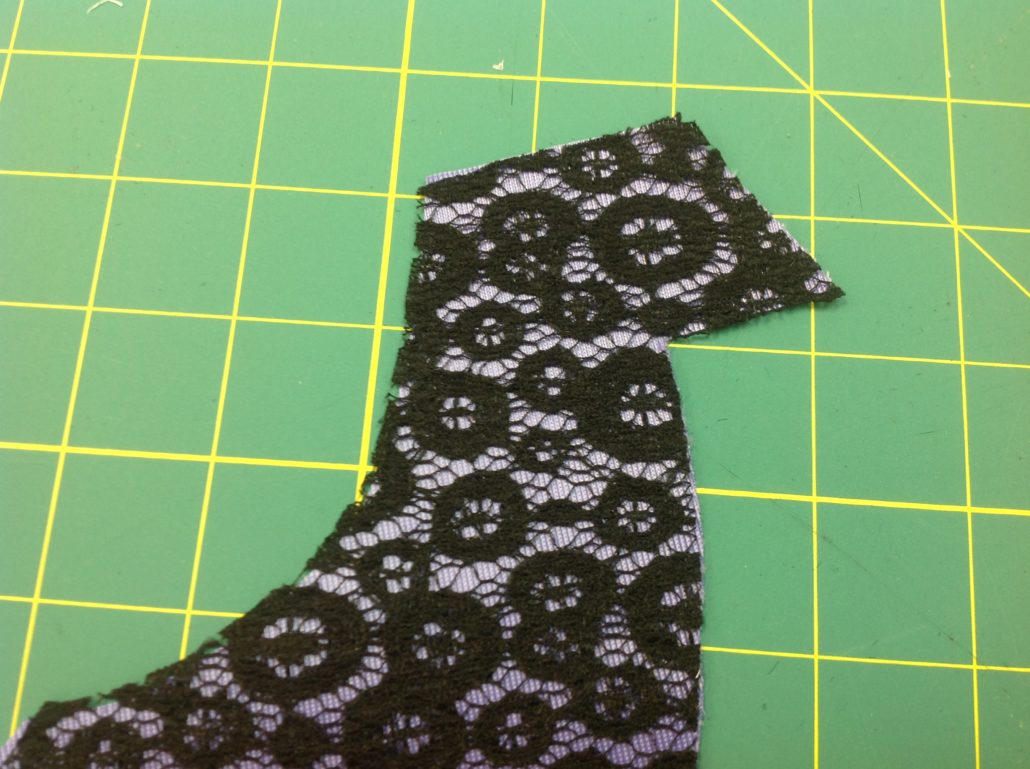
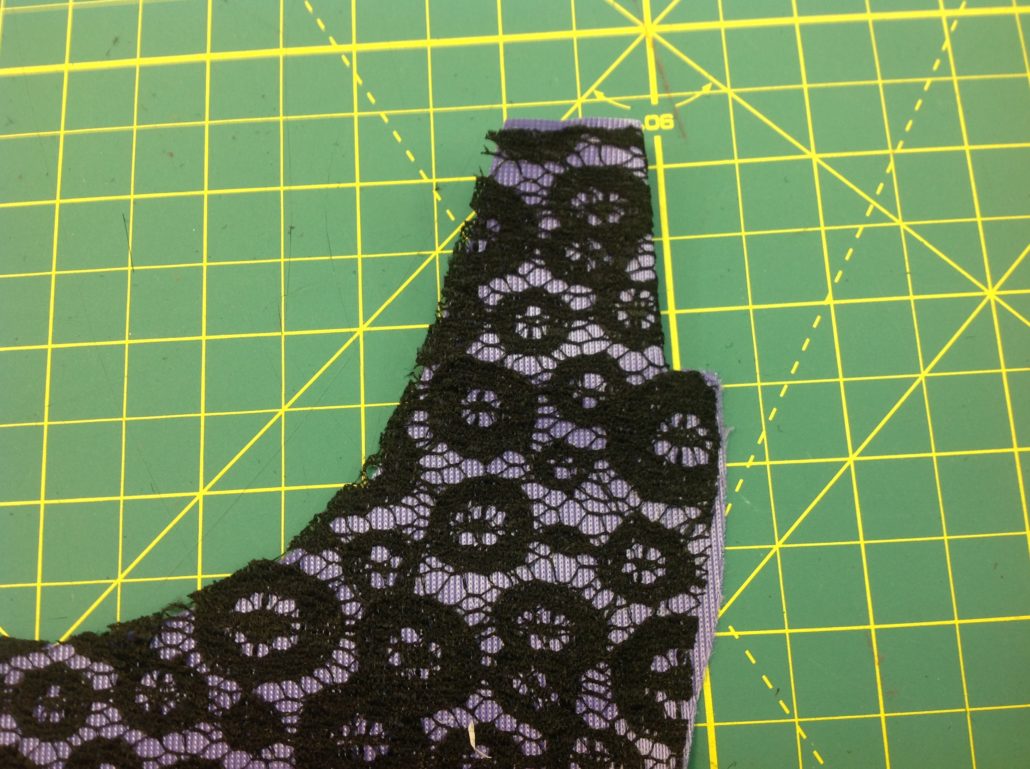
Now you can cut out the fabric for the new power bar. This is lilac duoplex with a black poppy lace overlay.
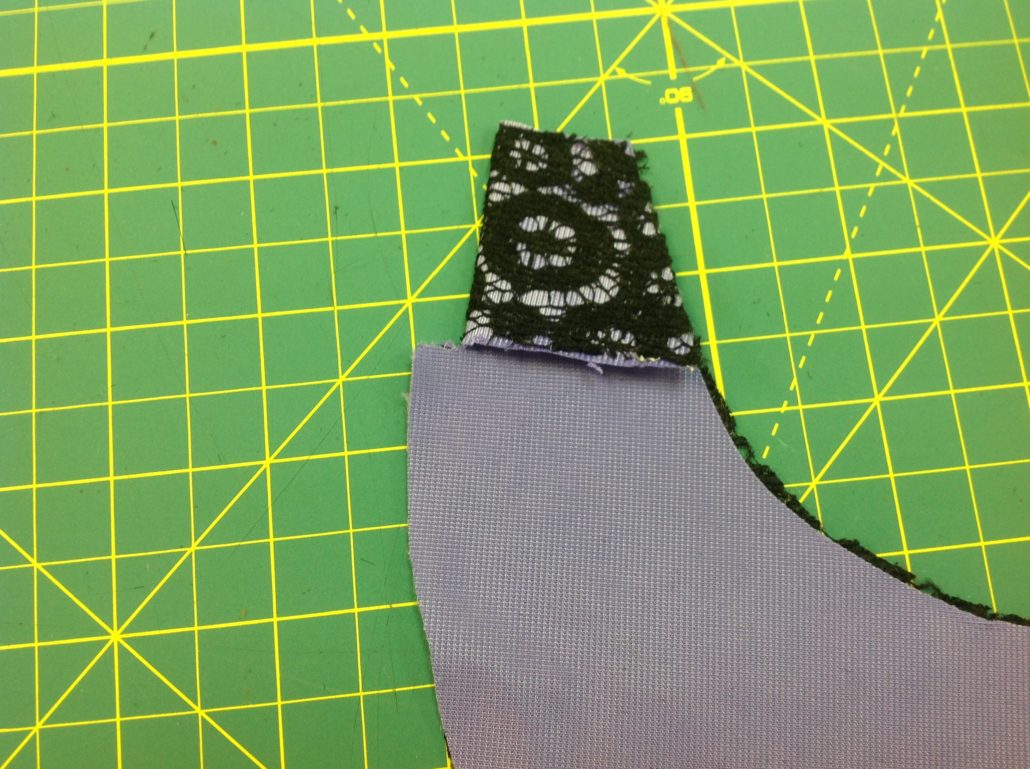
We need to clip to the dot. If we peel the layers apart so you can see it better, we see a clip to the dot on each layer.
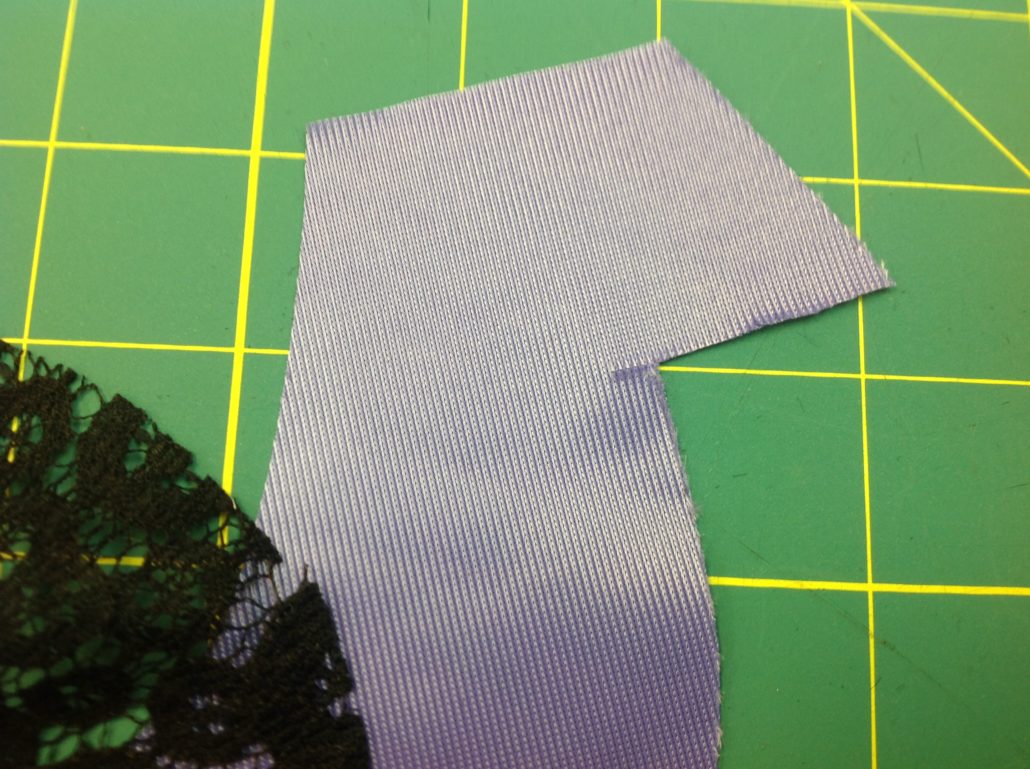
The idea is to fold the strap extension back on itself. Look at that nicely fold edge at the neckline area!
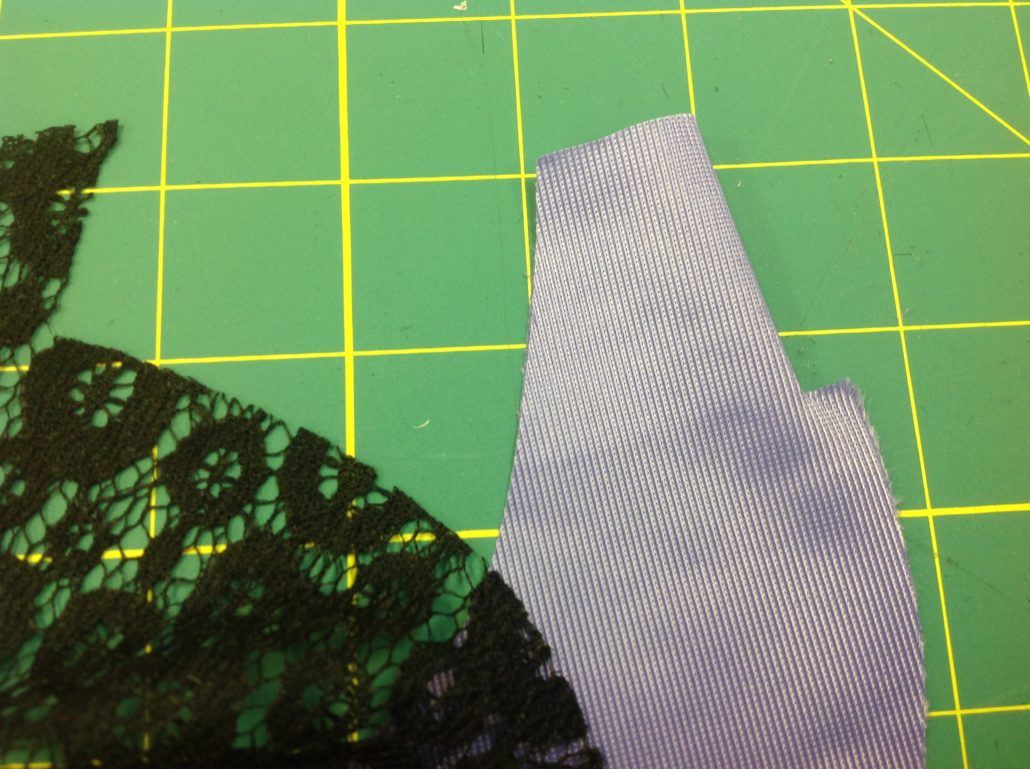
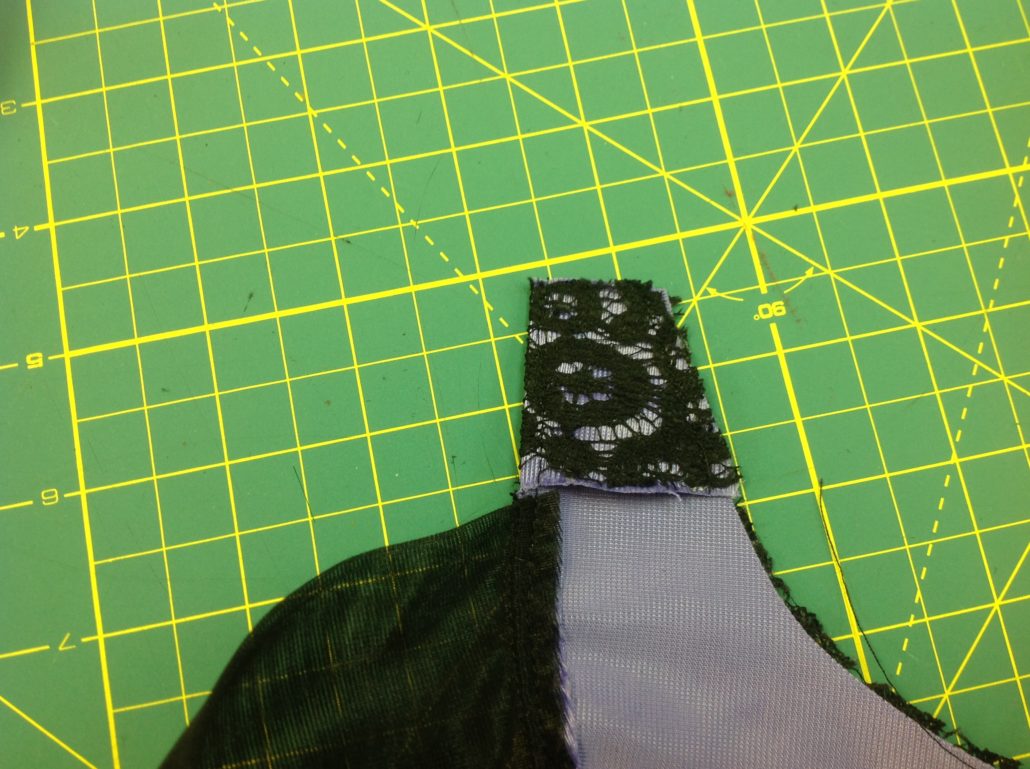
When the layers are put back together, this is what they look like.
From the wrong side, it looks like this
Let’s join the upper cup to the power bar. The upper cup seam should end exactly at the bottom of the fold line.
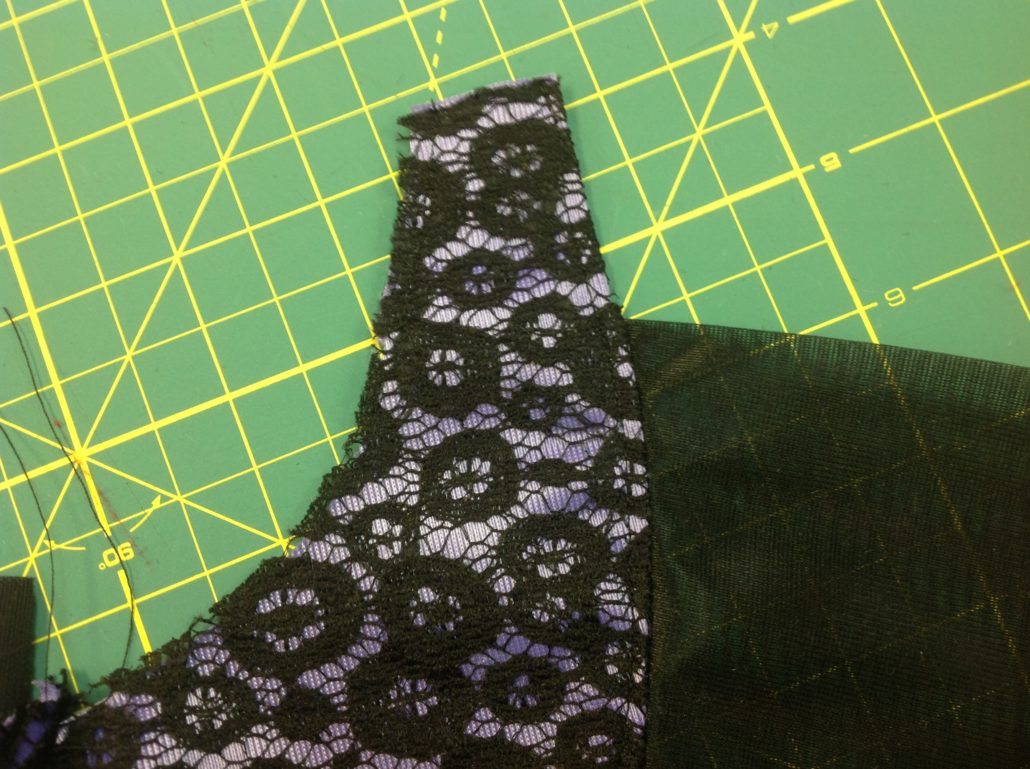
From the right side, a better Shelley strap extension looks like this! You can top-stitch the whole folded edge and power bar if you want to as we have done here.
You can continue on and complete the Shelley as you normally would. There is no need now to have fabric straps – you can use strap tape or strap elastic from the strap extension up. The strap will be attached to the new power bar by means of a ring, or a slider, or a seam if you want.


Thank you, Beverly. I have a question regarding the ‘Shelley’ power bar. I have the ‘yellow’ size range. I am mystified as my pattern piece for the power bar is a complete convex curve (exactly like my Prima Donna bras). It does not resemble the illustration on the pattern envelope or the instructions which is a convex curve turning into a concave curve as is the power bar pattern piece illustrated above. What am I missing?
They are designers choice. You can make it shaped like a “c” or an “s” and make it shaped any way you want. You just overlap the pattern so the seam lines are aligned alont the power bar seam (power bar, upper cup, middle lower) and draw it any shape you want it. It’s a design choice, not a fit choice.
This is just what I need! Thank you for sharing!
Terrific – thank you!