October is Breast Cancer Month. Every year, breast cancer claims the life or the well-being of someone we know. Studies indicate that 1 in 4 women are affected by breast cancer in some way. But is there something we can do for those women who have undergone a mastectomy? Yes there is. We can make a mastectomy bra (and the prosthesis to fill it) at home, right in our sewing room. Here’s how to make a mastectomy pocket for the Classic, Shelley and Ruby patterns. or any full band bra, for that matter. It’s not difficult and believe me, it will be very much appreciated.
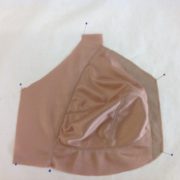
It is easy to draft the pocket if you start with the bra partially made. Spread the bra right side up on a foam core board covered with some paper. Pin the bra so that the underarm edge, the neckline edge and the frame all make contact with the paper underneath. The cup itself will be all crinkly, but that doesn’t matter. Trace around the edges as shown (this is for a right breast form).
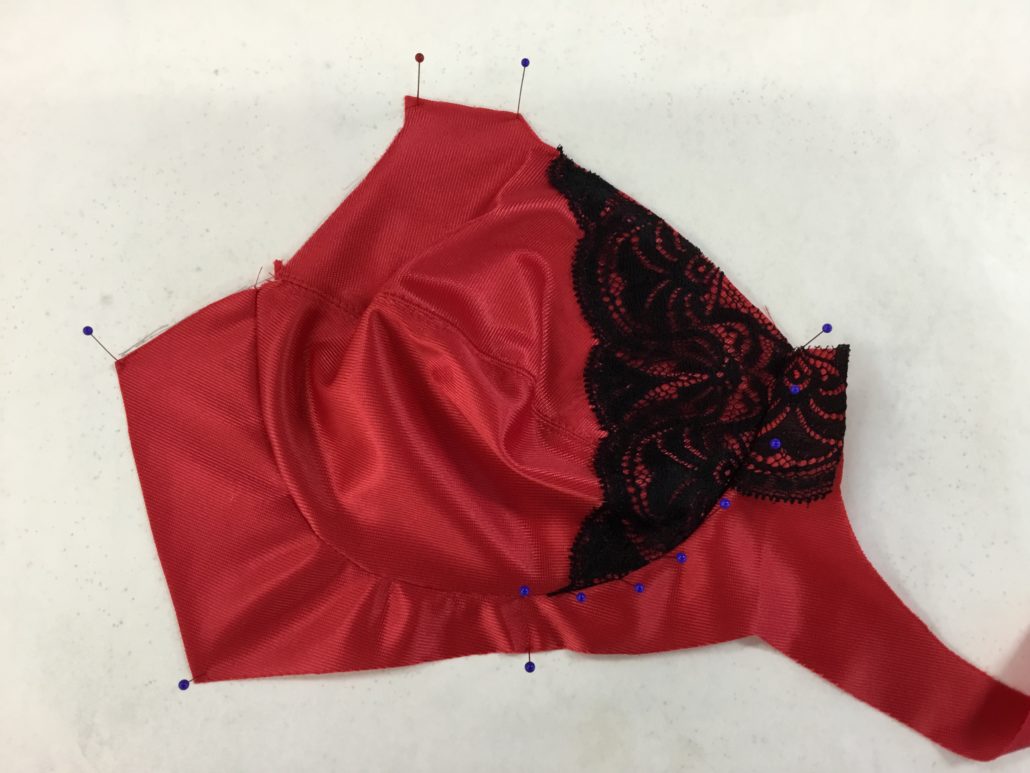
You’ll need to mark the curve around the front wire line by punching through the fabric with pins, then lift the frame up to reveal the seam allowance underneath. Trace around that curve so you will have the true size to cut.
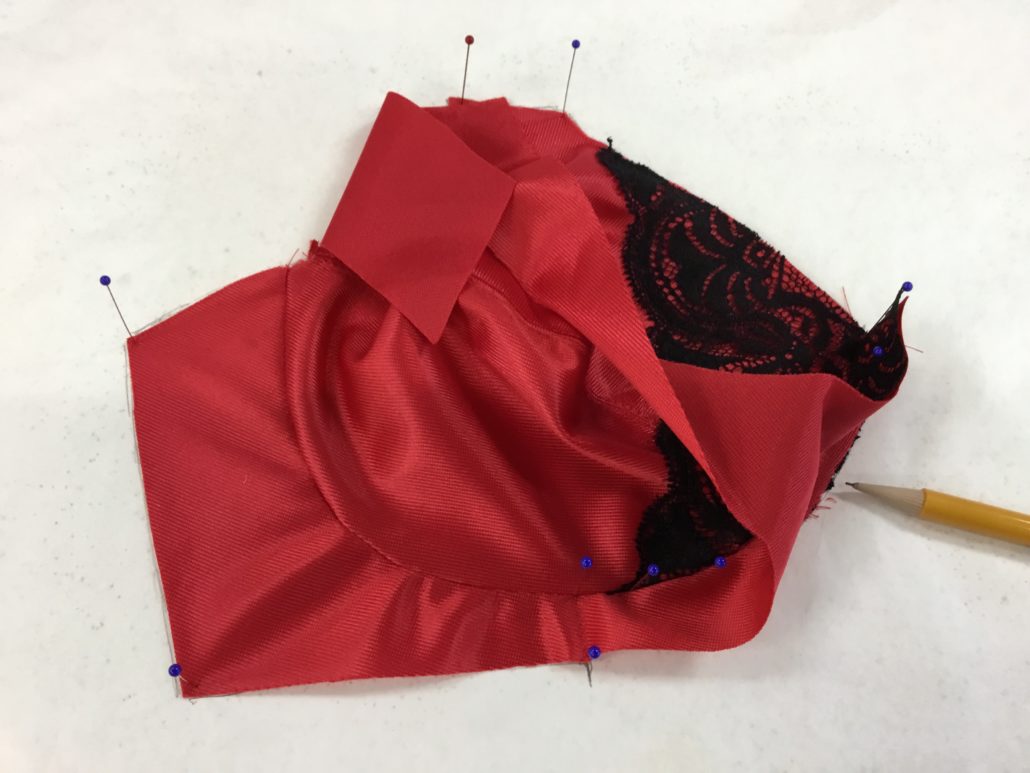
Here is the traced footprint with the seam allowance of the wire line indicated.
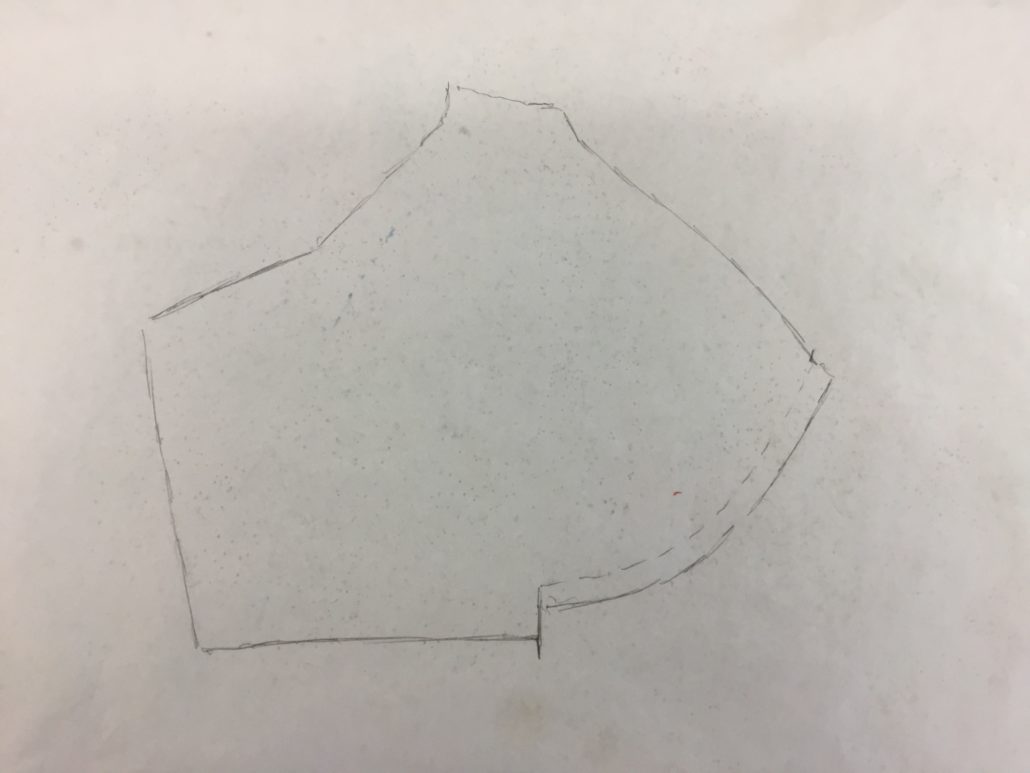
Drop a line from the innermost side of the strap to the bottom edge of the bra frame.
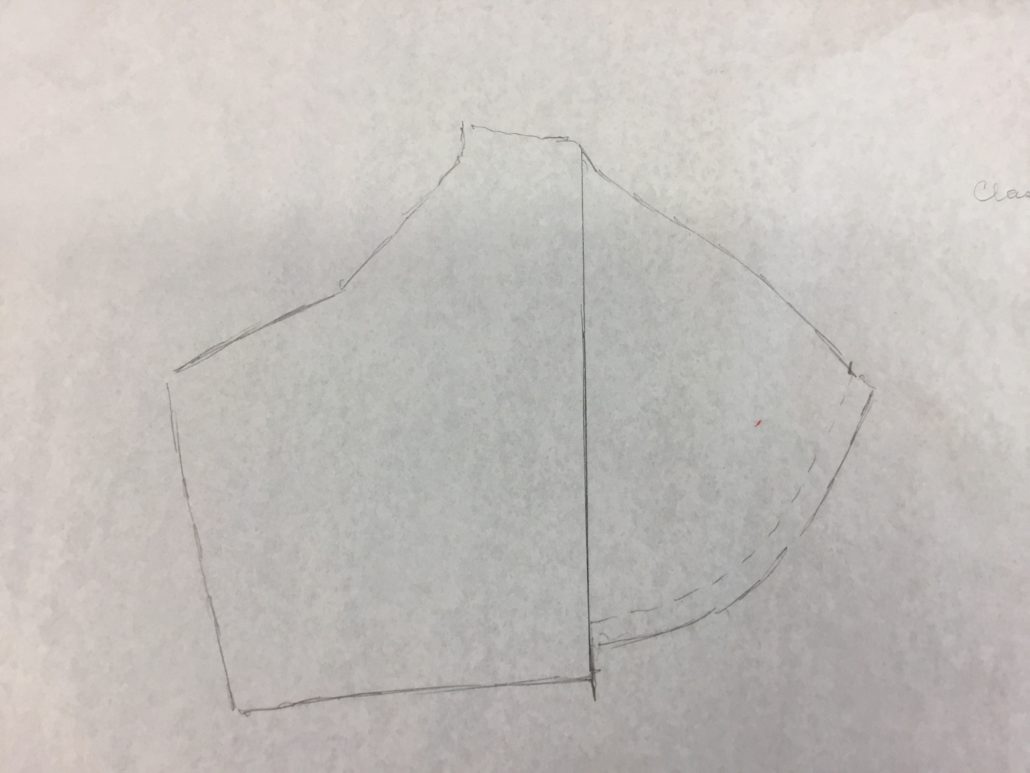
Next, drop a second line from the outside edge of the strap. The lines really are parallel, but the camera was at an angle. Thus, the lines appear uneven. These two lines are the area that will overlap when the pocket is separated into two parts; the inner and the outer.
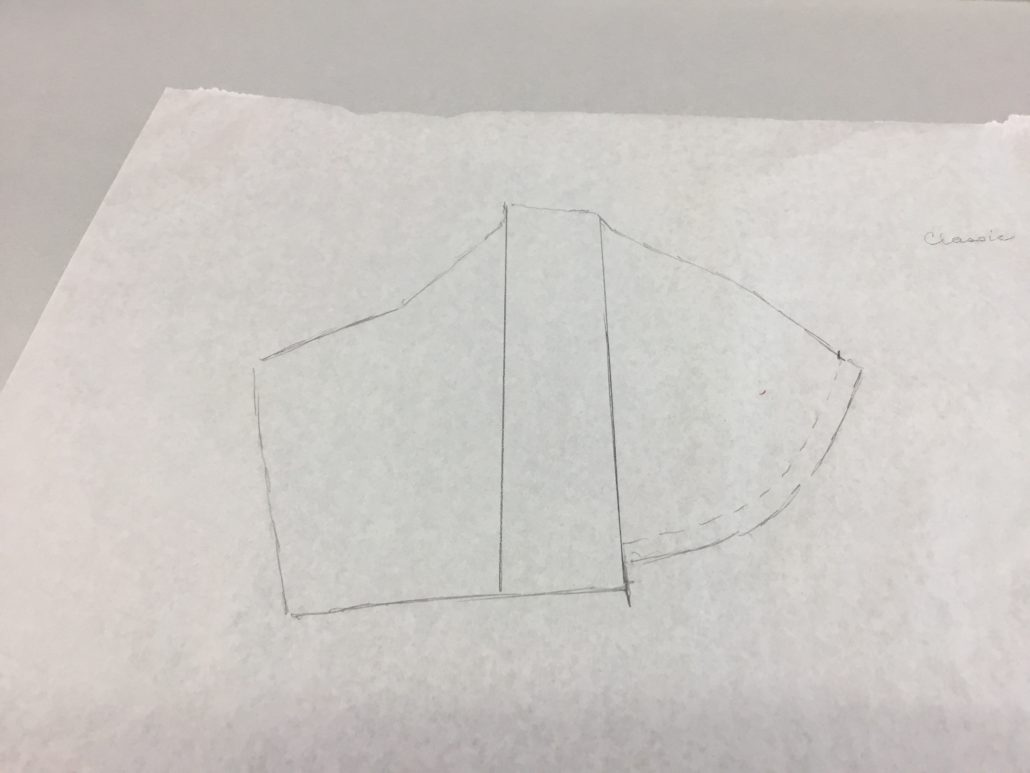
Trace the inner section shown in red. The inner section extends to the outside of the strap and all the way down to that funny little jog at the bottom.
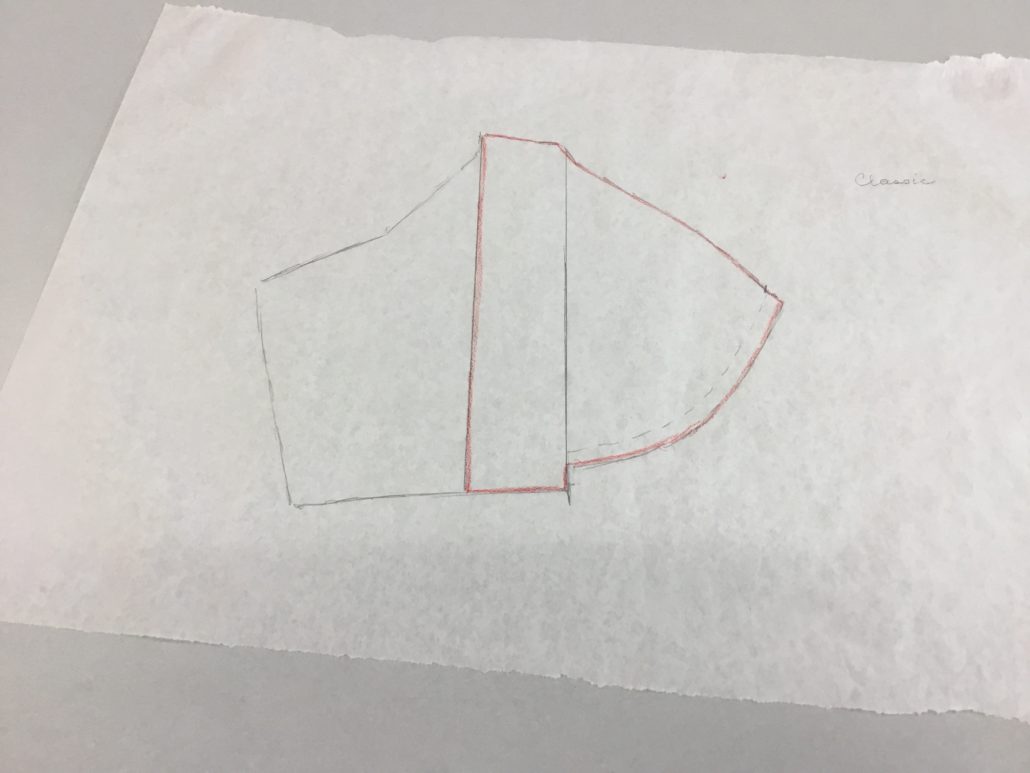
Trace the outer section (shown in blue.
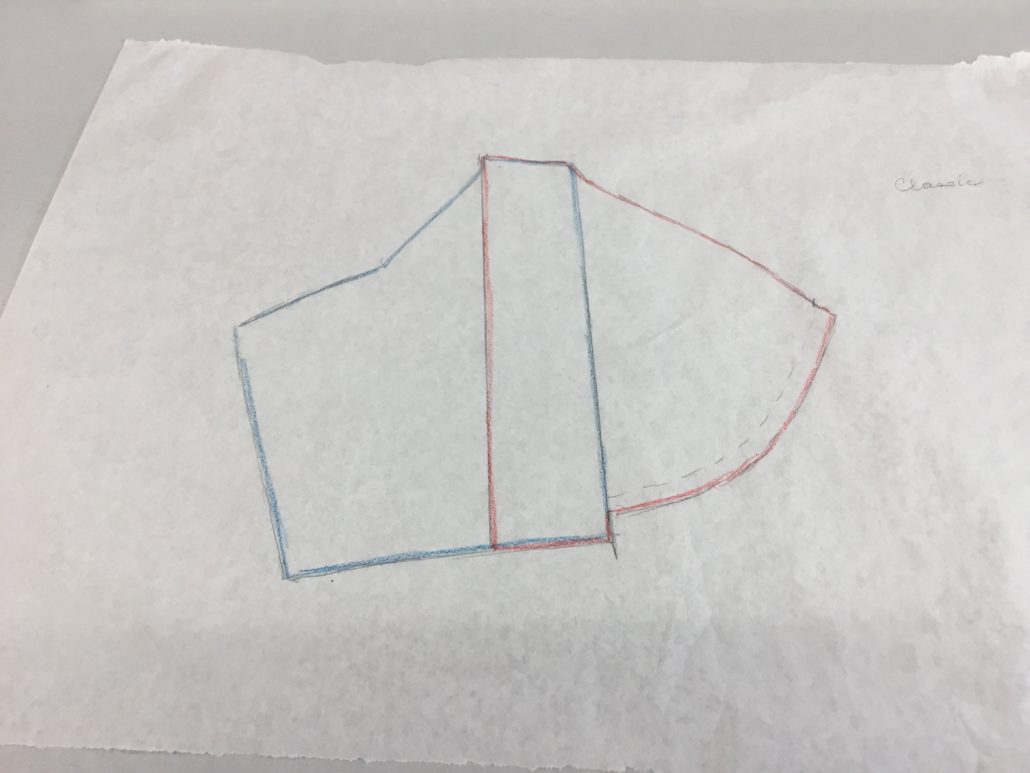
Now the draft is complete. We need to trace each side of the pocket. On the inner section, let’s get rid of that funny little jog (shown in black).
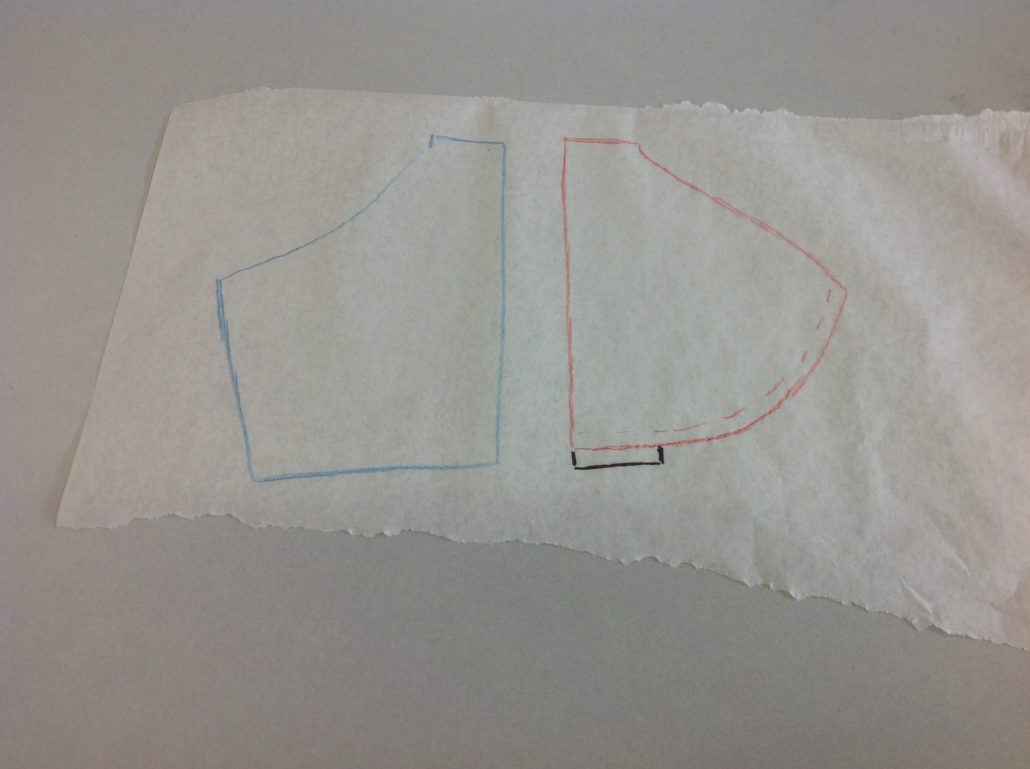
Now let’s sew!
Use a soft, stretchy fabric such as bamboo rayon or organic cotton jersey to make the pocket. Finally, use a serger to finish off those two raw edges. You may use pinking shears, but there is no need to hem those edges – that tends to make the edge more irritating. Pin and stitch the inner cup to the wire line and neckline.
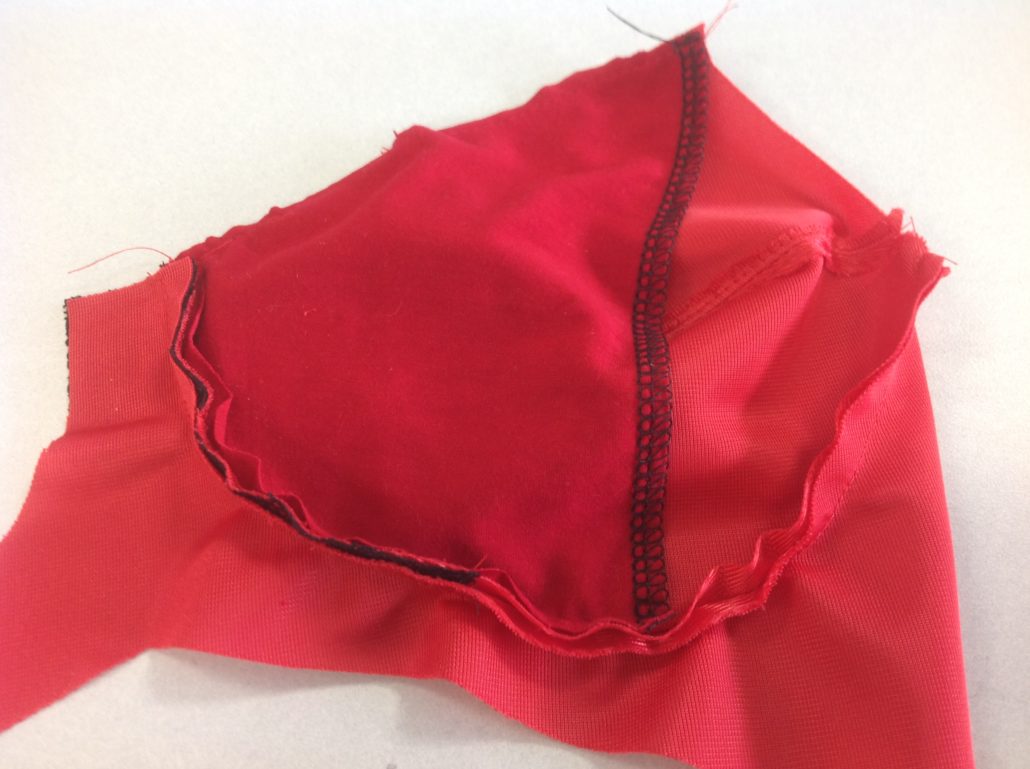
Sew the channeling around the cup. The channeling will finish the edge and keep the cup from stretching out too much. Topstitch the channeling to the frame as you normally would. Then sew the outer section over the cup, matching the side seam, underarm edge and bottom edge.
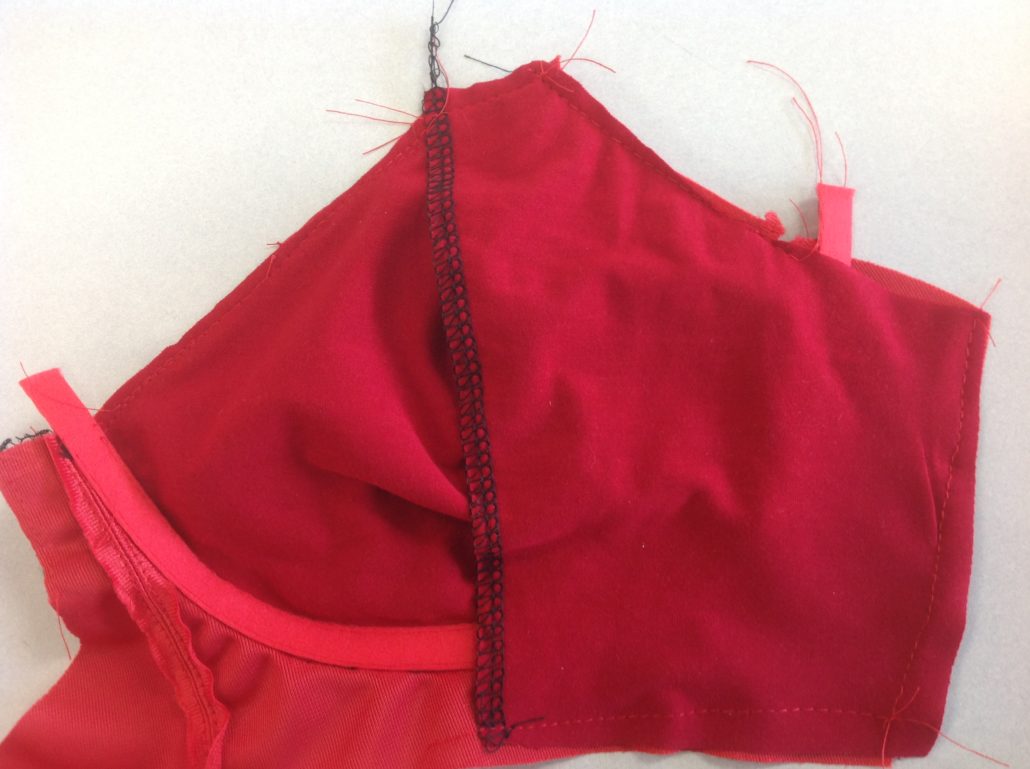
To finish the bra, sew the back band to the front frame.
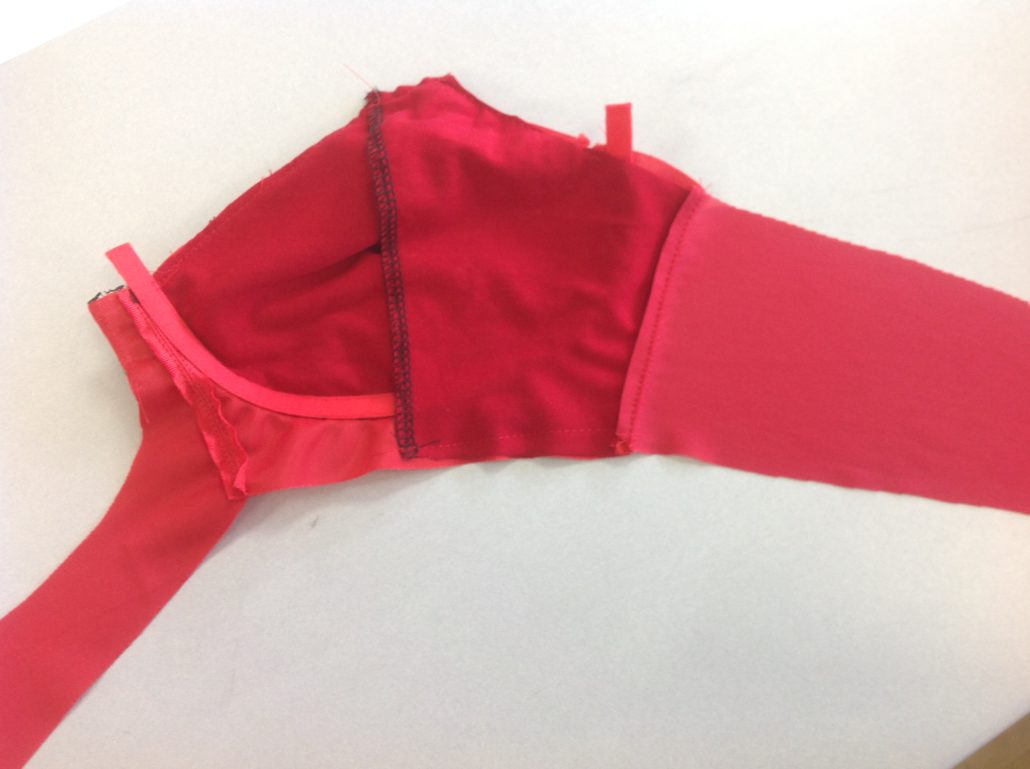
Apply the bottom band elastic.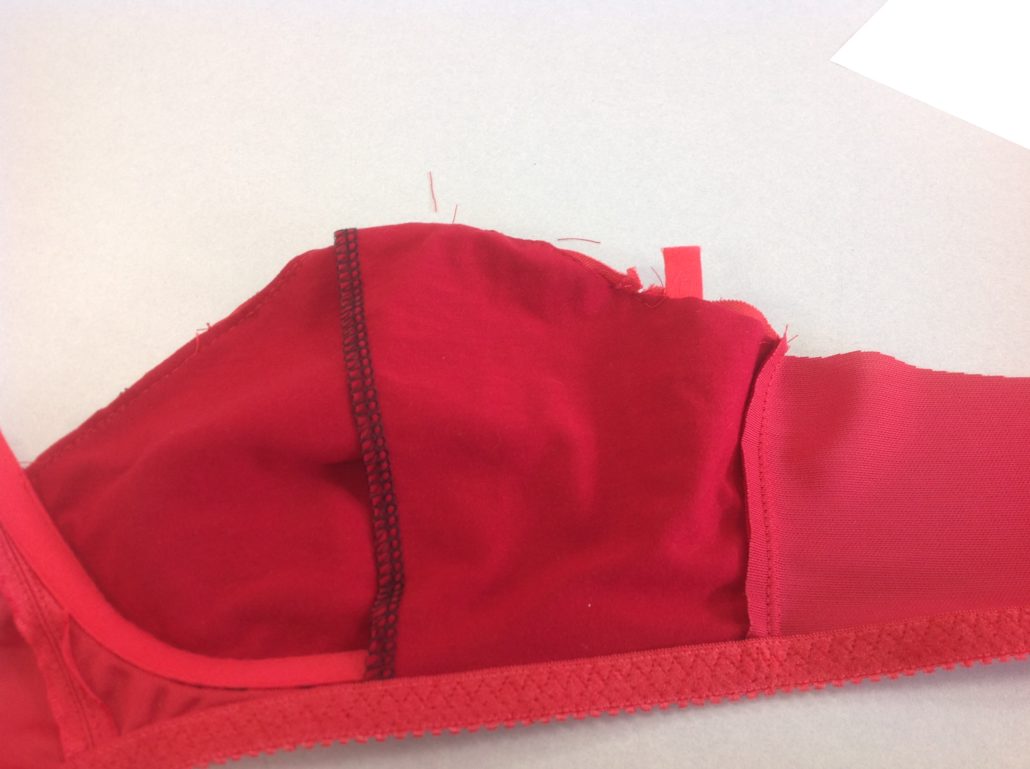
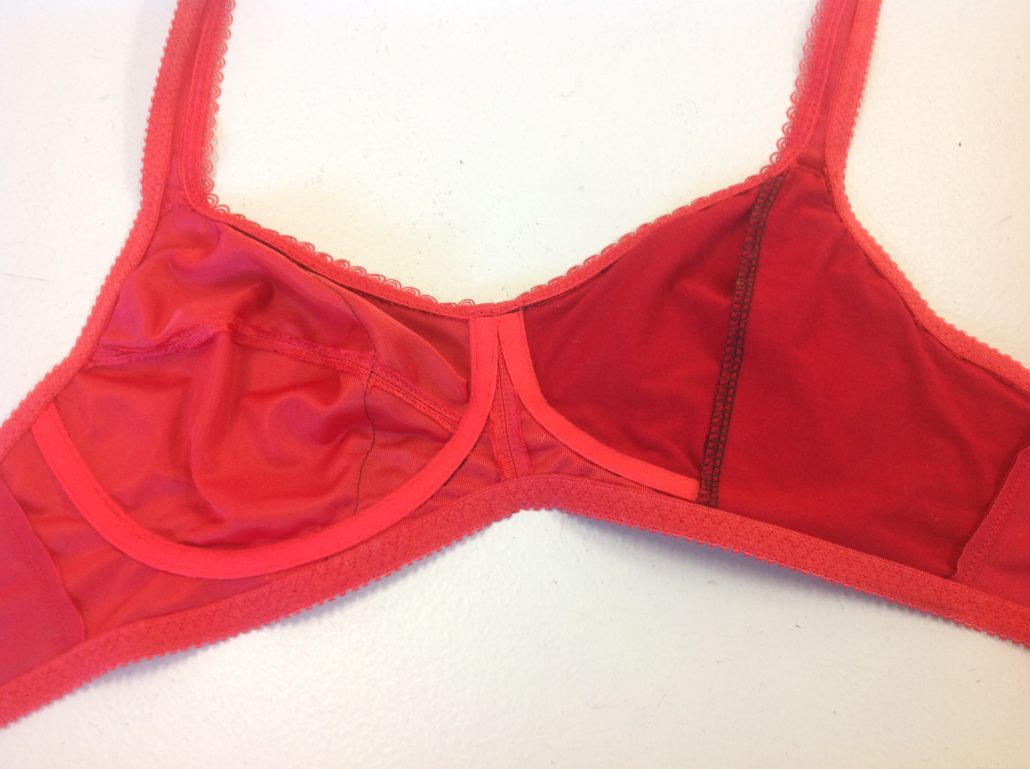
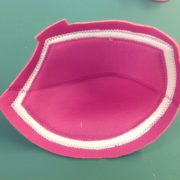
Finish the neckline and underarm edges as you usually would. The pocket will be caught all around the perimeter so the breast form cannot escape, but you will still have full access for inserting the form. Here’s the finished bra inside.




this will be my first attempt to make for a friend in need . Thanks so much for the tutorial . I have all your classes on craftsy but did not have the confidence till now to try this bra design. Love it!
Thank you for this tutorial. I have spent many hours trying to draft the pocket.
pourquoi nous ne pouvons pas faire la traduction en Français? RÉPONSE .
Unfortunately I do not speak French and cannot do the translations. I am sorry.
What a great post! I love this idea.