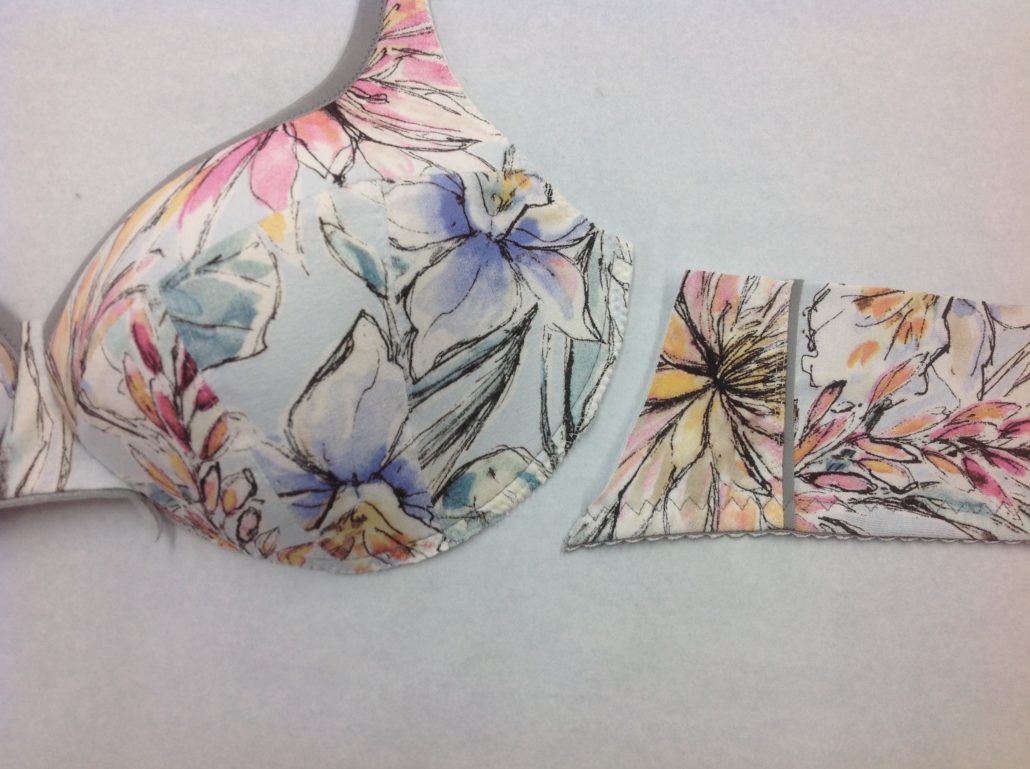
We got a lot of comments when we posted this lovely Sapphire bra on social media. Denise, our talented instructor (and member of our small but mighty design team) made this using one of new printed fabrics. True to her style, Denise added piping in some strategic areas. Today we’ll share with you how to make a piped Sapphire bra. The techniques we show here will work on any partial band bra and they are not difficult to do. First, sew both the foam cup liner and the printed fabric cups separately. This printed fabric is far to stretchy to use by itself for the cup.

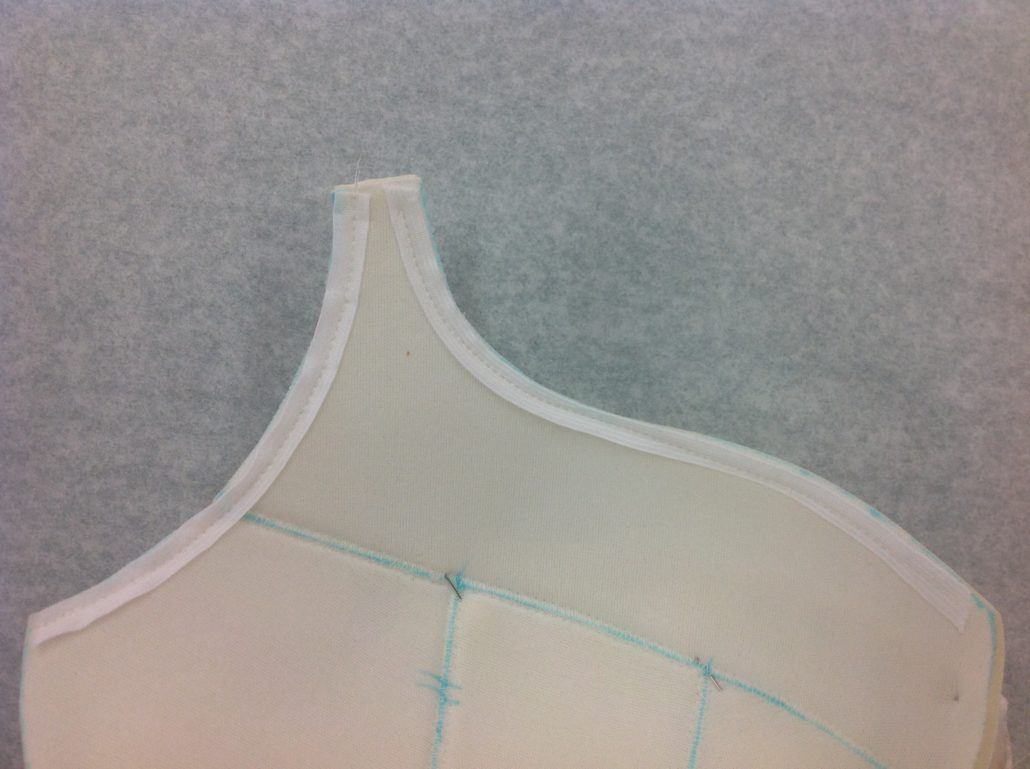
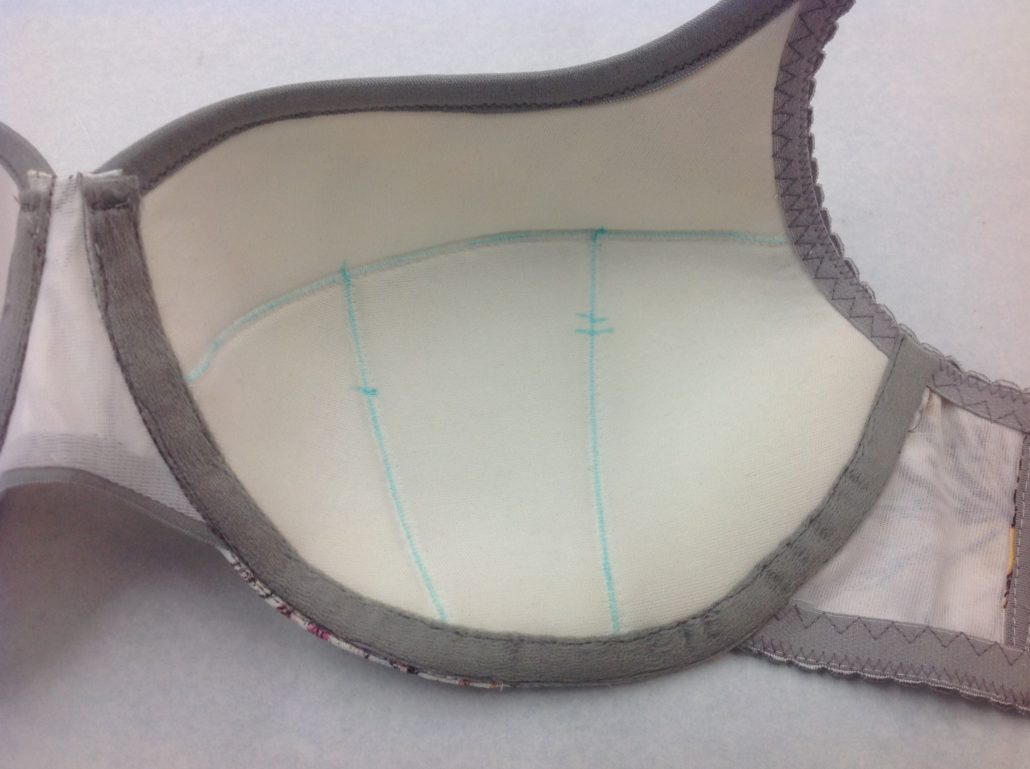
Then add stabilizer tape along the neckline and underarm curves of the foam liner. This will keep those edges from stretching out.
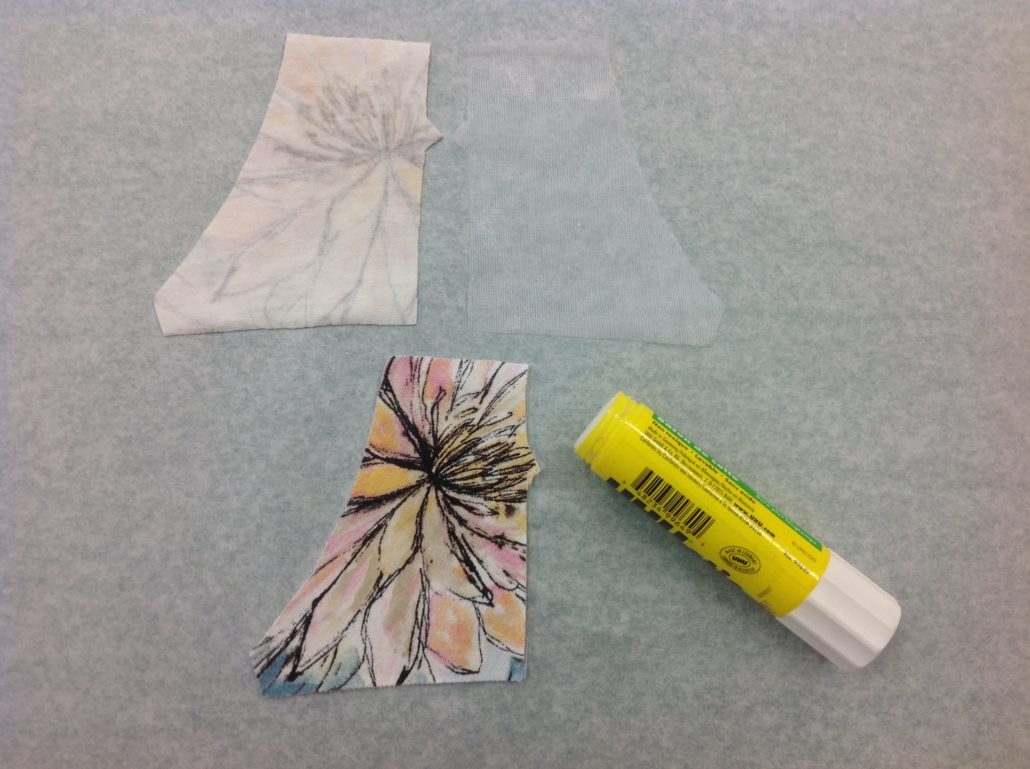
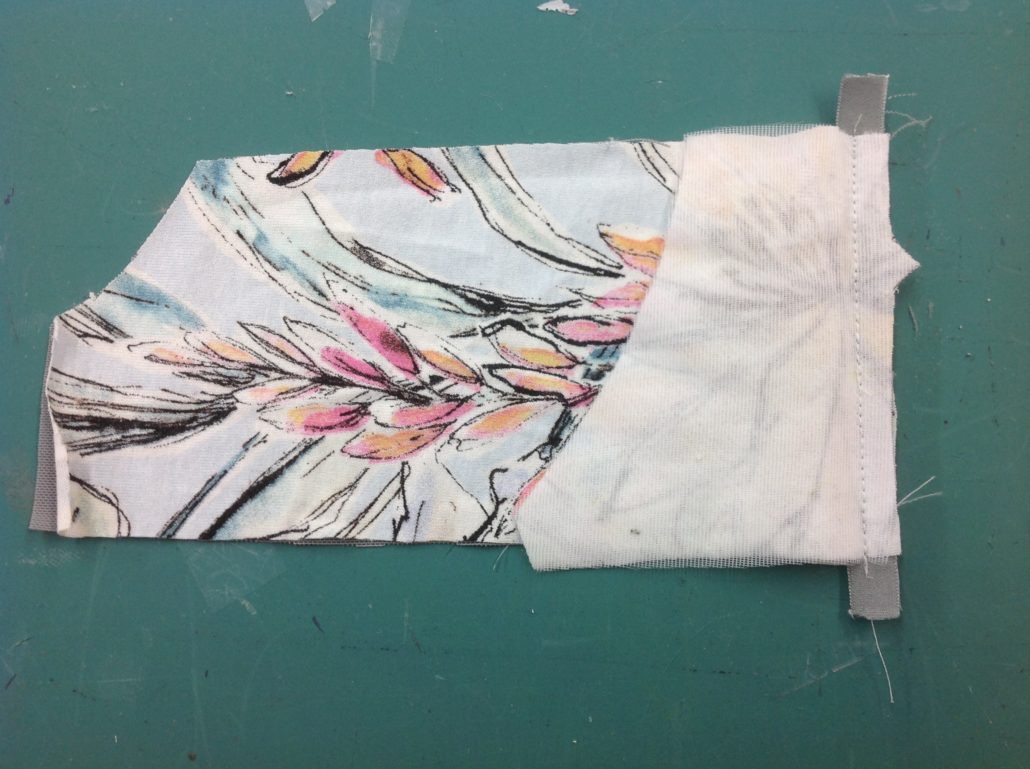
You can glue sheer cup lining to the front section of the band to stabilize it.
For the rest of the back, she lined it with power net. This fabric is too stretchy to use on its own.
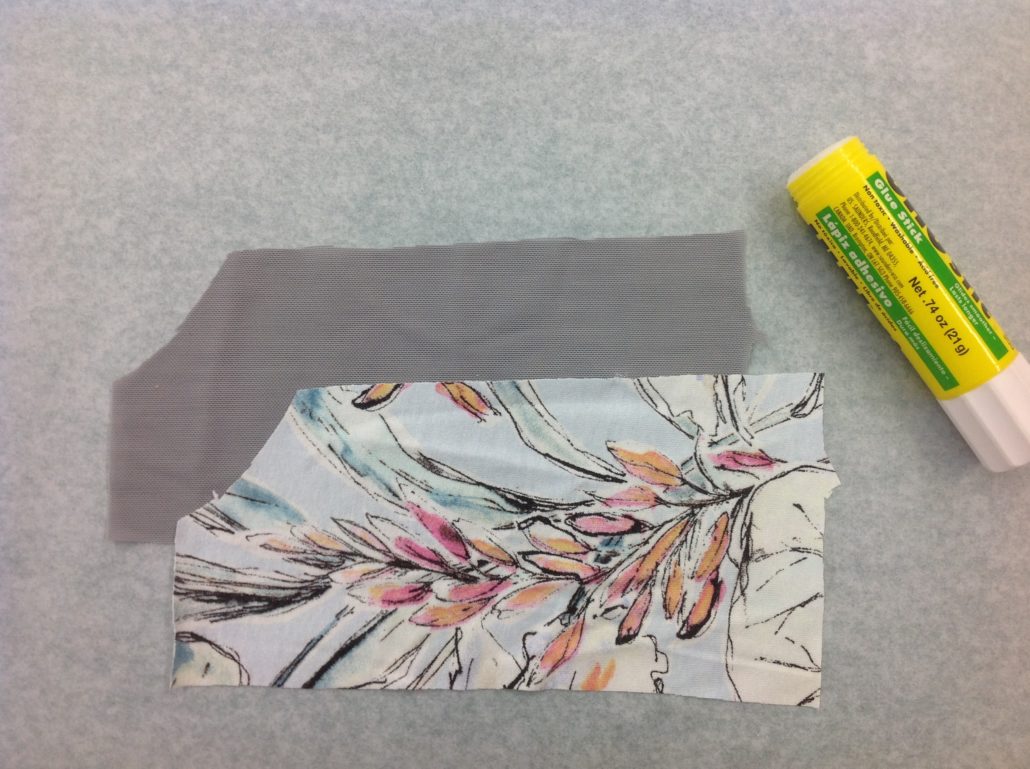
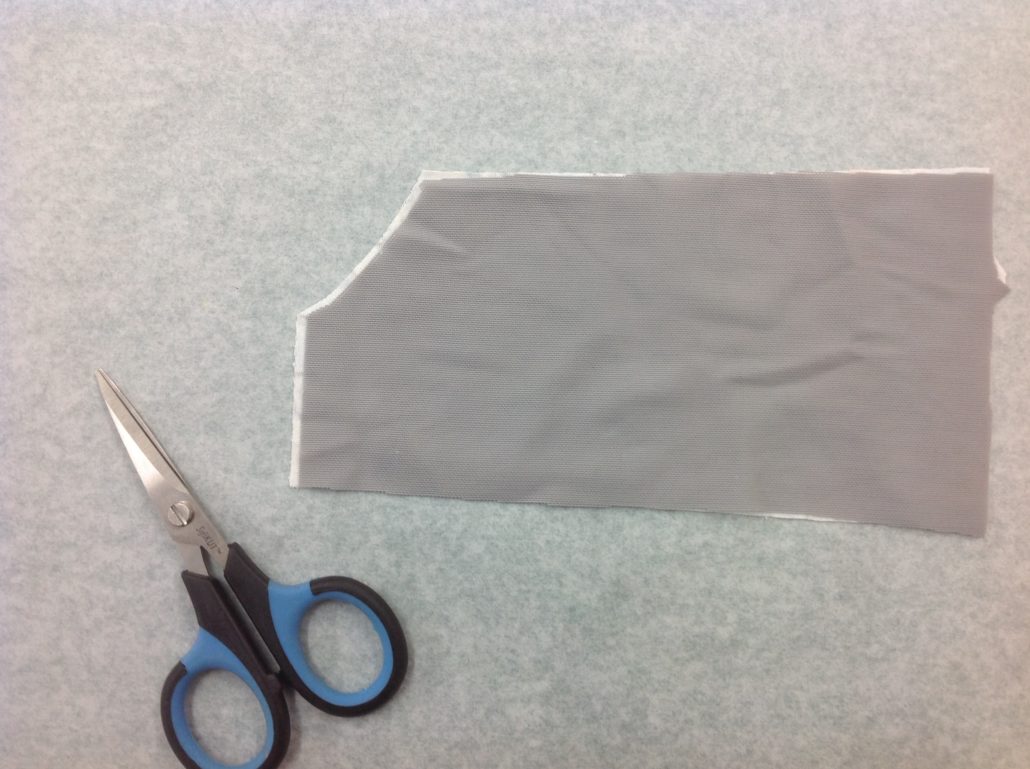
Smooth the fabric over the power net and use a glue stick to hold it in place. You may notice the fabric grows a little. That’s fine. You can trim off that bit even with the power net.
The Piped Sapphire Band
Then use a piece of our 1/2″ strap ribbon and lay it along the seam. Use a glue stick to keep it from shifting around.
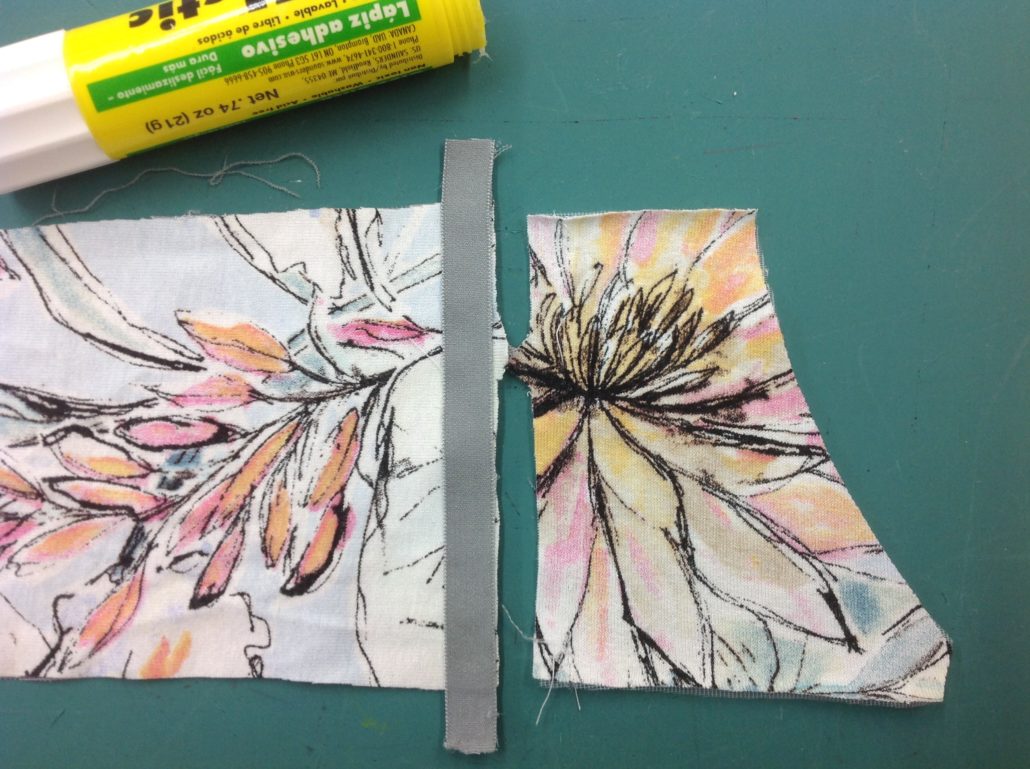
And sew the seam.
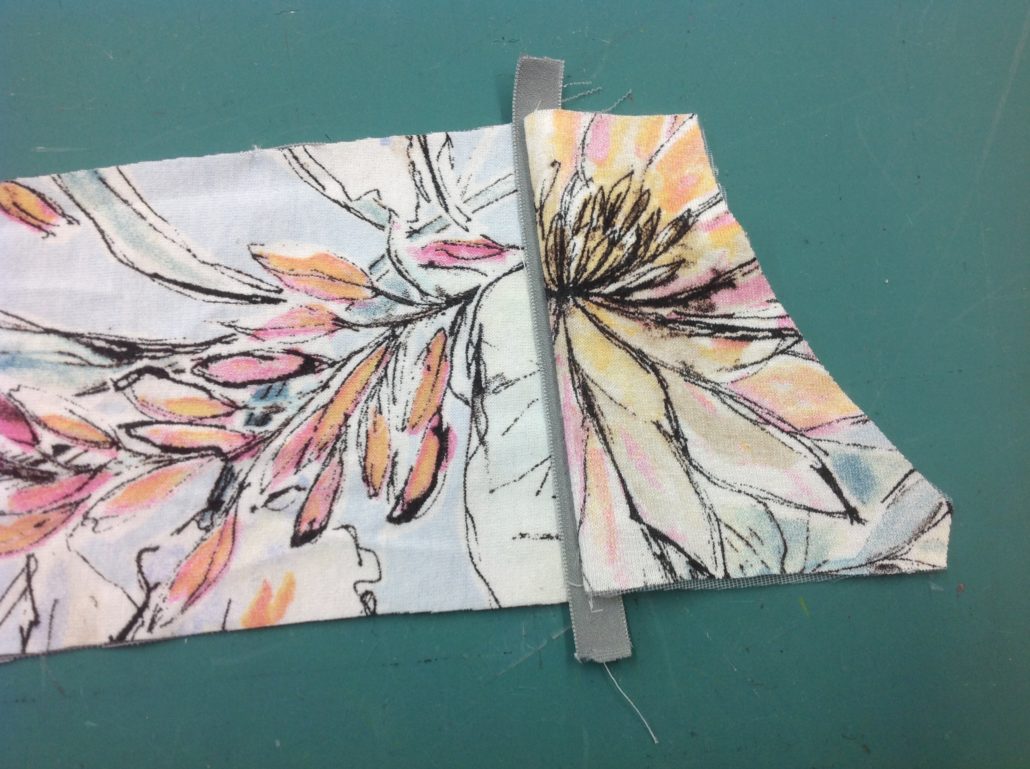
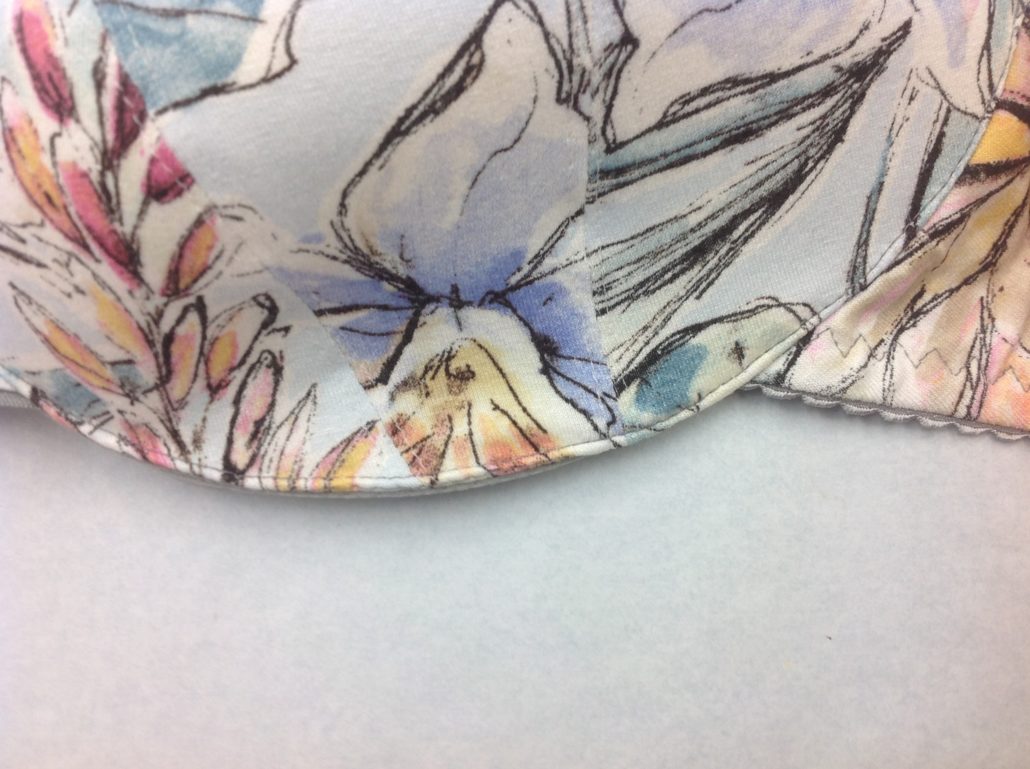
The piped seam. The bottom of the band is now ready to have the elastic applied.
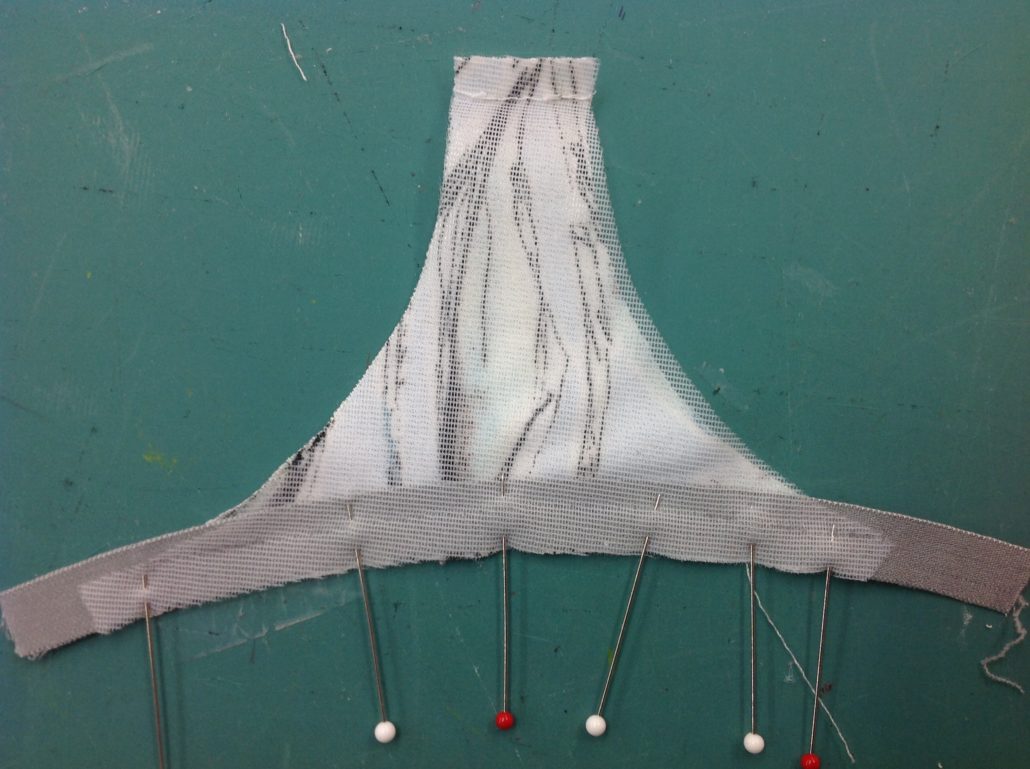
The Piped Sapphire Bridge
Next Denise made the piped bridge by stitching sheer cup lining to the narrow end in order to finish the top. Then we sewed the same ribbon to the wide bottom edge of the fabric bridge.
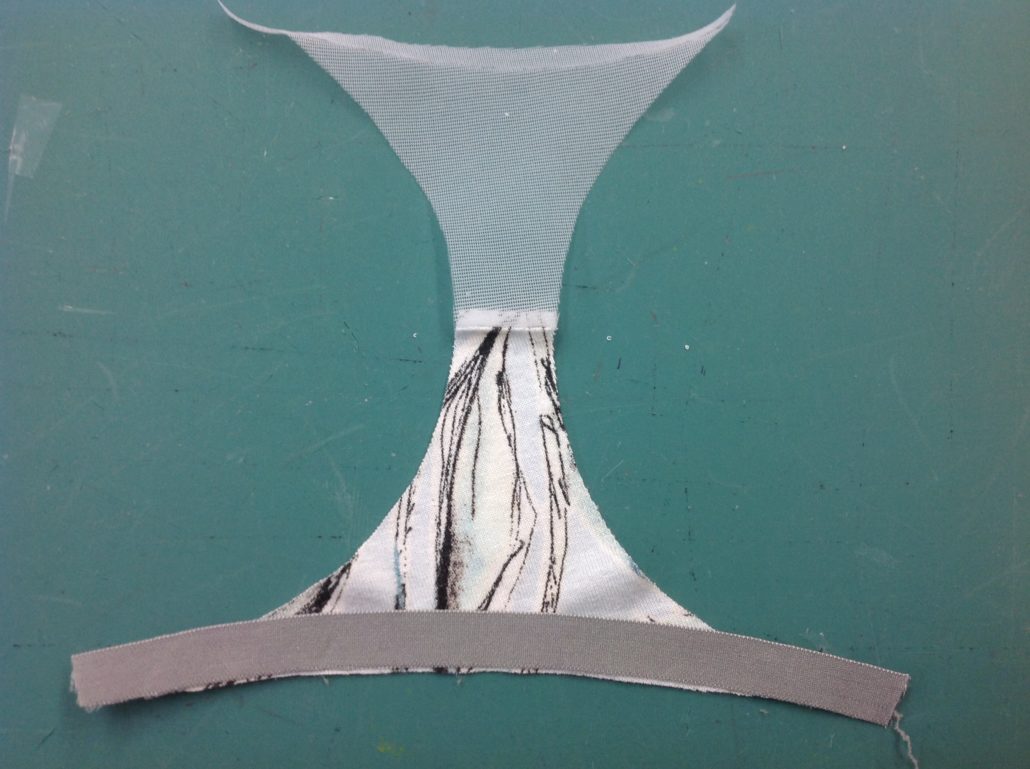
Bring the sheer stabilizer down to the edge and sew the seam.
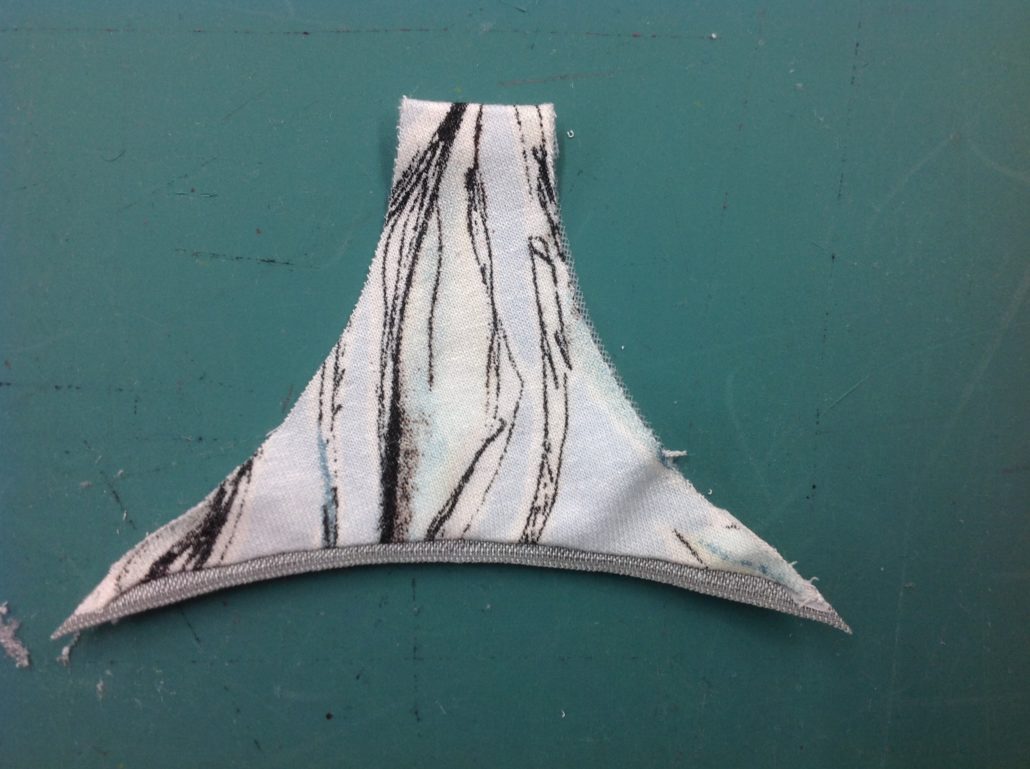
When you turn the whole thing right side out, you have a finished bridge.
Putting the Piped Sapphire Together
Smooth the fabric cup over the foam liner , matching the seam line. Trim off any excess fabric, then zig-zag the perimeter to keep things together. Use Fold-over Elastic Binding (FOE or FOB) to finish the neckline of the cup.
Then sew the completely finished bridge to the cups. Make sure you match those top edges!
Add the finished band. In a partial band bra, you always add the bottom band elastic before you sew it to the cups. Always.
Once the bra is assembled, you can sew on the channeling to the wire line edge. The channeling on a partial band bra ALWAYS turns to the inside of the cup. (It cannot go anywhere else!)
Then topstitch close to the outer edge.
Then add the top edge elastic the way you usually would. Denise used grey elastic to keep all the edges consistent.
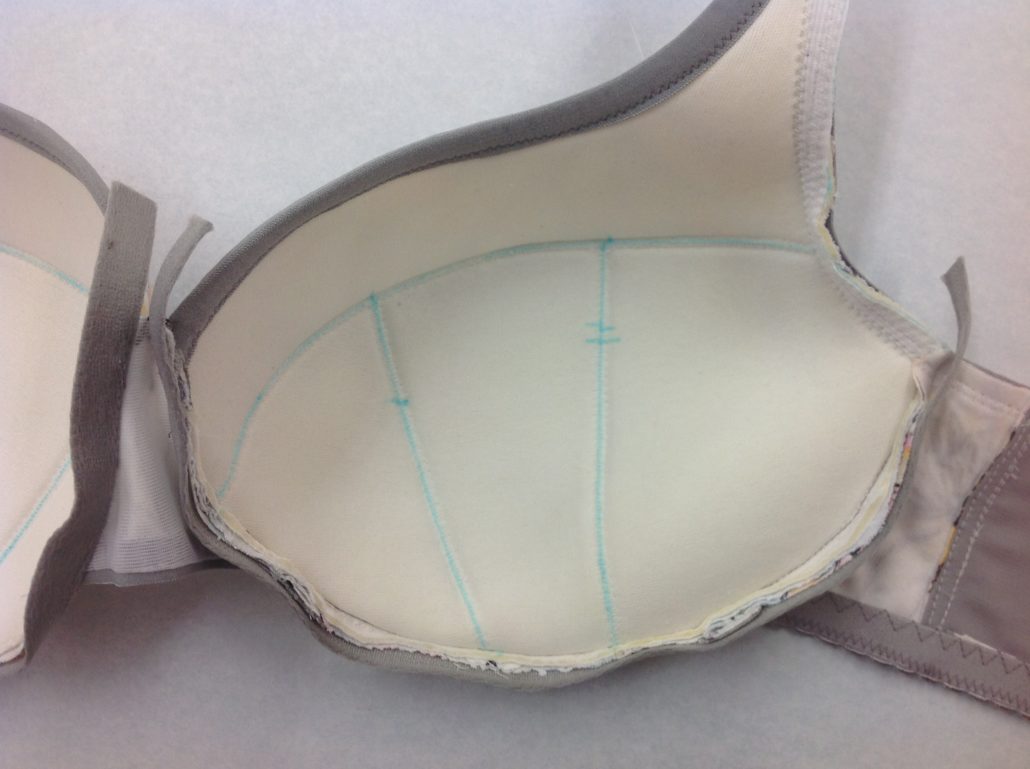
Here’s the inside of the finished bra. The second row of channel topstitching has been completed.
To Make the Straps
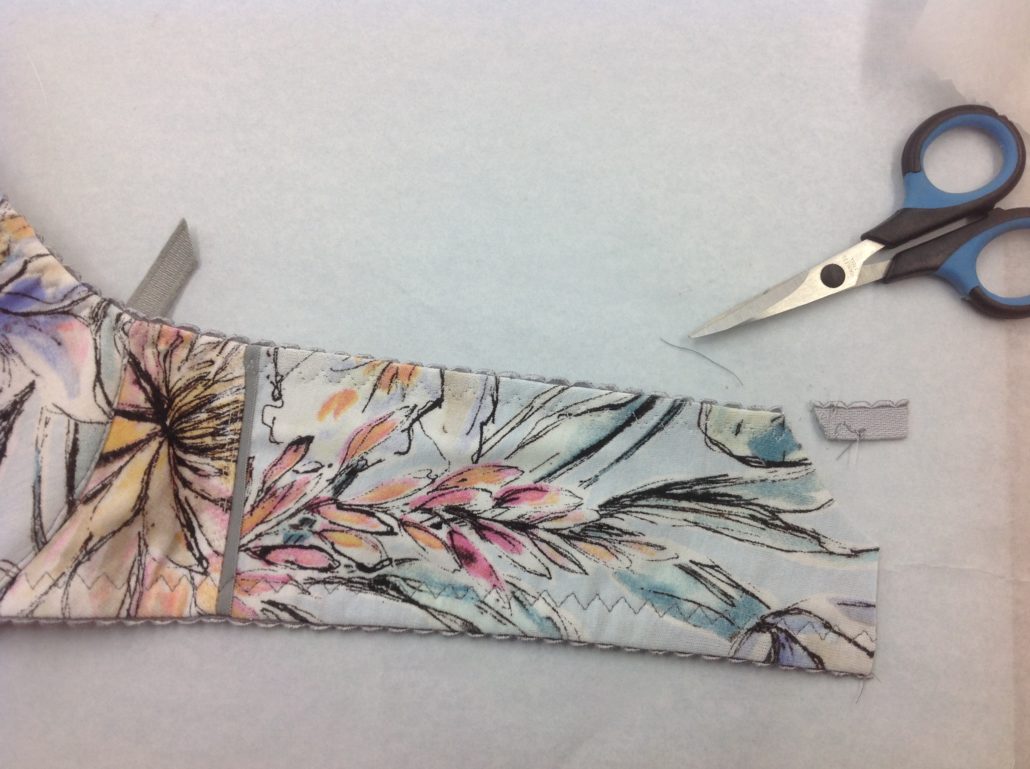
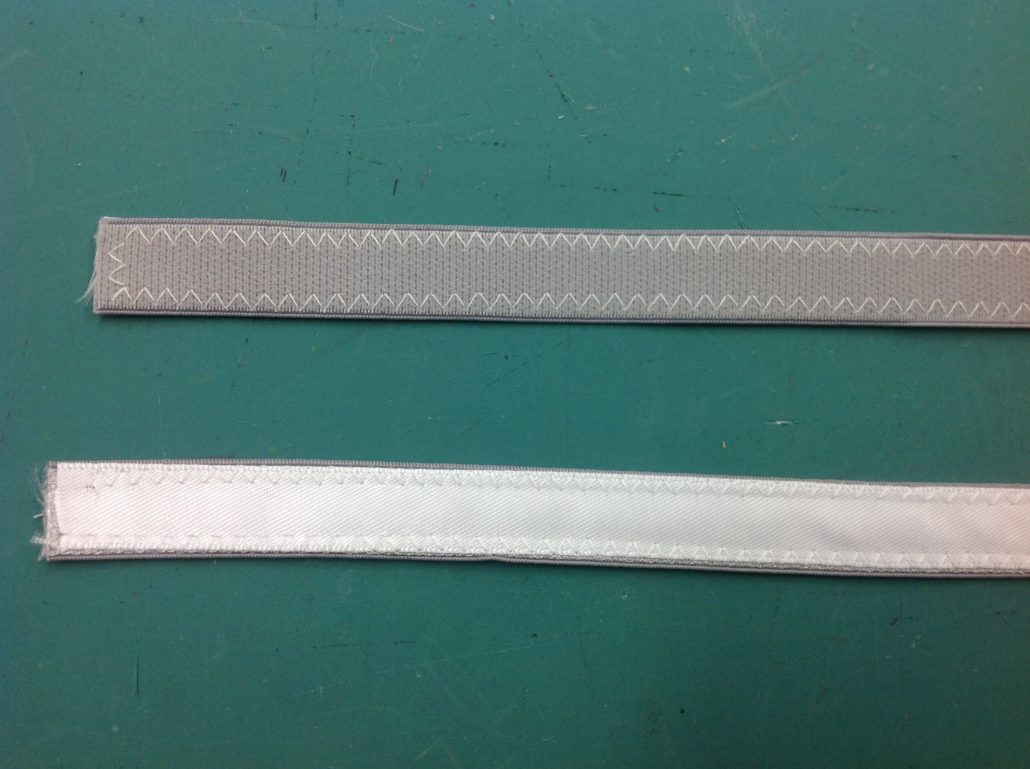
The front strap of the Sapphire Bra should be stable. To achieve that, she glued, then stitched the 1/2″ ribbon to the strap elastic.
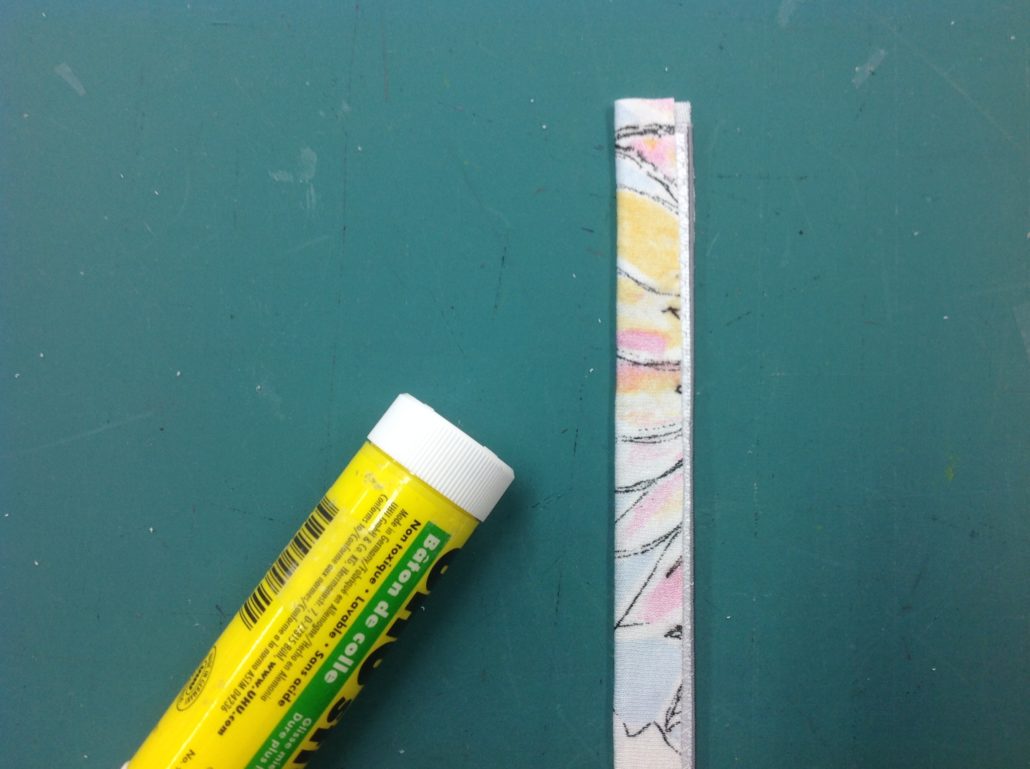
Then she glued the printed fabric to the strap and wrapped it around one edge. What did she do with that raw edge?
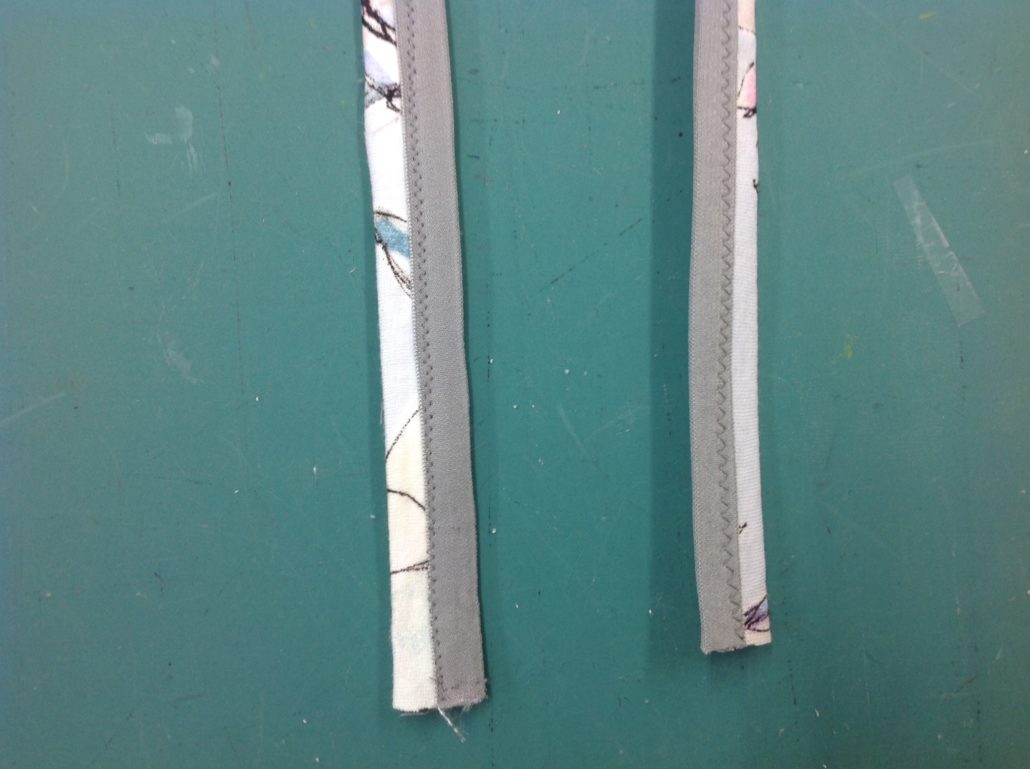
She added Fold-over Elastic Binding along that edge. The addition of the FOE continues the look of the piping on the bridge and the neckline area, creating a co-ordinated look. Use a small zig-zag so the stitching is consistent with the neckline.
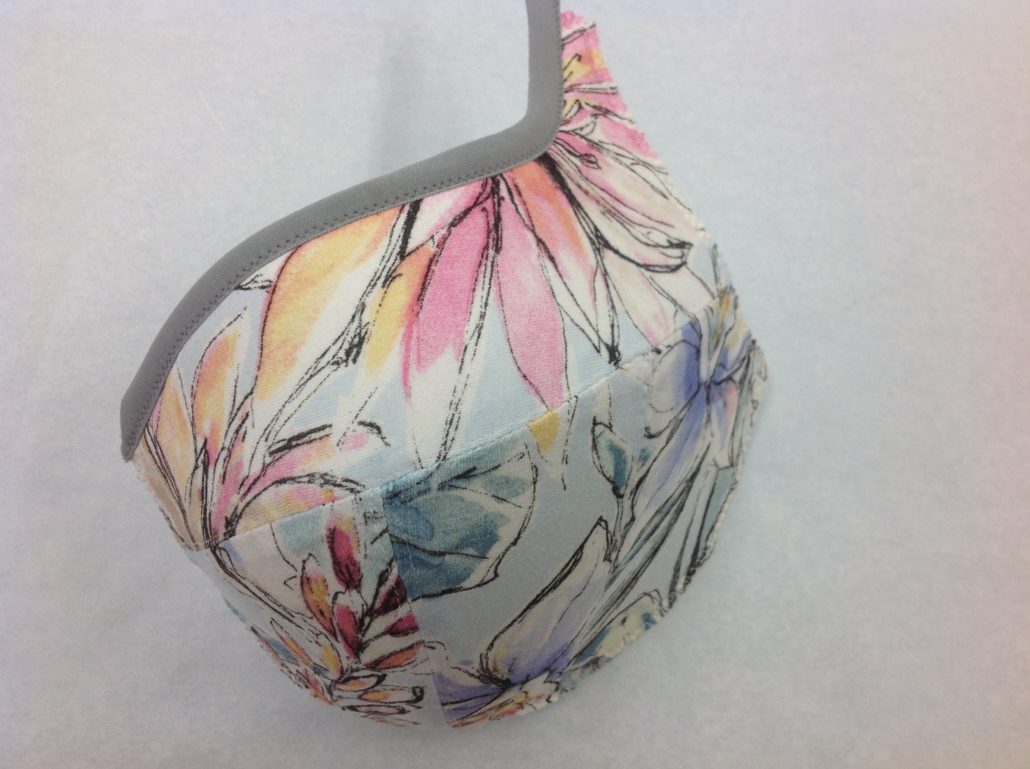
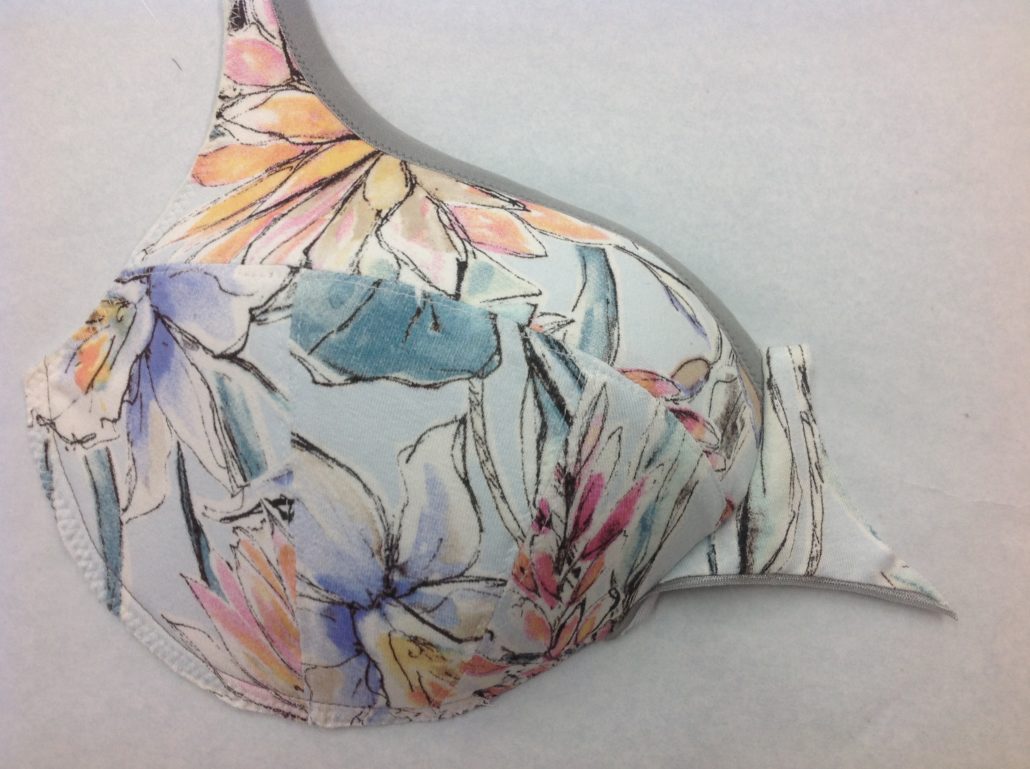
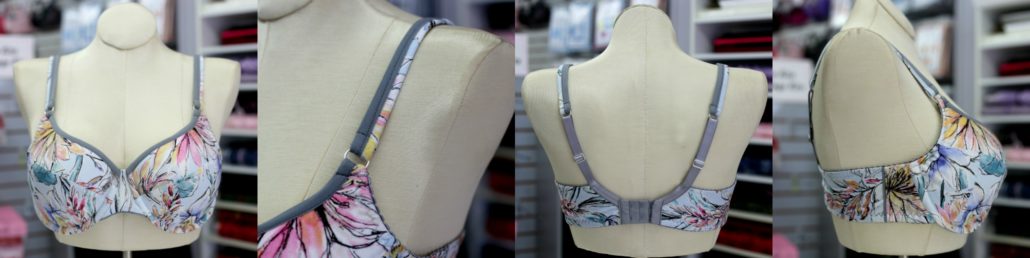
Finish the bra as usual, adding the strap elastic and hooks and eyes to the back of the bra. Finally stitch the front strap to a ring attached to the front cup and you are done. Here’s the Piped Sapphire Bra from all angles. I do hope you give this technique a try!


Wow just lovely. I haven’t taking the challenge of making a bra yet 🙂
Sam the Aussie
It is really lovely. I love the way the straps continue the look. This goes on my list of things to try in the new year. Thank you.