I love the look of binding on the edge of a garment. (Not Fold-over Elastic, but proper double folded fabric binding) When I make my own knit tops, I almost always use binding on the neckline. Why? Because I have a lovely industrial cover stitch machine in my sewing room at home. It’s a leftover from my days in the industrial world. Here’s my little tip – I always keep it with a binder attachment on it, ready to use. (You can see I also like lots of light!). But what if you don’t have an industrial cover stitch machine at home? Maybe you don’t own a domestic cover stitch either. You’re in luck! Here’s a great way to make professional binding without an industrial machine. Yes, it’s possible to make professional-looking binding on your own regular zig-zag machine at home!

This method is one developed in the 1960’s and used for years by Kwik Sew (yes, the pattern company). Their founder, Kirsten Martenssen, was a master at converting industrial techniques for the home sewist to use. She shared those techniques with anyone who used her patterns. We are going to share this technique with you here.
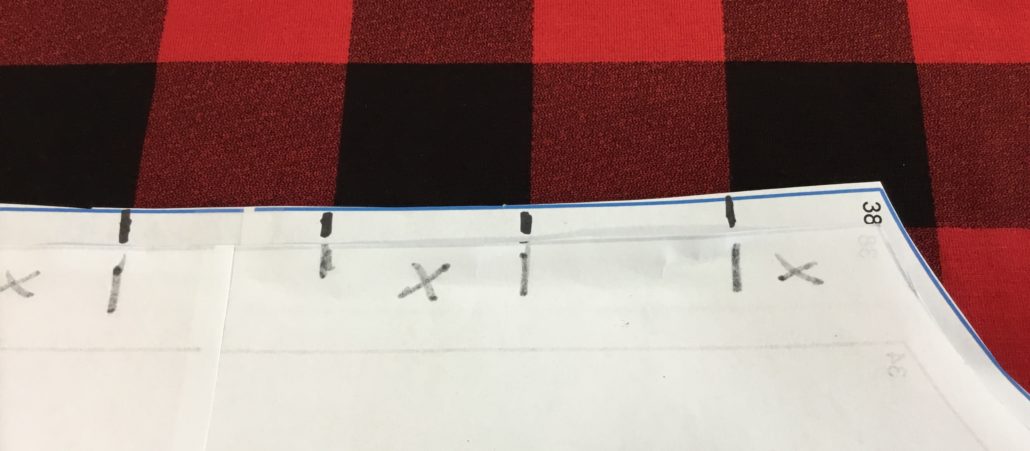
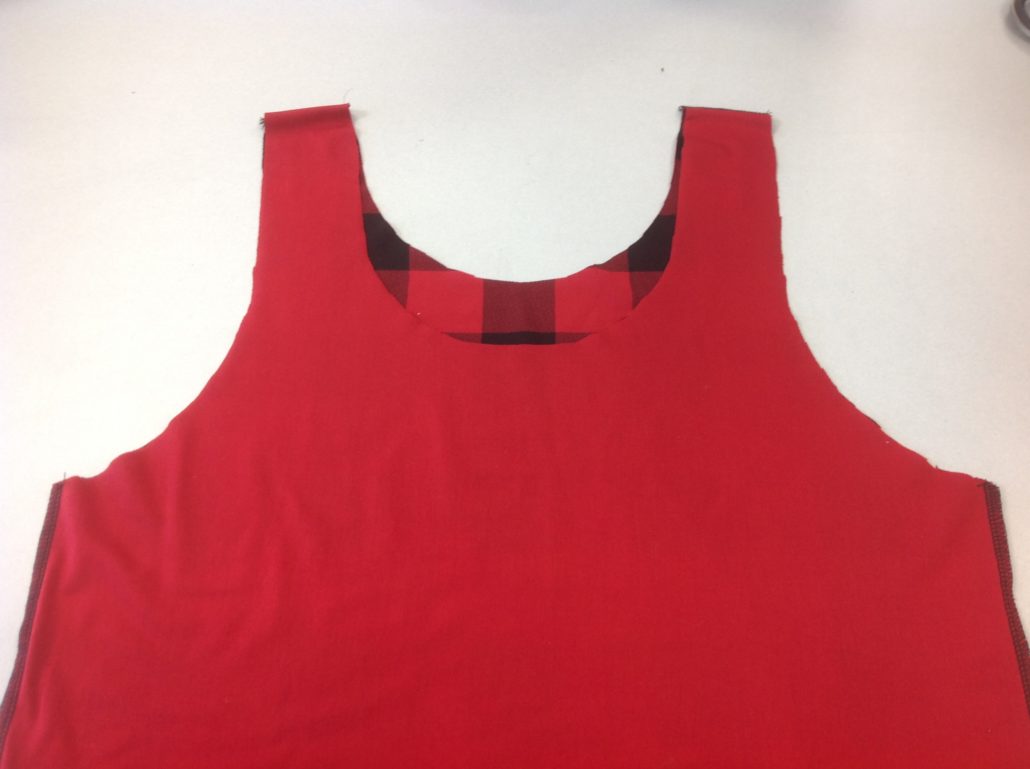
The tank top can be made from any stretch fabric with at least 25% stretch. This includes Cotton jersey, Active Cotton, Bamboo, Modal or any other t-shirt weight fabric with stretch in at least one direction. That stretch needs to go around the body. Be sure to pre-shrink Bamboo and cotton jersey. I marked the plaid lines on the pattern, then transferred those to the other pattern piece. That made this plaid a snap to match up.
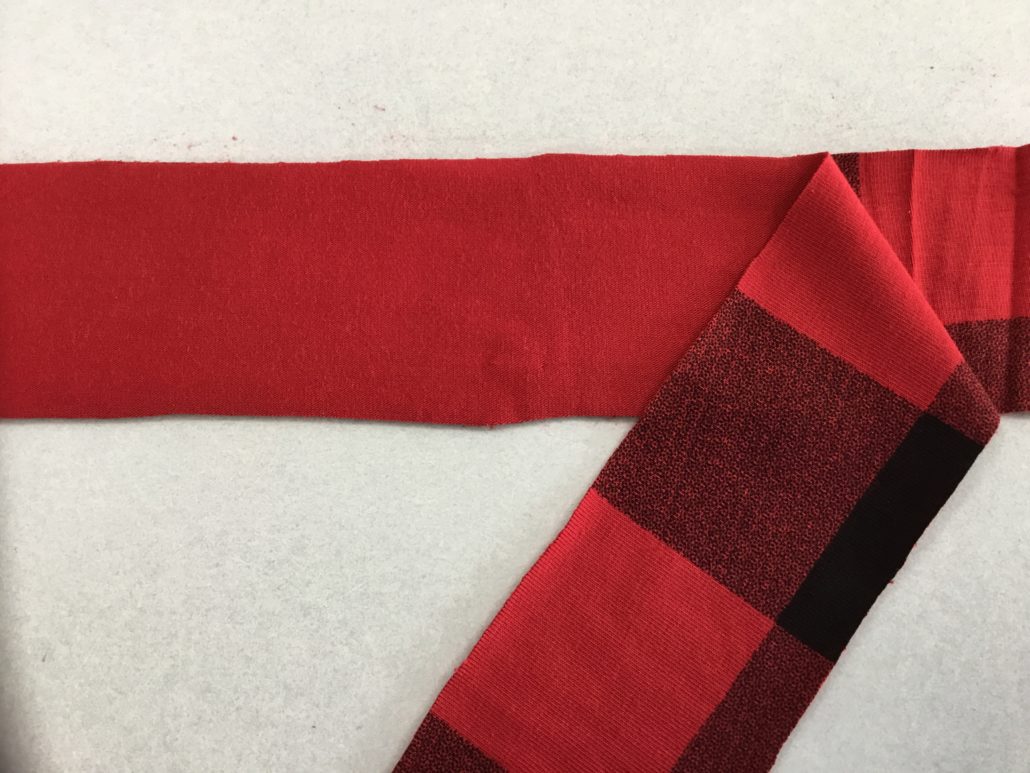
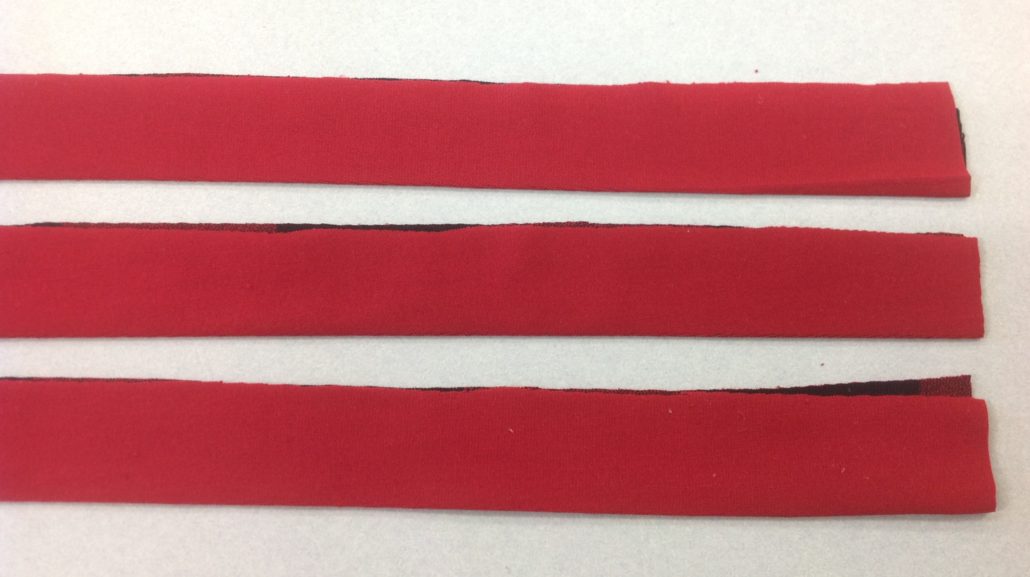
You’ll need one front and one back cut on the fold of the fabric. Cut out the 3 bindings (2 armhole and 1 neckline). You might consider a contrast colour for the binding to jazz up the tank. I actually used the wrong side of the Bamboo fabric to use as the binding. It’s exactly the same colour and the print from the front does not show through. It’s perfect!
Professional Binding without an Industrial Machine
Prepare the bindings by folding them in half and pressing them.
Next, sew the short ends together to make a round binding loop. Set them aside for now.

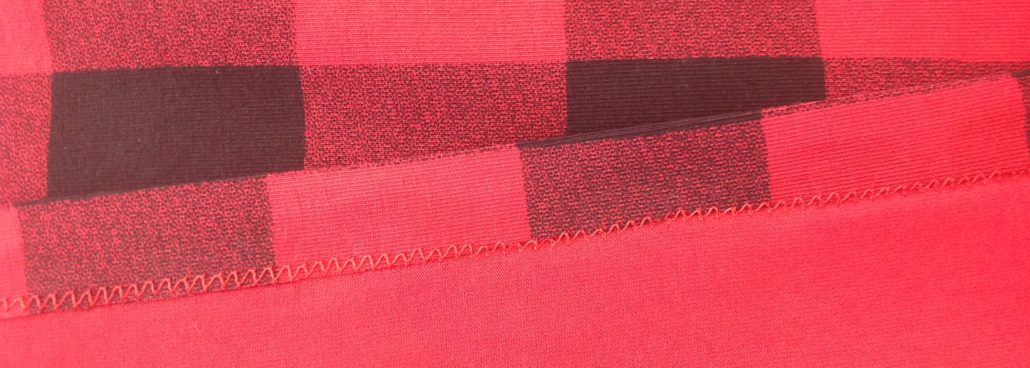
With right sides together, sew the shoulder seams and the side seams of the tank. You can use a small zig-zag stitch or a serger. (I serged them.) You can use a straight stitch if you pull the seam slightly as you sew. If you are using bamboo and it wants to curl up (and it does love to do that), a shot or two of spray starch or spray sizing will tame that fabric.
Use the longest binding loop you’ve prepared, and pin it to the wrong side (the inside) of the tank around the neckline. I put a pin at the seam, then folded the loop in half to find the mid-point, and put another pin there. I pinned the centre front and centre back on the tank as well. Match the seam on the binding with the centre back pin on the tank.
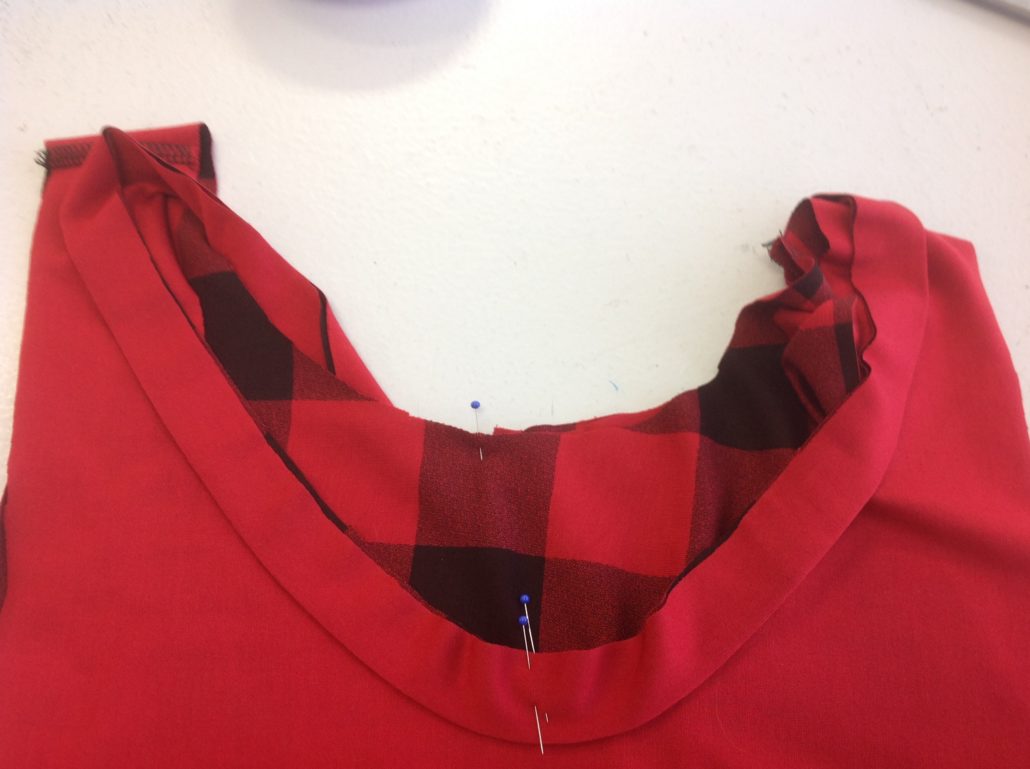
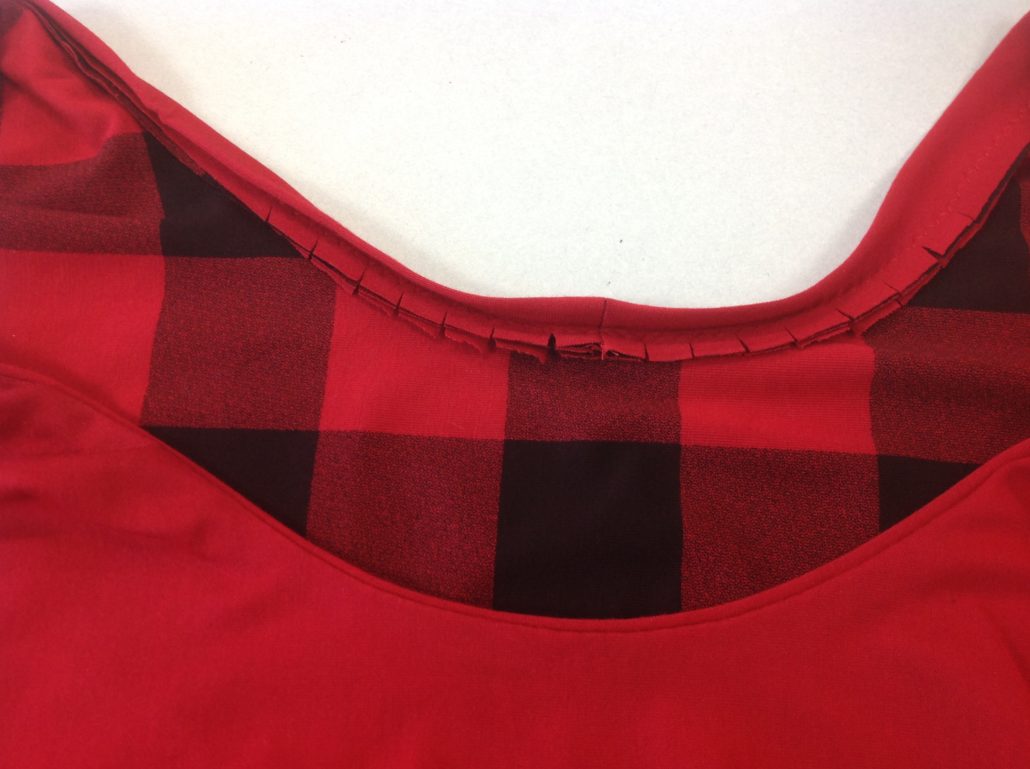
Stitch the binding on using a small zig-zag stitch (I used 1.5 mm x 1.5 mm) and a 1/4″ (6 mm) seam allowance. Then sew the armhole bindings on exactly the same way, with the binding sewn to the wrong side (the inside) of the tank. Yes, it does look wrong at this point but have no fear, all will be well.
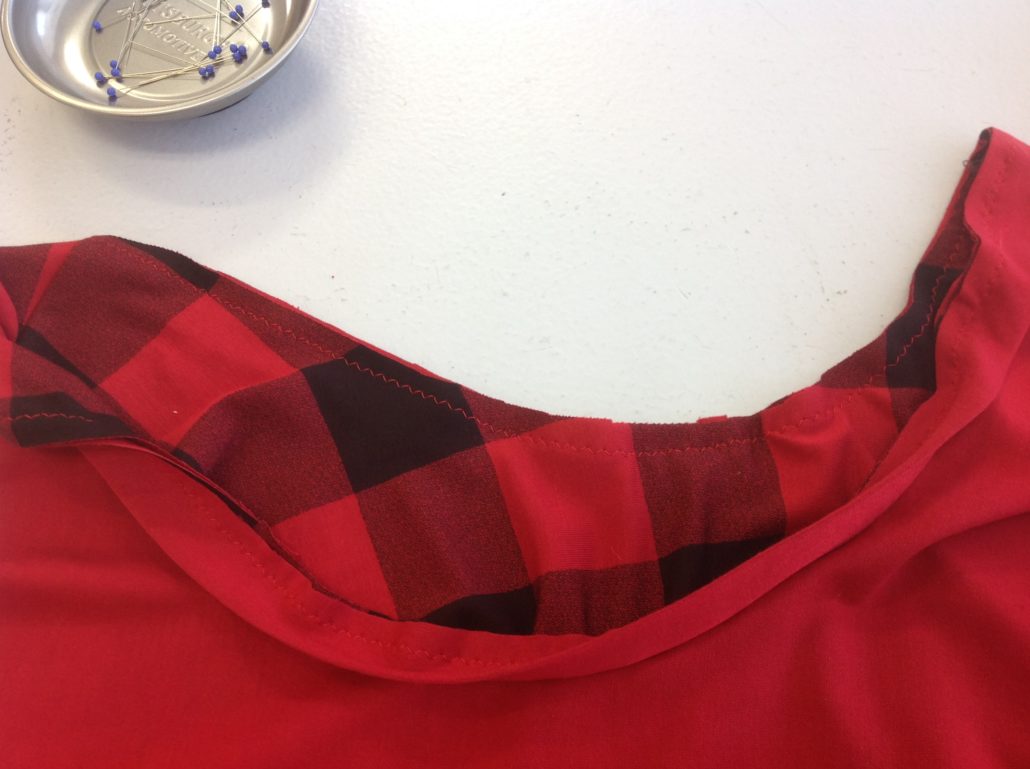
Press the binding seam toward the tank (not toward the binding).
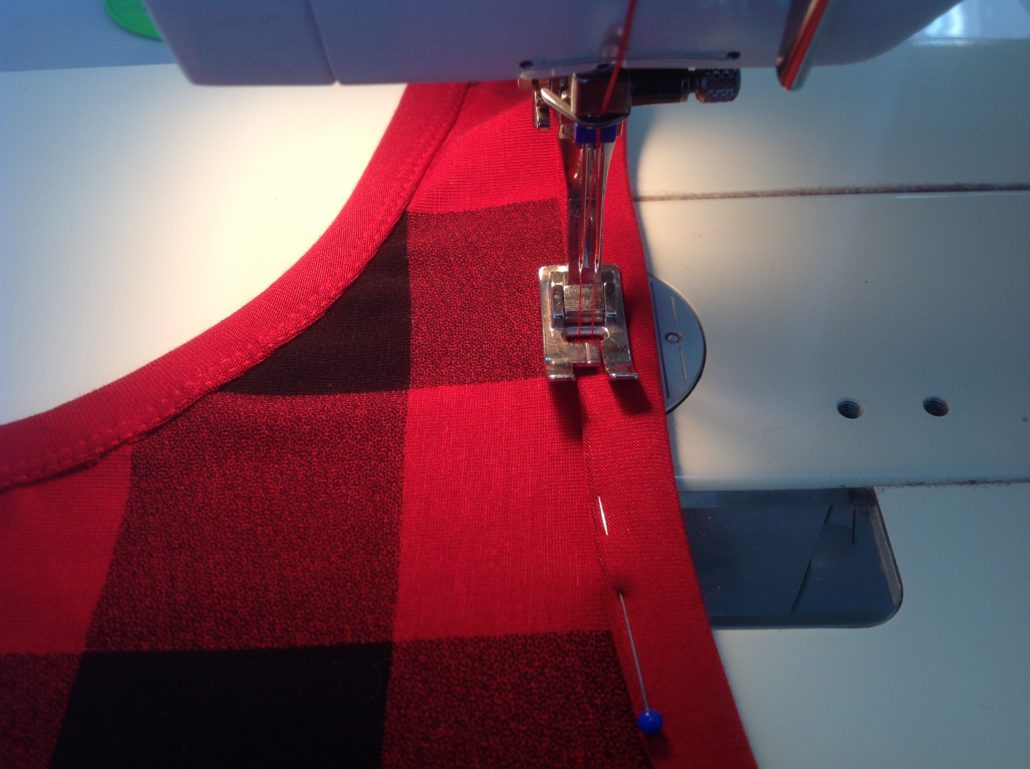
Now wrap the binding to the right side (the outside) of the tank, pulling it forward so that only a tiny sliver of the binding shows on the inside of the shirt. Pin it well.
Use Twin Needles for Perfectly Parallel Topstitching
Here’s a neat touch – use a twin needle (stretch twin size 2.5/75) to sew the two rows of perfectly parallel topstitching at once. (You can also sew the two rows of topstitching with a straight stitch, pulling the fabric slightly as you sew.

Load up two spools of thread on the thread spools. Bring each of the threads through the tension discs and thread each needle with thread from the spool in that position (i.e. left thread feeds from left spool pin). Make sure you have a wide throat hole on your throat plate. A single hole won’t allow the needle to go through! 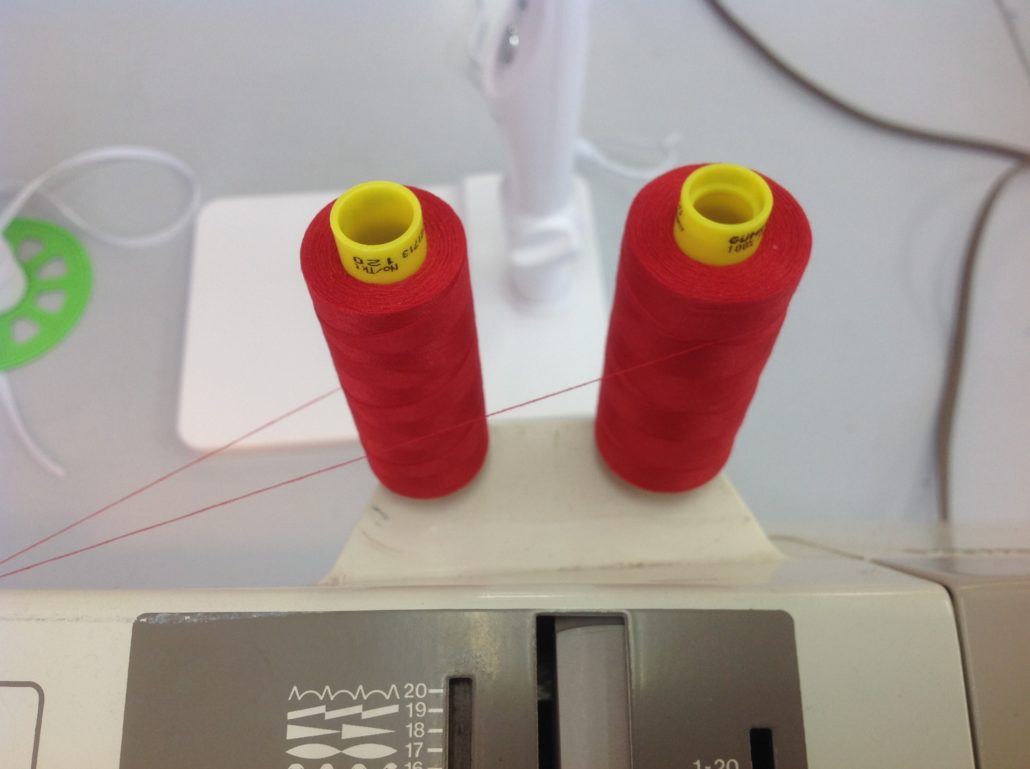
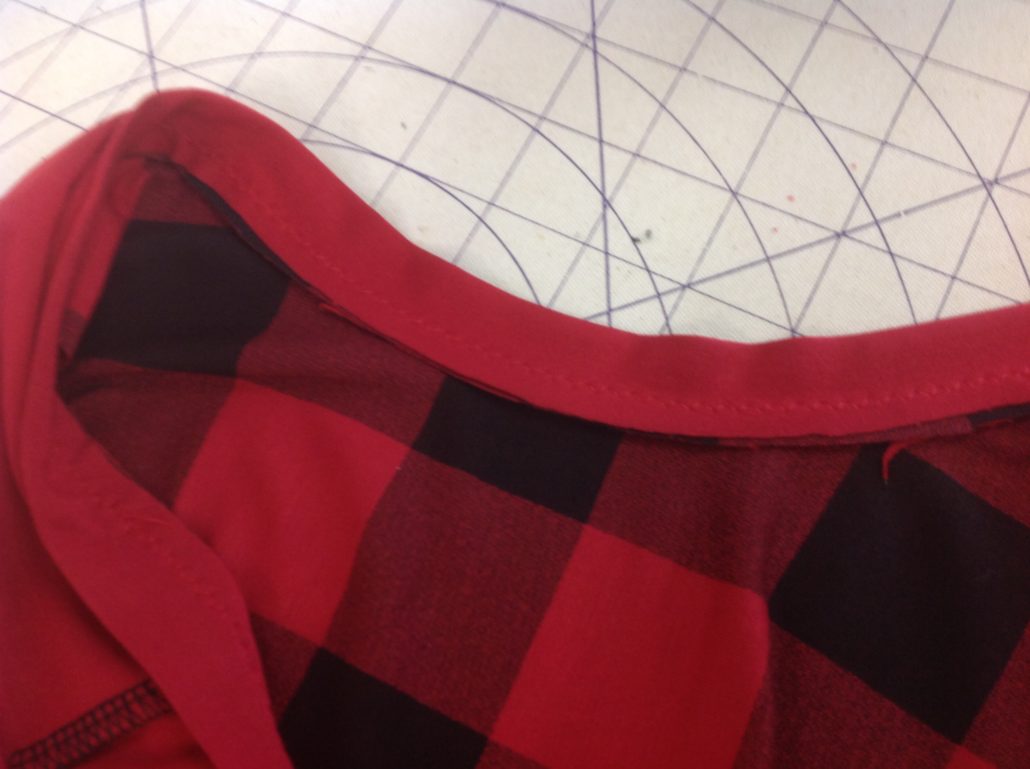
Sew slowly and steadily. The needle threads will catch the bobbin thread and form a sort-of zig-zag stitch underneath. This makes the twin needle stitching a little bit stretchy (that’s a good thing!). This is what the binding looks like from the top side.
Lastly, fold up the bottom hem 3/4″ (18 mm) and press. use two rows of parallel stitching to catch the loose edge of the fabric. Once again, if you have a twin needle, you can use that here too.
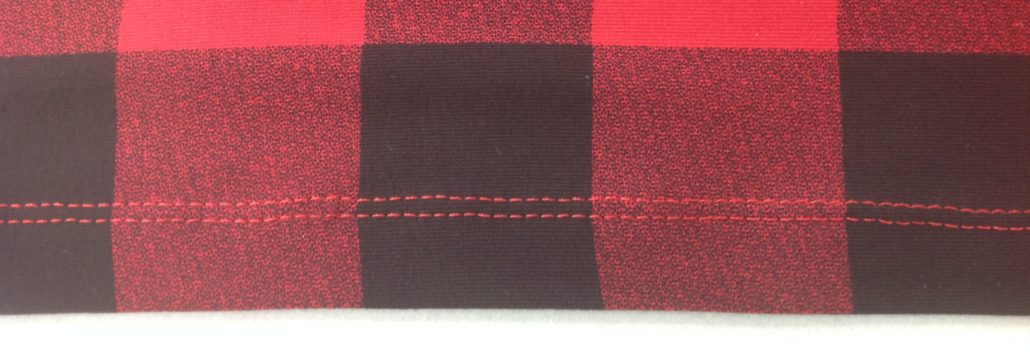
The underside, as you can see is a small zig-zag that catches the hem edge (with a bit of beginner’s luck!)
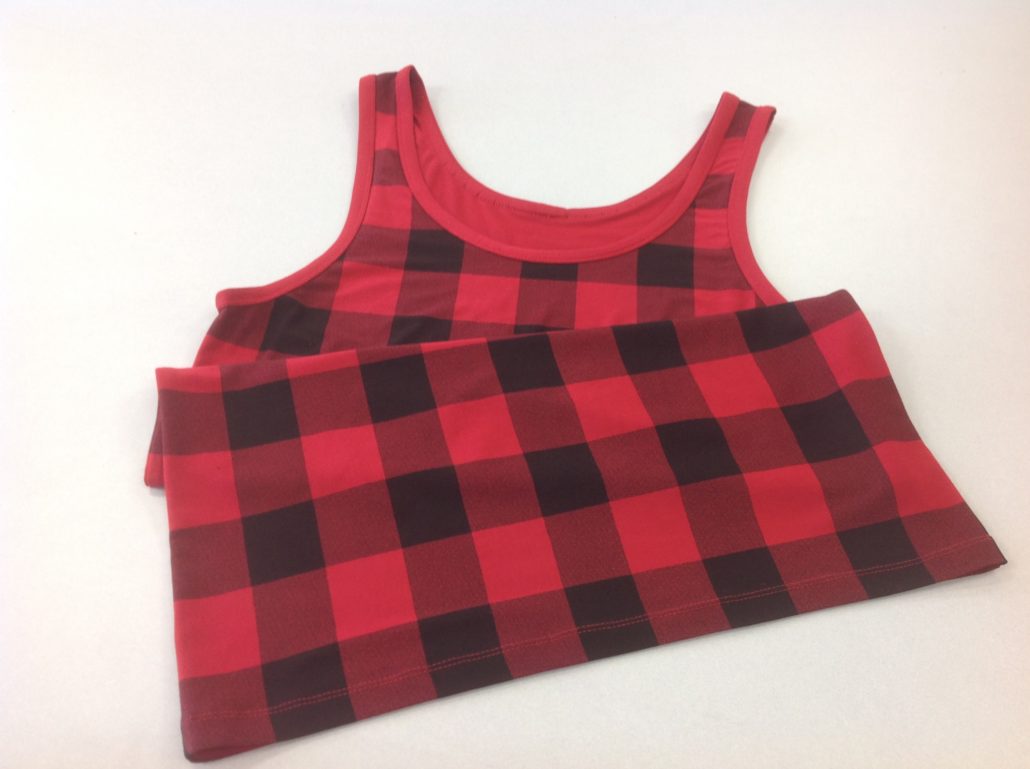
The finished tank top with professional looking binding, even without an industrial machine! We hope you make one for the man in your life (or for yourself)!


Can you use the same twin needle technique to attach wide elastic to the top of underwear?
You certainly can! great suggestion.