For those of you have been following my Facebook page, The Fairy Bra Mother, I recently posted a picture of a red satin bra that garnered quite a bit of attention. A lot of you expressed an interest in learning how to make it. So here now in keeping with Valentine’s Day – is how to make that peek-a-boo bra!

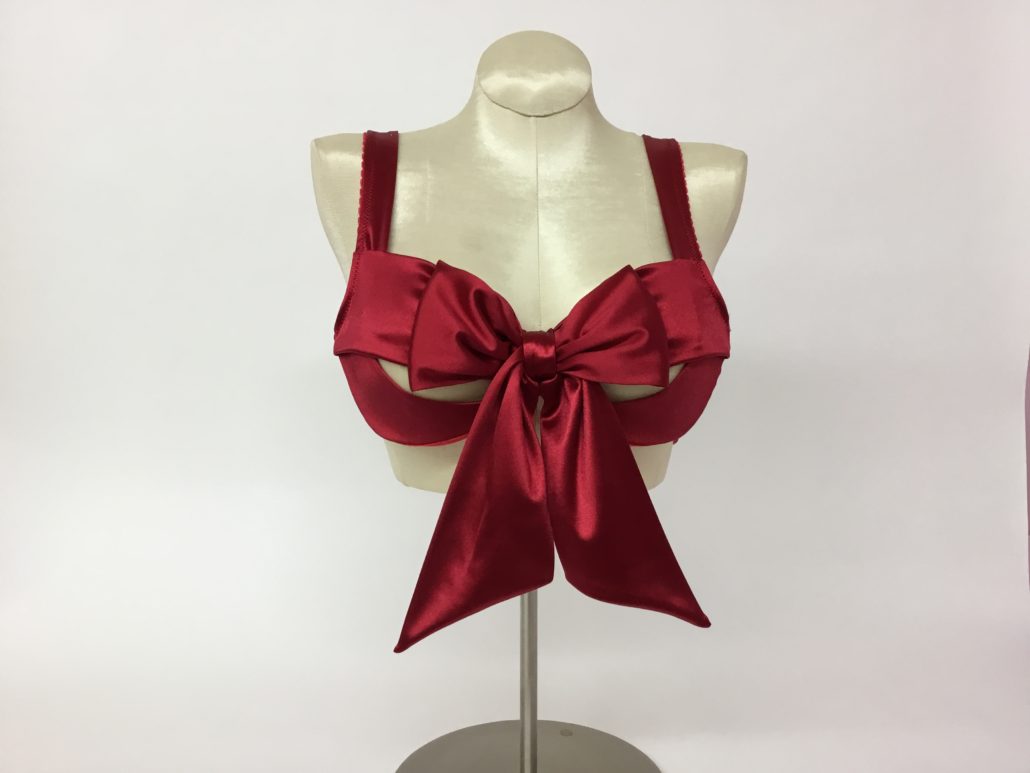
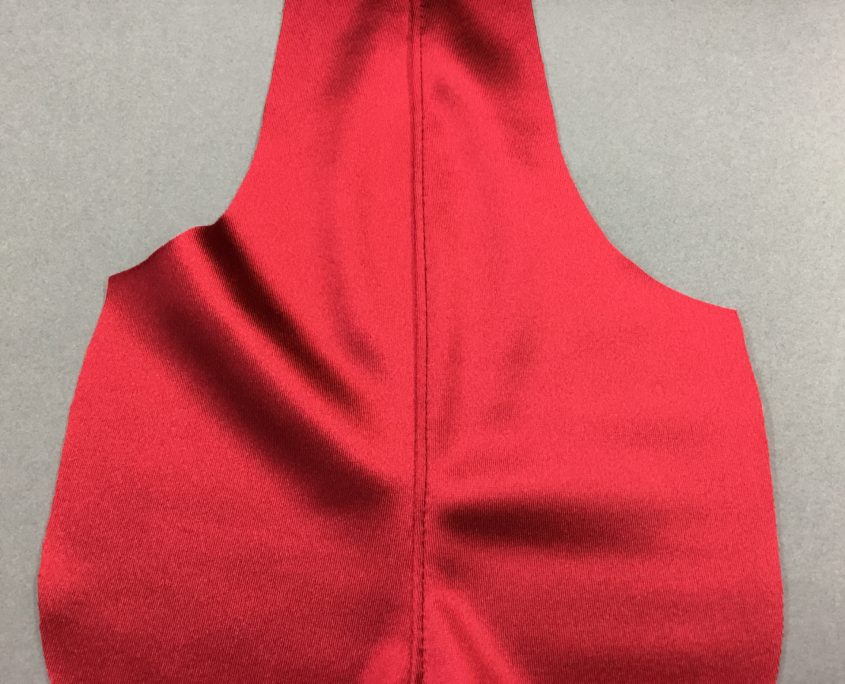
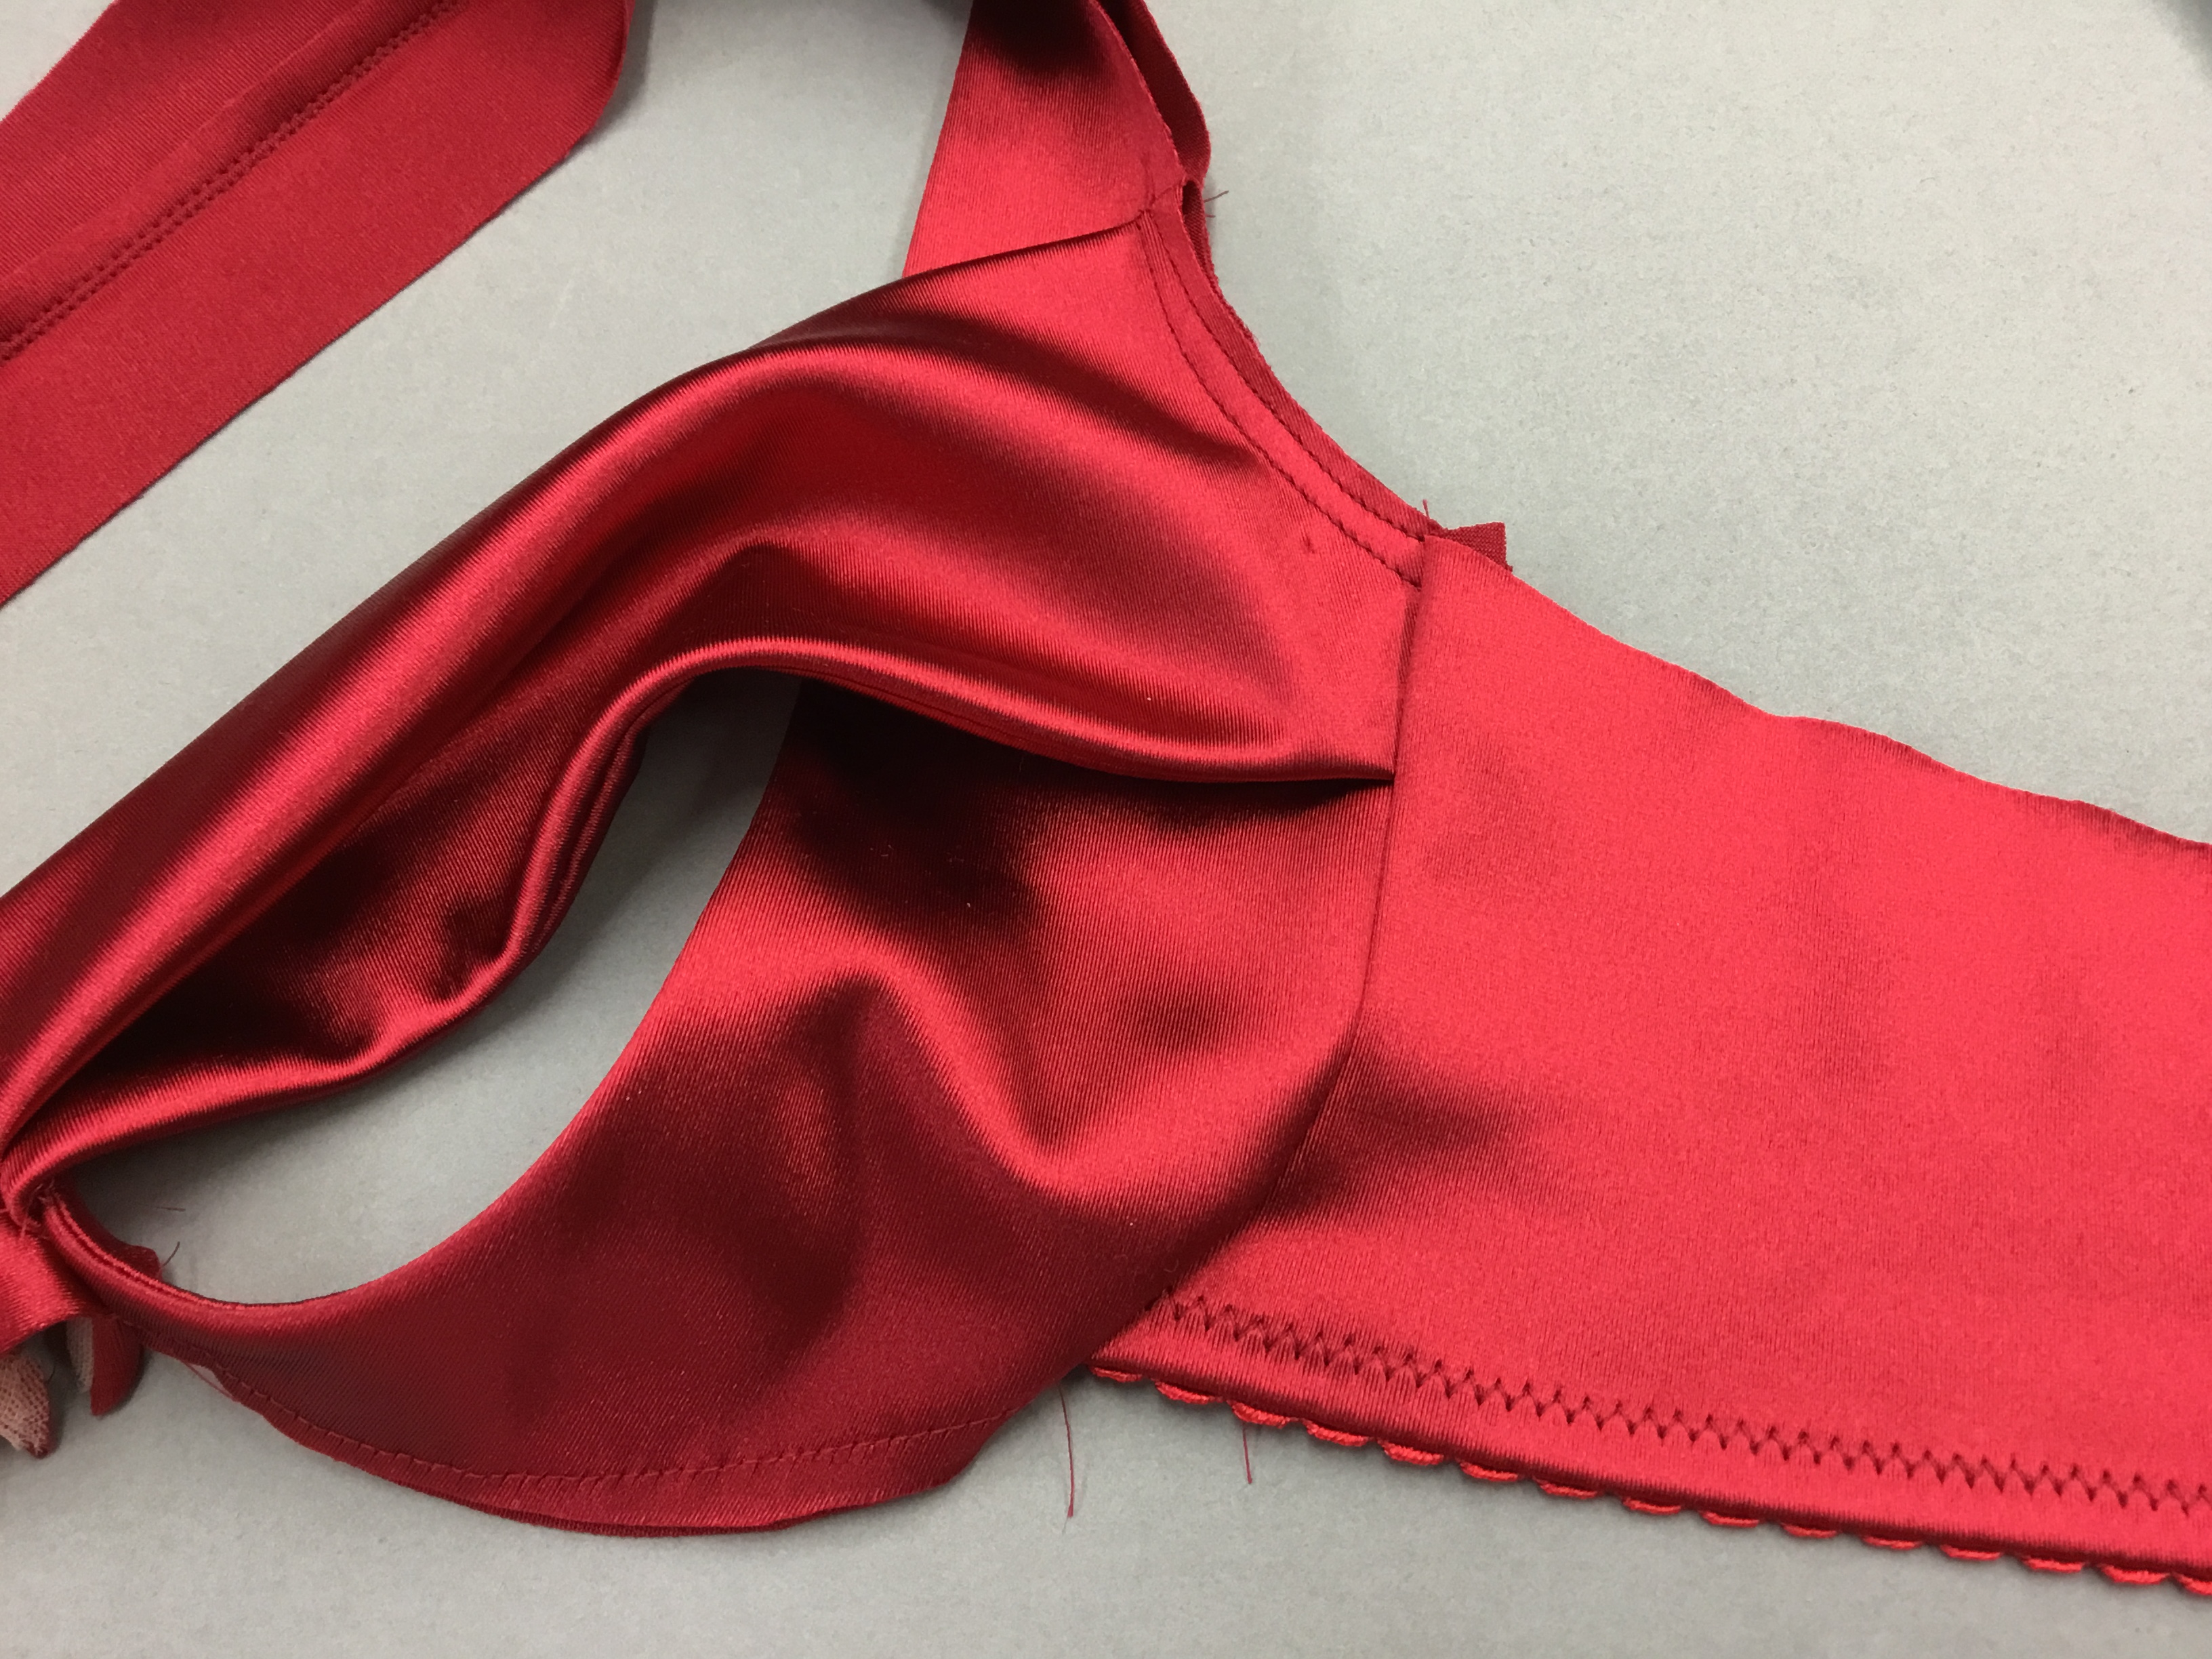
Lets’ dissect the bra so we can discover what makes it tick. First of all, it’s a partial band bra with underwires. There’s a sling running under the cup, continuing a little past the vertical of the apex. Over the top of that sling layer, is a bow. It looks to be tied in place. Both the sling and the bow appear to use double layers of fabric (I can see the impression of a seam). There is also a strap that looks like it could attach to the sling. But that’s all we can deduce from this picture.
What you cannot see is how the bra wire sews on once it leaves the sling area. Is the bow simply tied on? Or is the upper cup actually sewn in place and the bow a clever add-on? In my opinion, the bow is not just tied on. With two layers of satin, there is no way the bow knot would be that small (I tried it!) I think the sling and the upper cup work together to hold the breast up. The bow is just icing on the cake! Let’s get started!
Drafting that Peek-a-boo Bra
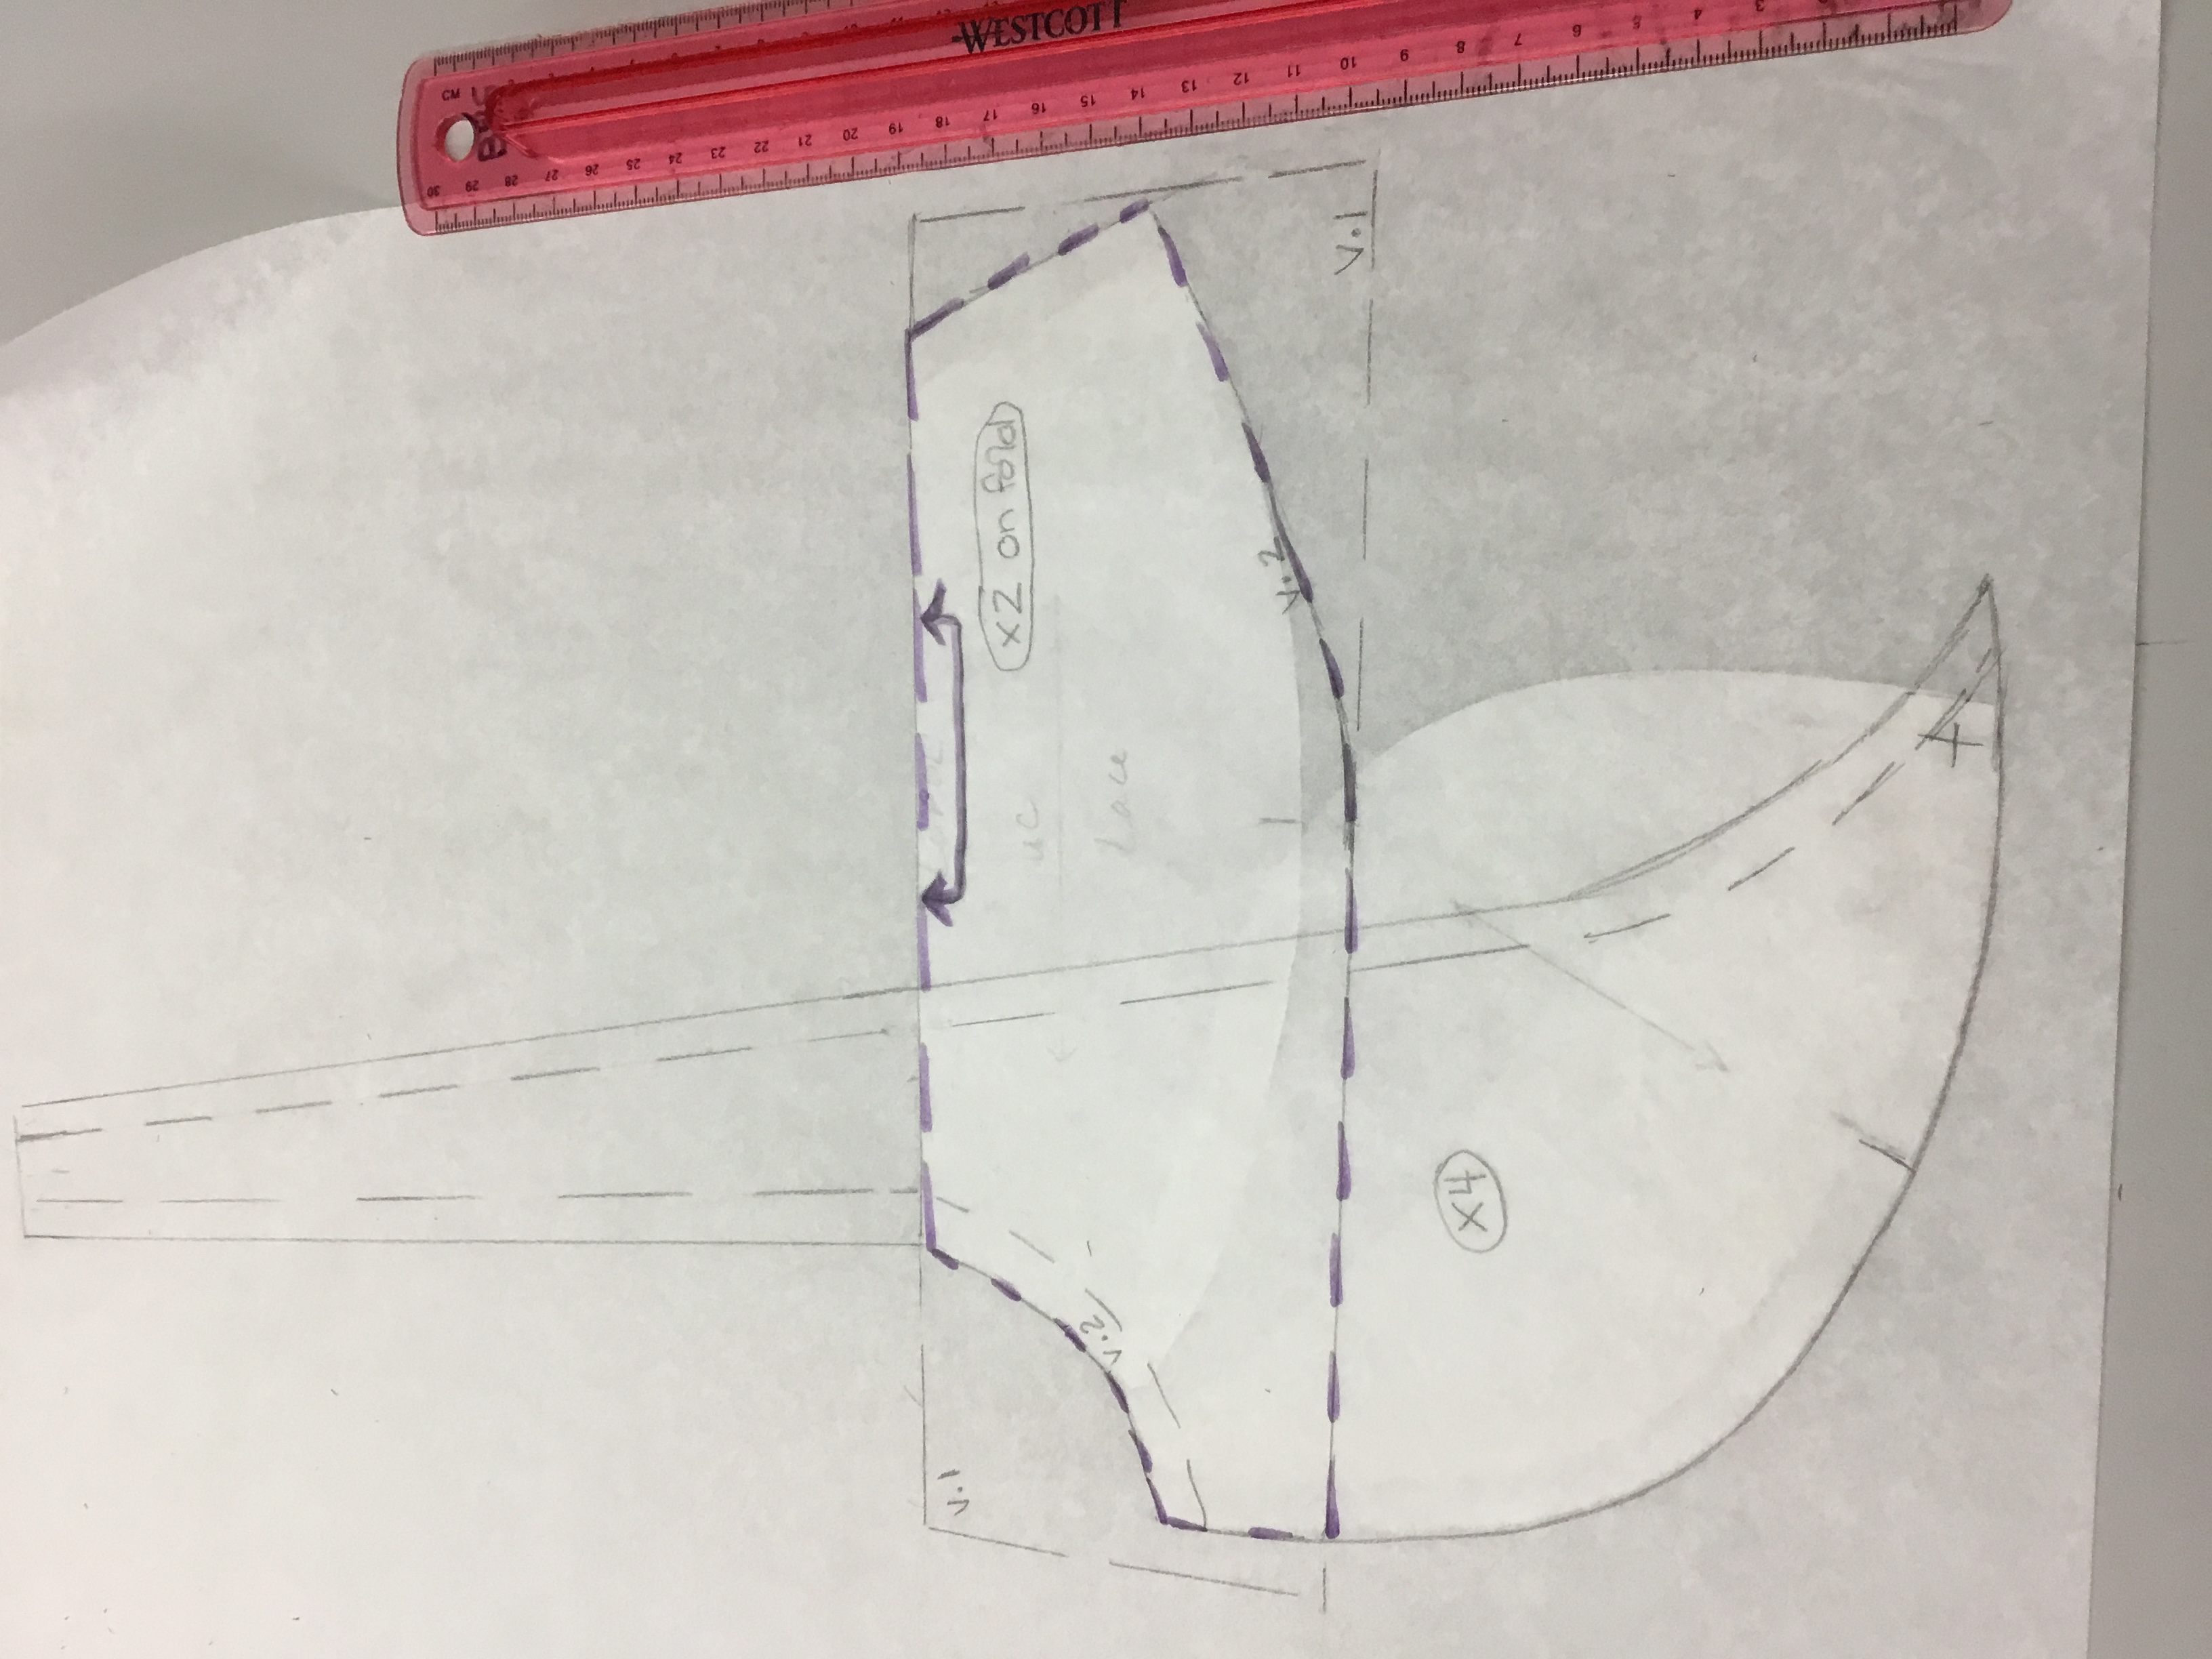
You’ll need a partial band bra pattern that fits you. Align the upper and lower as you would for a power bar, then draw in the sling and continue the line up for a strap. The tip of the sling goes to the cross cup seam so the bridge can attach there as well. Cut 4 of those.
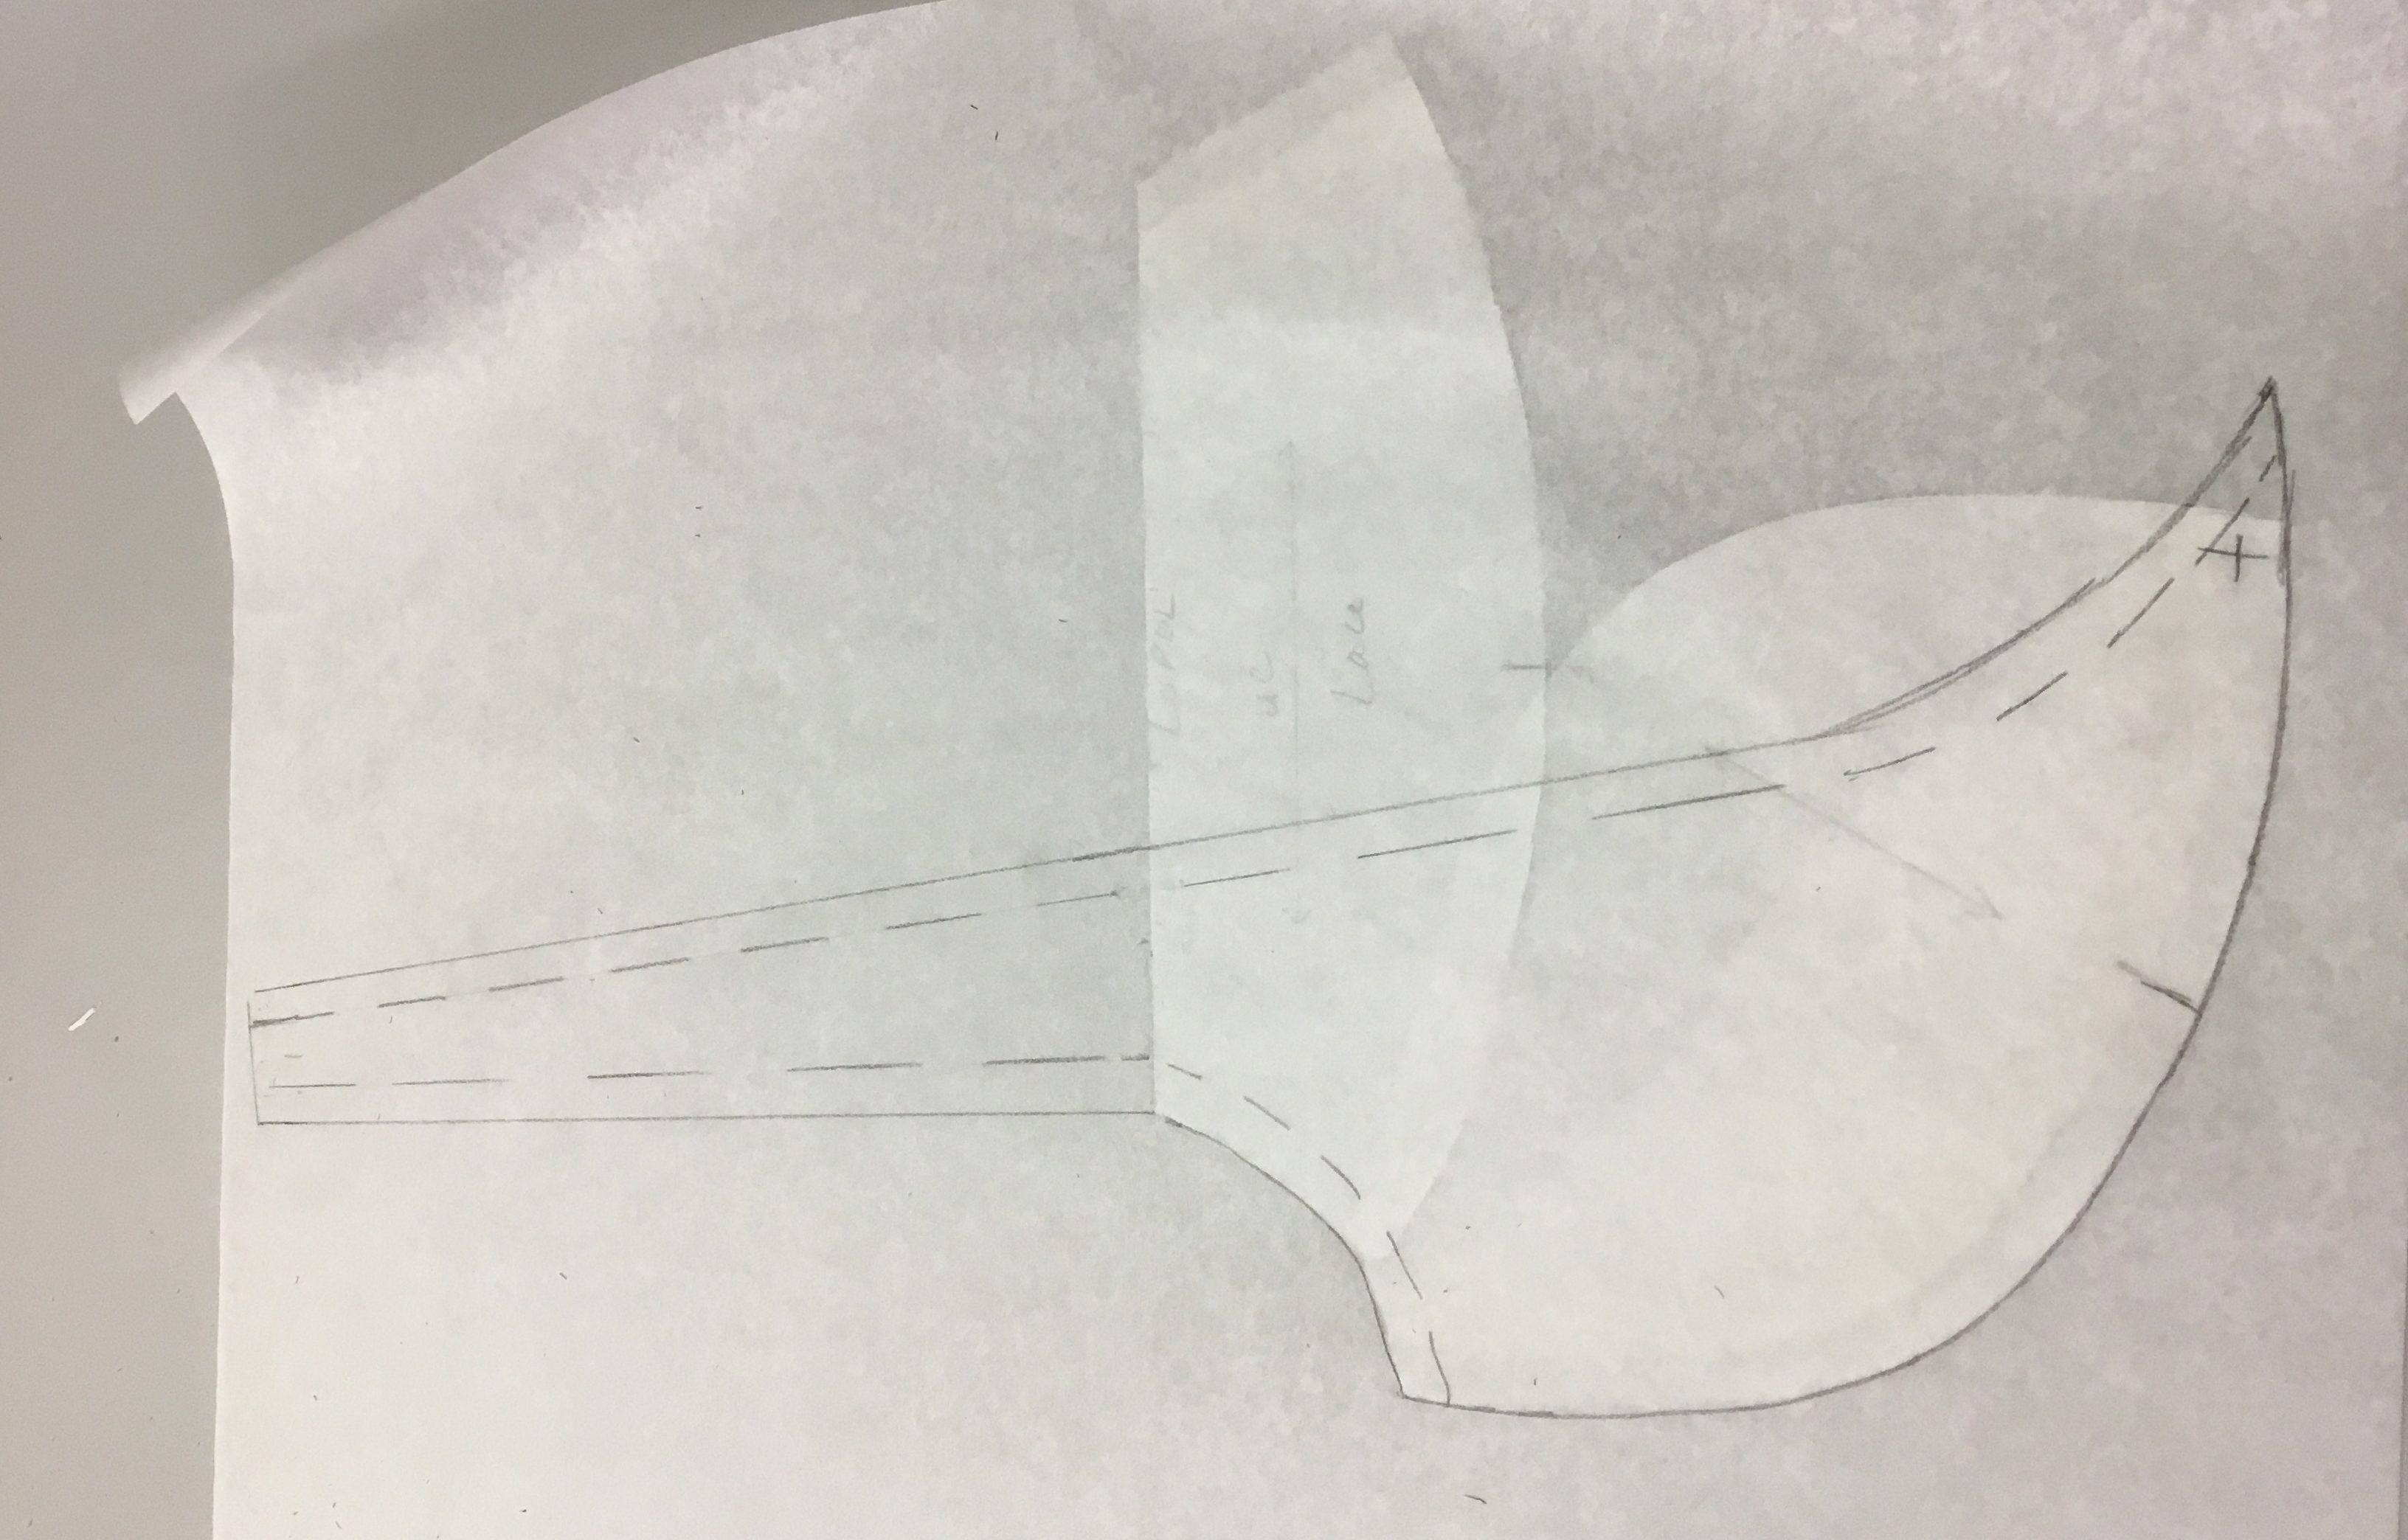
For the upper cup, I drew a rectangle, a little wider than the width of the upper cup and twice the height (so it will cover the areola) plus seam allowances. The DoGS go across so the fabric can stretch to help hold the breasts in place. I’ll draw in the shape of the underarm once I try the bra on and can see how I want it to angle. Note – If I were doing this again, I would skip the rectangle and draw this to the shape of the upper cup (in purple). It still needed taking in, so I really didn’t need the extra I allowed.
 We’ll use red stretch satin for that peek-a-boo bra. From the satin, I’ve cut out four sling/straps, two upper cups and two back bands (you can use power net underneath the back fabric if you need to). I’ve cut the bridge from one layer of satin and one layer of sheer cup lining.
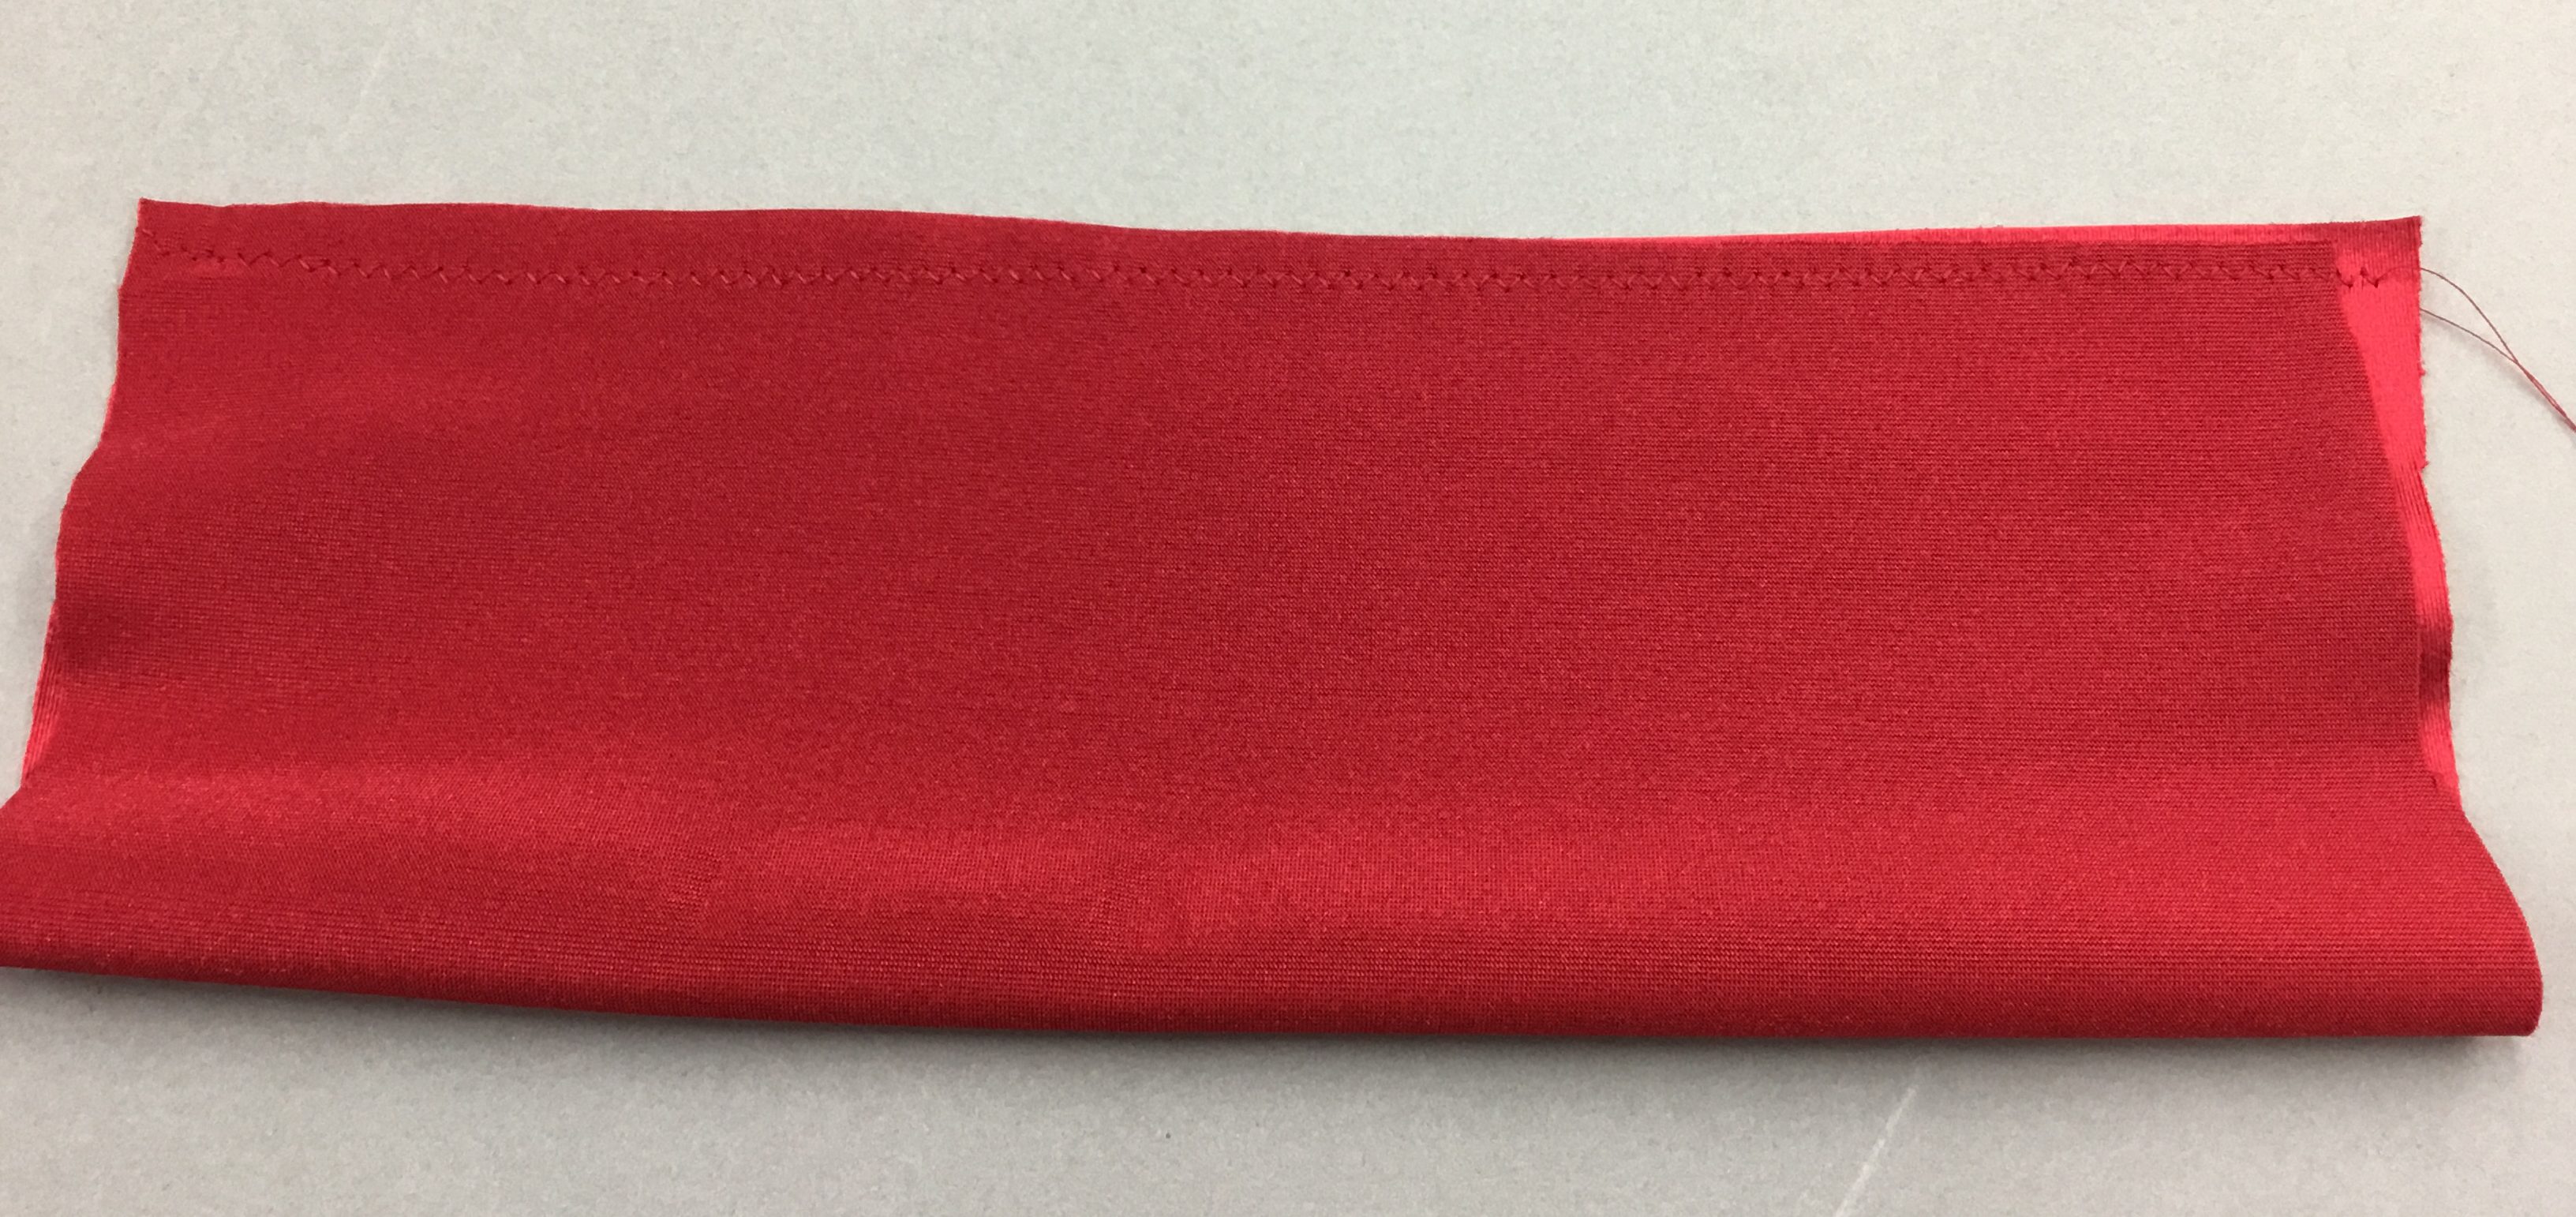
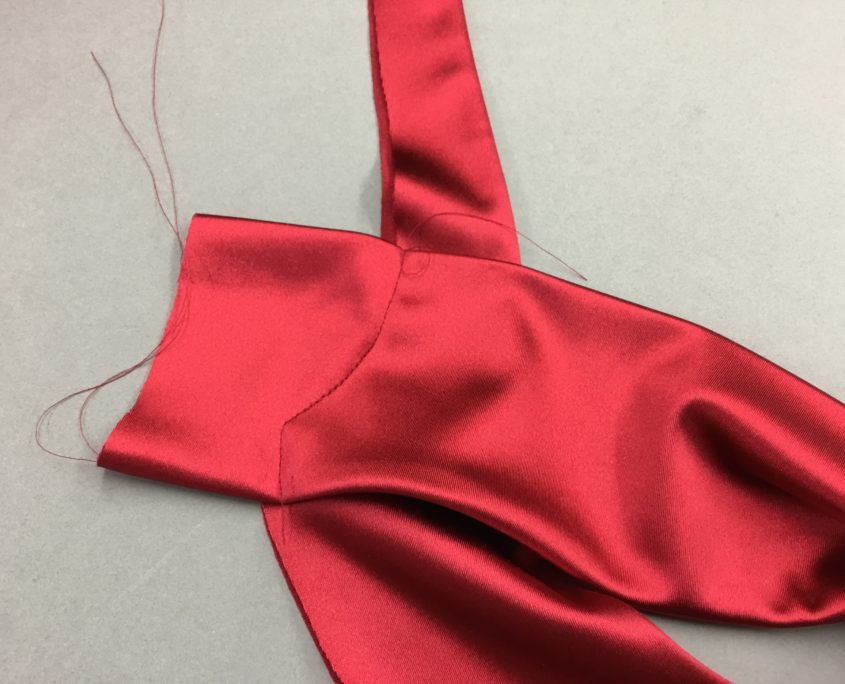
Sew the two inside curves of the sling/strap together.
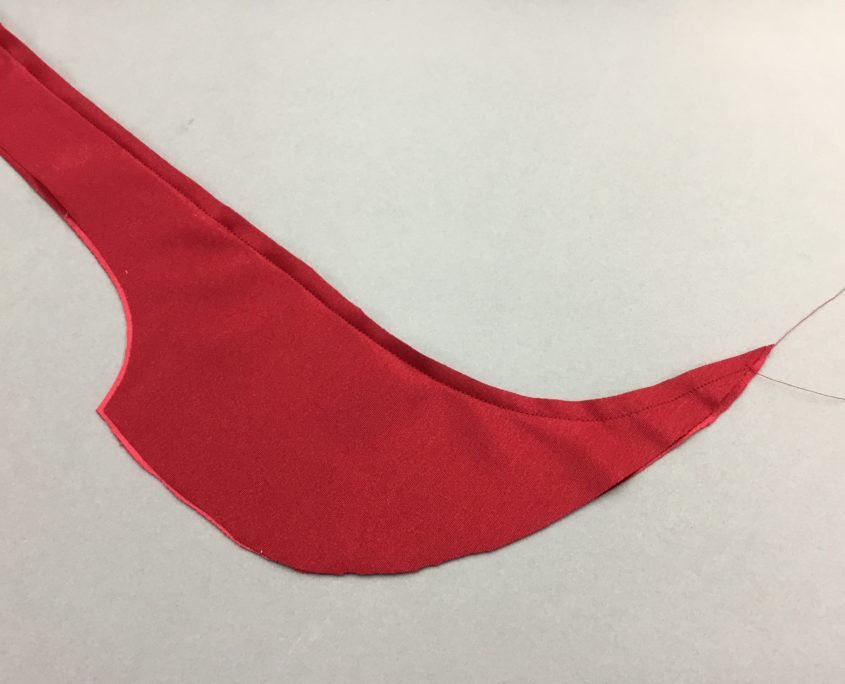
Press the seam open and understitch it. Understitching makes the seam lie flat, and also pushes the seam to the back.
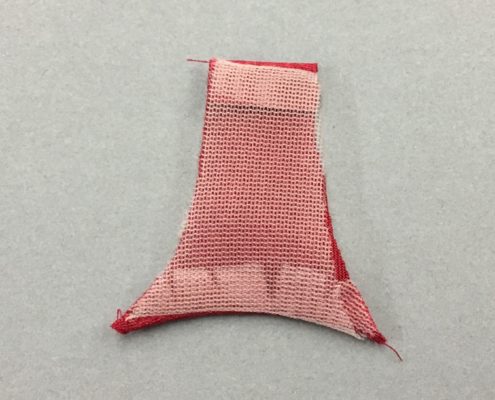
Sew the bridge to the sheer cup lining
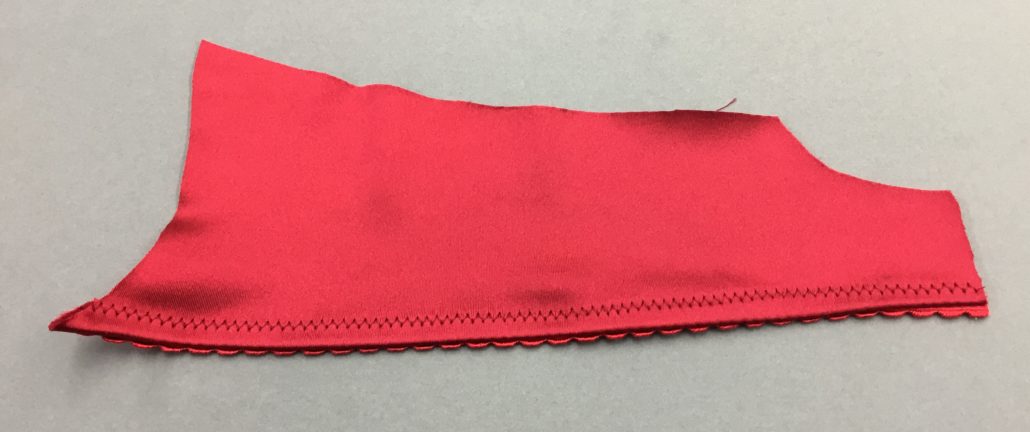
The sew the upper cup bottom edge using a zig-zag stitch so it can stretch across the breast without popping. This is a 1.5 x 1.5 ZZ. Turn and press. I will cut the underarm curve later.
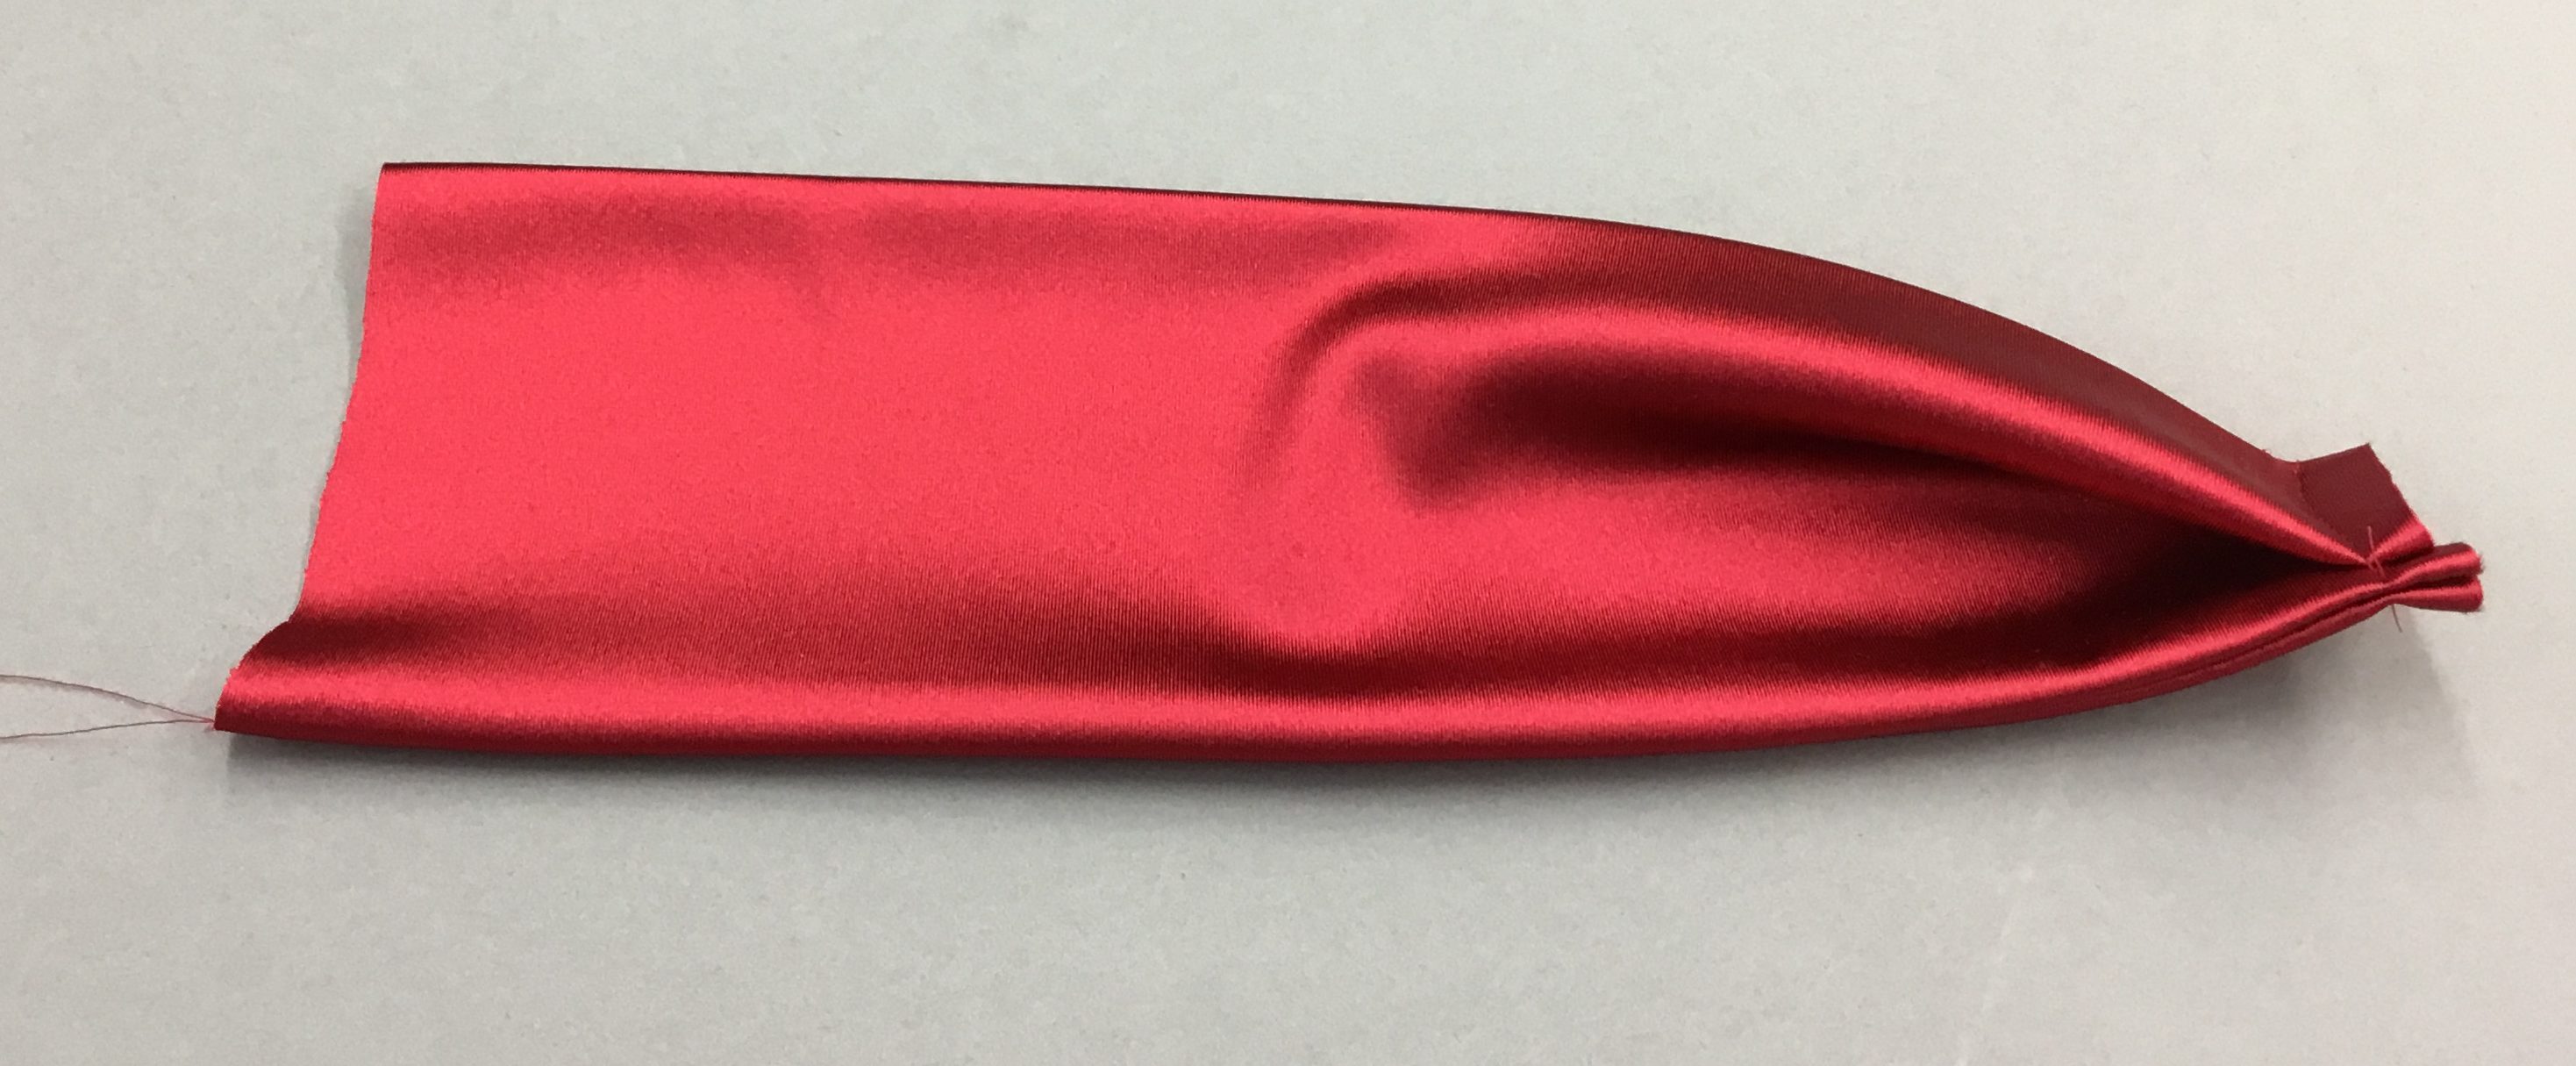
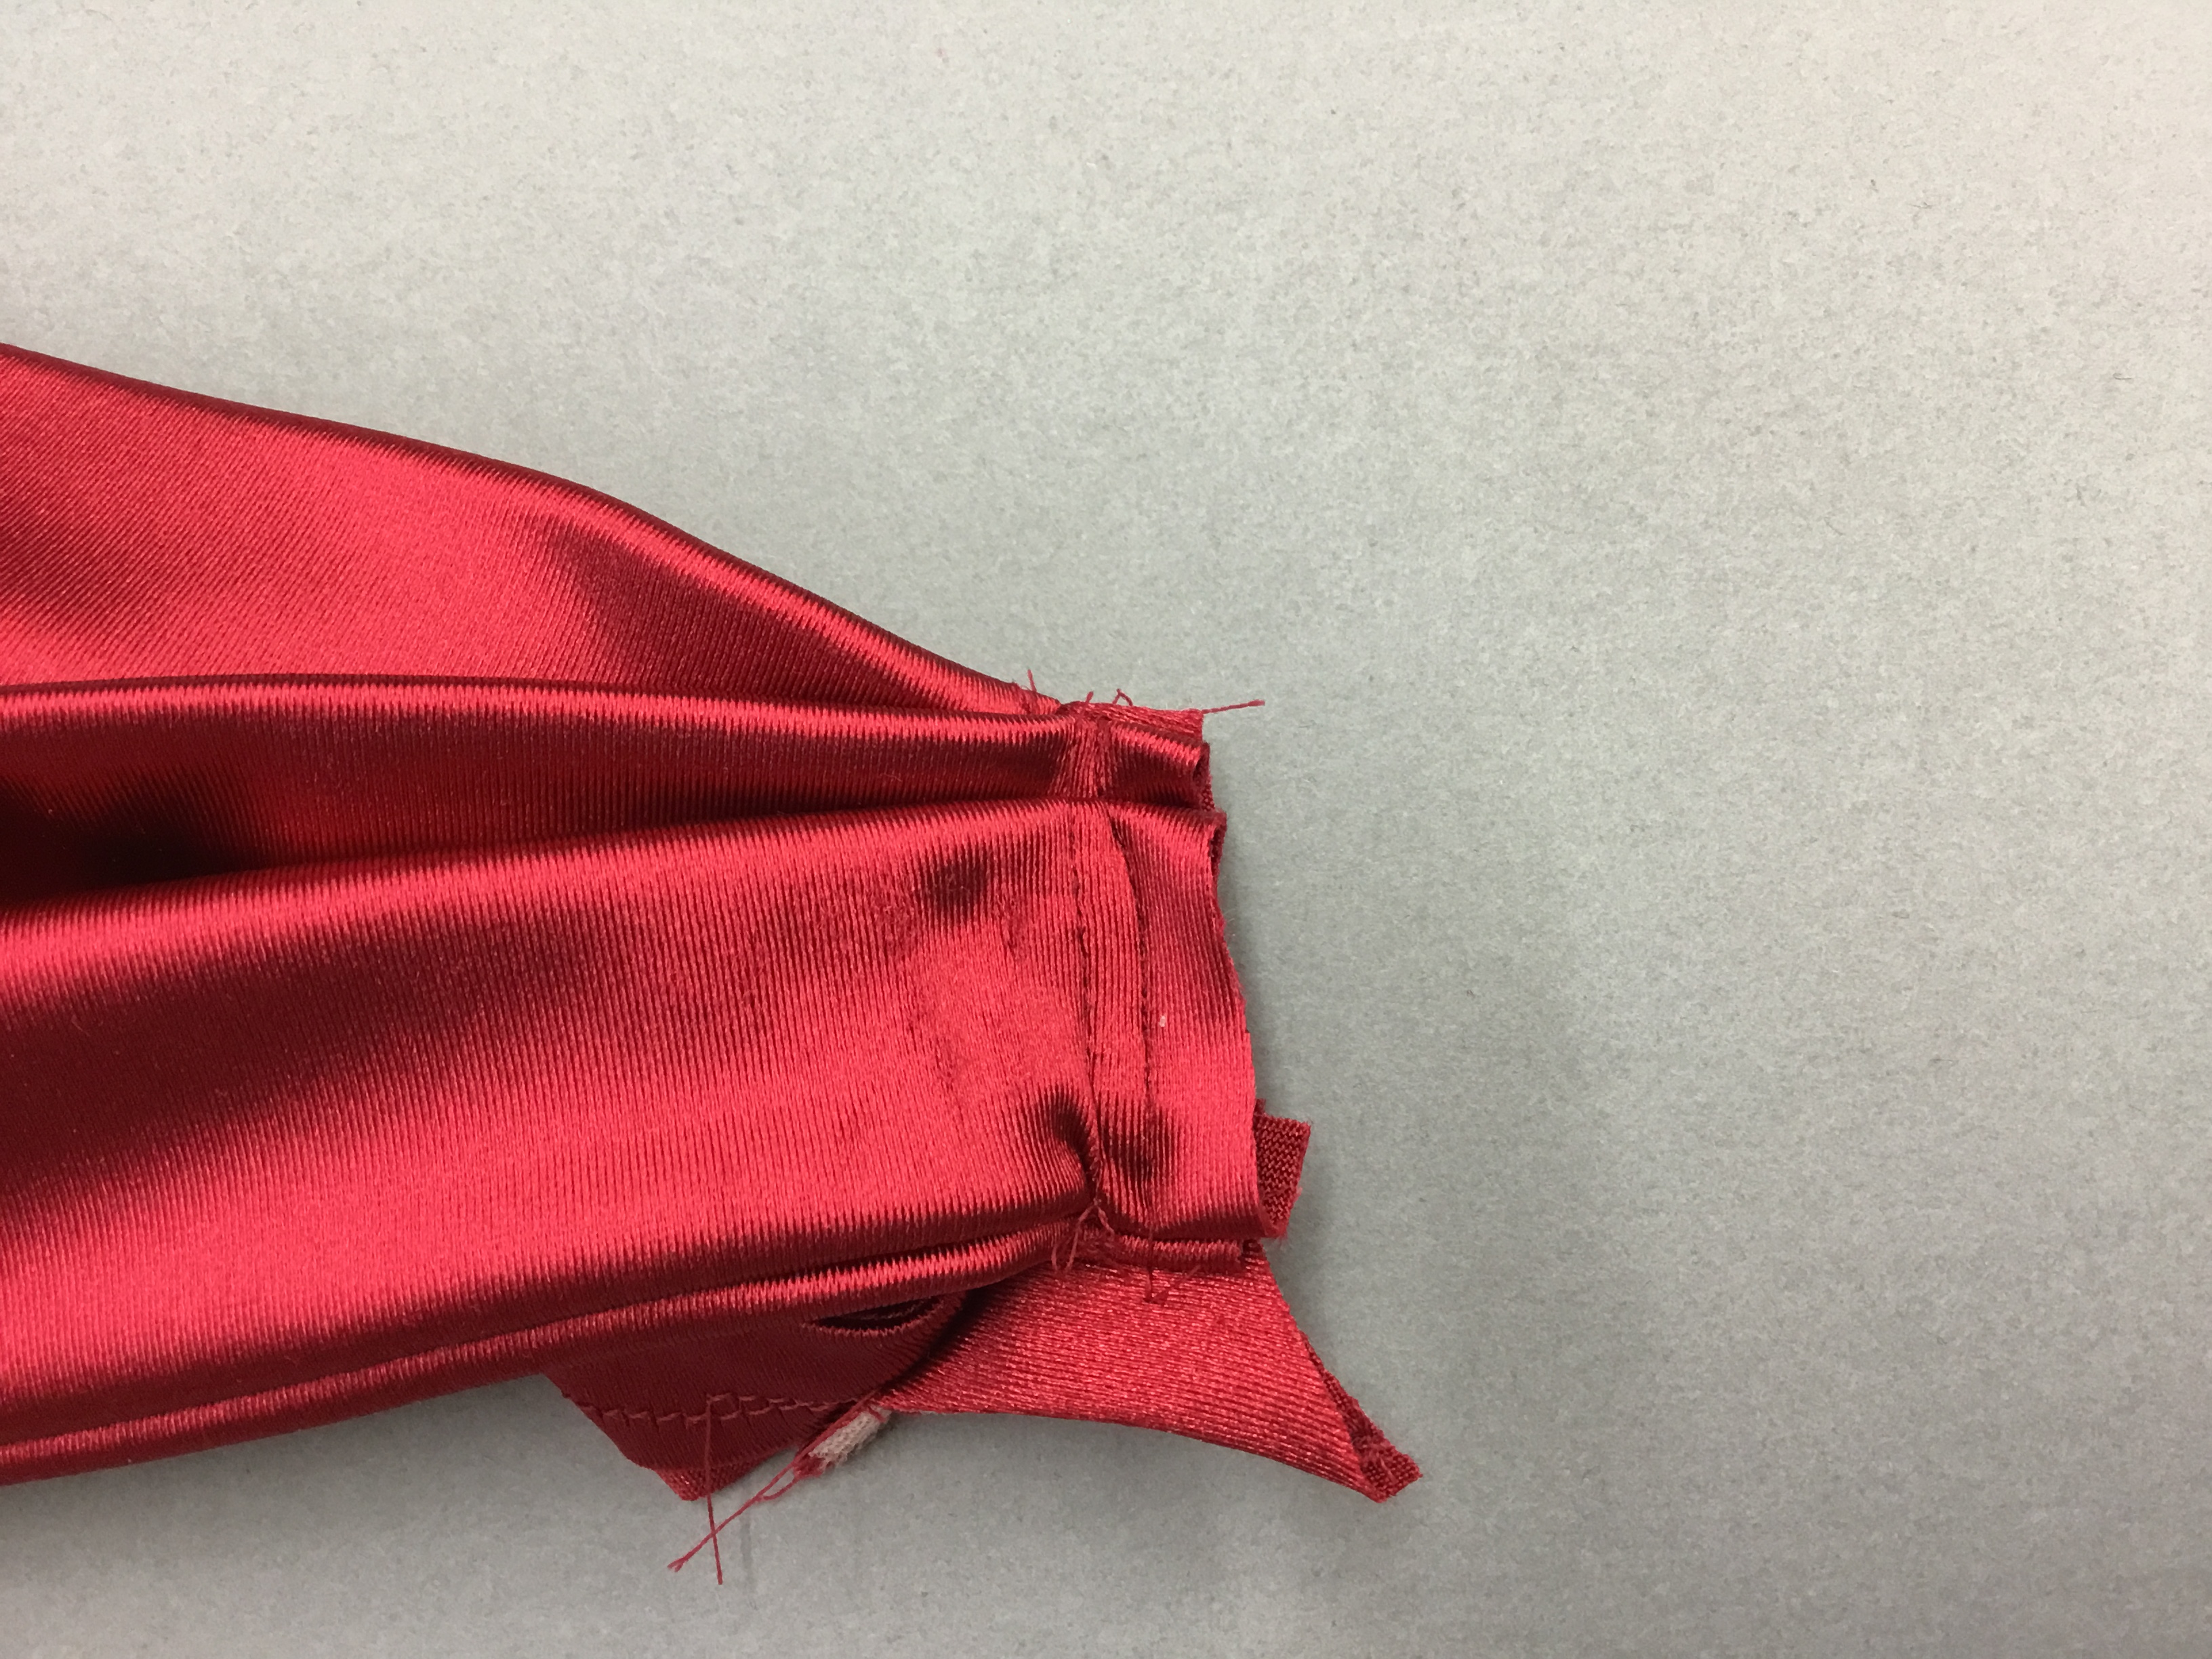
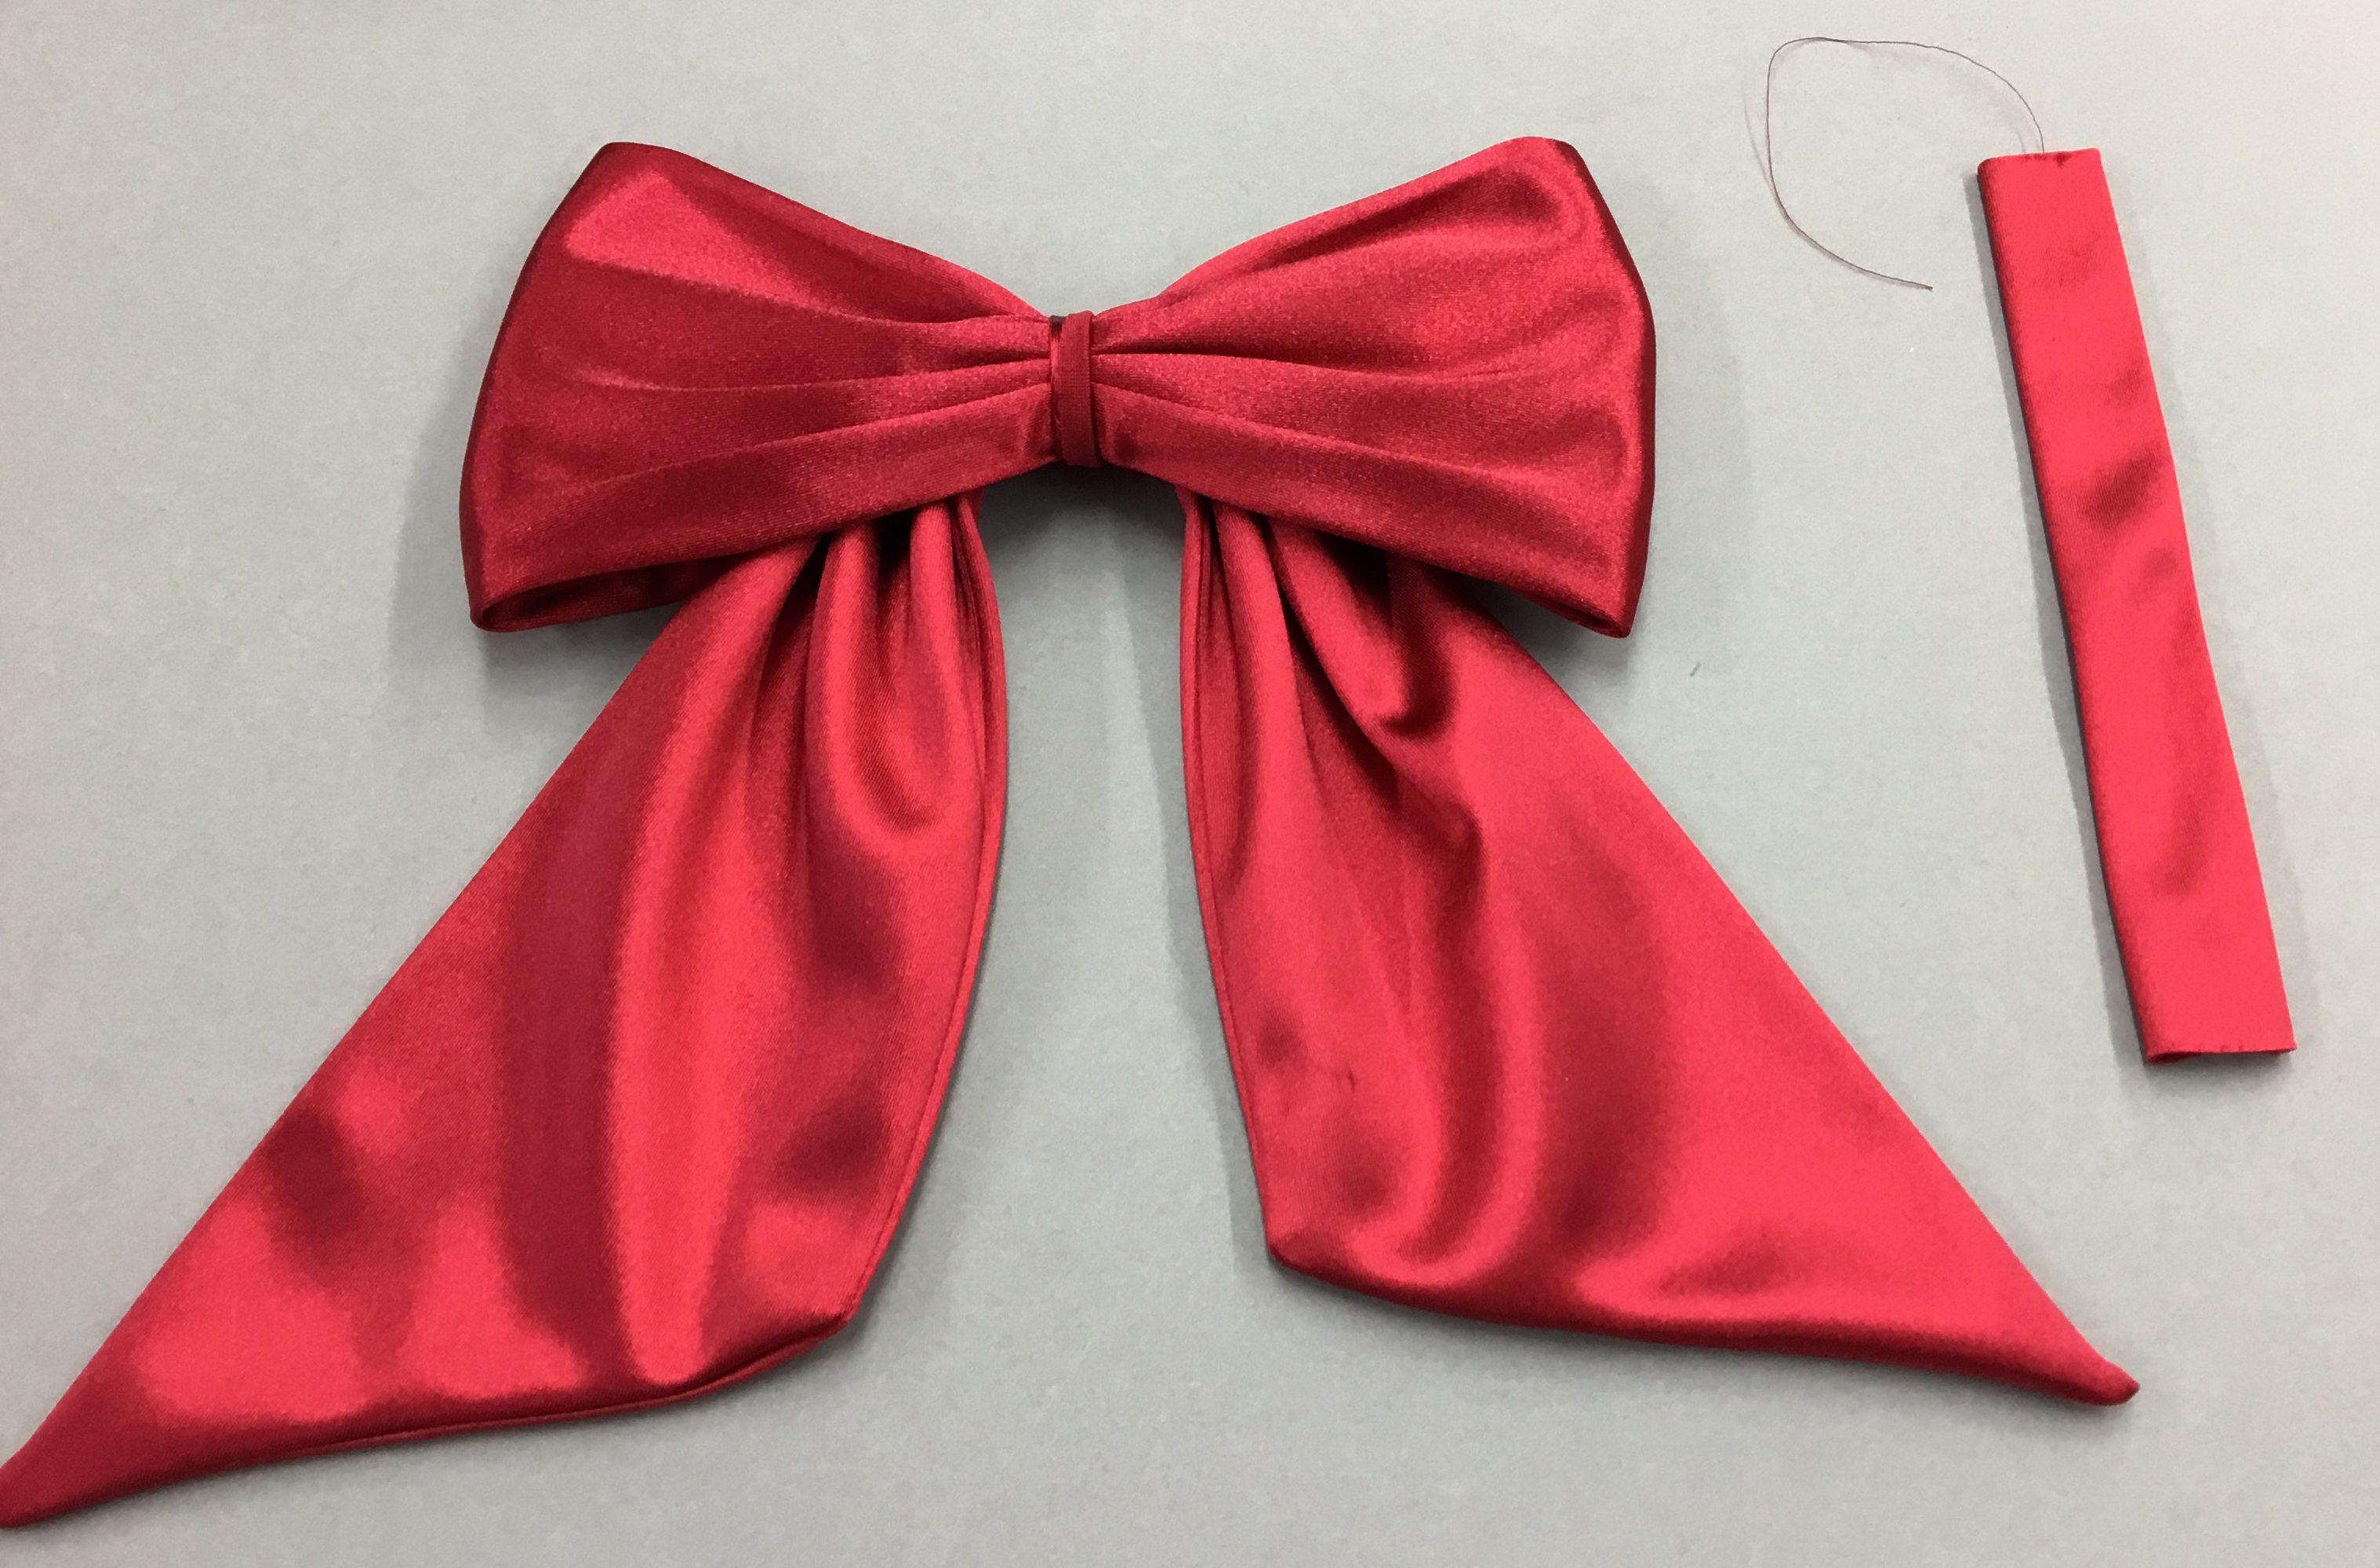
The bow is a piece of fabric 8.5″ wide and 30″ long with angled ends. Sew the open edges of the bow, leaving a small space unsewn so you can turn it.

Sew elastic to the bottom of the partial bands.
The Tricky Bit
I made a pleat in the upper cup at the front. If I were doing this again, I would make the front the same height as the upper cup so I wouldn’t end up with as much bulk to sew to the bridge. Live and learn.
Sewing the pleated upper cup to the tiny bridge was tricky. There just wasn’t enough space to stitch with all that bulk. Hence my thoughts on reducing bulk above. But I did it!
Sew both sides of the upper cup to the bridge. Next, sew the slings in place. The peek-a-boo bra is really shaping up!
Re-cut the upper cup to conform to the underarm curve. I tried this on the model to get the size exactly right. The stretch satin stretches quite a bit so you want to get it the right width. The upper cup is actually holding the breast in place. The fabric stretched quite a bit as you can see.
Sew on the back bands.
Sew on the channeling. I left it floating (no top-stitching). I liked that better than stitching it down. However, I did catch it by hand in a couple of places so it wouldn’t flip outward. I also inserted the wires. Then, I finished the top edge and the strap as I normally would.
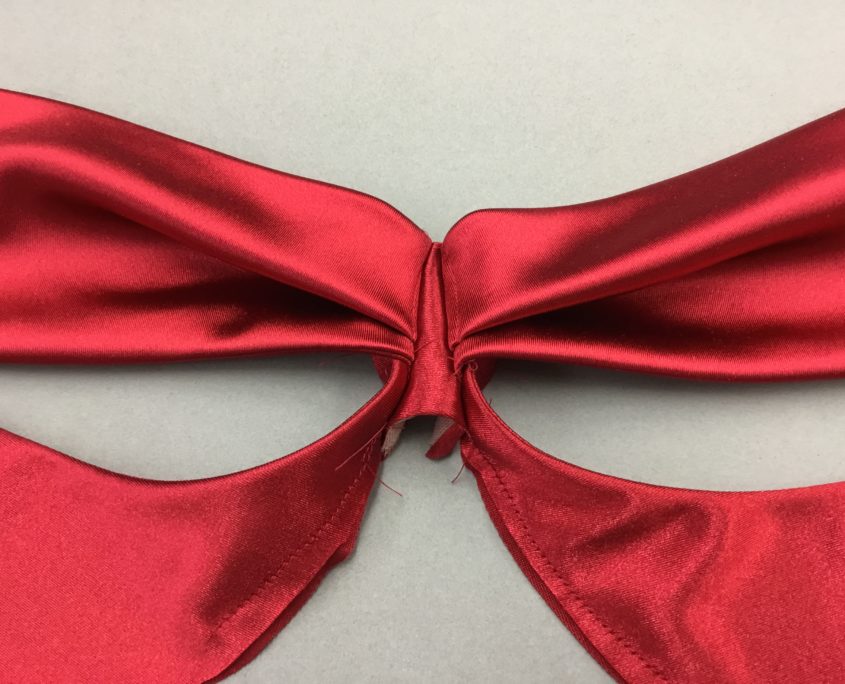
Lastly, I worked the bow into a symmetrical shape and stitched it into that shape by hand. There was too much bulk to do that by machine. I tied a piece of scrap fabric to hold the folds in place. Then I made a strap to tie around the centre of the bow for the knot.
I hand sewed the bow to the bridge and tacked them in place on the upper cups and the straps. Here is the peek-a-boo bra finished and modelled on Ashley.
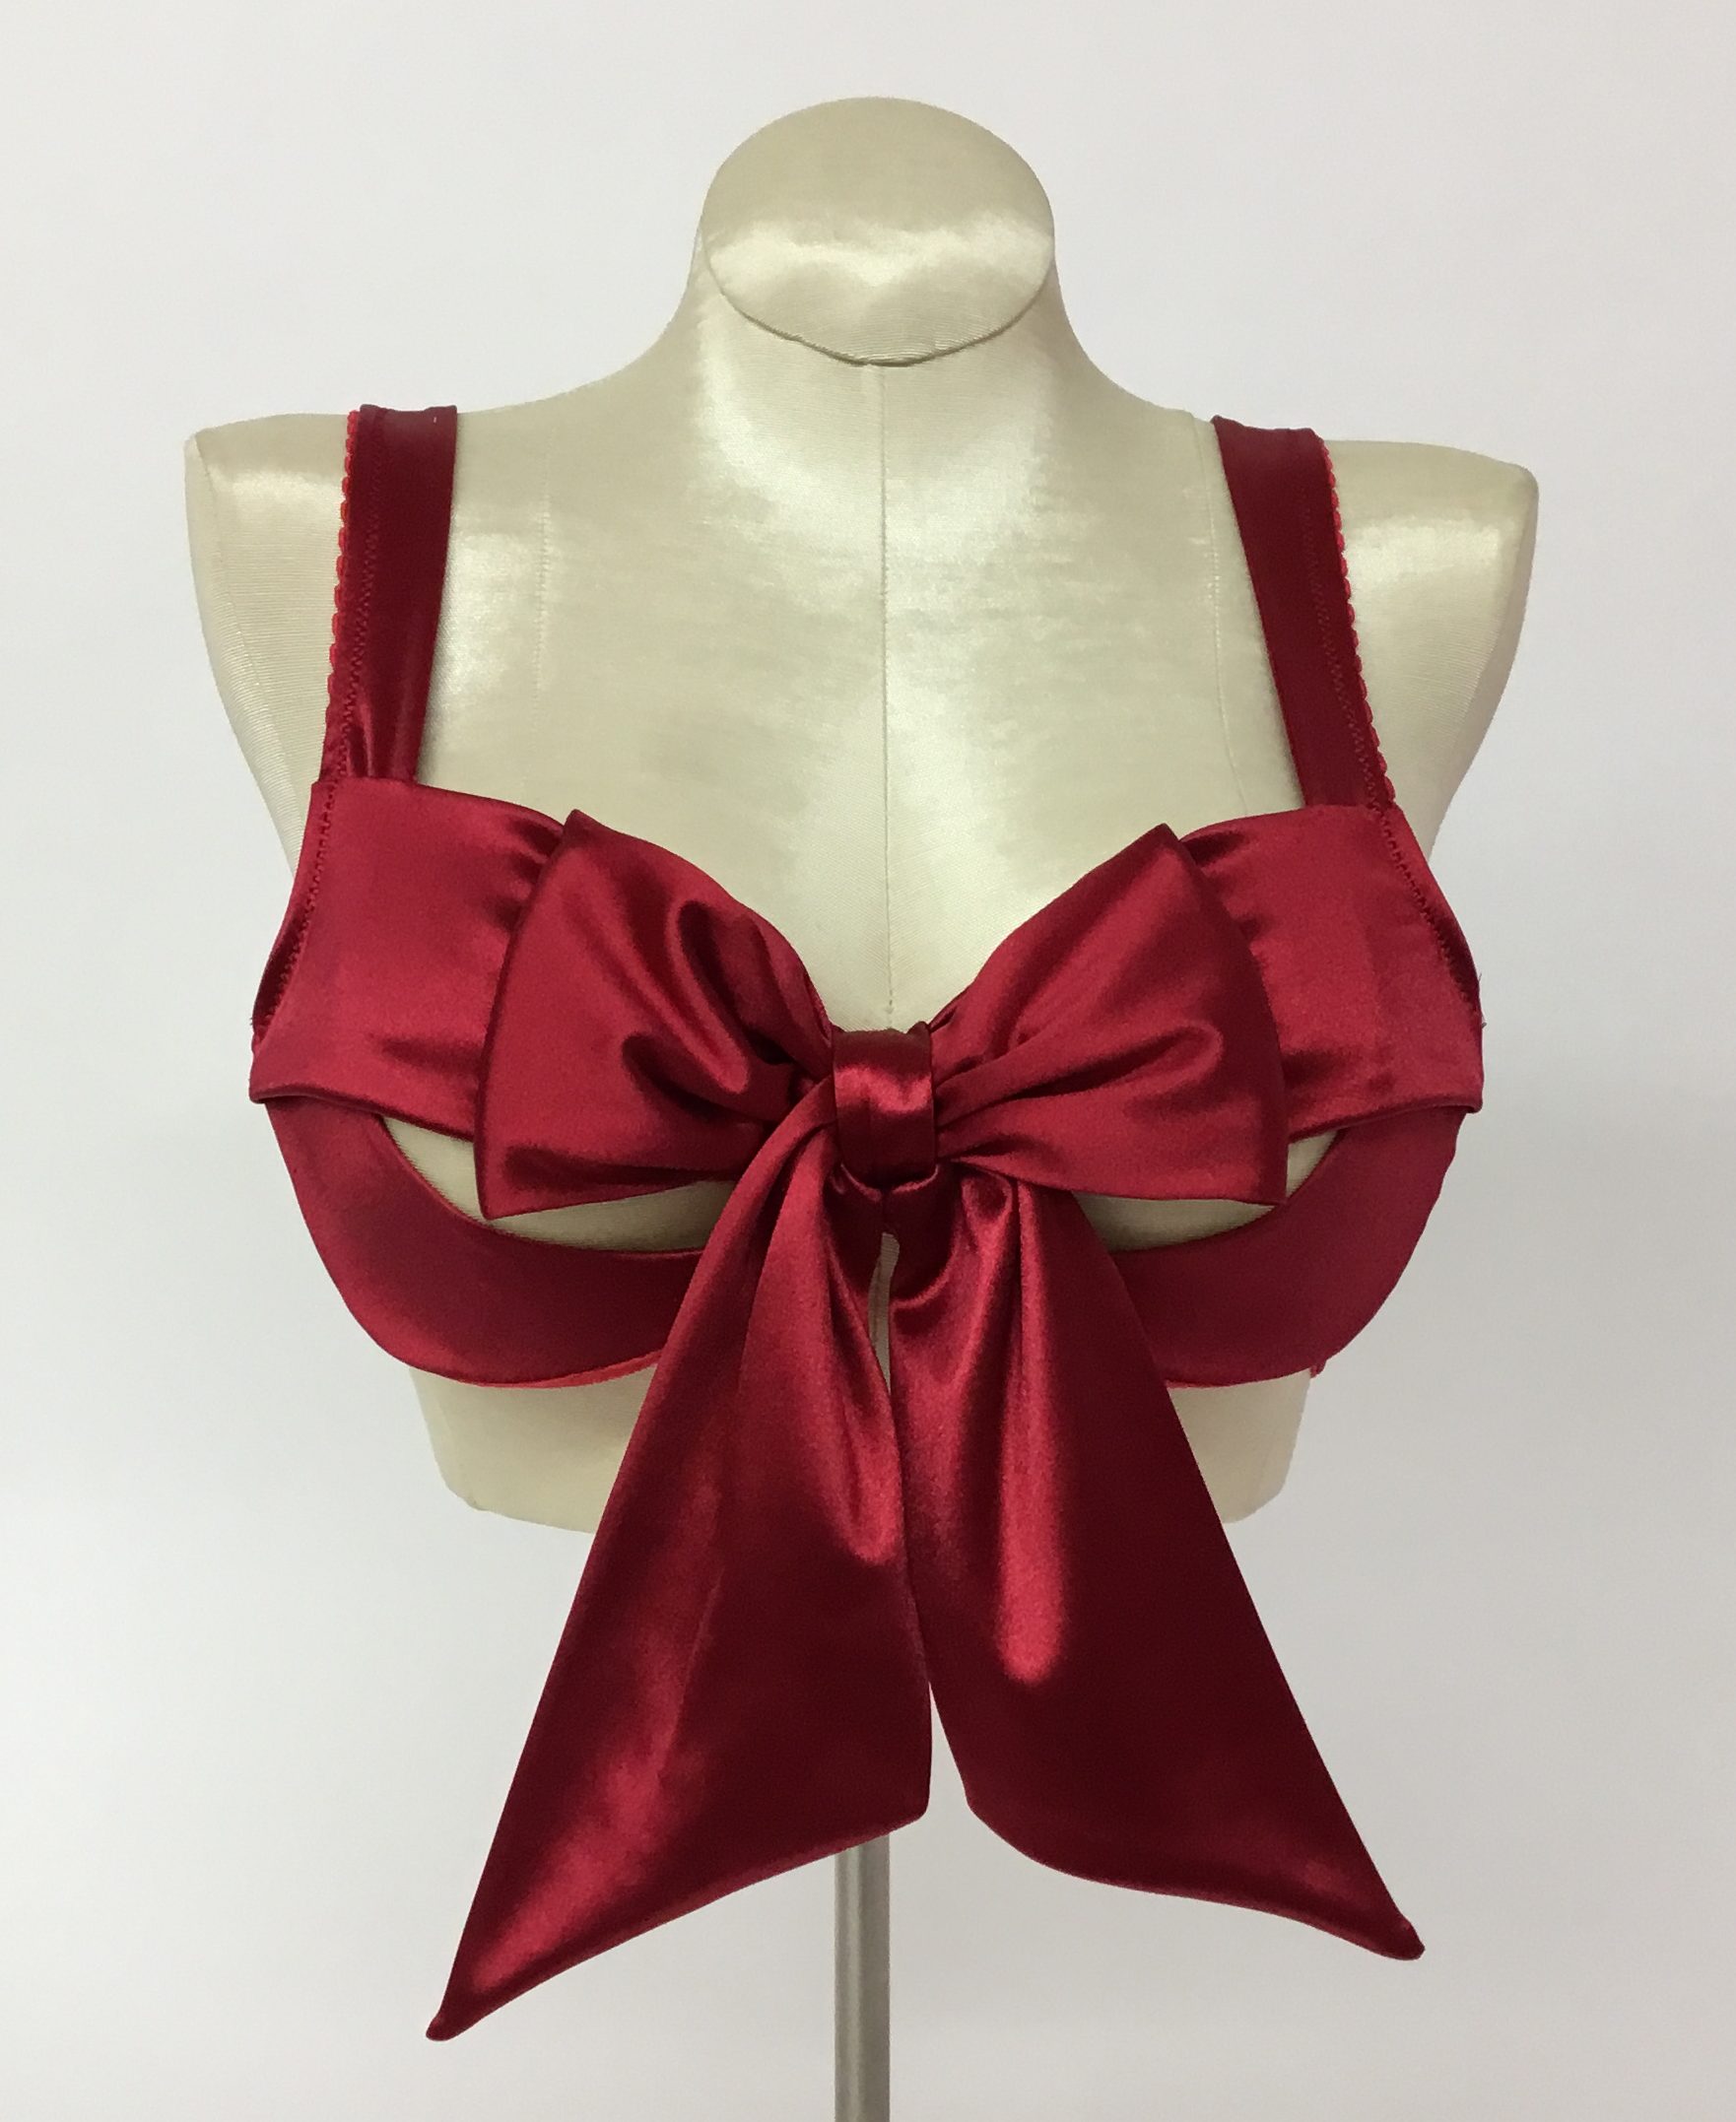
The test of a bra is to have it worn by a real woman! It works! It works!
I hope you’ve been inspired to try that Peek-a-boo Bra on your own!
Your Fairy Bra Mother,


I really love this bra idea. It’s sexy and sweet at the same time. Thank you for sharing.
Wow
I love this whole tutorial and the bra is amazing
Very cute I have to try this one
Such a creative piece!
That’s very cute! I will have to try it.
What an incredible bra! Thank you for the tutorial.