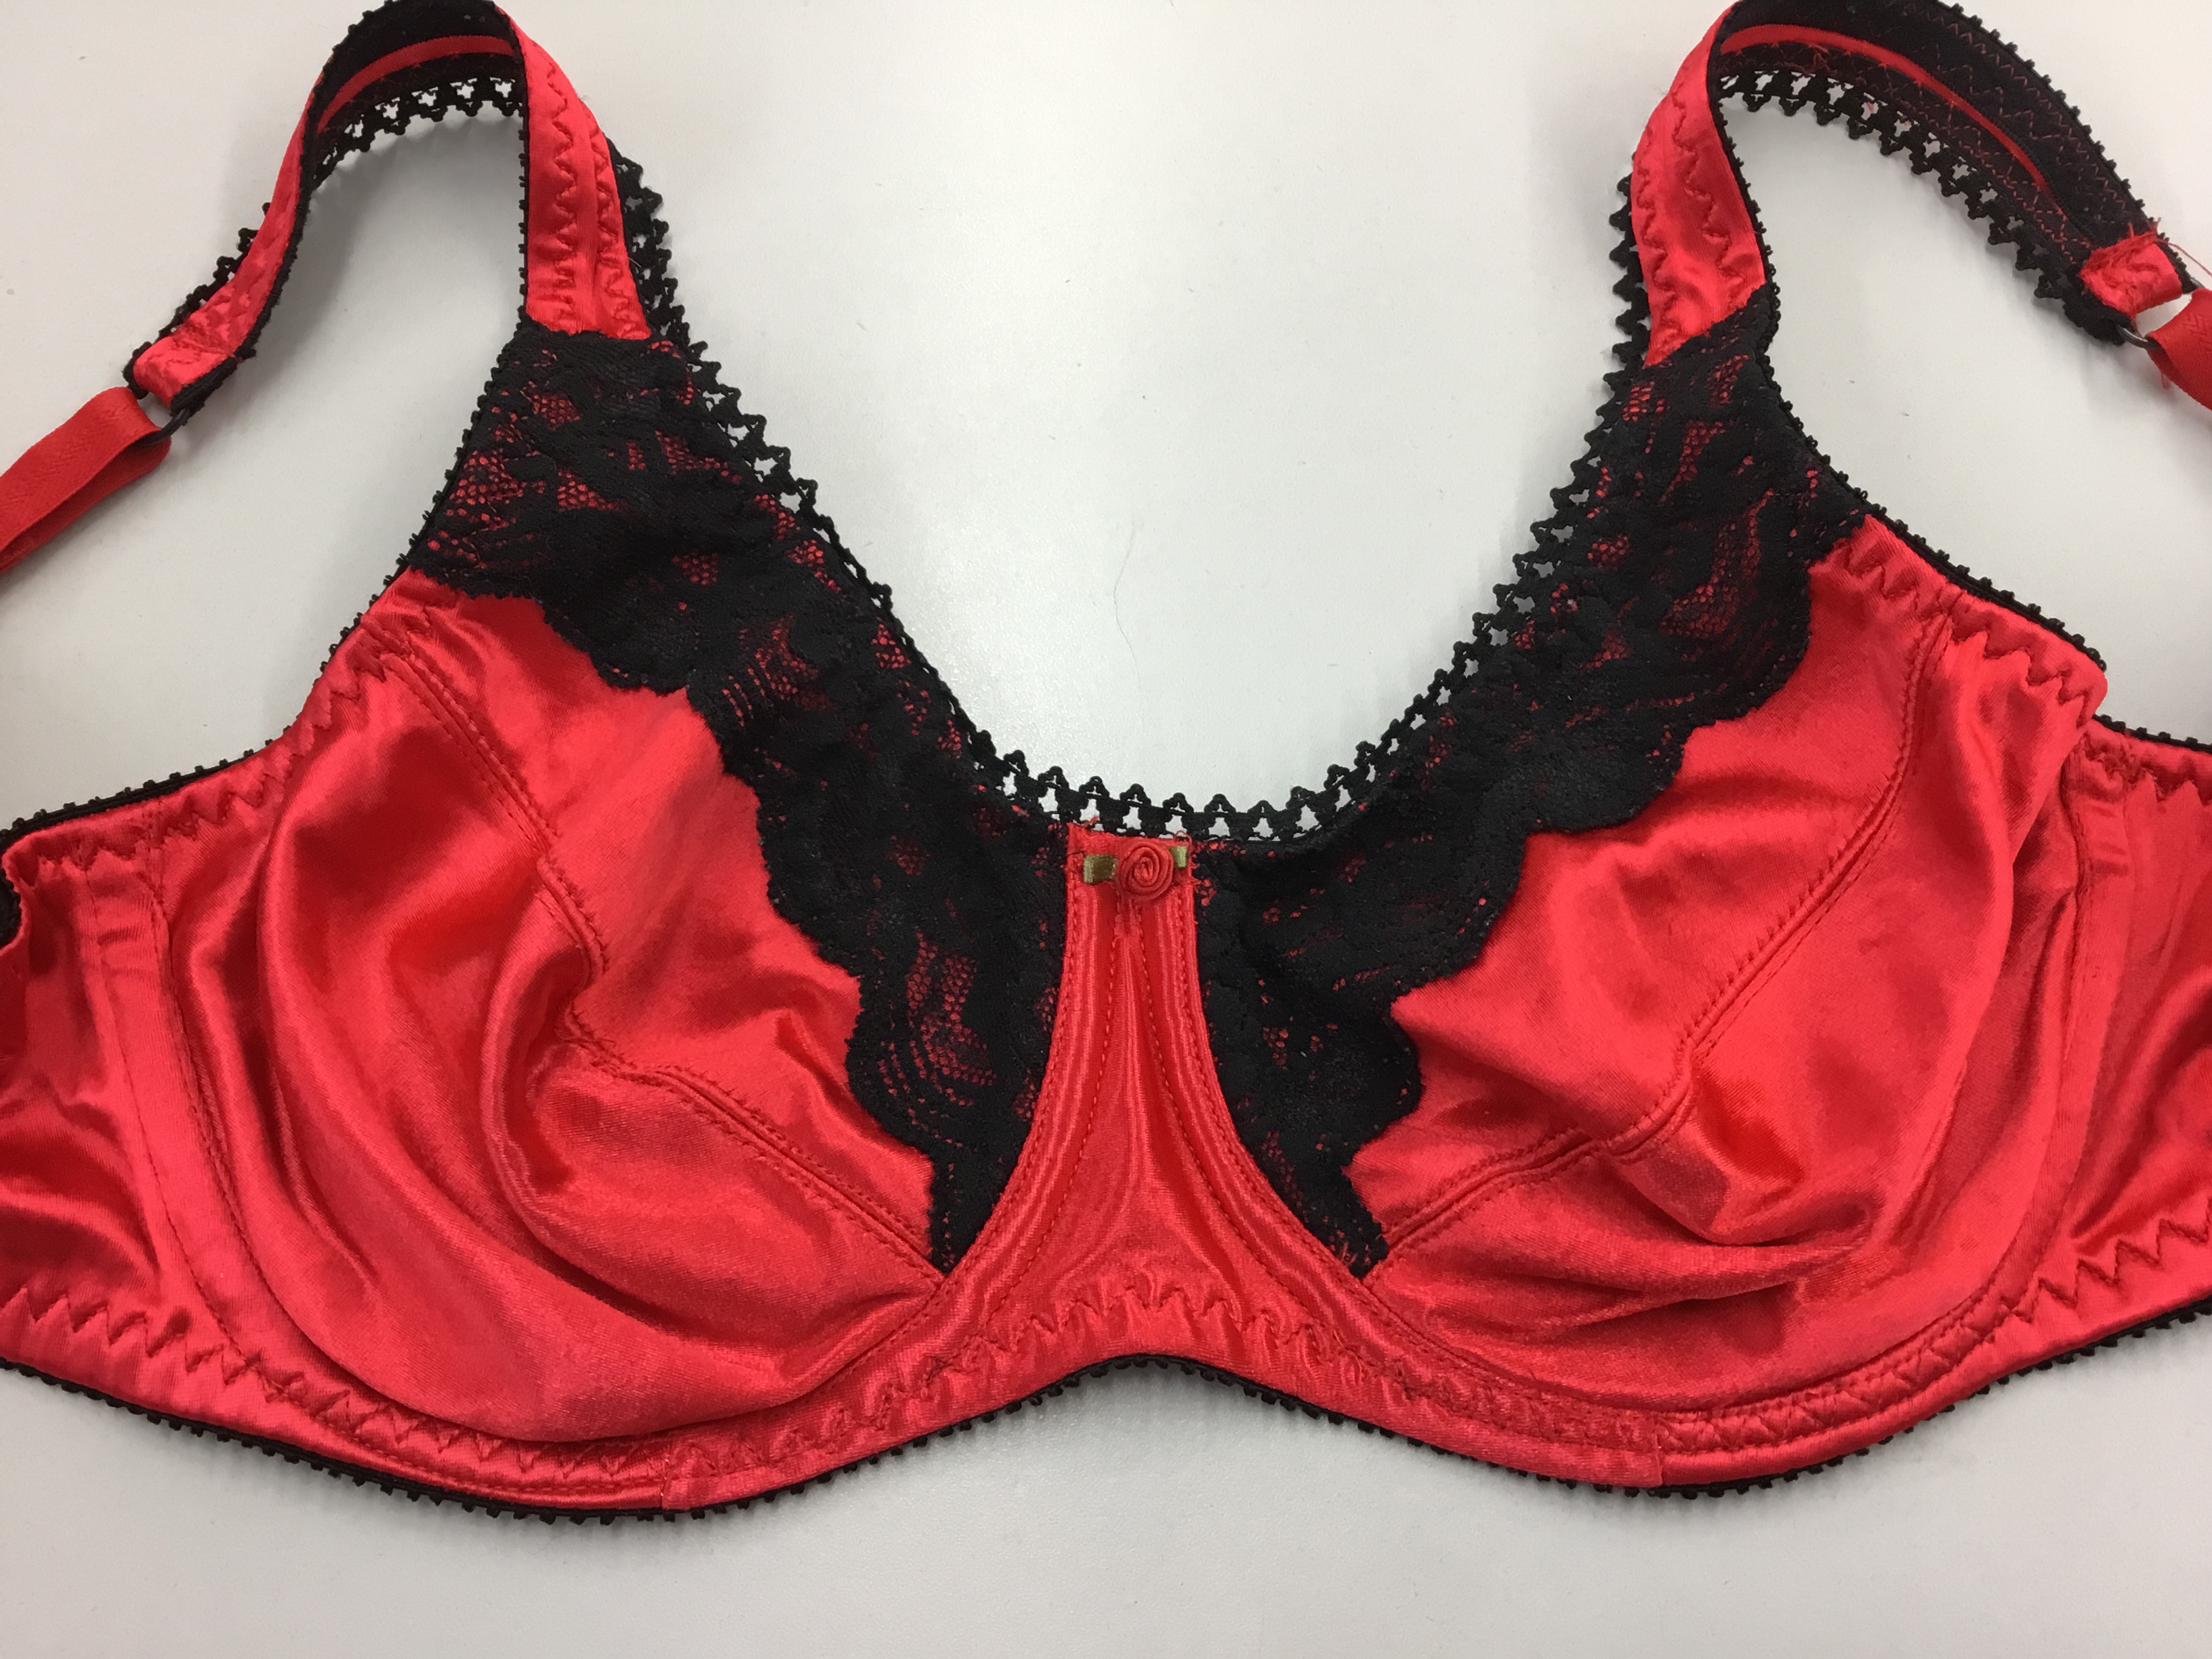
Stretch Satin is wonderfully luxurious and so silky, it’s almost liquid to the touch! Nothing says sexy like satin! In this tutorial, I want to share with you a Stretch Satin primer, so that you will be able to create luxurious, comfortable, supportive and sexy lingerie.
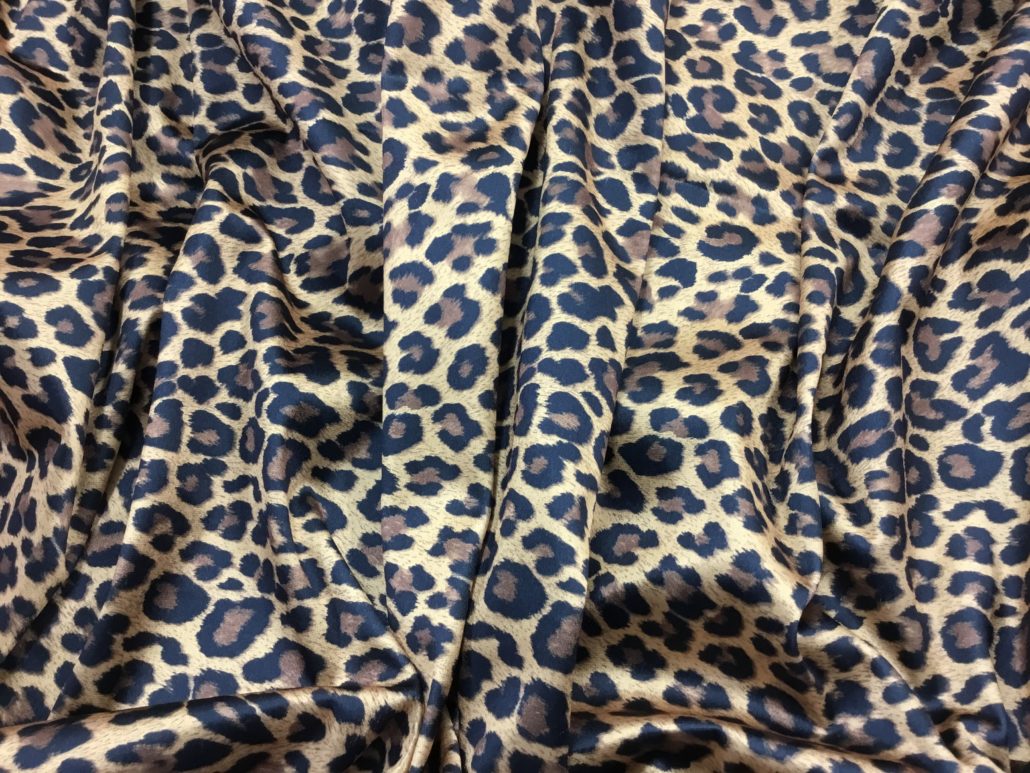
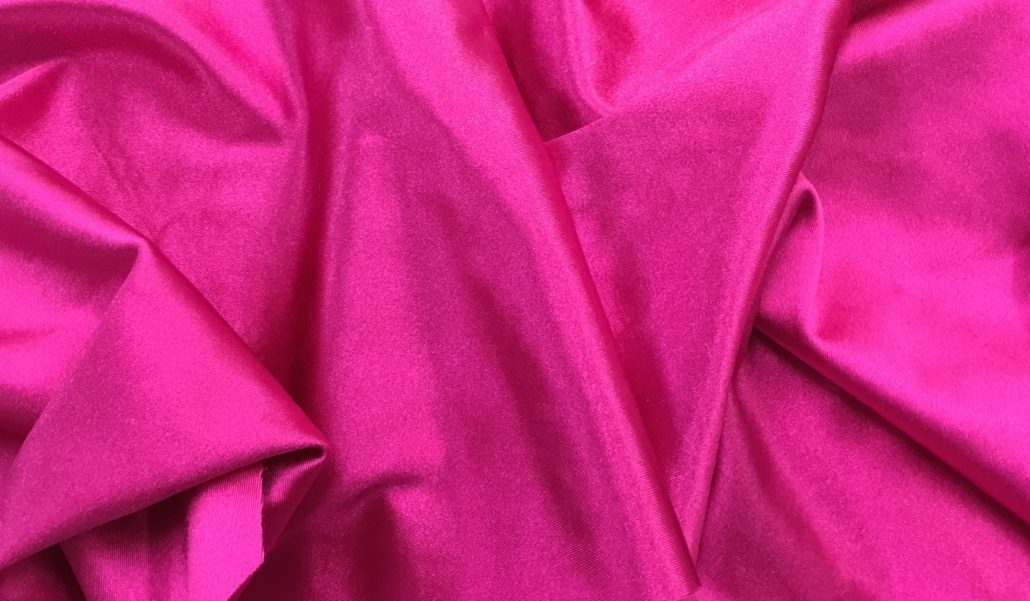
Stretch satin, printed or plain, is almost always made from a combination of nylon and spandex, but both the weight of the finished fabric and the proportion of nylon to spandex varies. The percentage of spandex alone does not determine its weight. It is the yarn weight as well. Some satins are quite thin, perhaps 10% or less of spandex and are often called pantyweight satins. They drape really well. perfect for panties, camisoles or covering foam cups.
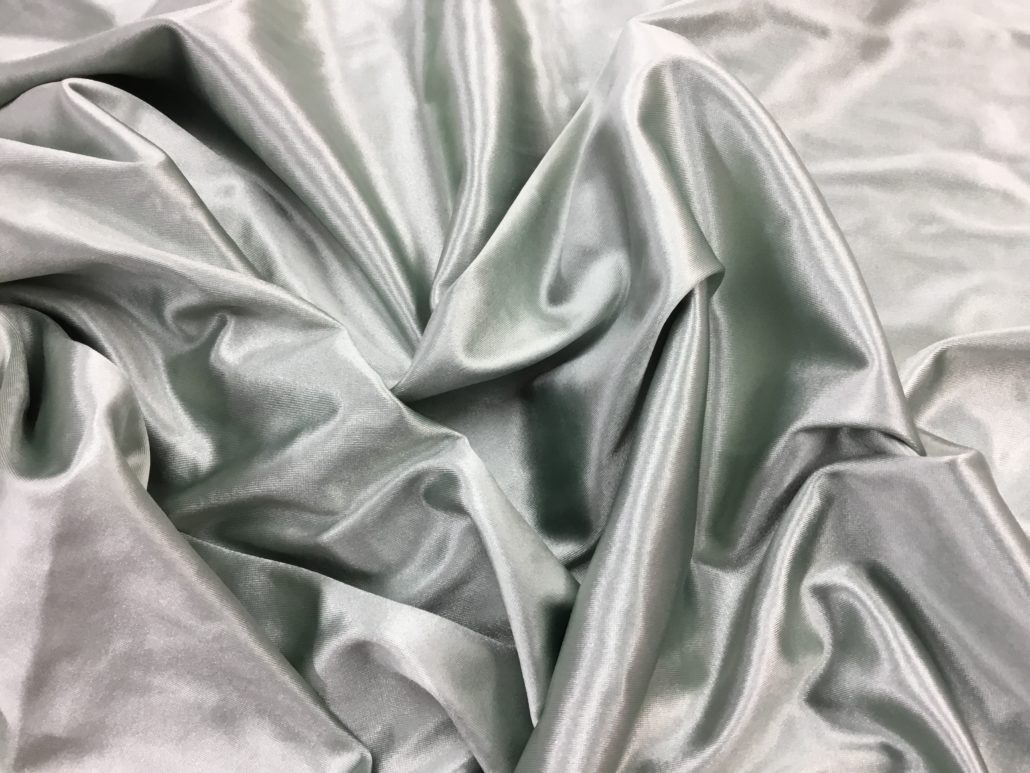
There is a medium weight satin with 10-15% spandex, a great all-purpose satin for panties, camisoles or covering foam. It can also be used for bra cups or bralettes if combined with a light lining.
Finally here is a heavyweight version containing 15-20% spandex. Note it doesn’t drape as well as the lighter weights, however, it can hide body irregularities better than the lightweight ones, so it is good for costumes, dance outfits etc. One funny thing – the heavyweight fabric has almost a “scrunch” to it when you squeeze it in your hand.
Stretch Satin and the DoGS
Stretch satin is one of those rare birds that joins other bra fabrics, such as duoplex and power net with their direction of stretch running parallel to the selvedge, so be careful laying out your patterns! The DoGS of the fabric are almost always are placed to go around the body. I always mark my DoGS with a wash-out marker in the corner so I don’t mix them up.
The amount of stretch in the fabric depends on the weight. Some heavyweights are 40% stretch and some lightweights are 75% stretch. The more stretch the fabric has, the less support it will offer, but it will drape more easily. If making gathers on a bra cup, for example, you want the stretchiest satin. The heavyweights do not gather or pleat as well.
To measure the stretch, measure out 10″ of fabric along the direction of stretch (in this case, the selvedge – you can see the pinpricks of the selvedge quite clearly)
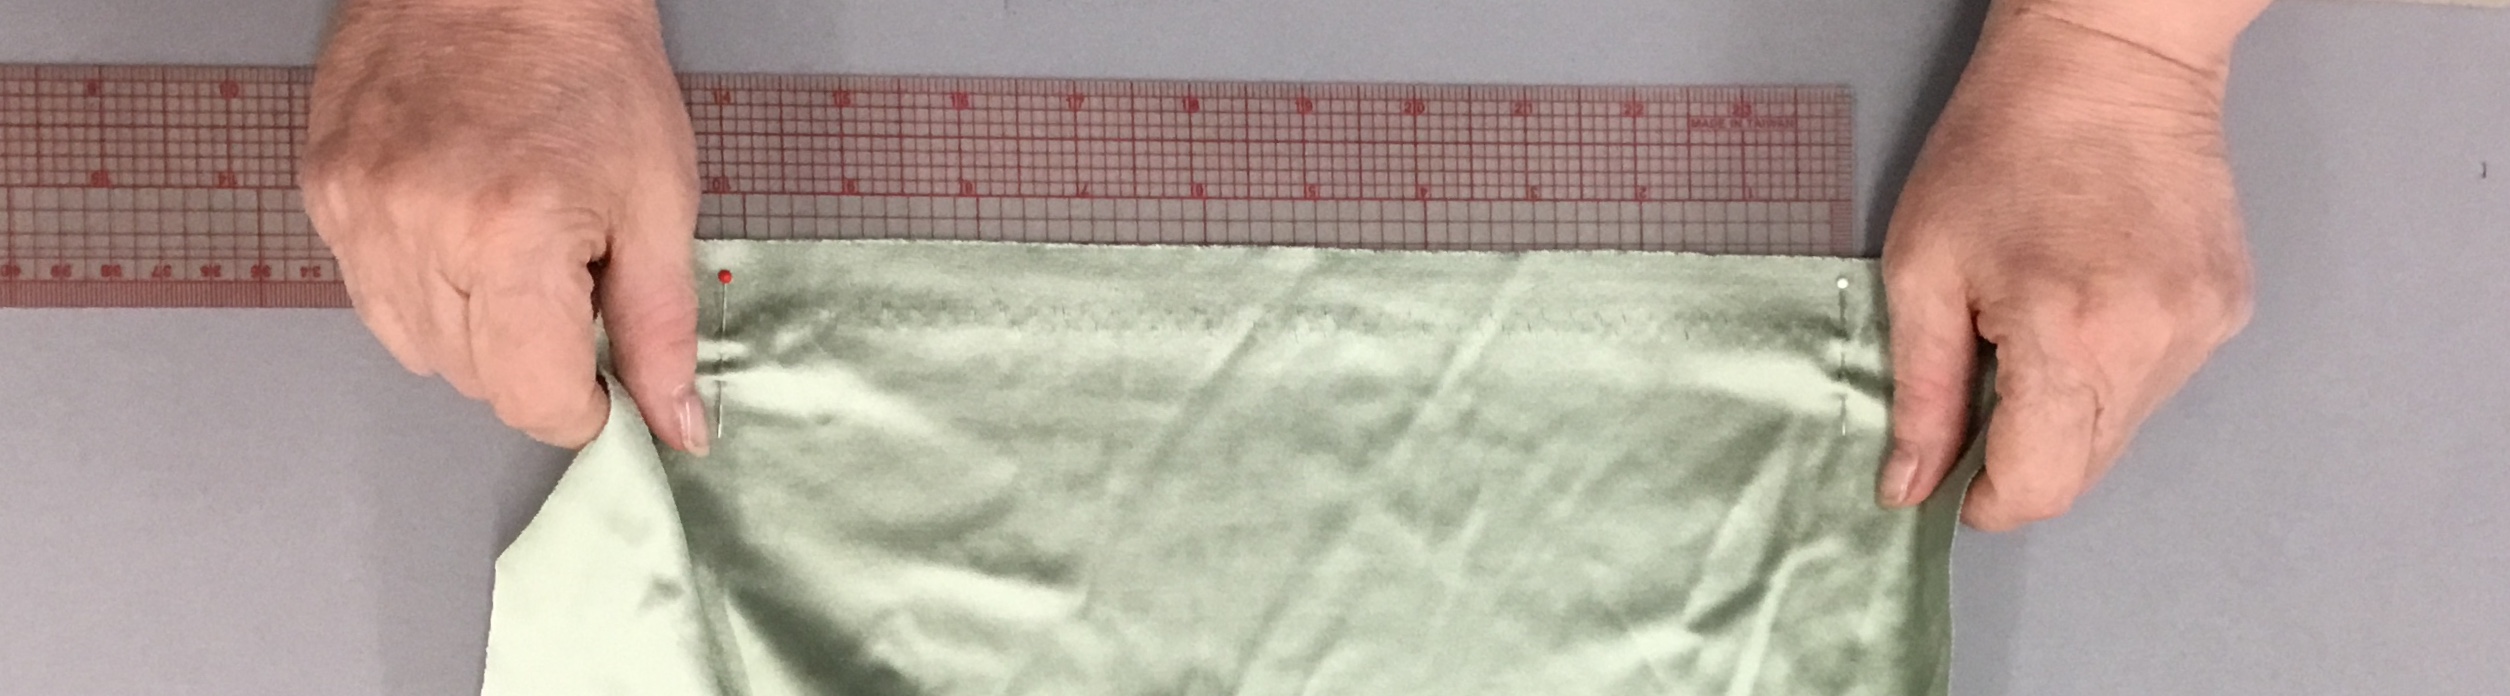
Then pull the fabric along the ruler until you feel resistance. Measure the distance to the second pin. If it stretches to 16.0″, then the stretch is 16.0 over 10, or 60% (drop the one while eliminating any decimals). In the photo below, the fabric has stretched to 15.5″, so the stretch is 55%. This would make great panties but not great bra cups unless it were lined with cut & sew foam, or doubled up.

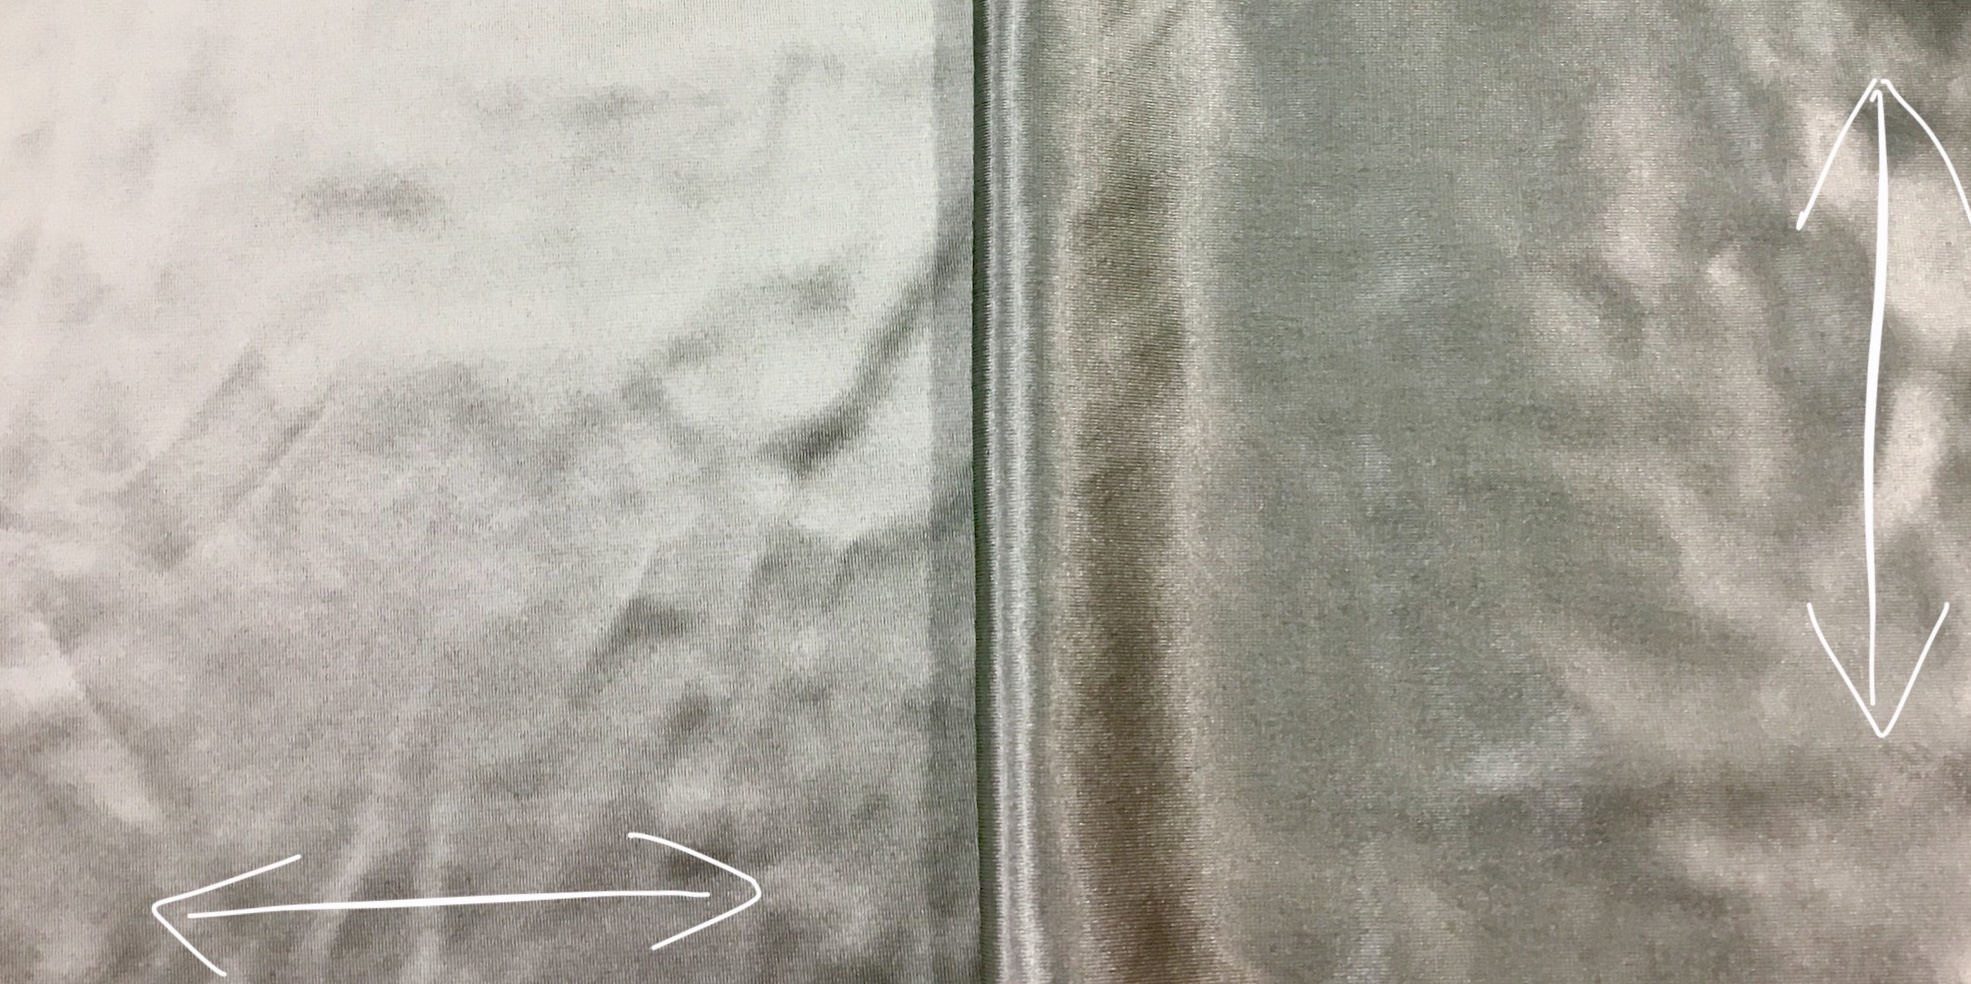
One of the weird things with stretch satin is its tendency to show a darker colour depending on which way the pattern pieces are sewn up. Therefore, I lay out all the pieces with the tops facing the same direction if I can. If you are making a bra cup, the DoGS on the upper cup are often a different orientation than the lower cups. Yes, the stretch satin will appear a slightly different colour. However, that is one of its qualities you learn to appreciate.
You can use either scissors or a rotary cutter to cut stretch satin but make sure both are sharp. If you are using a rotary cutter and cutting mat, be sure to cut no more than two layers at a time, otherwise, the fabric will shift. My preference for blade size is 28 mm. It’s my go-to size for most bra fabrics. I only use the smaller 18 mm cutter for really curvy, single layer cuts.

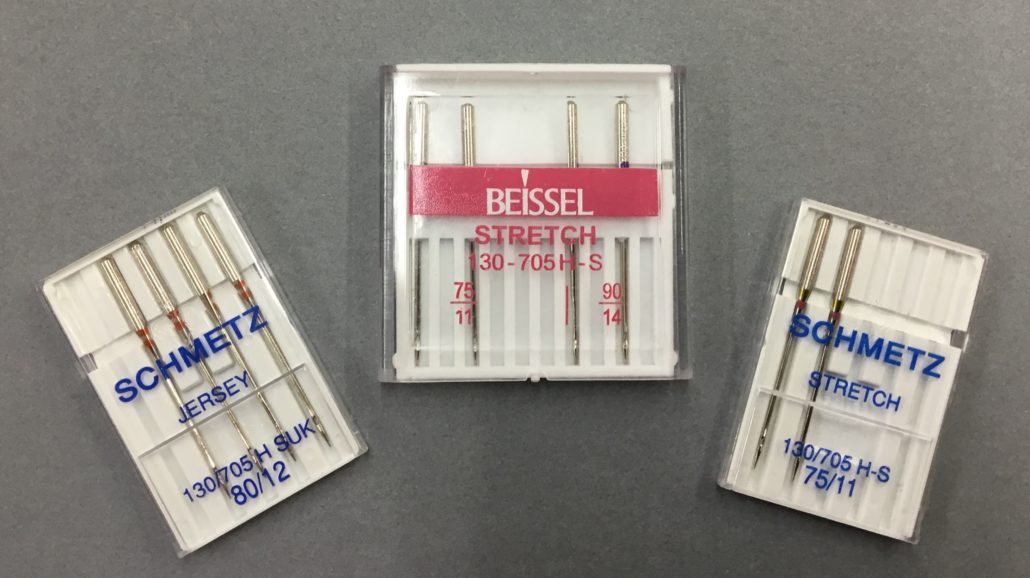
Machines needles should be a stretch 75/11. My preference is Schmetz, but I have also used this new brand, Beissel with good results. You know they are stretch needles if they have the numbers 130-705 H-S in the code. 130-705 means they are suited for domestic machines. The H-S code means they are for Fabrics with Stretch. Notice the jersey needles on the left – they are also for domestic machines, but not fabrics with spandex. In this case, the H-SUK is for knits without spandex (cotton jersey for example)
I hope you have enjoyed this, a stretch satin primer. In my next post, I’ll share how to sew stretch satin. As always, I welcome your comments!
Your Fairy Bra Mother,


This was helpful and had a load of stuff. Some of it I had slightly figured out and some I had no idea but probably should …lol I work on a huge automatic machine at work sewing pockets and hardware on tool bags but never figured out the difference in the needle number. Just the numbers themselves. Thank you. Great information.
Thank you so much Beverly for clarifying the difference between a Jersey needle and a Stretch needle – I have always wondered about that.