Do you know what stops most sewers from making their own swimwear? In a word, it’s the cups. You might be able to muddle through inserting one pair of cups in one swimsuit, but what if you want to make that swimsuit over and over again. If you are swimming in a public pool twice a week, don’t expect your suit to last more than a season. All that chlorine isn’t swimsuit-friendly. If you would like to make your own swimwear, here’s how to insert bra cups into swimwear (and also to have a pattern for future suits) the Fairy Bra Mother method. In her Craftsy Swimwear class, Beverly details how to do it step by step, but here is a quick review.
How to Insert Bra Cups into Swimwear
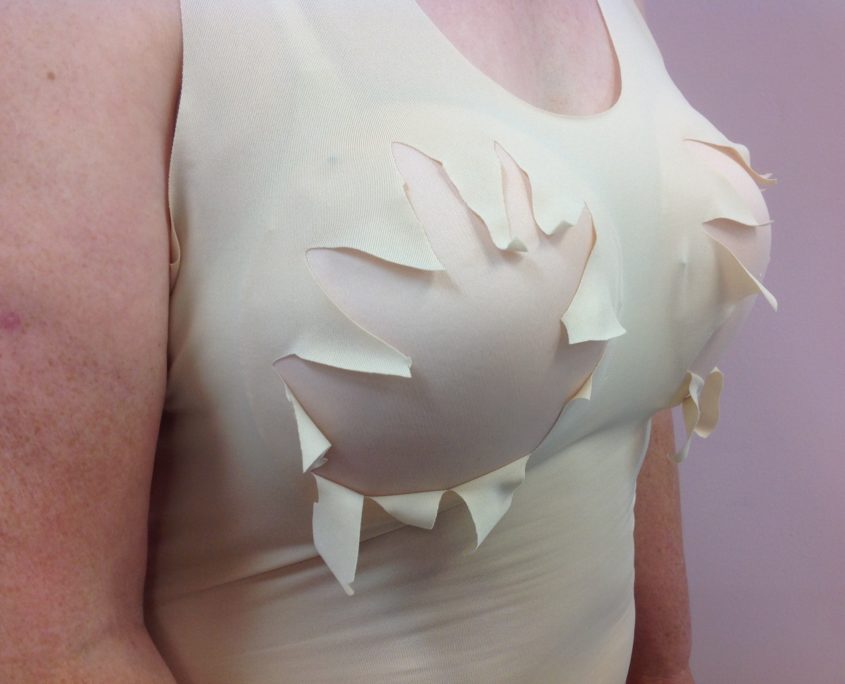
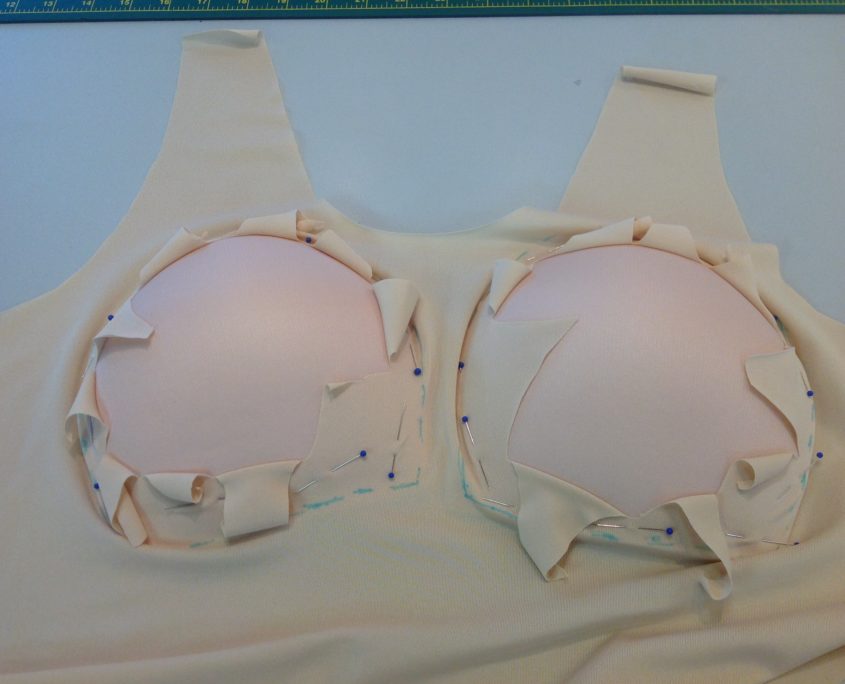
You need a pair of bra cups (virtually all bra cups can be used for swimwear as they are all chlorine-resistant). You also need to have the lining of the suit cut out and sewn up temporarily. Wear a bra and pin the cups directly to the bra strap making sure they are both oriented the same way. Put on the lining with the seams facing out. You will see that there is likely extra fullness in the armhole, especially if the breasts are larger. Don’t worry about this – we will make them go away! Now cut a “starburst” in the centre of each cup and cut toward the edge of the foam. Don’t cut all the way – your goal is to make the underarm fullness disappear and have the lining fabric lie smoothly all around.
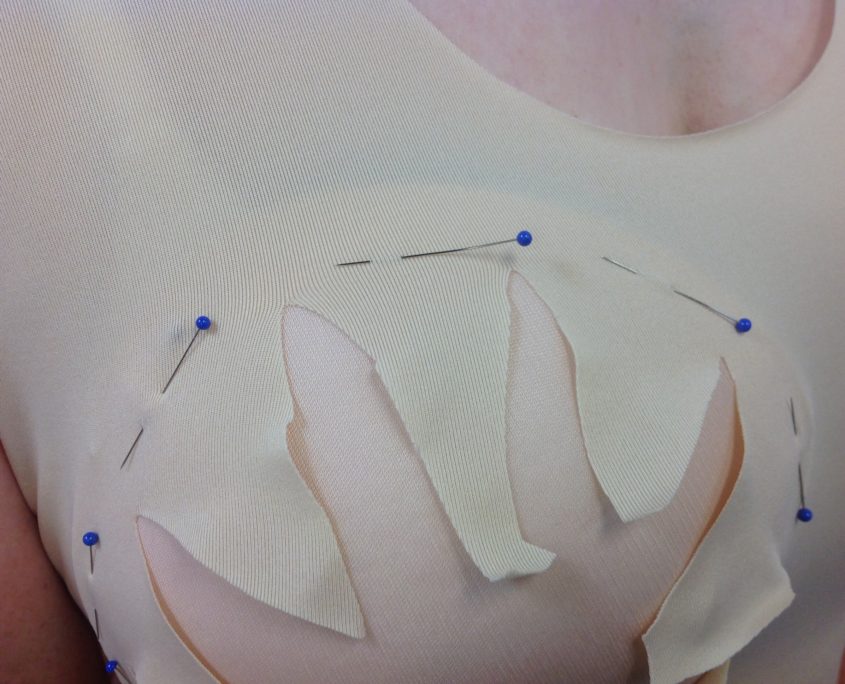
Now you can pin the cups to the lining. Be sure you have at least 1/2″ or more clearance along the neckline and armholes between the foam cup and the raw edge of the lining. You’ll need that clearance to add the elastic and turn it over without hitting the foam.
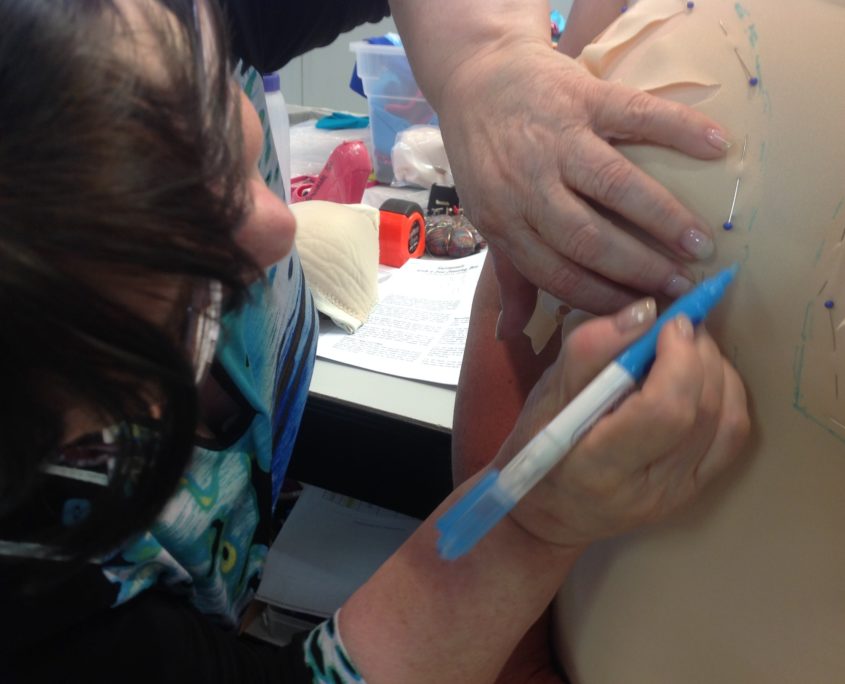
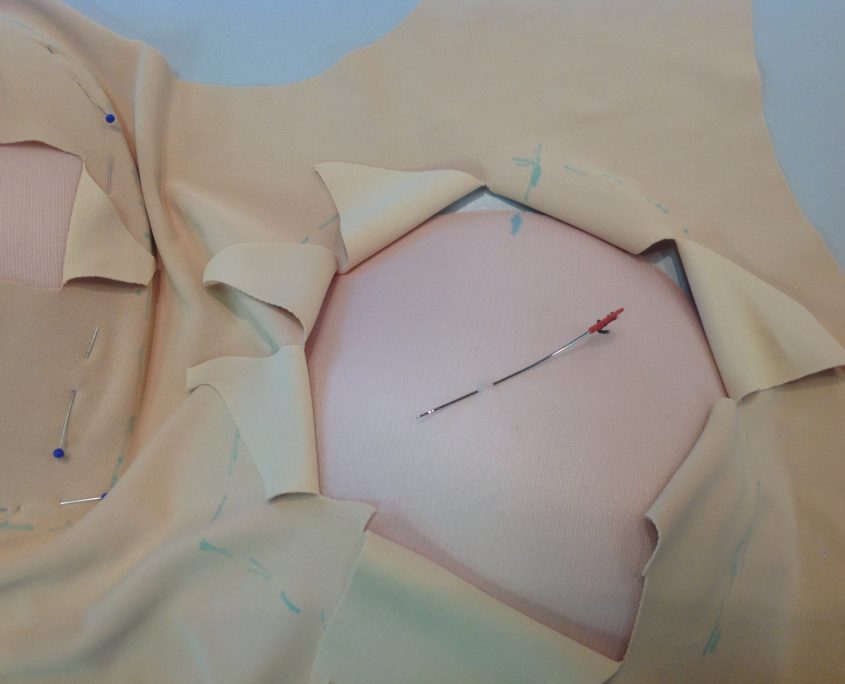
It is best to have a sewing buddy mark the edge of the cups with a wash-out marker. if you are lucky, you might get the Fairy Bra Mother to do it herself!
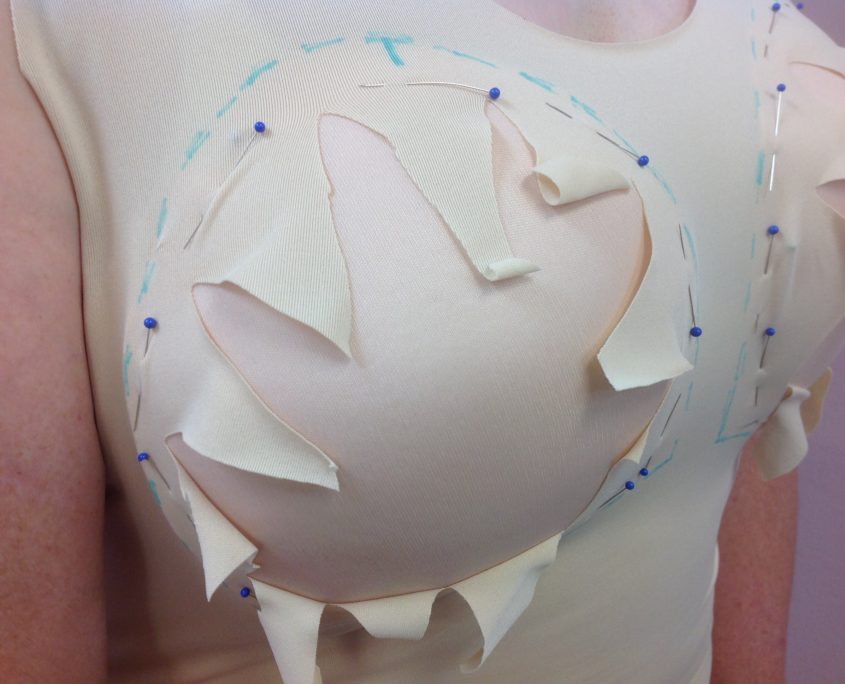
Here’s the cup marked. Mark the top of both the foam cup and the lining with a wash-out marker, just to have a point of reference on both pieces.
You can take the suit off now and take out those temporary seams. The suit front lining should look something like this.
Yes, take the cups out too. You can see the cuts of the starburst sit back from the marked edge of the cups by about 3/4″ (18 mm).
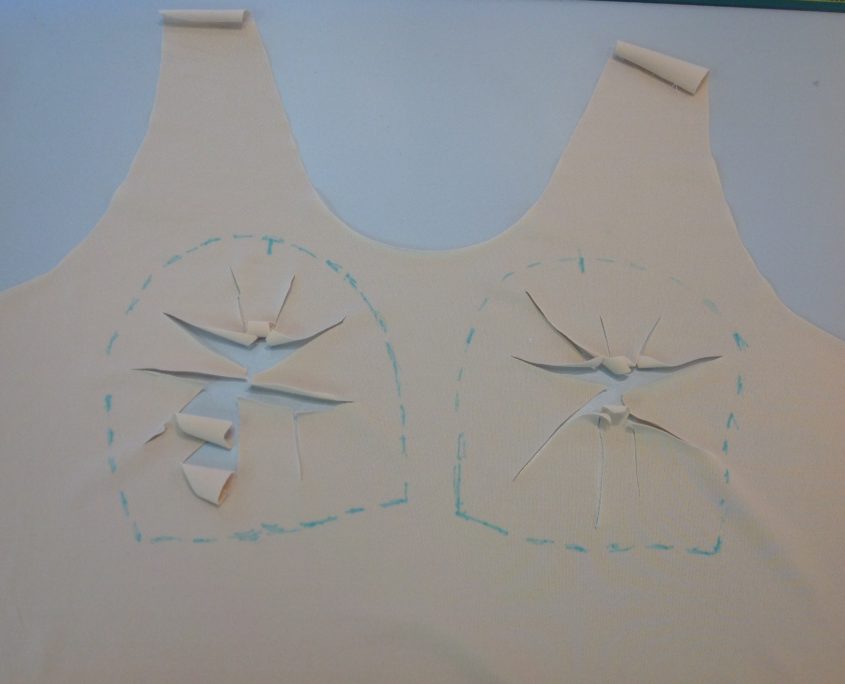
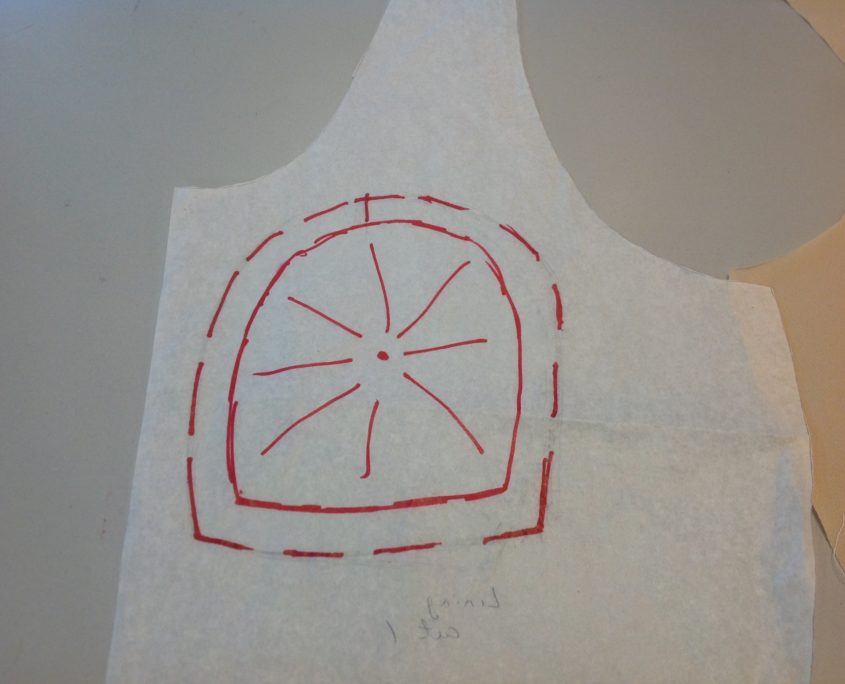
Now you can trace the marks on the lining back to the lining pattern piece. In this case, the dotted line on the outside is the marked line of the cup. The solid line indicates the don’t-cut-the-starburst-beyond-this-point line. I marked the starburst and the notch too.
Now that the pattern is finished, you can insert the bra cups back into the suit. if I were making the suit again, I could cut out the starburst to this point without trying the suit on. match up the notches and the bottom squared edges and pin around on the marked line. The cups will fit perfectly!
Now that know how to insert bra cups into swimwear, you can zig-zag the foam cup to the lining near the edge of the cup. Cut away the excess starburst bits when you are done and your suit is ready to complete! Now, wasn’t that easy?
Hugs from your Fairy Bra Mother
Beverly


Do you carry a G or H size round molded cup that I can use in a bathing suit?
Nice tips!
That is so helpful! I usually give up and go cupless at this stage, but it’s not a great look for me.
Can’t wait to try this later today!