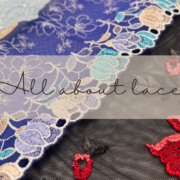
Do you remember snow storms where overnight the world was transformed into a crystal wonderland? We do too! We decided to create a bra that invoked the spirit of a winter wonderland- crisp, clean and lots of bluey-turquoise colour. I really wanted diamonds in the fabric itself, but apparently, that was too much to ask! But also we wanted a bra that is wearable, comfortable and sewable by our readers. This photo was our inspiration and this post shares how we made the Crystal Empress Bra.

First, modify the Pattern
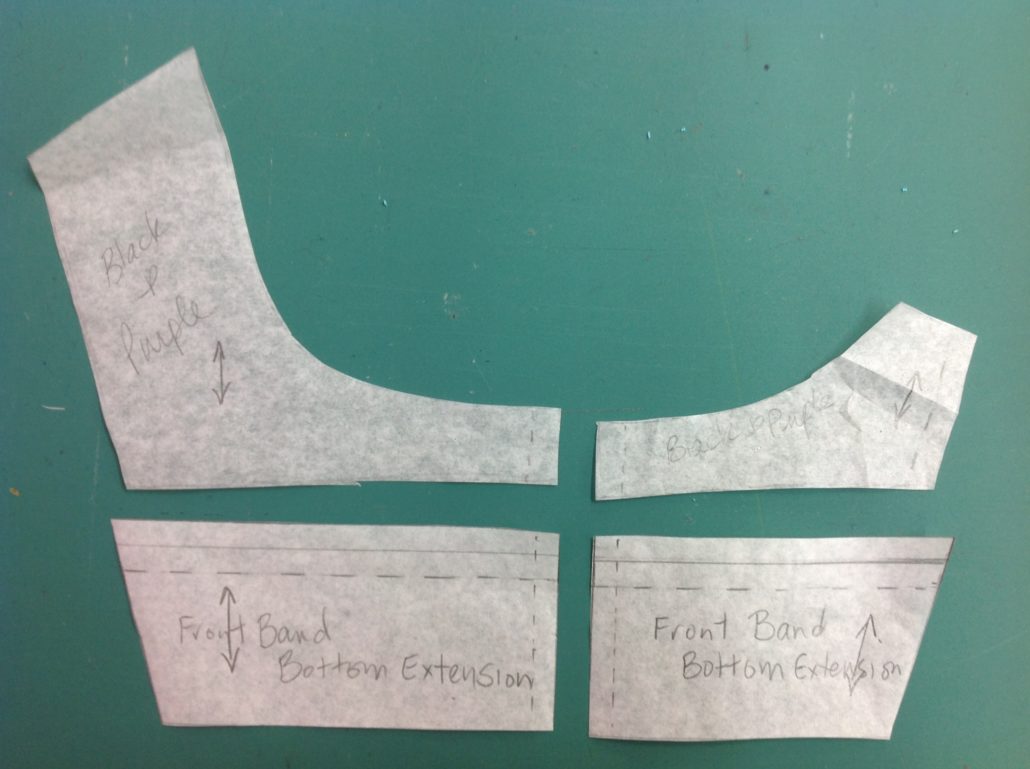
Our talented production coordinator, Denise used a Classic Bra pattern with the bottom band straightened out, then lengthened 2″ for a longer line. Denise added seam allowances to both sections.

Then she split it horizontally. Here’s the finished frame pattern. Be sure that the depth at the small vertical underbust seam is at least 3/4″ so the top-stitching on the channelling won’t show.
We wanted the upper cup and the bridge area to be as sheer as possible but still supportive. We chose Sheer Cup Lining. Then we faced another decision – should we use light beige sheer cup lining or white? We tried them both. As soon as we saw them with the other fabrics and components, we had a winner. Can you guess which colour won? You’d be wrong if you said light beige…we chose white so the crystal look of the Swiss Dot Tulle would stand out against the Turquoise duoplex. Note to self – don’t take photos of white sheer against a green cutting mat in the background!

Start Sewing!
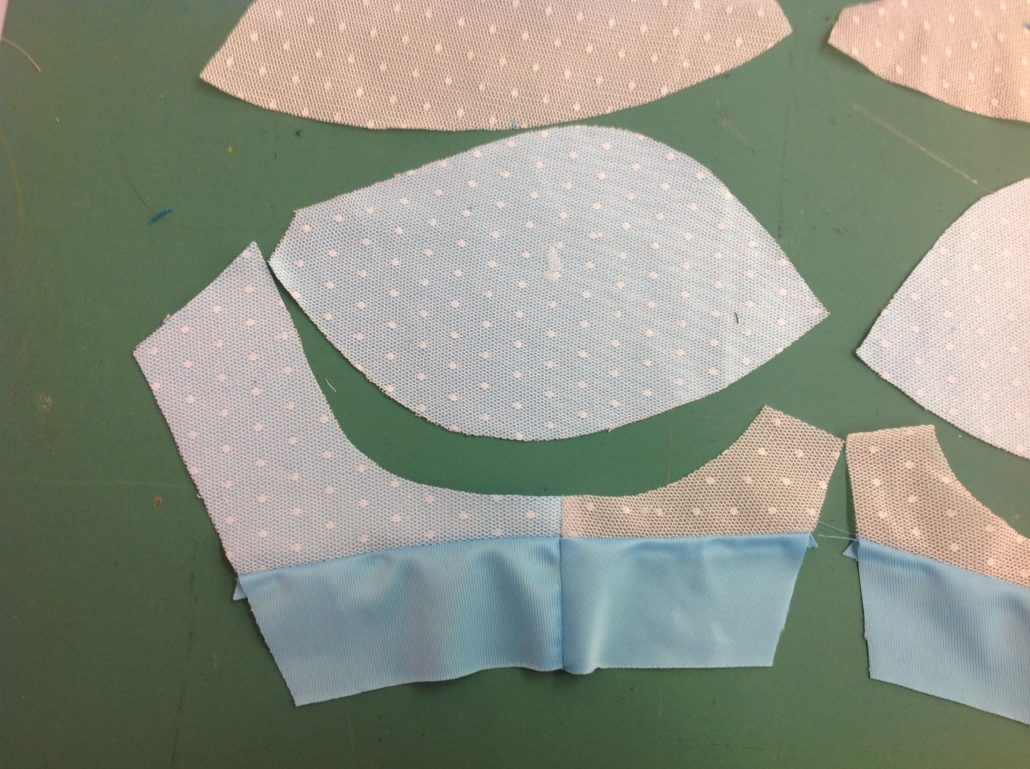
The Crystal Empress bra is all about the split frame. It is not any more difficult than a regular frame, but the seamlines allow you to add colour and sheer in unexpected places.
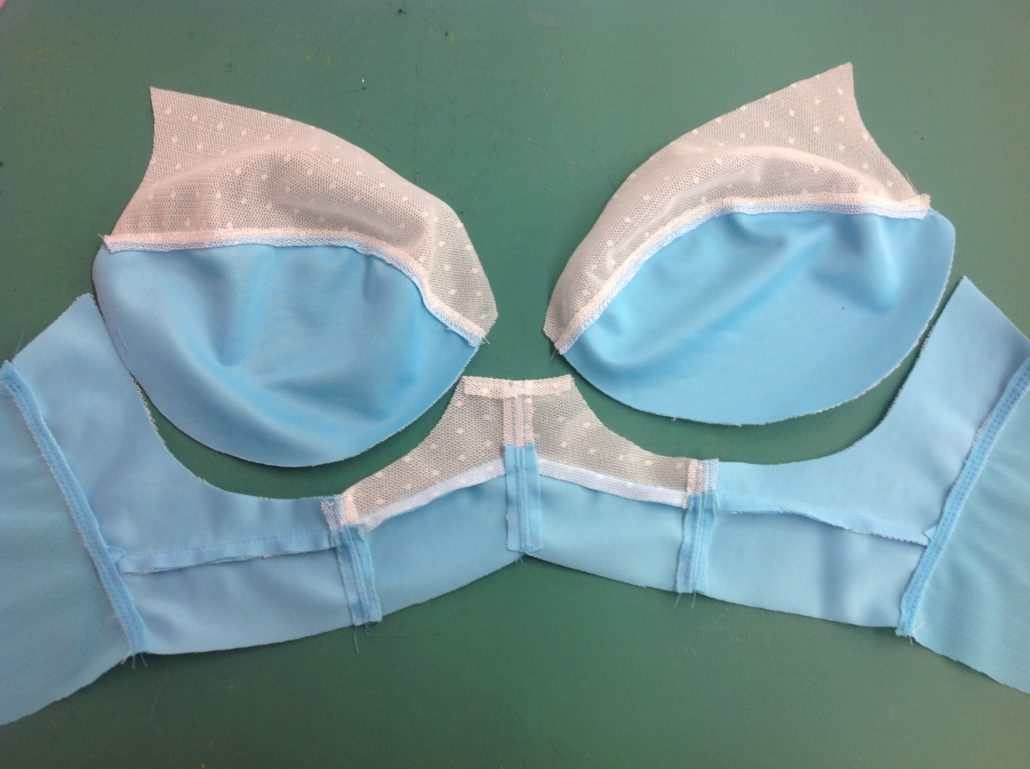
Here is the inside. Turn under the top of the bridge. Denise wanted the neckline and bridge of this bra to have a crisp angle and a sharply defined shape. But it requires the top of the bridge to be finished first, ahead of finishing the neckline.
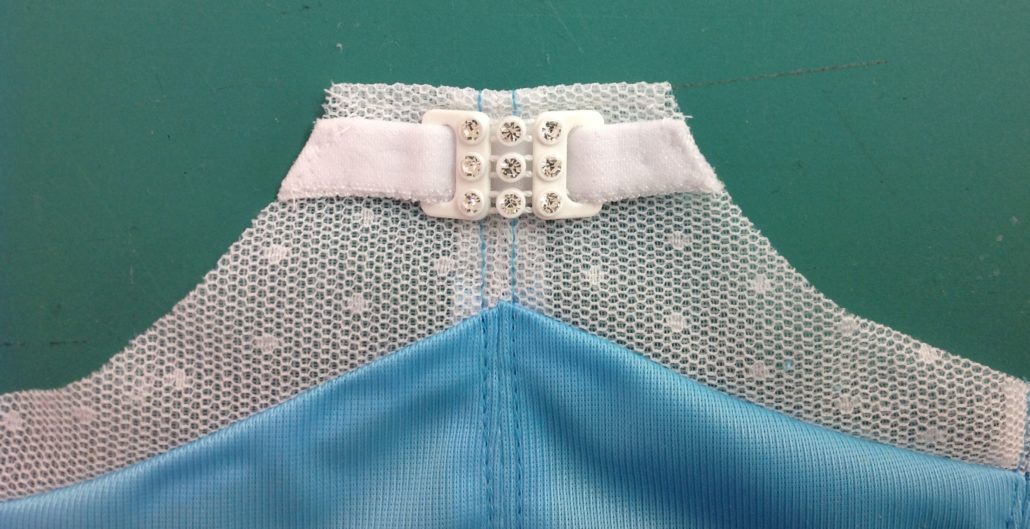
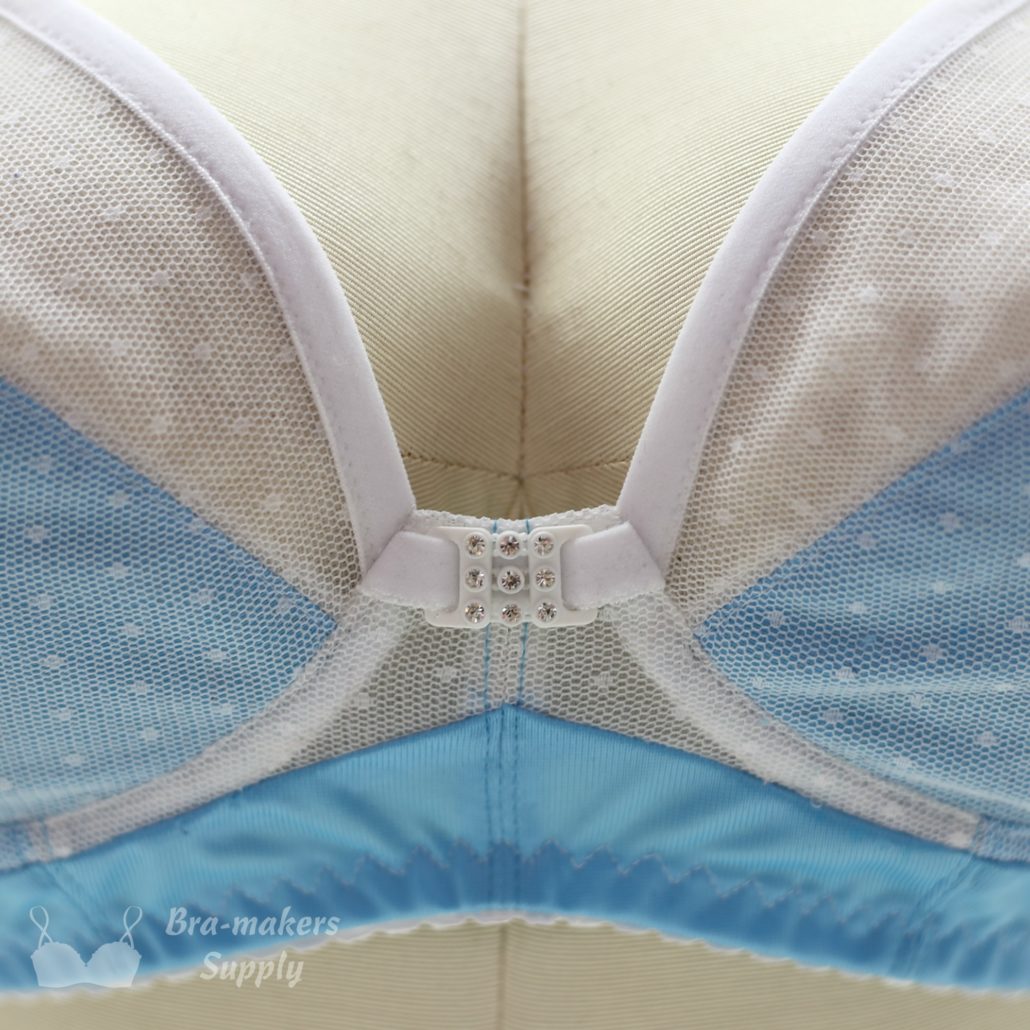
Add the bling to the top of the bridge by folding a length of Reversible Fold-over Binding in half and weaving it through the tabs of the White Crystal Nine Patch Connector.
Now for the Cups
Denise made the upper cup into a demi cup, the straightened out the top of the cup to accept a tapered strap. If you need a refresher on how to do that, it’s in my blog post here.
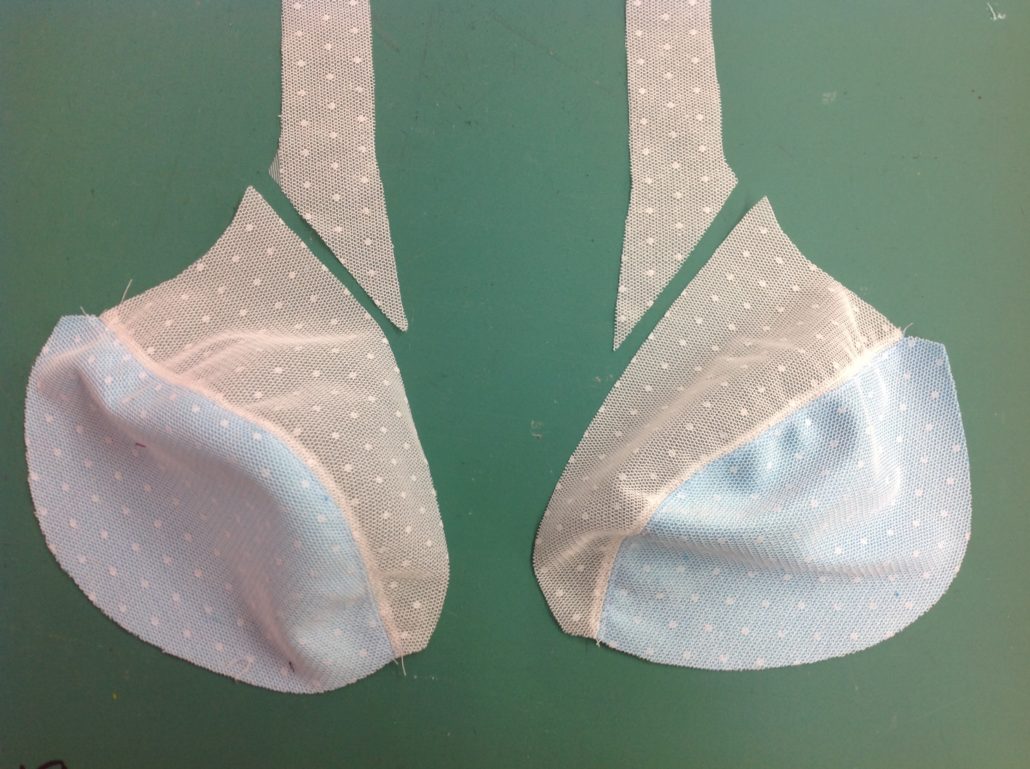
She then sewed the straps to the upper cup
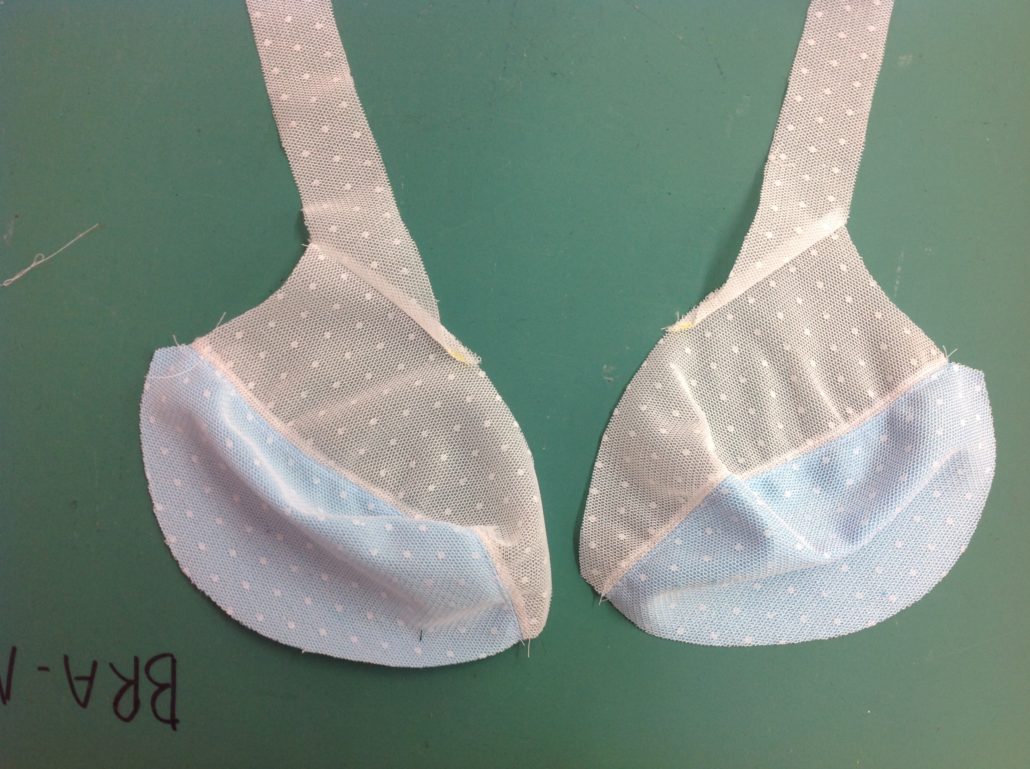
We weren’t using regular neckline trim on this bra. We felt it needed something more tailored, so we used the Fold-over Binding that is included in the Crystal Empress Quartet to cover that raw neckline and strap edge. We like to press the fold-over along the crease to make it more visible, plus we used the matte side of the trim rather than the shiny. Good thing it’s reversible!
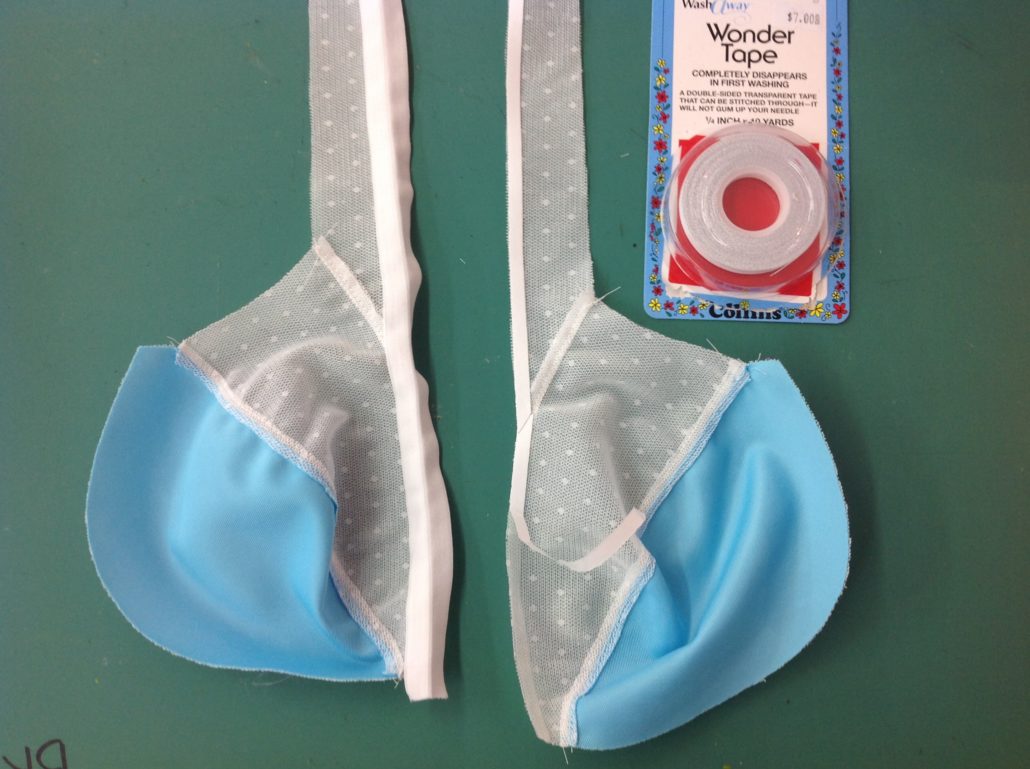
Using the Wash-out Wonder Tape makes the job super easy. It holds the fold-over to the net and the lining while she stitched it down. Apply it to the inside of the cup, press the fold-over to it, then turn the fold-over to the outside of the cup and stitch it down. One pass of stitching!
When the cups have their Fold-over Binding attached, you can sew them in the frame. It is easy to move the Crystal connector out of the way while sewing. The rest of the bra is not unusual so we went ahead and completed that. (You don’t really need to see us attach the top band elastics, the straps and the hooks and eye, do you?)
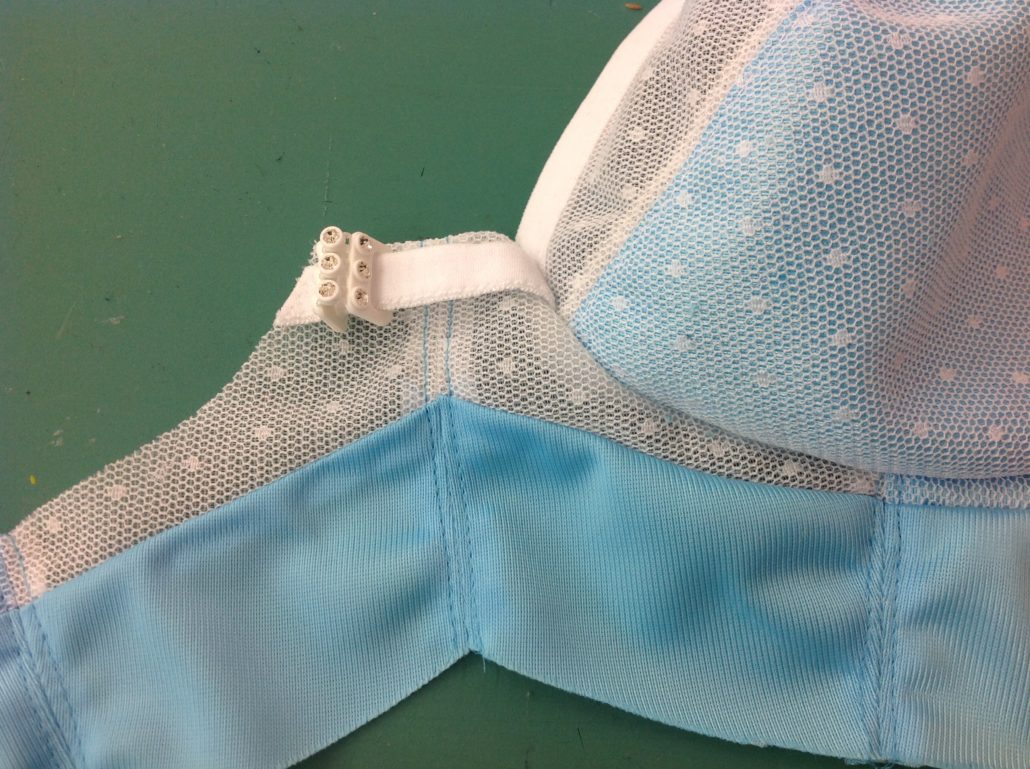
See how sharply the neckline meets the bridge? That’s why we finished the bridge and the neckline separately.
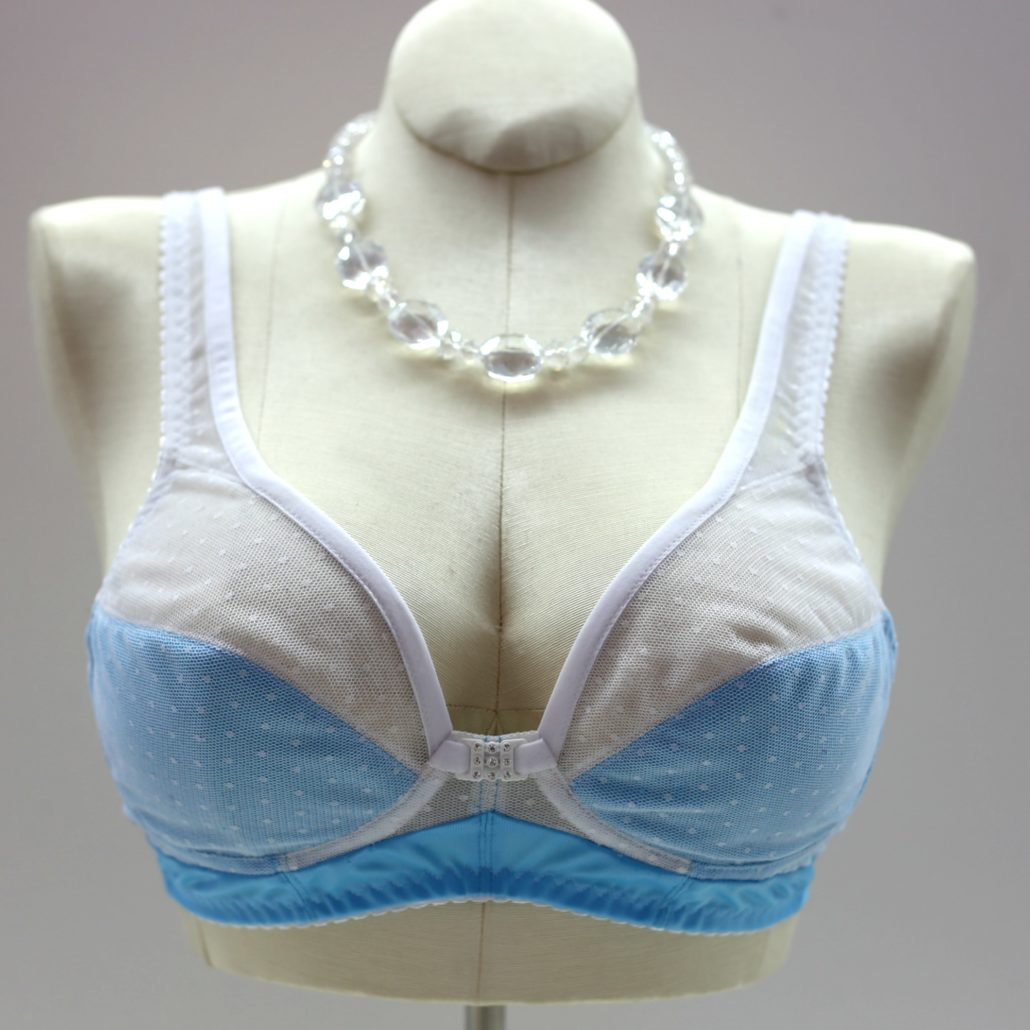
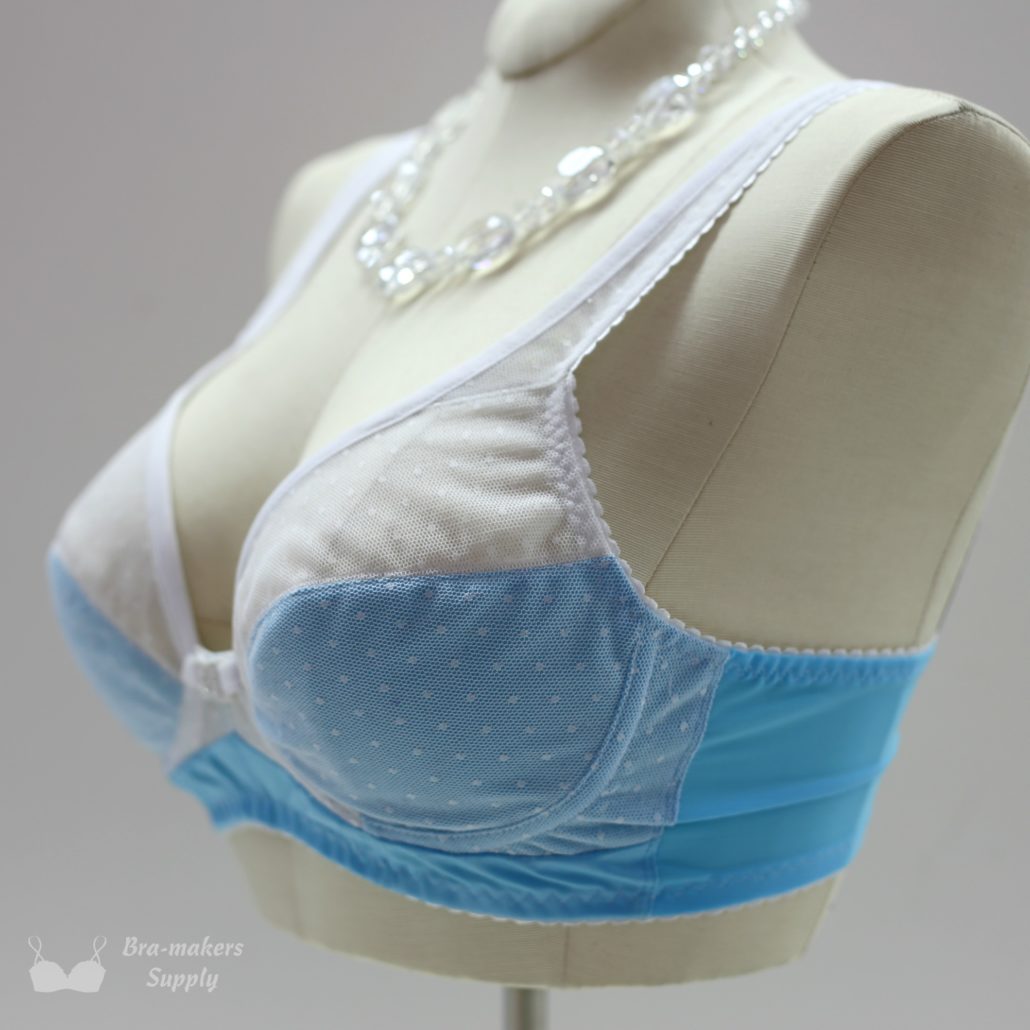
Here’s our finished bra.
Now for something the same, only different!
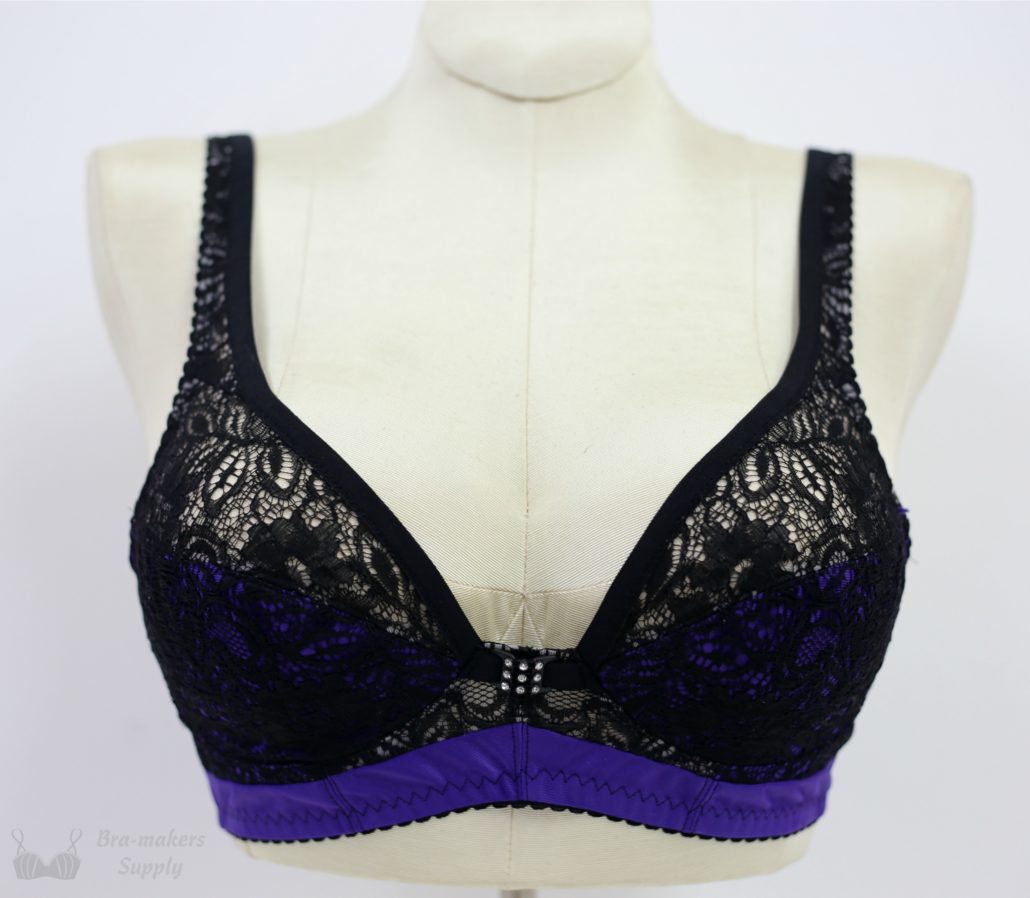
Can you believe how changing the colours can completely change the look of a bra? We used the Victorian Amethyst Quartet, to make this bra. What a difference! The two Quartets have the same components in them too but in different colours (and using a different lace overlay)
Which or our two winter lovelies do you prefer? We welcome your comments!
Your Fairy Bra Mother
Beverly


")


Love that new bra, I would really love to have all the components in the bright yellow that is pictured in the ad for the Craftsy class, minus the bling at the front, is that possible?
We don’t have elastics in yellow but we could make up a kit that replicates this if you like. Why not call our shop 905 538 1396 for advice?
This is gorgeous, Beverly! I love the crystal blue one.
Who to I sign up for the news letter? Would love to get it
Right on our website! There is a bar that says “Newsletter Sign UP” on it. You just need to add your name and email address and we do the rest!
Wow! Speechless they are gorgeous!
Denise just keeps getting more and more creative!
They are both so gorgeous and I love the shape of the cups. It’s a great style.
And both SEW easy to do…as you see here!