Here at the Saskatchewan Stitches Conference, we were lucky to have a student in our class who found a new way of cloning garments. When we combined that method with some bra-making ingenuity, the results were nothing less than spectacular! This post is how to Press and Peel a New Bra! Traditional cloning is done with the bra cup pinned out to a foam core board. This takes time (about one hour) and the accuracy of the result is due largely to the accuracy and skill of the person doing the pinning. If she pulls too far, or not enough, the results can be less than perfect. In this new method, it is as easy as can be, thanks to some advances made in the KITCHEN! Yes, we use Press & Seal to press and peel a new bra pattern!
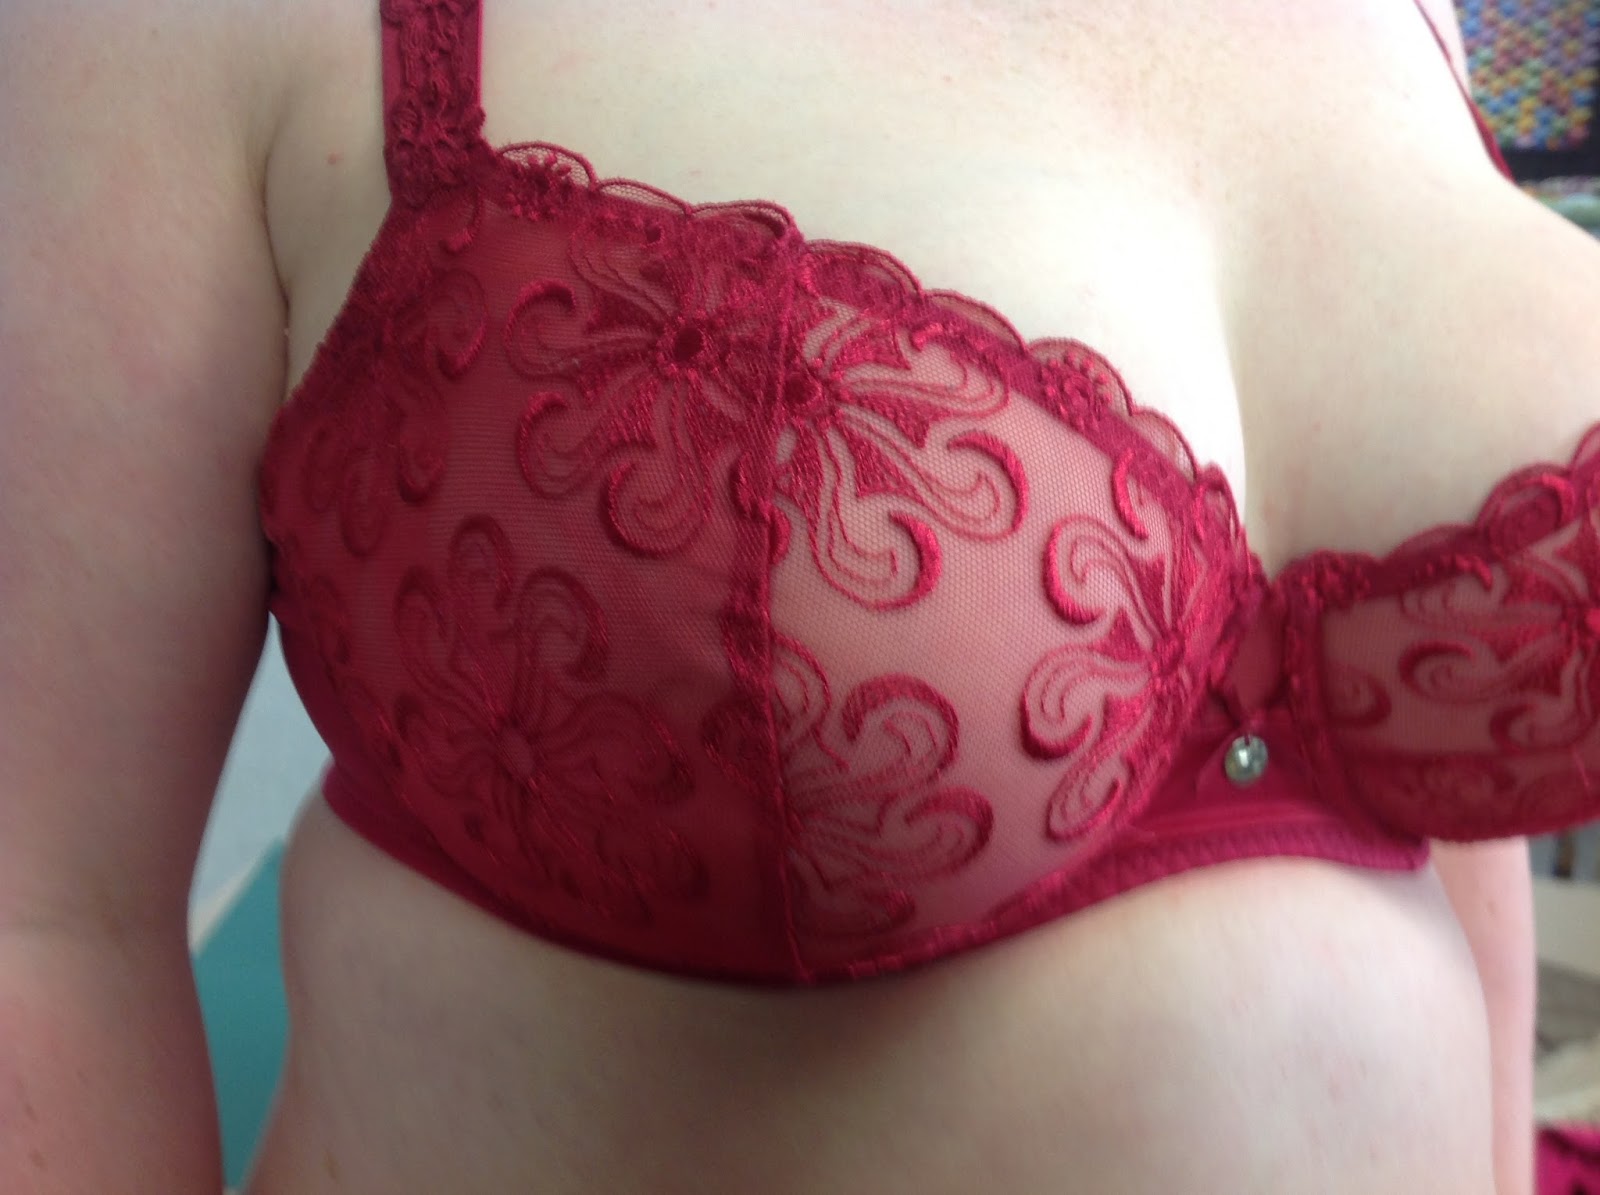
You need to wear the bra to be cloned – this pushes the cup out to the correct shape and size. And the bra must fit the way you want it – no point in making a bra that doesn’t fit!

Tear off a strip of the Press & Seal and press it to the bra over one section. it will stick to the fabric very nicely
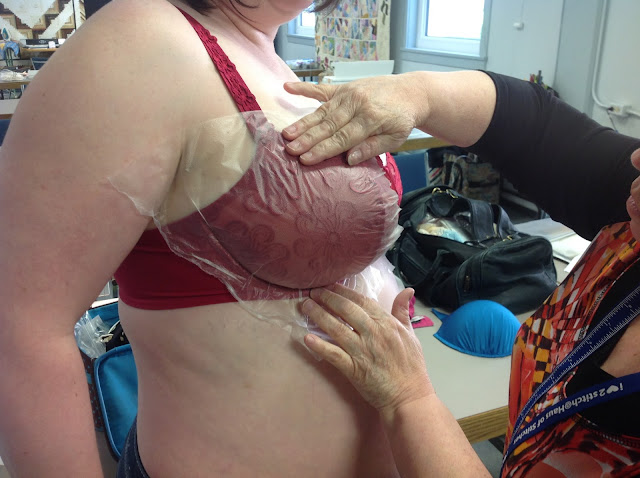
Use a permanent marker to trace to the seamline (not the topstitching line) around that section, taking care to have the cup as smooth as possible.
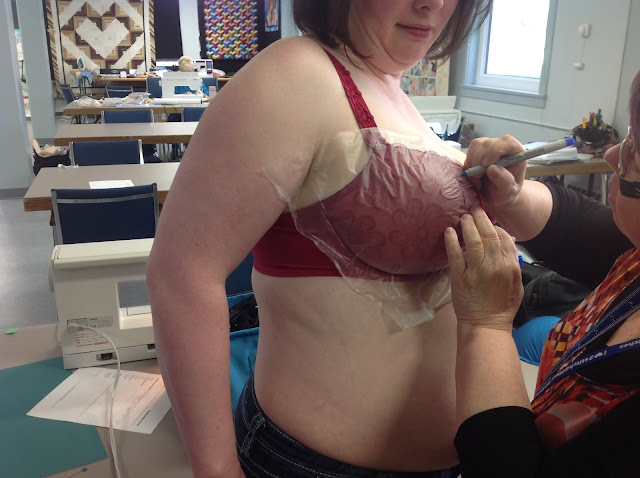
Then peel off the piece very carefully. Make sure to keep any teensy-weensy wrinkles that formed as part of the shaping process.
Repeat for the other sections of the cup.
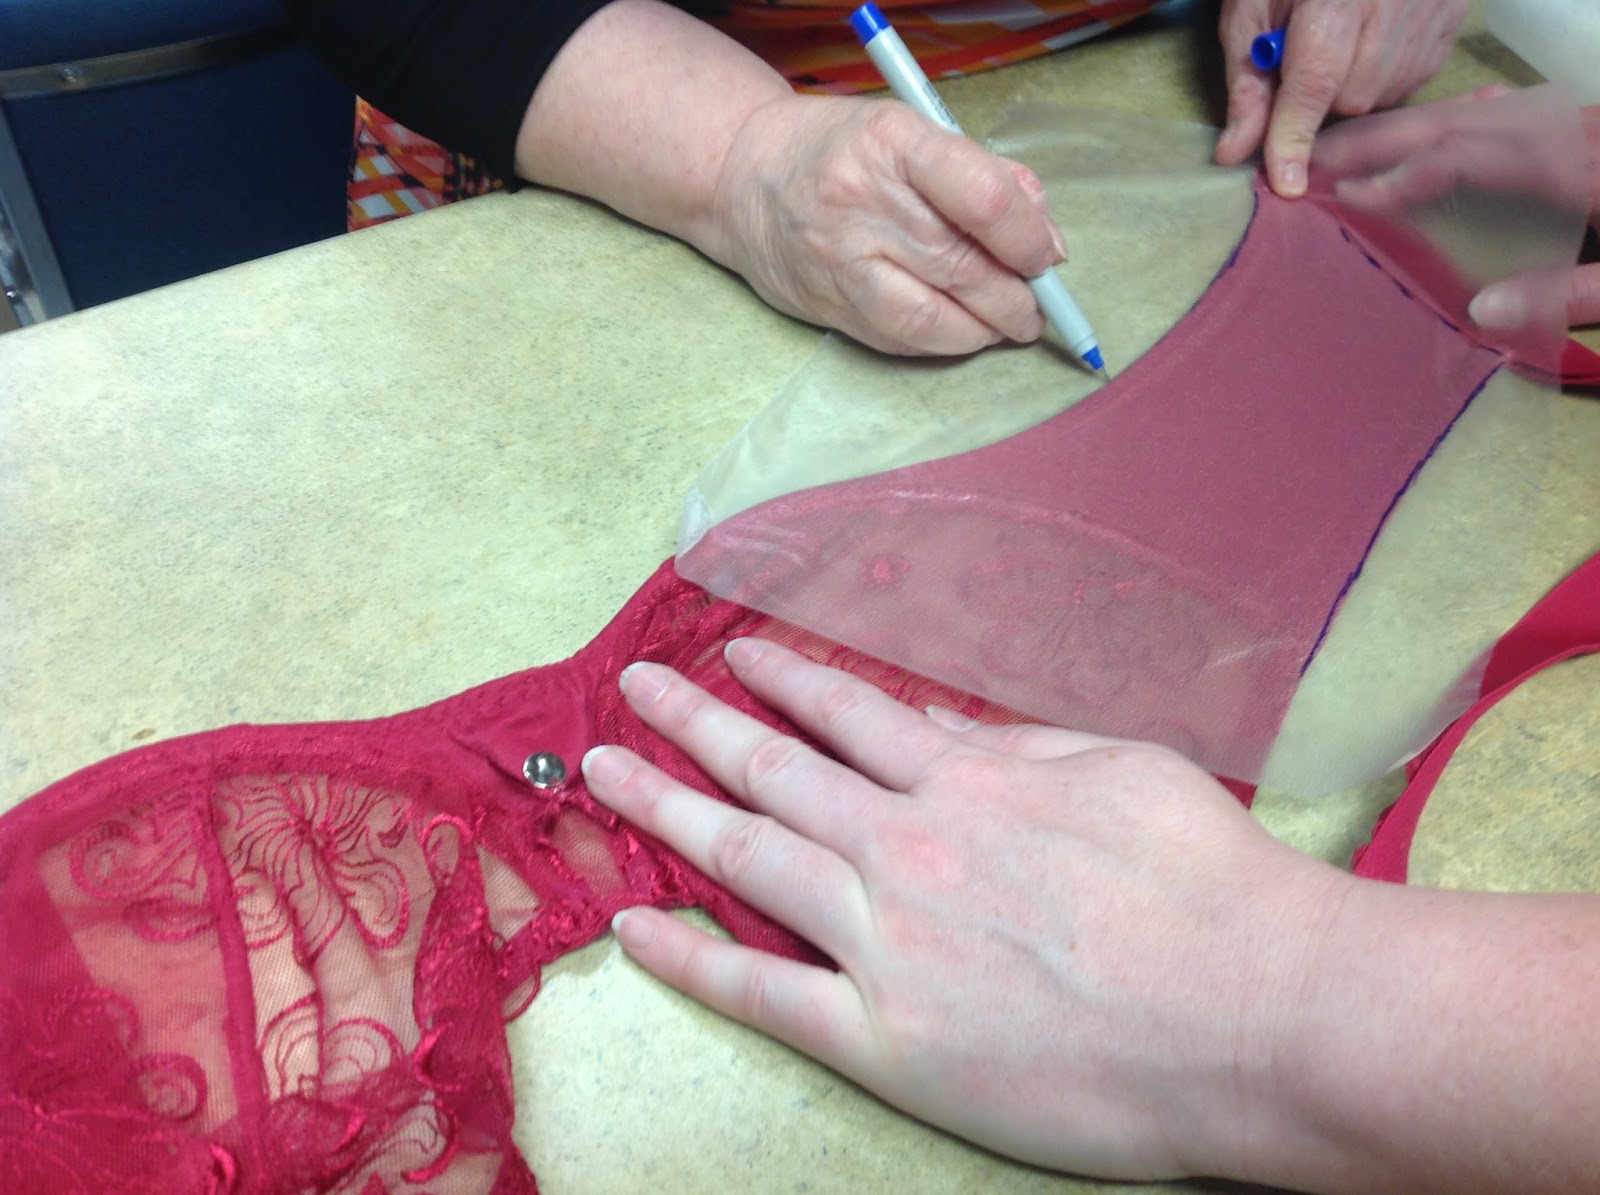
Then remove the bra to press and peel the frame. This part is a lot easier to do when it is off the body and laid flat. Here’s the front bridge area.
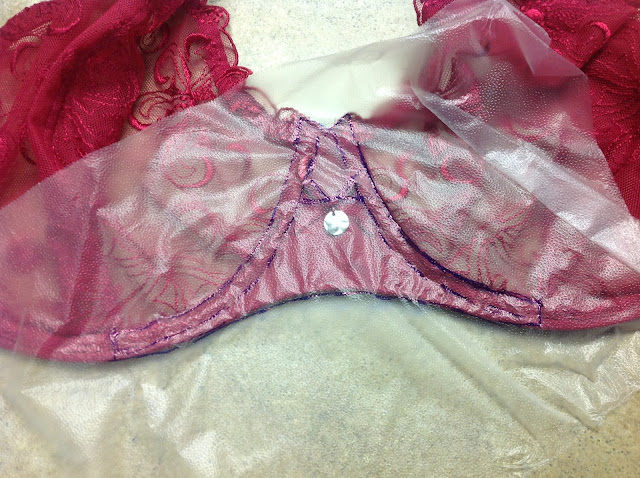
I even marked the edge of the bow (which I did not mean to do!)
For the back band, you should stretch the band until the fabric lays flat. If I’d had a foam core board, I would have pinned this band to that, but I am at the Saskatchewan Stitches Conference right now (held at a monastery) and don’t have my foam core board with me. it’s not likely the monks would have any foam core lying about either!
I had my lovely assistant hold the band to its pulled position.
When you finish tracing, let it go. The band will crinkle up back to its elasticized size, but don’t worry – all will be well when we peel it off. It will go back to its original size.
Now comes the fun part! Transfer the traced outline to paper! Stick the plastic to a piece of paper starting at the centre and working out, smoothing the plastic as you go. Don’t get rid of those tiny shaping wrinkles but rather curve the paper to fit the plastic.
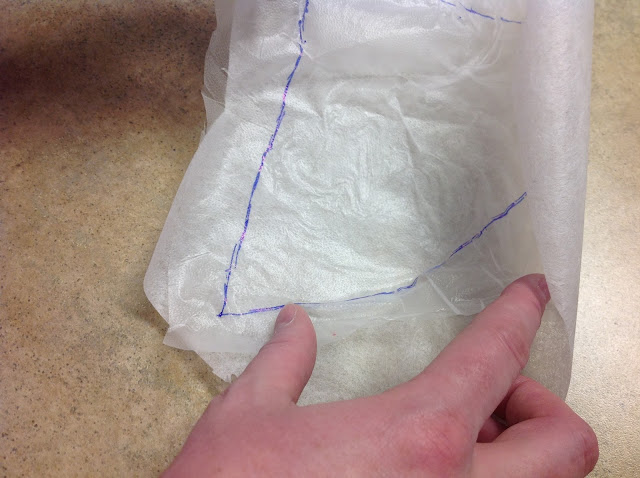
Once you have the parts on paper, true the seam lines and add seam allowances. That’s how you Press & Peel a new bra!


Věry inspiring for my GG cup too, thank you!
This is a wonderful idea! Where and what kind of fabric would you use? The bra I love has a wide band made of a stretch silky fabric. I don’t believe I’ve ever seen any at a fabric store. Is there somewhere online to purchase such fabric?
Thank again for sharing this great idea.
😲 that’s genius!! Thank you!
Thanks for posting this! What a brilliant idea! I'm going to use this for sure!
I am so hard to get bras for because of size cup that fits right. this is a solution to my problem. Now I need to find the underwires that are for a double G cup. Any ideas I would greatly appreciate. Thanks.
Take them from an old bra and reuse.
This is great. Thanks.
this is great it's really work thanks for posting
This is a great idea, thanks for sharing!
This looks great!! Would it be impossible to do by yourself?? It's hard for me to think of who I could wrangle…
No, it is not impossible. I learned about this several years ago from Don McCunn, a bra making instructor & author who is a big fan of Bev. I made my own mold quite easily.
I know…I wish I had thought of that originally!
Perfect timing, then!
Thanks for reading!
Thanks Starr! It never occurs to me that someone might not feel comfortable taking their top off in front of someone else!
This is genius! Thanks for sharing 🙂
Great short cut method, need to copy a bra, so this right on time.
Absolutely cool
Saw this live in action. Fantastic, as long as you have a friend you can be this close and personal with! LOL. As always, Bev, great work!