Our recent non-wired bra pattern Ingrid has had rave reviews from both testers and the first wave of the bra-making public. However, there are still some who are hesitant to try a non-wired bra, saying it might be too”matronly” looking. We made a super sexy Disco Ingrid to show you that the choice of fabrics can make any bra look like it could burn up any dance floor!
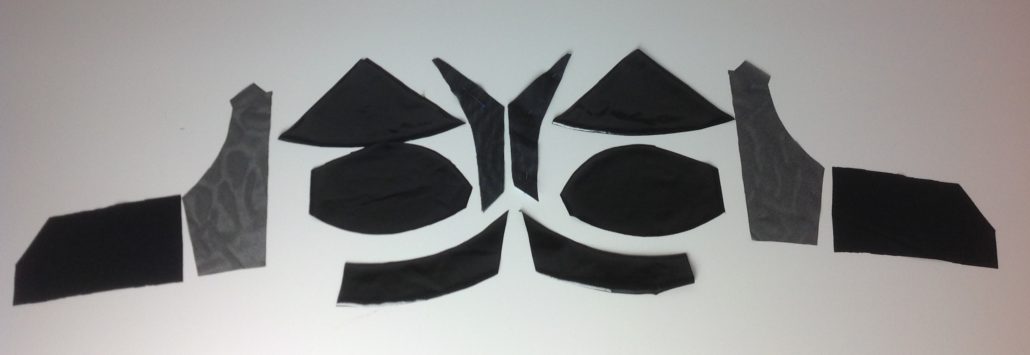
We had fun naming Disco Ingrid. Maybe too much fun! Our staff thought of “Goth Ingrid”, “Ingrid goes to a Rave”, or “50 shades of Ingrid”. Poor Ingrid! All we did was change the fabric – we had no idea it would change her personality too. In the end, we named her Disco Ingrid, because the pattern has a retro look to it. We used wet look PVC, black sheer cup lining and black power net, then we planned something special to add to the strap. Ingrid has a lot of pieces – 6 to each side.
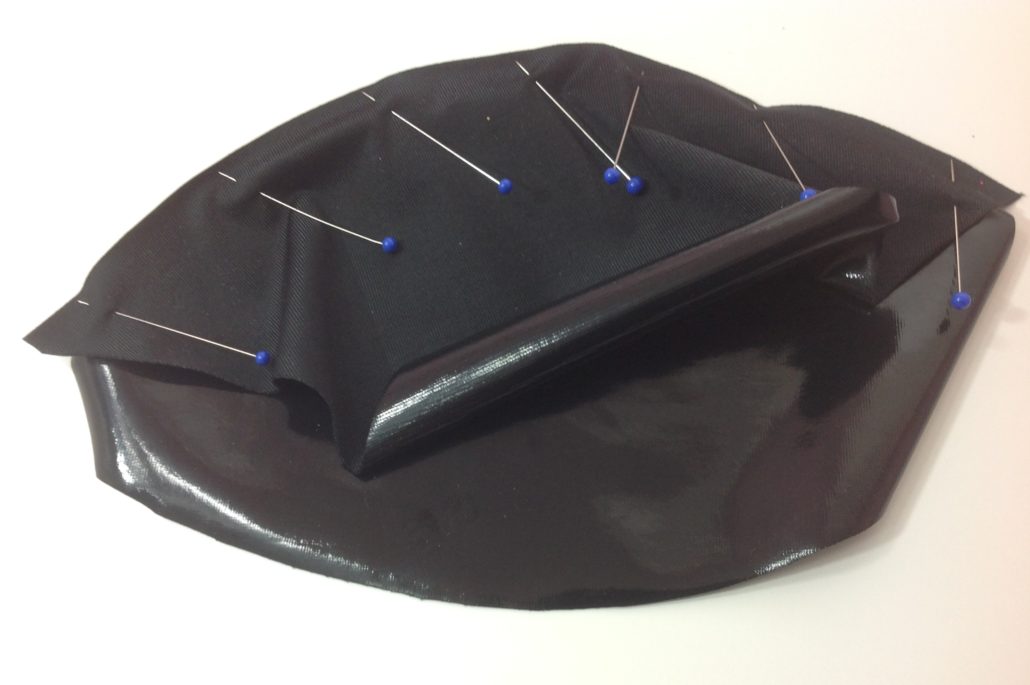
We started by sewing the lower cup to the upper cup. Since the size we were making was only 3.75, the lower cup is in one piece. That’s a contrast to the sizes 4.0 and up which is in two pieces. You may find it helpful to use a teflon presser foot when sewing PVC. Some use cornstarch on the shiny sheet to keep it from sticking.
And by sizes I am referring to Ingrid’s sizing, which is unusual. We use the Bottom Cup Depth Measurement for the size. No more C cup, DD cup, DDD cup sizes or “sister sizing” to confuse anyone. The sizes are ALL included in the Ingrid pattern, all the way from a very small 2.75 to a whopping 9.0. Pair that with all the band sizes we provide, that makes Ingrid a pattern with the widest variety of sizes on the planet!
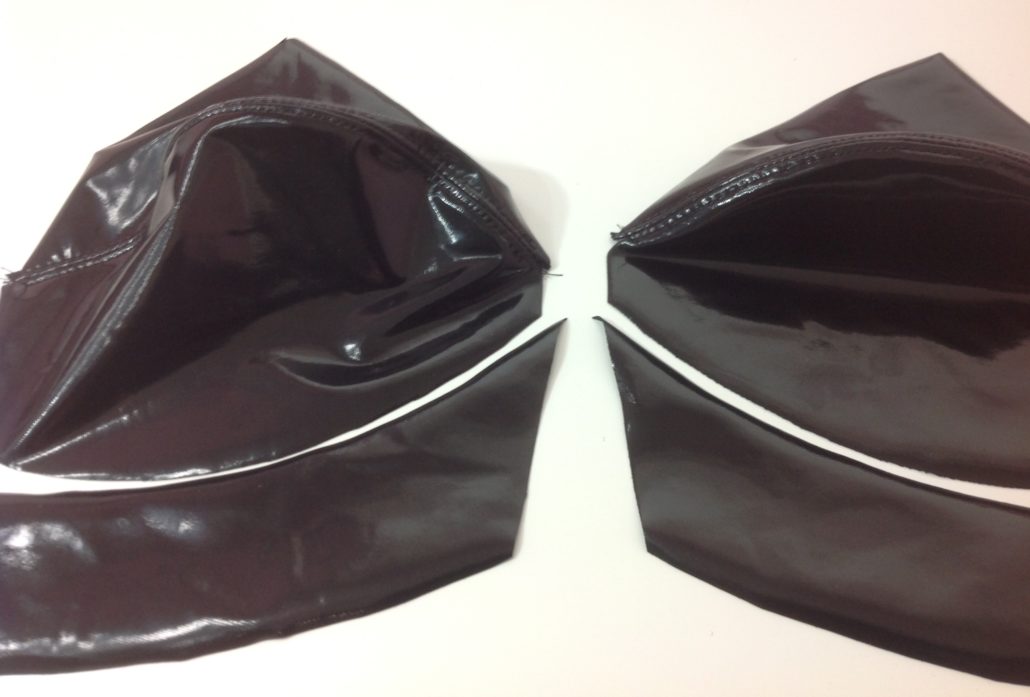
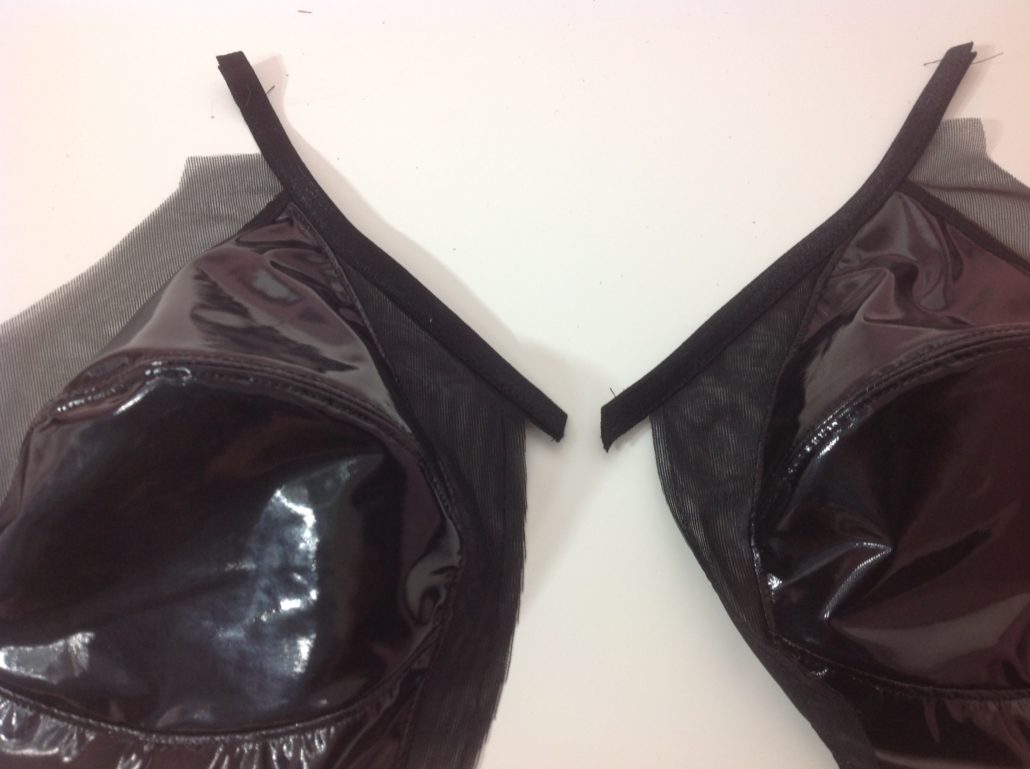
Our front panel goes on next. This panel allows the breasts to breathe a little. Since the Ingrid is a non-wired bra – it is almost impossible to get the bra to tack against the wall (although on some breast shapes – it does!) The mesh panel servers a useful purpose. It also adds a sheer fabric to the neckline area, which is just really sexy looking. In our version of Ingrid, we used sheer cup lining, although the pattern calls for power net.
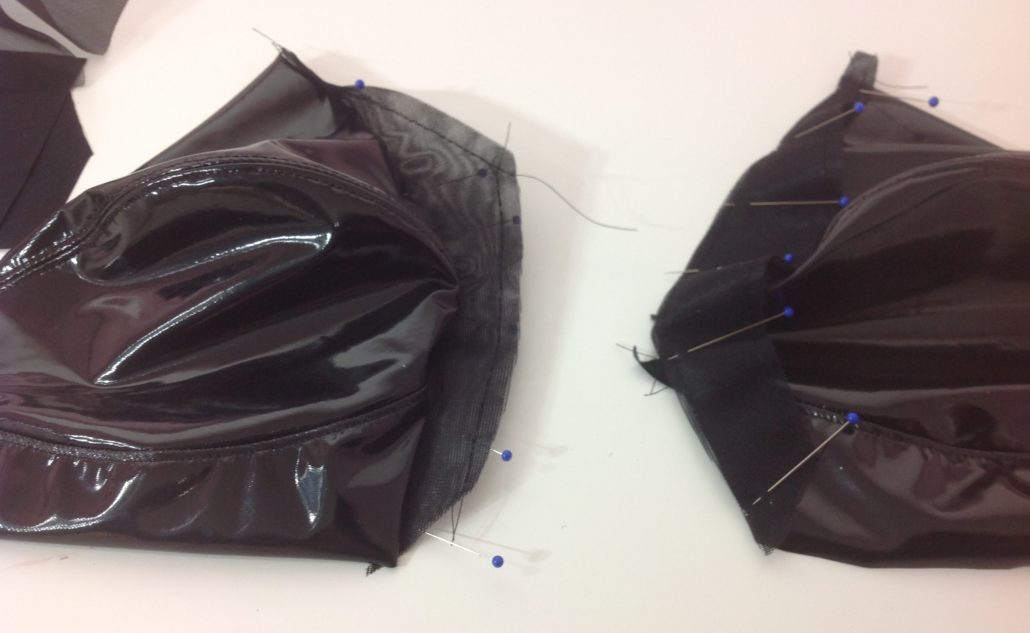
We added the side panels next. These are very much like a power bar but this one extends back to the side seam. We did not add the straps next as we’ve got something special planned. We did however, add the fold-over binding along the top neckline edge.
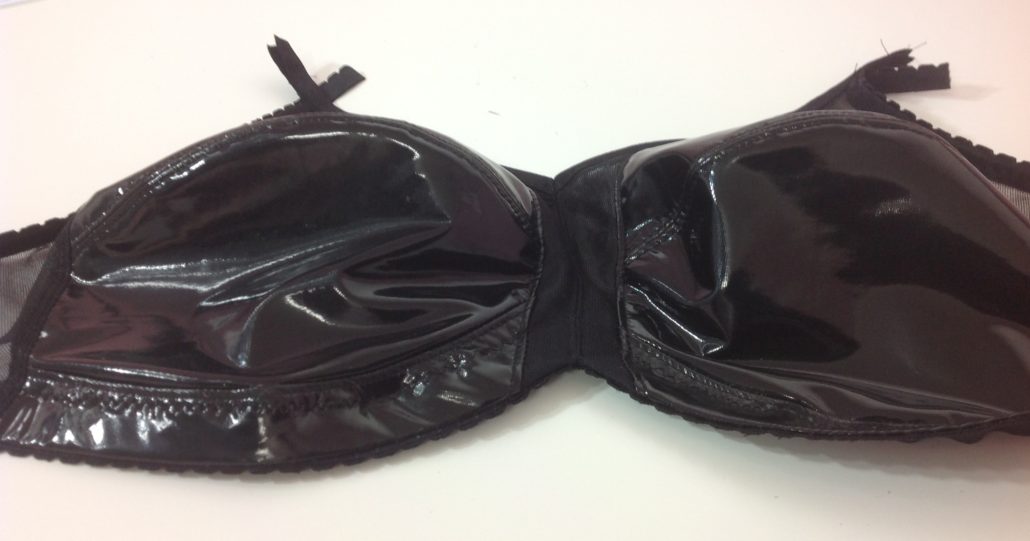
Then we added the top and bottom band elastics as we would on any other bra. Notice the straps are still unfinished. We then sewed the centre front seam together. That centre front seam is always left to the last. Why? So you could potentially add a zipper or a single row hook and eye tape to make it front closing.
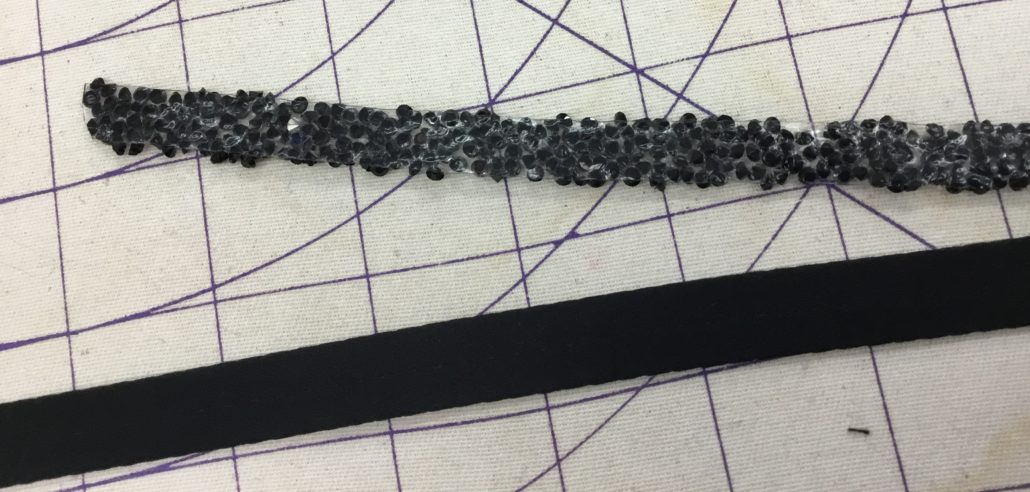
Lastly we added some hot fix black crystal trim to the straps. We made the base for the strap out of sheer cup lining, but looking back, I wish we had used strap tape, which I show here. The crystal rock trim must be covered with a pressing cloth while the heat is applied.
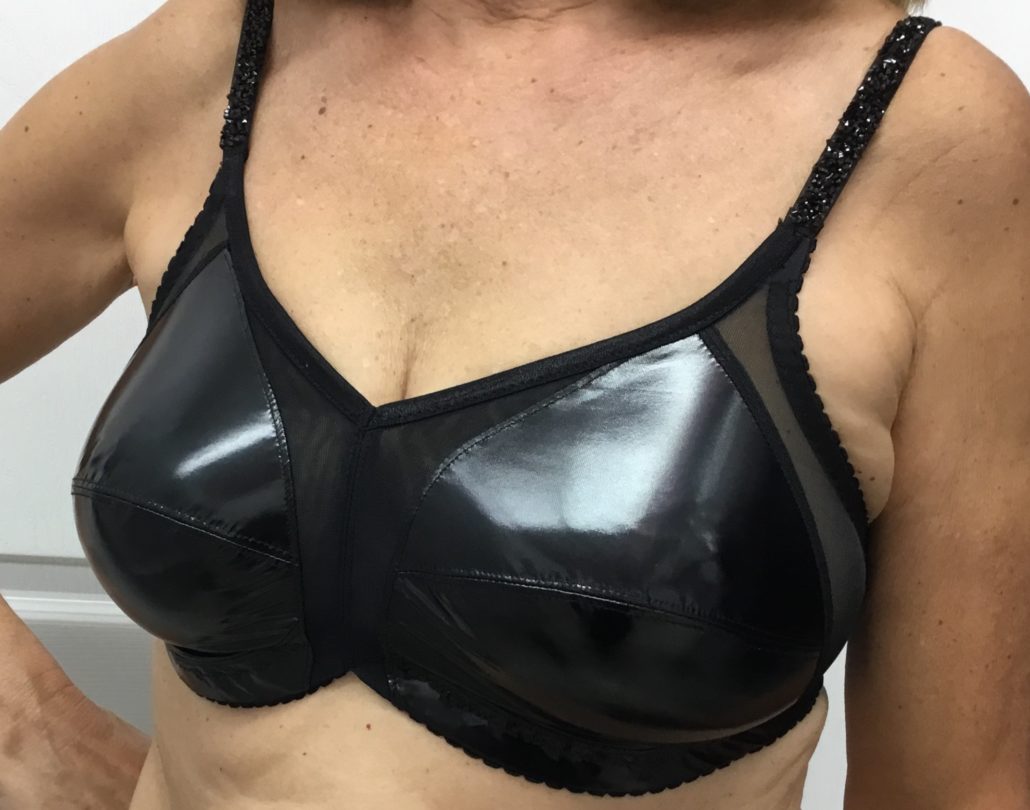
So this is our Ingrid – ready for the Disco!


Does disco Ingrid come in a kit?
Disco Ingrid looks amazing!
There’s nothing ‘matronly’ about Disco Ingrid!