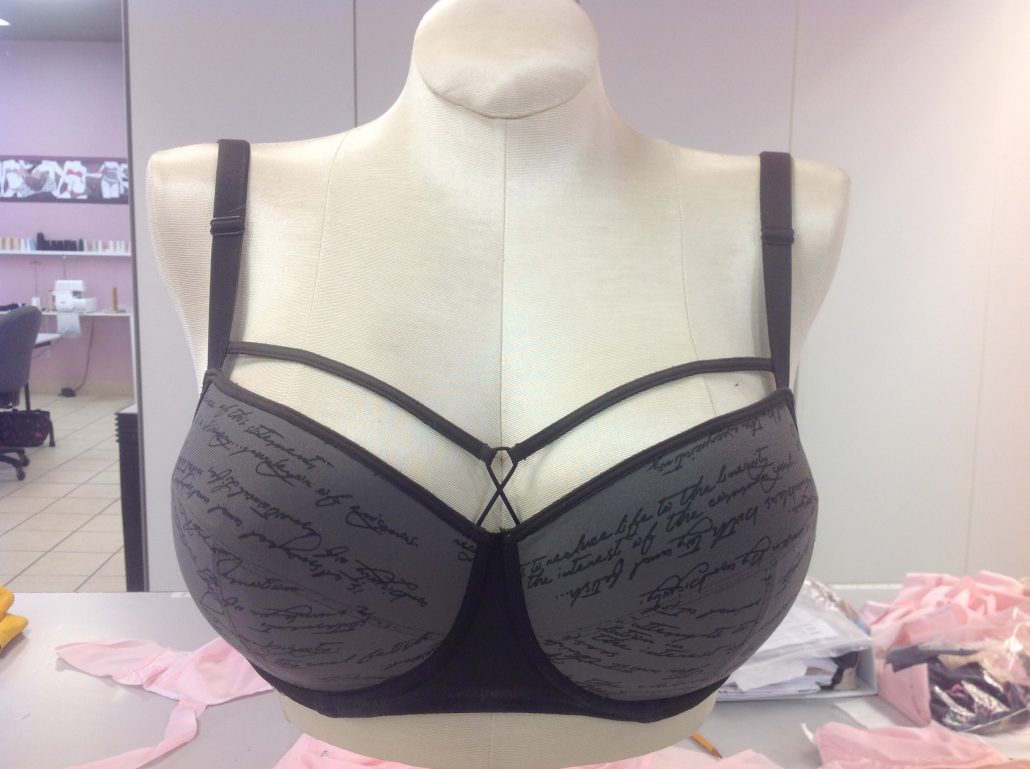
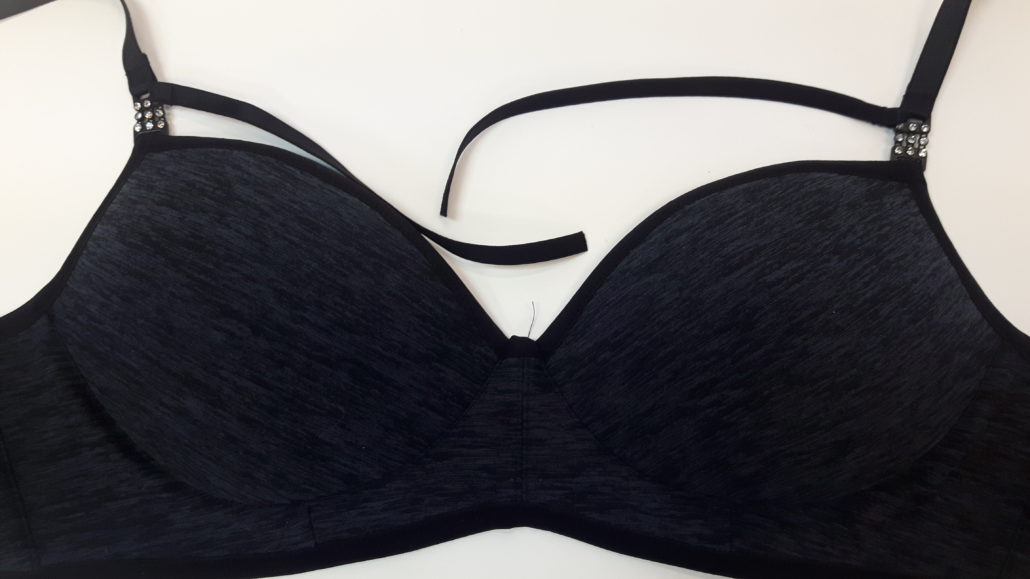
Recently I wrote a post showing a selection of Marlies Dekker bras from ready-to-wear. They were all beautiful bras that a student brought in. I showed that all three styles of the “Marlies” bras could, in fact, be made using our MA style foam cups. I also told you I would take you step-by-step through the process of making each one. So now – are you ready to tackle your Entry level Marlies bra? Of course you are! Here is the original bra.
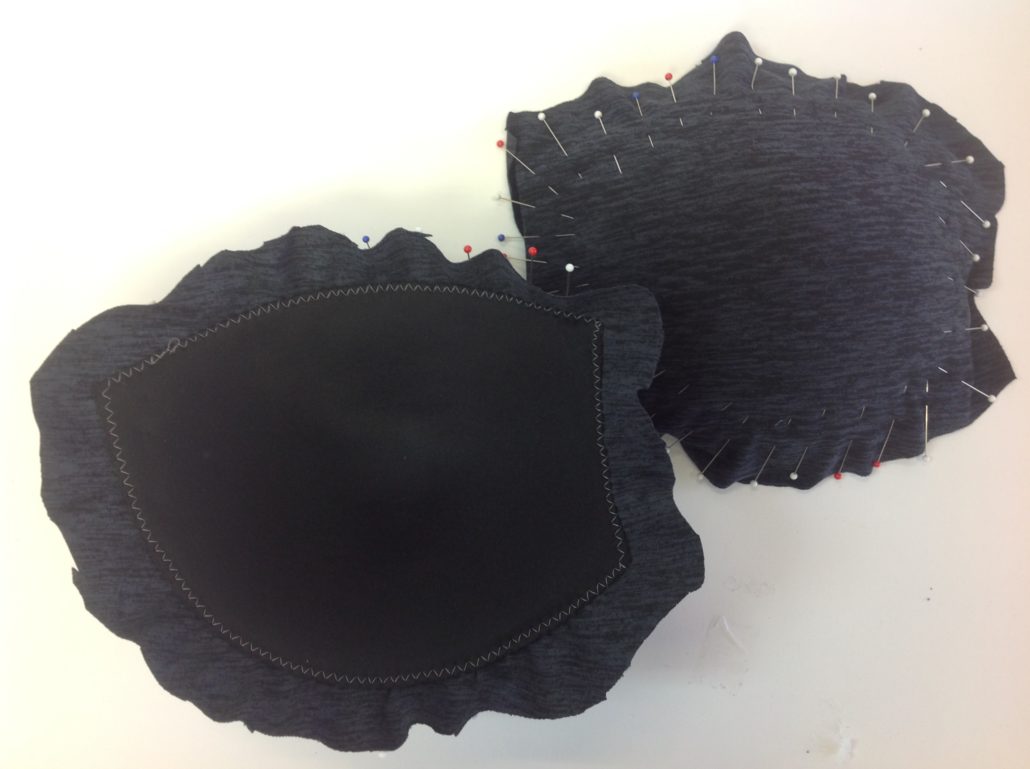
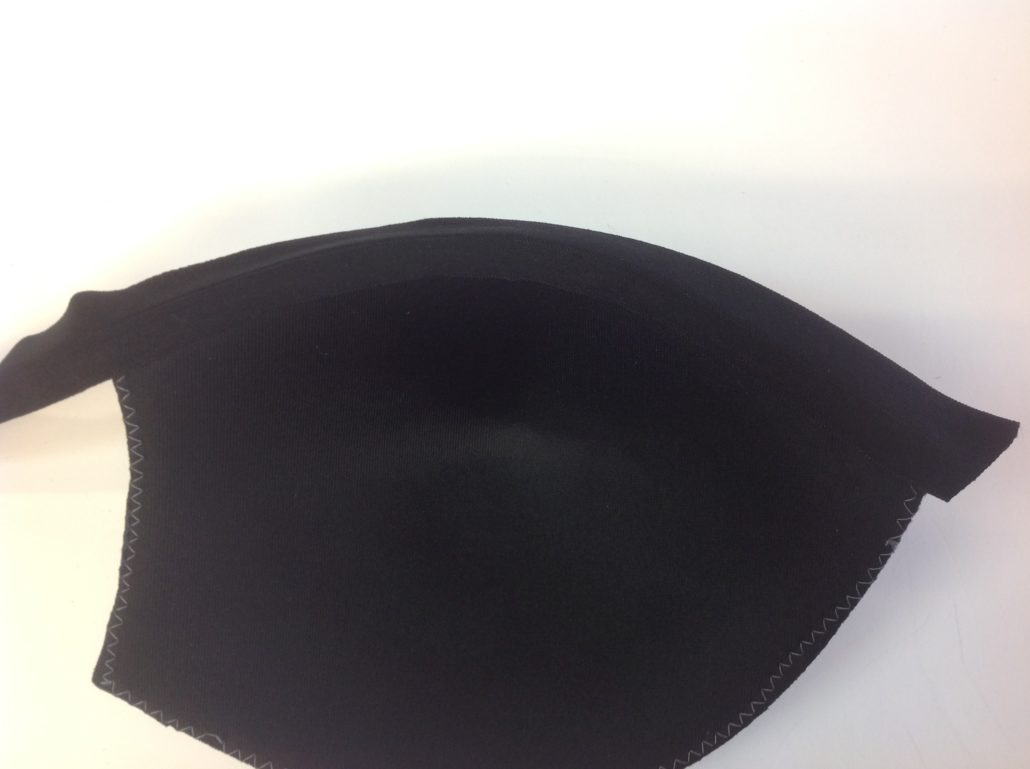
Start by covering a set of our MA style foam cups. We chose the Maxine fabric because it looked very similar to the original fabric and it is nice and stretchy – a quality we need if we expect to cover the cups seamlessly. Pin a square of the fabric over the cup keeping the “stripes” of the fabric parallel with the neckline edge of the cups. Pull the fabric gently and pin until all the puckers are out and the fabric lies smoothly over the foam, but without collapsing. In this bra we are not going to sew a roll-over edge as I sometimes do, but rather I am going to use a fold-over binding to frame the edges of the cups and make a more dramatic statement. That’s why we can zig-zag all around the cup and trim away the excess
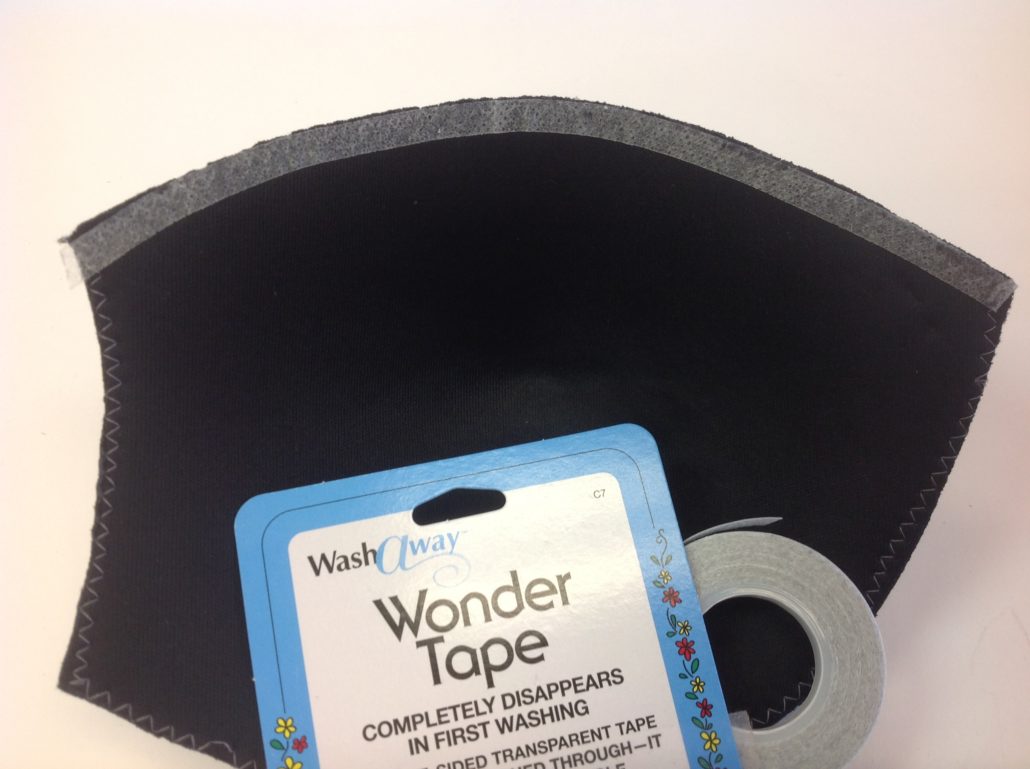
No you are ready to sew on the fold-over binding. Here’s a quick and easy method we use and it’s great if you lack confidence in working with FOB. Start by pressing on a piece of Wonder Tape to the inside of the foam cup along its neckline edge (the straighter of the two large curves). Think of Wonder Tape as double sided tape that washes out in the first wash!
Then we give the FOB a quick press to crease it along the middle line. We are using the matte finish side of the tape. We could have used the shiny side but we felt the matte side looked better with the fabric. Now finger press one side of the fold-over binding (up to the crease line) to the edge of the cup.
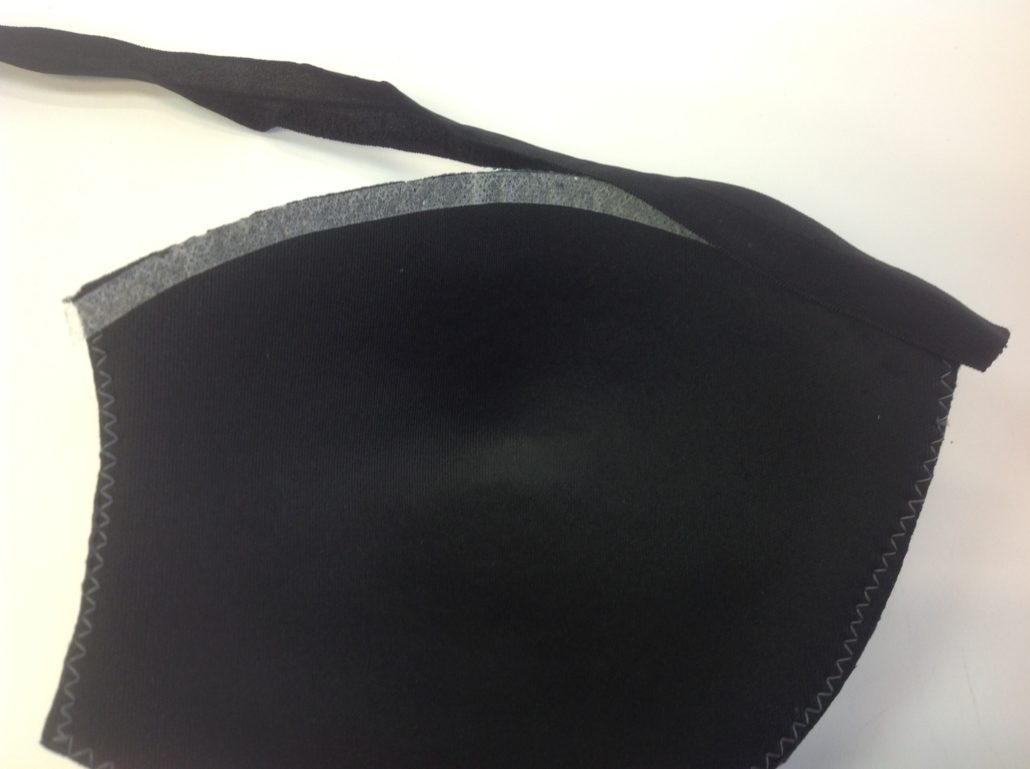
Here it is all finger pressed in place.
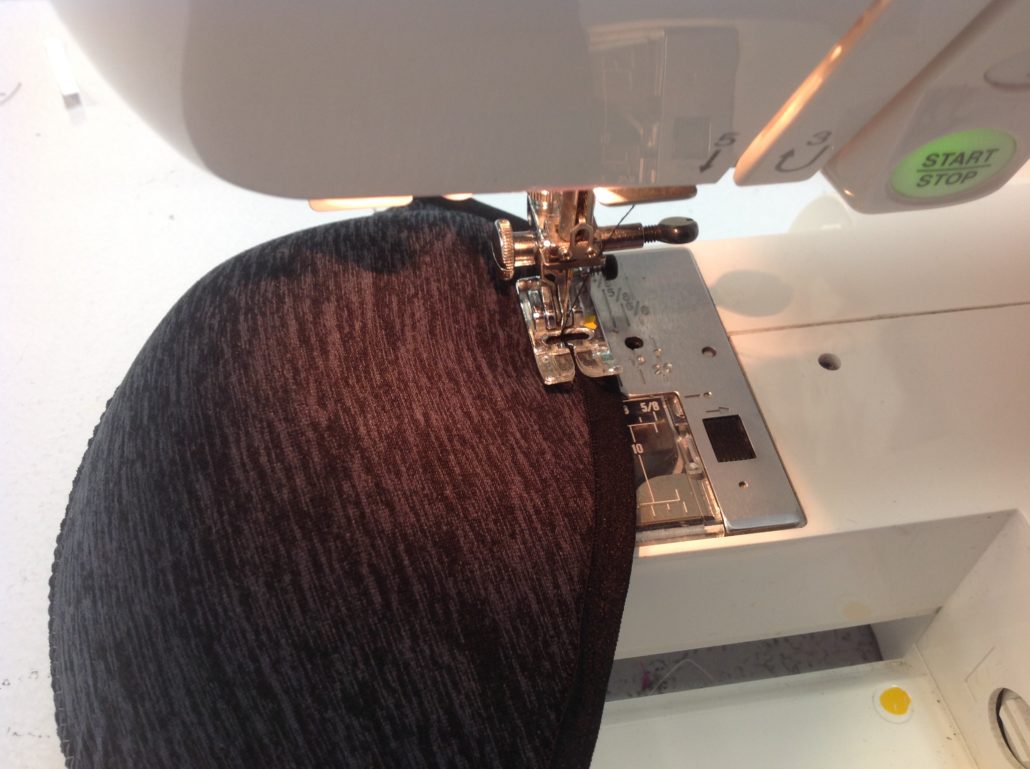
Now it’s easy to take it to the sewing machine and use a small zig-zag to attach it permanently. Since the Wonder Tape is holding the back in place so nicely, you can easily sew it without any pins!
Here are both cups finished along the neckline edges. Trim off any excess FOB from both ends of the cup. 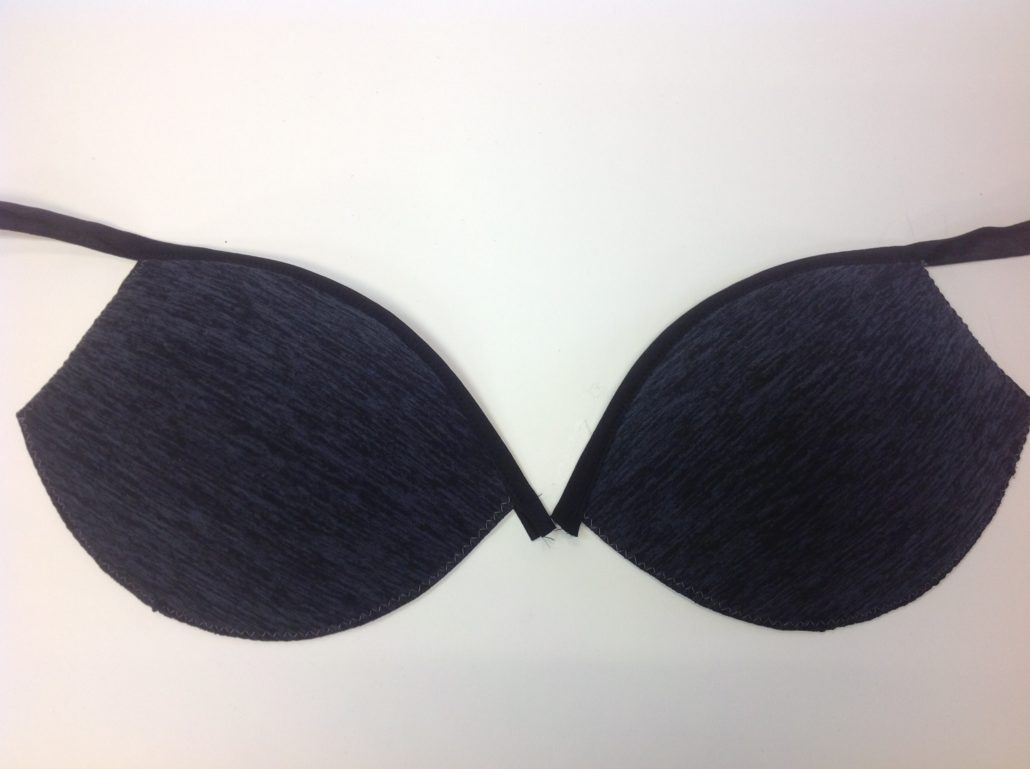
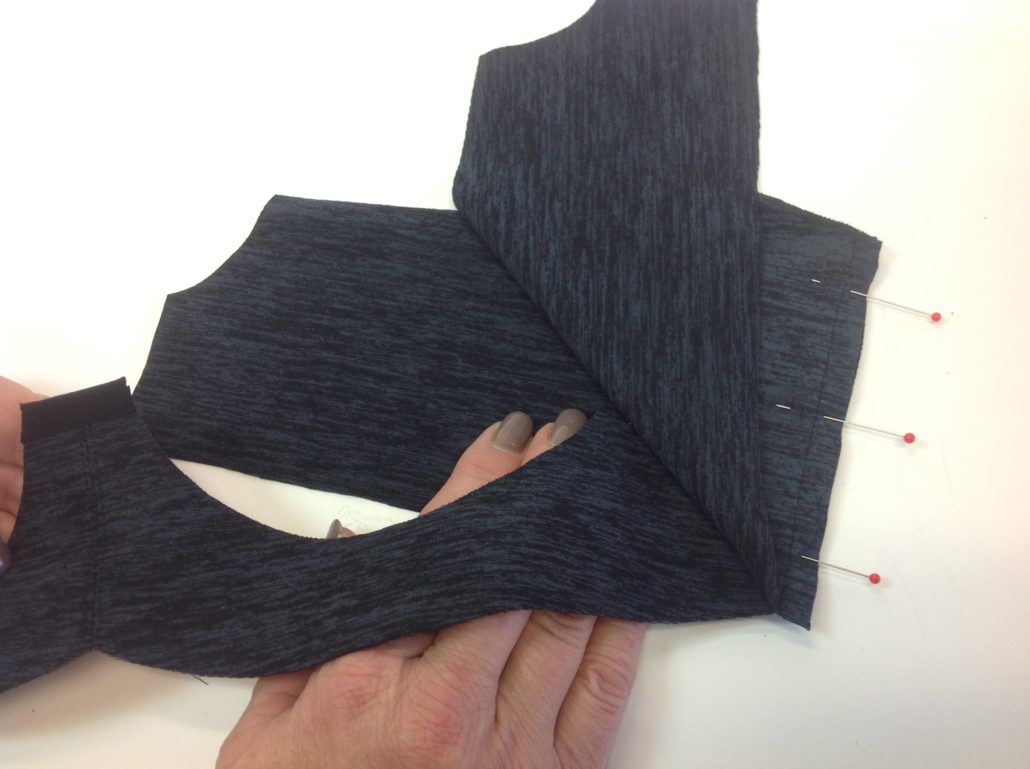
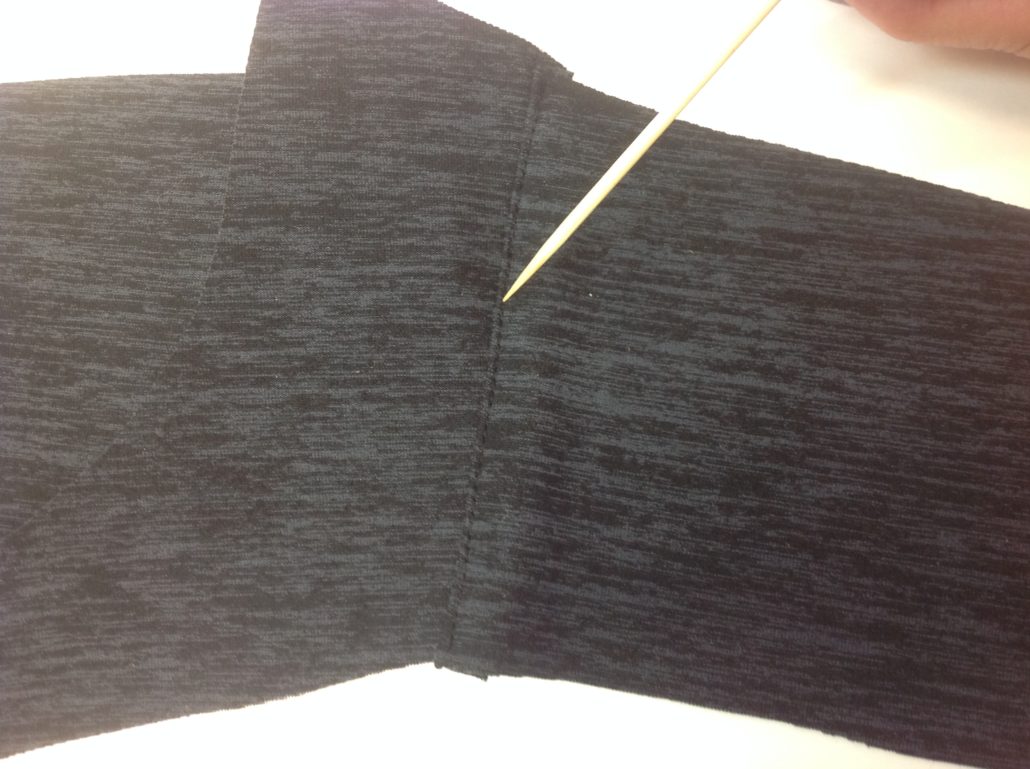
Now for the frame. We chose to use two layers of the Maxine fabric for the back instead of the traditional power net. Here’s a great way to enclose the seam. It will only work when you use two layers on the back band. Sandwich the frame between the two back bands and stitch the seam.
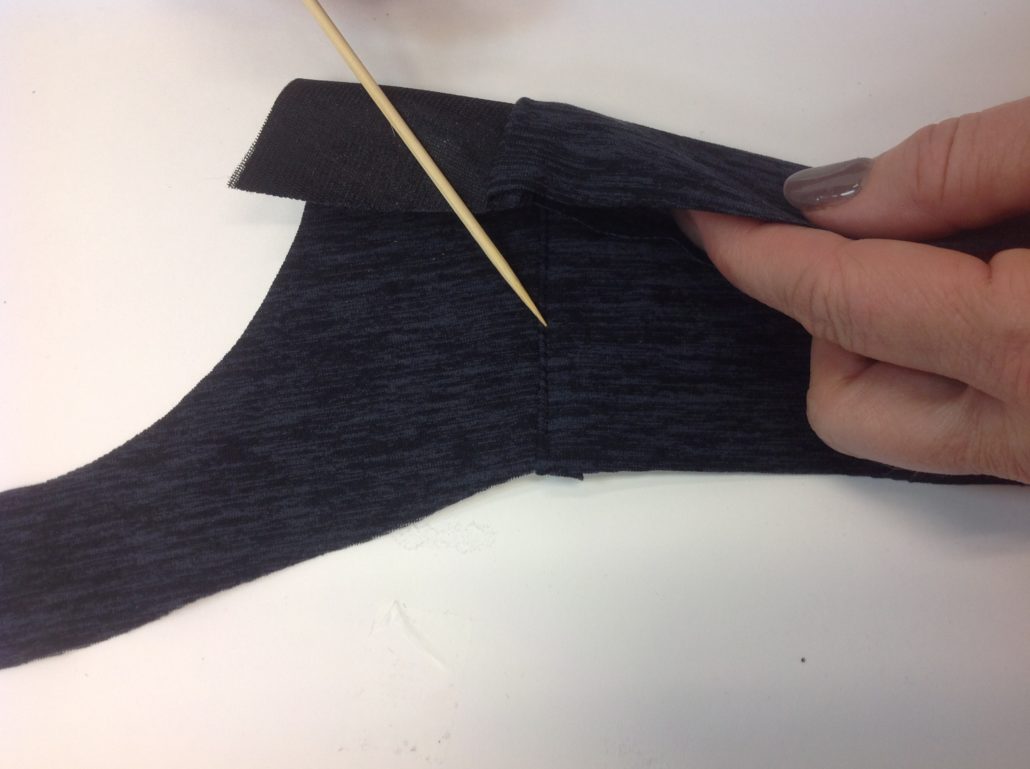
The fold the inside layer out of the way and topstitch the seam through the front layer of the back and the seam allowances.
You can see the stitching on the top (front) layer, but not on the inside back layer. This is the way ready-to-wear does it, and now you can do it too! Once the frame is finished you can sew in the cups.
Now you can sew the fold over on the rest. Leave a tail of the fold-over at the strap ends so you can attach a bit of bling. In this case, we used the Nine-patch Crystal.

Now for the Strapping!
Attach 1/2″ strap elastic to the top of the connector, then attach a second thinner piece of elastic strapping (in this case our 5/16″ strap elastic) and sew it to the side of the connector. Use a piece long enough to go to the centre of the bra with a bit of overlap.
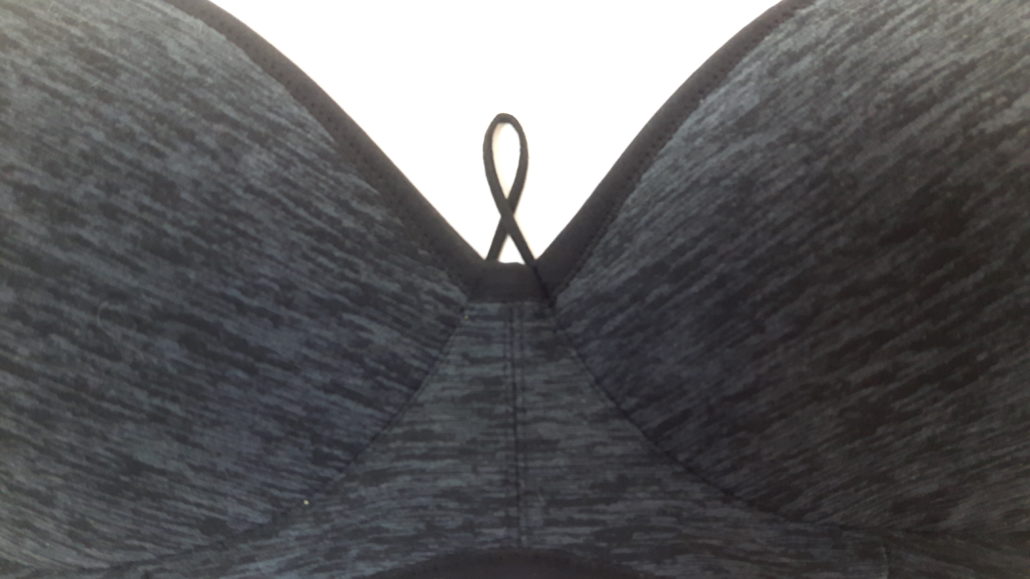
We used a small piece of 1/8″ cord hand sewn to the centre front of the bra to make this criss-cross loop.
Lastly we sewed the elastics coming from the strap area to the centre loop.
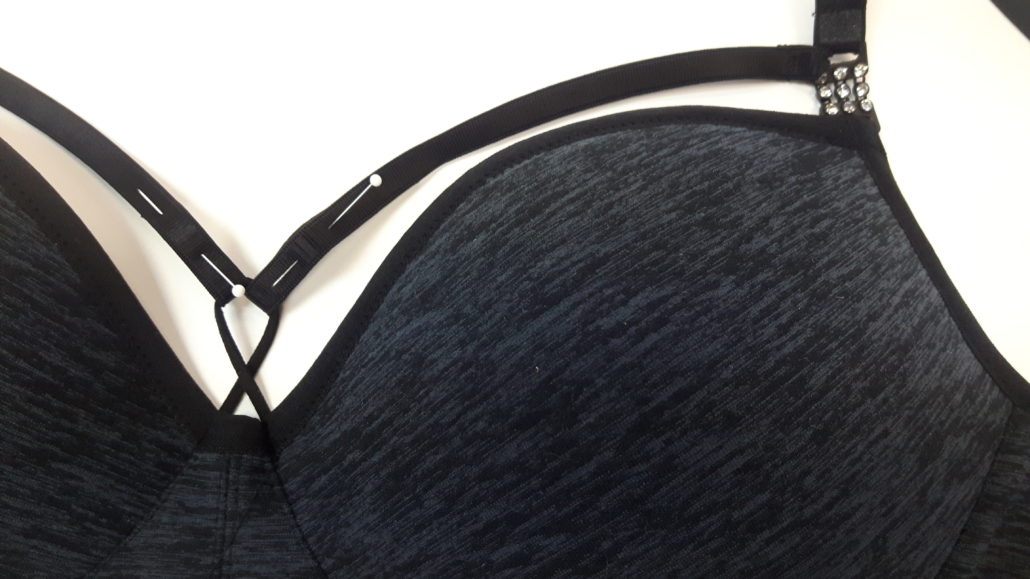
Our finished bra! A perfect introduction to using strapping creatively.


Where do I find the pattern?
We sell the Amanda pattern that includes instructions how to cover the foam cup shown here.
Thanks Beverly, I am going to make one of these.
I expect you will! We would love to see your results! Why not post it on our Bra-makers Supply Facebook page or on Instagram? We would love that!
the cord in the middle … appears to be stiff like it is standing on it’s own in that criss cross loop… is it a stiff cording??
No, not really. It is a suede cord that we thought might be useful on corsets. This was the right size for this project, but the original was actually elastic cord. I didn’t have any of that so we used what we had!
Thanks Bev! I’ll be in to pick some up … Gonna give it a go.
Beautiful. I like this better than the original!
We did too! Thanks for your comments!