Our newest pattern, called the Ruby, is a foam-lined bra with offset vertical seams. Because it is foam-lined, you may not be familiar with the construction techniques peculiar to foam. Denise recently made her version and she happily shares the secrets with you. Here then, is how to make a Ruby for your Treasured Chest!
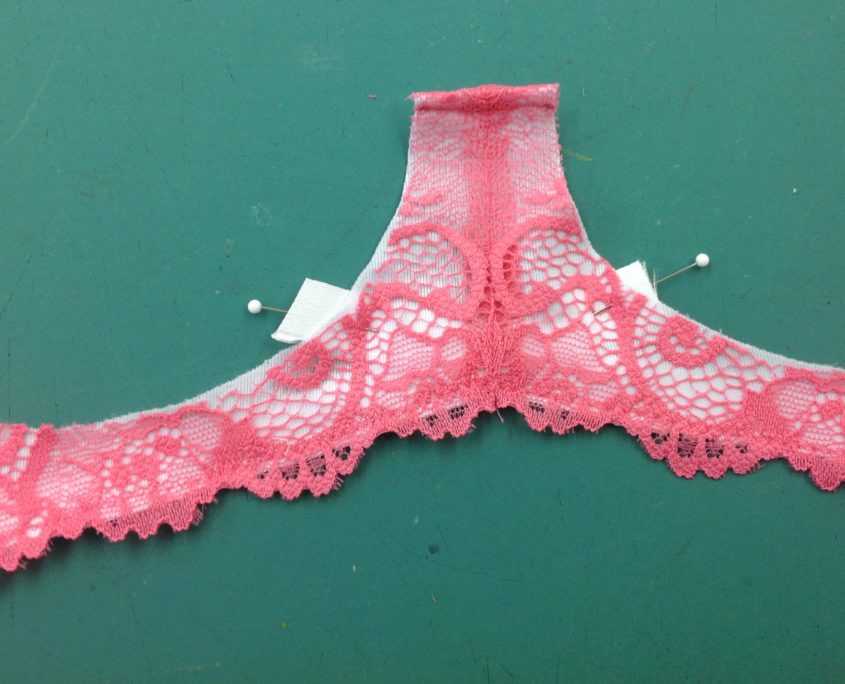
She chose to use stretch lace edging over cut and sew foam. This particular lace was so pretty, though, that she decided to let the lace edging be a feature part of the construction. For more info on how to make that lace edging and the Gothic Arch for the bottom band, see this post. Then we turned down the top centre front of the bridge, too and stitched it.
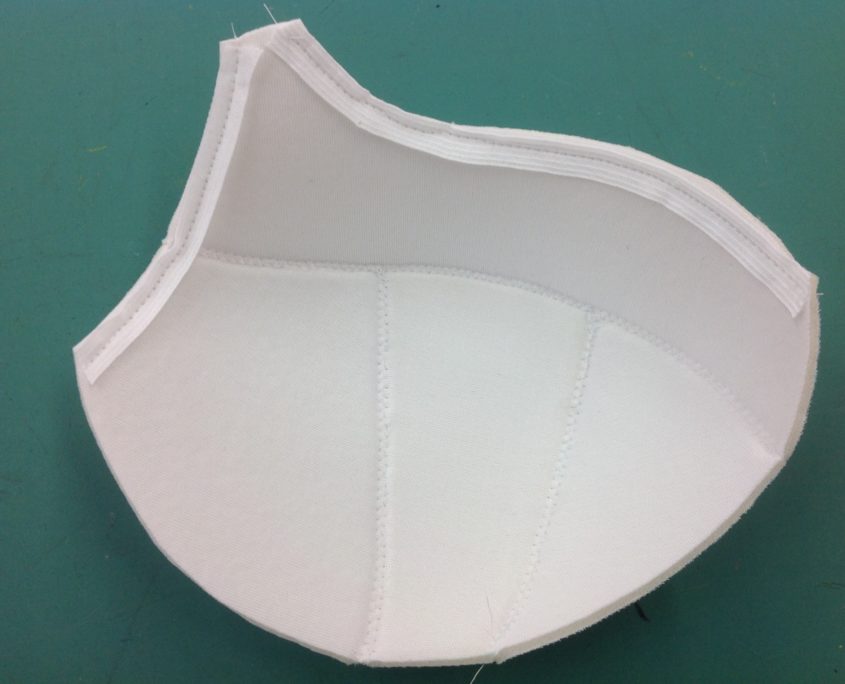
There are two different cup patterns – one for the foam and one for the fabric (or lace) cover. Once you cut out the cut & sew foam for the cups, you can sew them together easy-peasey. Simply butt two edges together and zig-zag over them using a 4 width and a 1.5 length. The notches are so well marked on the pattern pieces, that you won’t get these mixed up or upside down. Sew the 3 lower cup pieces together, then sew the upper cup to the lower cup unit. What did I tell you? It’s sew easy!
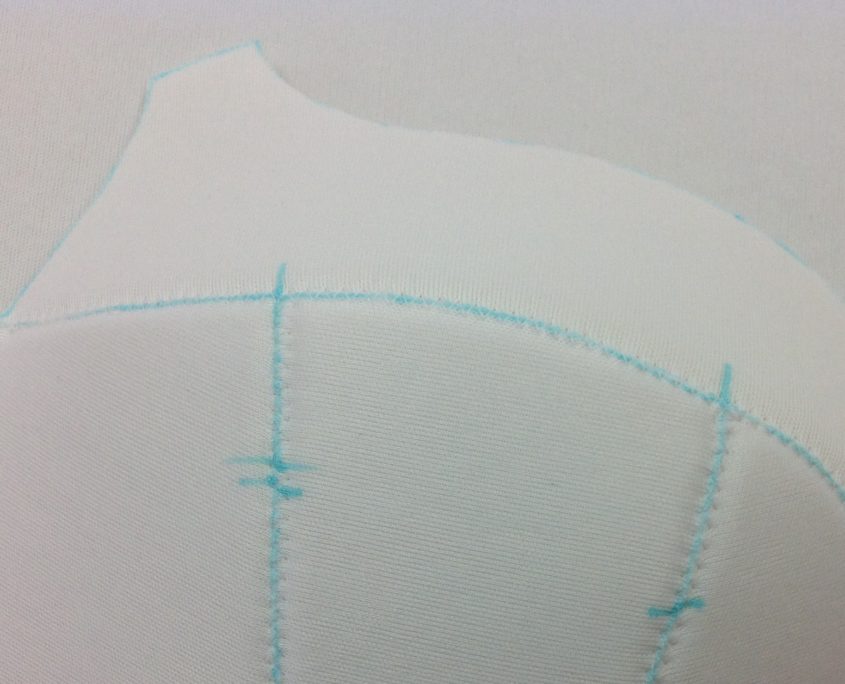
Stabilize the neckline edge and the underarm edge on the inside of the foam. This keeps those areas from stretching out.
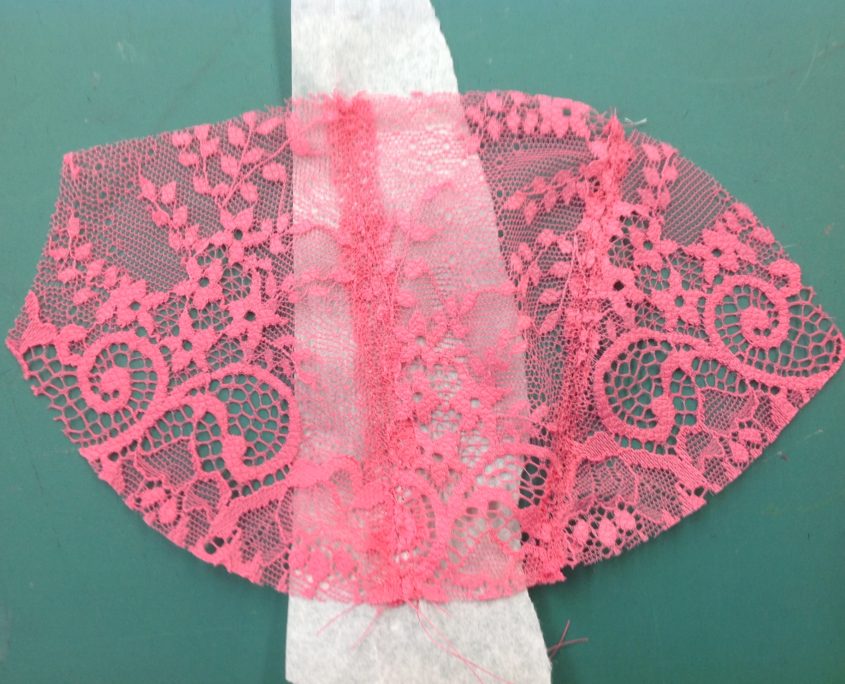
Now sew the lace or the fabric pieces together following the same construction sequence, but this time, you use 1/4″ (6 mm) seam allowances. There is white paper under the lower cup seam for clarity. Open and topstitch the seams.
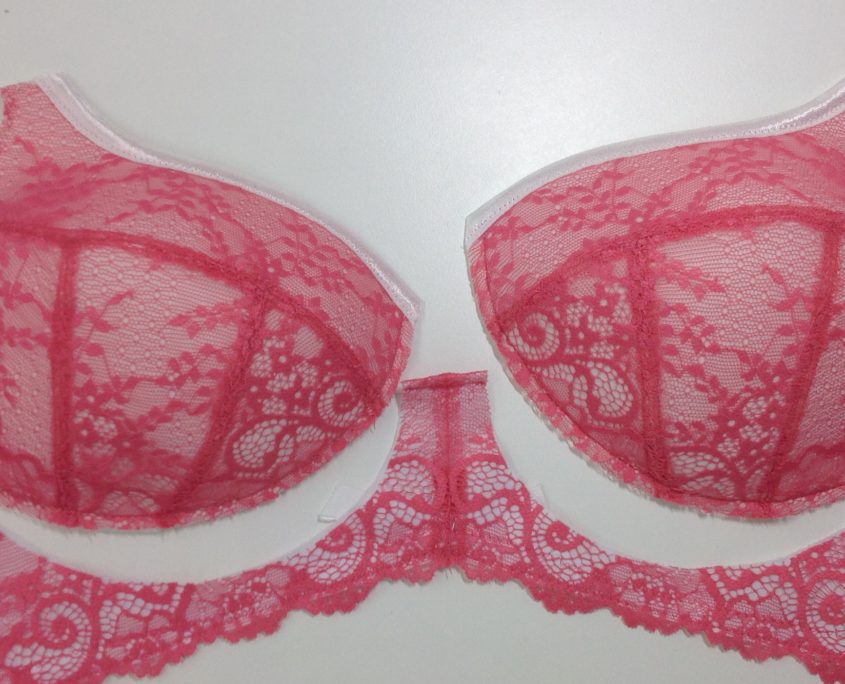
Smooth the lace cover over the cut and sew foam cup. being sure to match the seamlines as close as possible. There may be a bit of the lace cover fabric extending beyond the foam. Don’t worry about it – it is normal! Baste the cover to the foam around the perimeter and cut off the excess lace. Then apply fold-over binding to the neckline edge of the cup. It is easy to sew on, particularly if you use a glue stick to hold it in place. Makes sewing a snap!
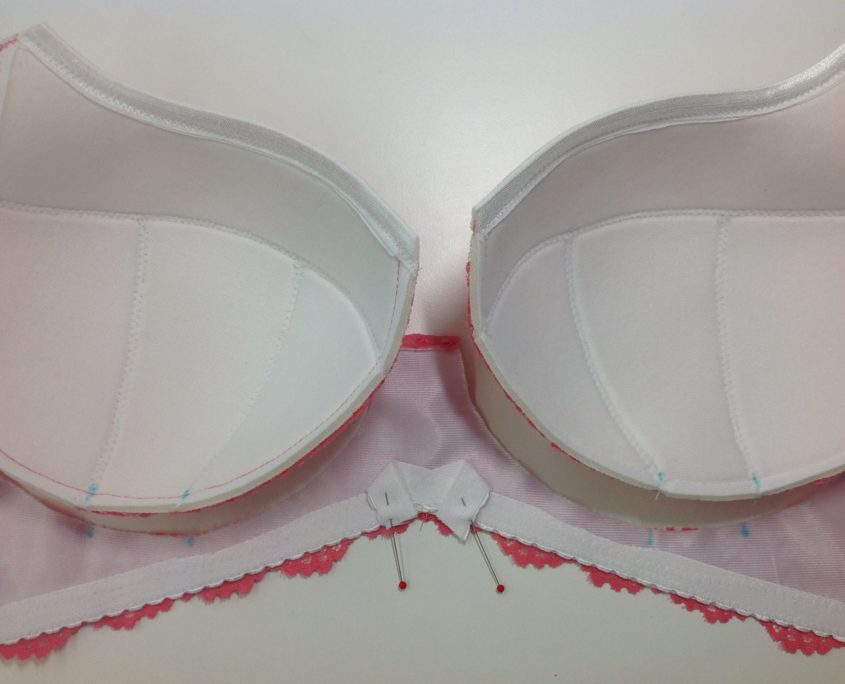
Then sew the cup into the frame, pinning the elastic from the Gothic Arch out of the way as you see here.
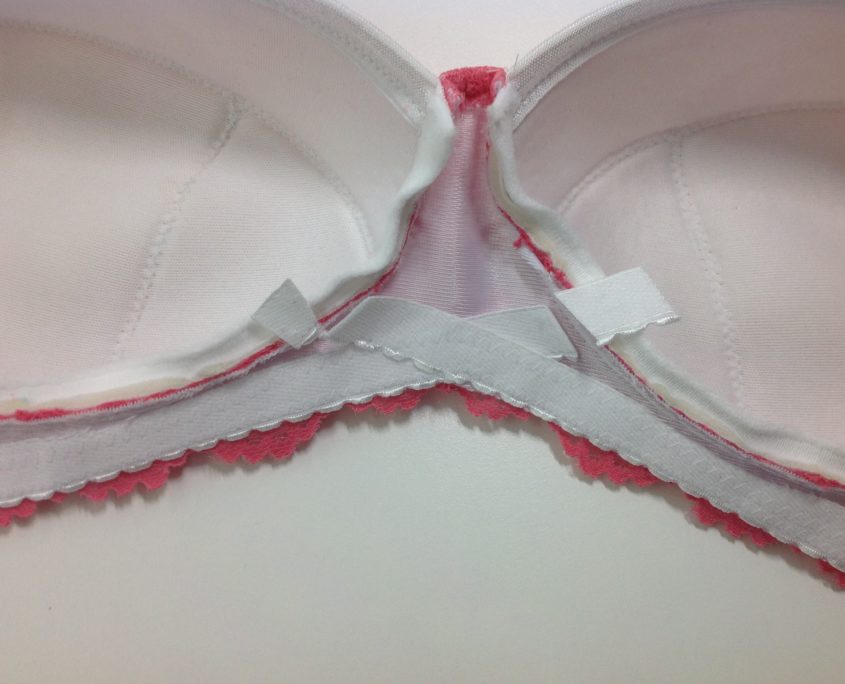
Now it’s time to sew the channeling to the cup ‘s wire line. When you do sew the channeling, be sure to trim off the elastic away from the seamline so the channel can turn over it smoothly.
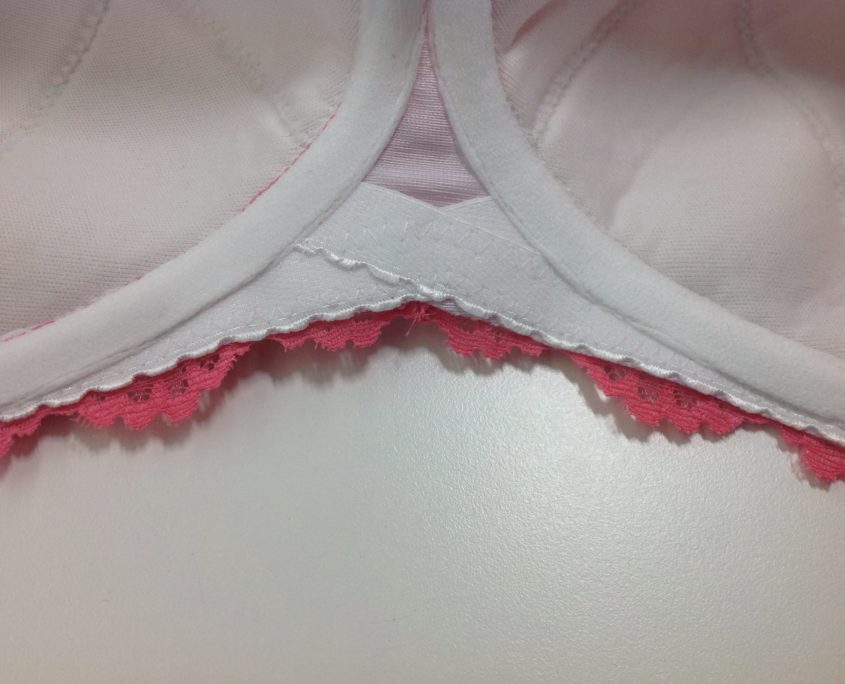
Here Denise is stitching the channeling on its outer edge. Nothing new here, but I love how the lace edge extends over the elastic.
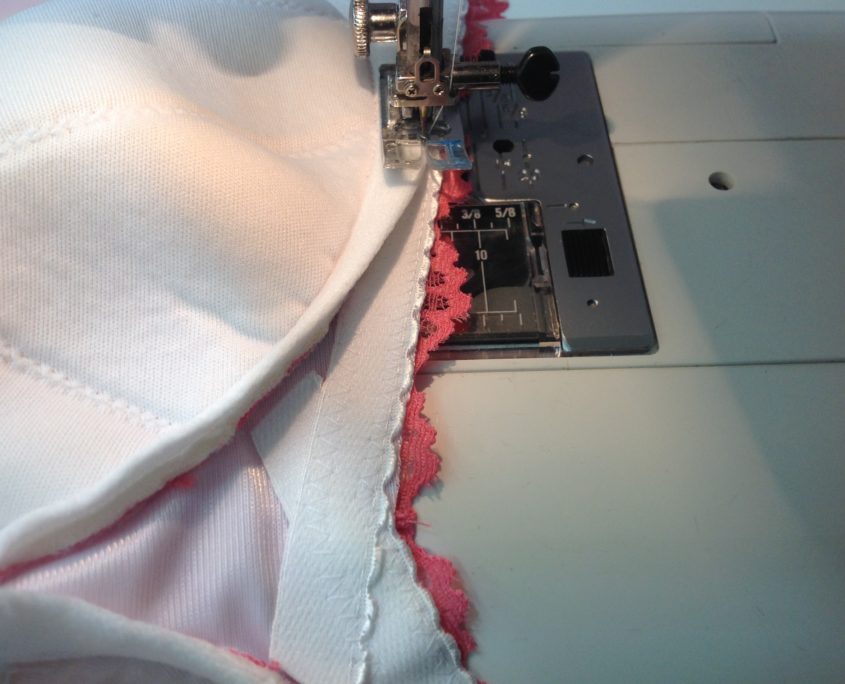
Here’s the channeling all stitched down.
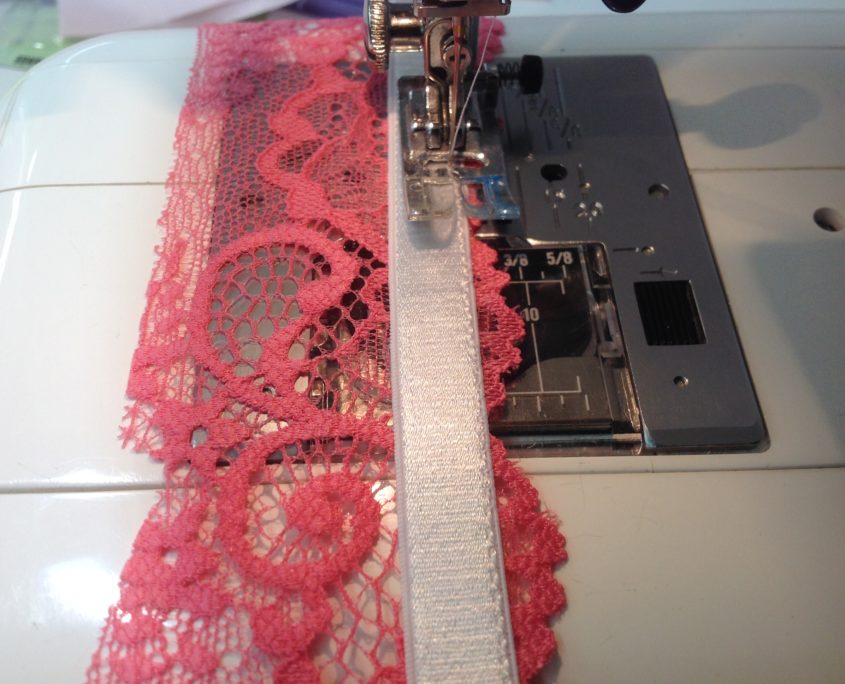
Denise changed the strap a little too. Instead of using plain elastic for the strap as directed in the pattern, she added some lace edging left over from the cup covers. She sewed the lace to the back of the strap using a small zig-zag stitch.
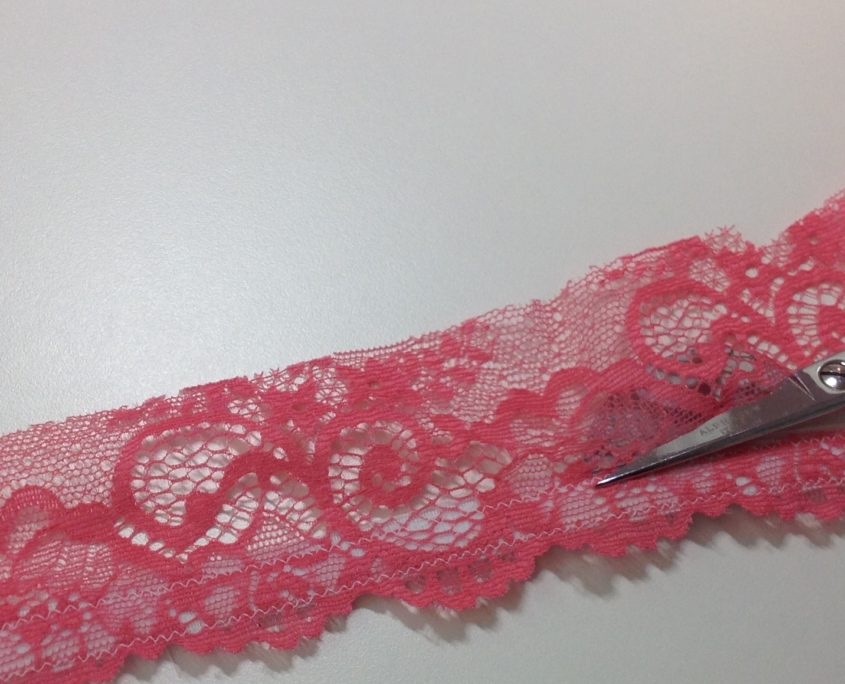
Then trimmed the excess.
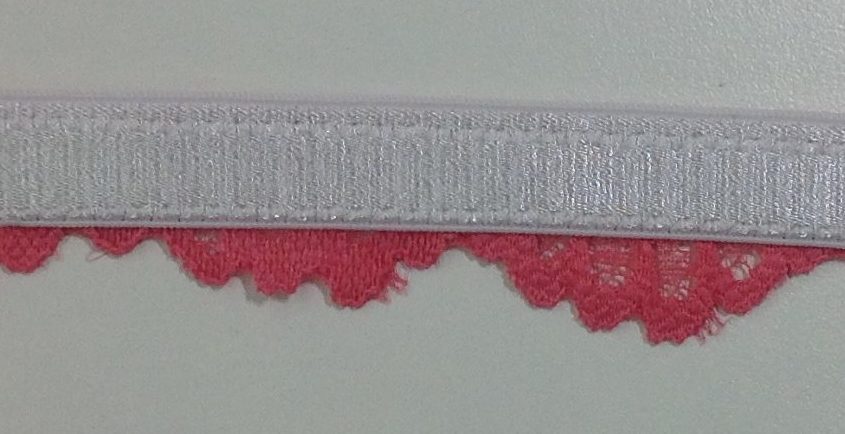
The elastic strap now has a bit of lace edging to tie in with the rest of the bra.
The finished bra. I certainly hope you add a Ruby to your treasured Chest. We’d love to see what you create, so we invite share your finished Rubies on our Facebook page!


Hi Beverly,
I know this post is older, but I really hope to get an answer nevertheless. I can’t get the ruby to fit me. Pleeeaaase help me!
As I don’t have a well fitting bra to measure, I started by choosing the wire. The 40 fits best. In RTW mostly I wear European 30F. My rib cage measures 30″.
I tried (every steps in Duoplex-cups) 30 Band, 4.0 Cup: Cups were to small, quadroboob and flying bridge.
Then 30 Band, Cup 4.25 lower cup altered to fit in 4.0-Frame: The edge of the upper cup still gives me a somehow quadroboob. I cut it and it opened a wedge of about 1″. Looked like exploded boobs.
Therefore Band 30, Cup 4.5 lower cup again altered to fit the 4.0-Frame: This bra still cuts in a little on the top edge, also the upper cup seems not to be filled completely. But the worst: there is no cleveage left, no crack between breast and no push up effect at all. Instead it seems as if all my tissue is pressed to the outside and down (obviously the opposite of what I want).
Can you give me any tips, how to proceed?
I reeeeaally want to have this pattern fitter for me!
Thank you in advance!
Anna
Would you alter the upper cup of the Ruby bra the same as demonstrated in Bra Fit and Construction class? If so, what would be the correct known points for moving straps out and neckline wedge increase? Thanks, – Adrienne
Yes you do, except that for the known points it is more like a “known curve point”. If you move the strap inward, connect the curve of the strap (the known curve) and connect it to the point at the top of the cup at the bridge. You will have to make a curved line instead of a straight one in order to keep the curve intact. If making a wedge, use the same point and connect it in a curved line along the neckline edge.
I am currently making the Ruby bra pattern with a BCD of 5.0. My query is about the frame. The cups fit perfectly but the frame doesn’t sit well on my small frame. I usually take a wire size of 40 but the 5.0 BCD suggests a 42, 44, 46 wire size. Is there anything I need to do to the frame for a 40 wire to fit?
No, my frames will all accept wires one size up or down from the suggested. You may however find the wire a little too short for the wire line. In that case you may want to close the channeling about 1/4″ above the wire to keep it in place and leave the rest of the channel empty above the wire. That’s what I do on my personal bras (I am a 38 wire on a 4.75 BCD – a similar size difference to yours)
Great thank you Beverly.
As a test I decided to try one of the frames that suited a 40 wire. I tried the 4.50 frame and made the height of the bridge and the side the same as the the 5.0 frame. I was very surprised to find the frame fitted me much better. And the cups went into the frame without a worry.
Yay. I love the Ruby! It fits me perfectly now. I just have to order a longer wire as the other one is a bit short. Thank you so much for this pattern.
I am working on a Ruby bra but have a question. I need 2 different cup sizes, one in 4.25 and one 4.5. The bra band is different for each size. Would it work if I cut one of each size, added a centre front seam allowance instead of cutting it on the fold, and sewed them together? I was thinking about adding in the gothic arch also, and could maybe ease out the difference in the depth at centre front? If you have any bright ideas I would love to hear them!
That is exactly what we do for uneven sizes. I actually show this technique in my Craftsy class Sewing bras: Designer Techniques!
Thank you so much, Beverly! I went back and watched that. Had forgotten it was there! Much easier and better than what I was thinking of doing!
My wire are 38 short with B cup.
Is the Ruby pattern compatible with short wires?
It is a beautiful pattern.
I would like to make it.
You certainly could shorten the upper cup to accept a short wire. It uses regular wires as the “standard” but there is no reason why you couldn’t lower the front of the cup and the bridge
thank you Beverly
I had a fitting with you when I was in boob camp last march.
If I make a foam cup with my basic pattern and then the foam cup from the ruby pattern, I guess I can get the right fit for the depth, side and underam by overlaying the two with wirelines matching. I would then retrace the top of the front cup and the bridge of the ruby for my short wires.
Are all sizes included in the same pattern for the Ruby bra? If not since my basic pattern is PINK, B cup 38 short wires, what size should I choose?
Looks beautiful, and I am really interested in the pattern. The vertical seaming looks like it would offer nice shaping.
(BTW, there seems to be a display problem with the posting on Bloglovin).
Thank you for this wonderful post! I love the lace edge, and adding it to the strap makes the strap SO pretty!
I know, right? This is a “Denise” touch and very pretty. I am very happy with the Ruby and with two seams on the lower cup instead of one, it makes it easy to adjut for the Omega breast. Although we are finding women are adjusting this pattern less than the Classic for example. I took years of teaching the Classic and incorporated those changes into the Ruby. Now I am going back to re-do a “New” classic, Shelley, Linda and Sharon, all based on my BCD sizing.
Hi,
This looks absolutely beautiful and the style is just what I’ve been looking for, for ages. Could the pattern be adapted to sew without foam and use a lining instead?
Thanks
Louise
Of course. In fact, we say in the instructions that foam is optional. I am making one for myself right now that has no foam (for summer and those senior moments!)
Brilliant, thanks so much