Our lovely Shamrock Valley bra was created using our Shamrock Valley Quartet. If you haven’t used a Quartet as a starter to sew up your own DIY bra, then perhaps this bra will serve as inspiration. There are three unique areas we focused on for this bra.
- a netting overlay on the cups and frame with a v-point on the bridge
- piping of solid green along the neckline and the side seams
- a pair of shamrocks using a technique that might be familiar to quilters
The Netting Overlay
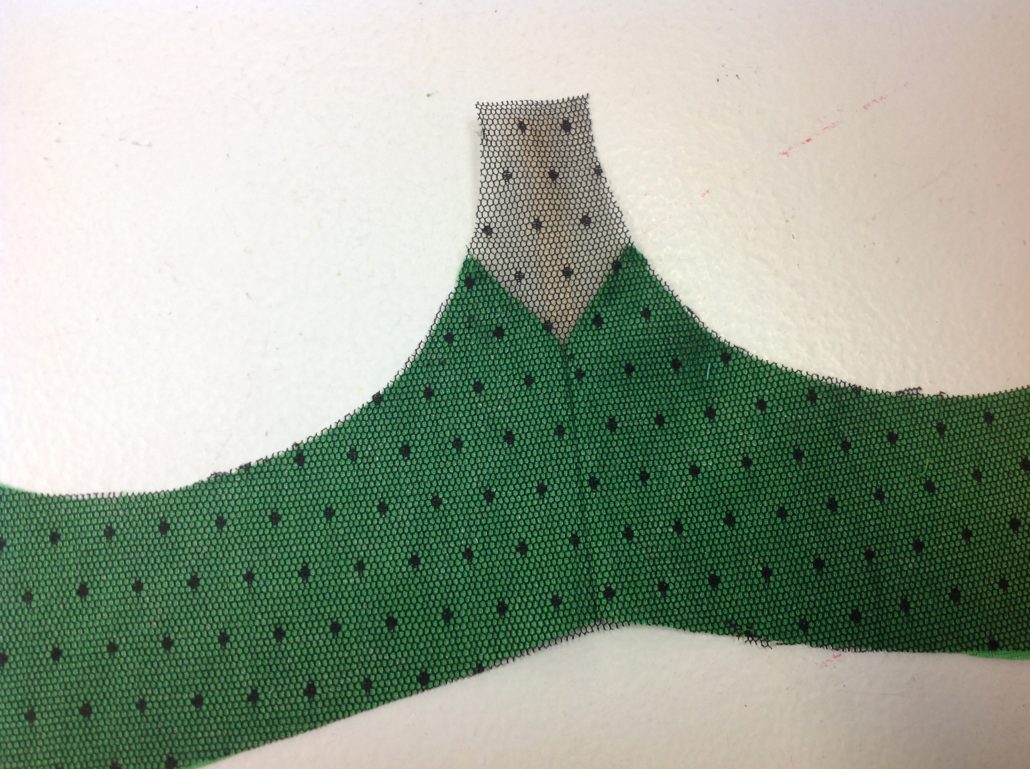
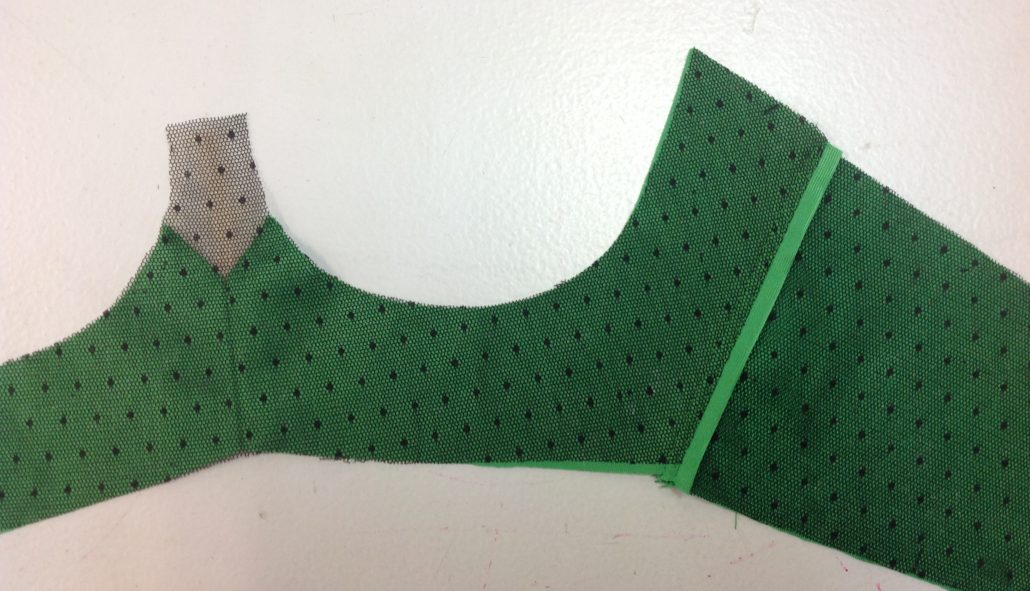
To make the V-section in the front, we cut the bridge at the seamline of the cup so that the cup seam and the V would line up in the finished bra. We added seam allowances to each piece, then sewed them together and turned the seam to the duoplex side.

Next, we sprayed the front of the fabric with Perfect Baste, a temporary spray adhesive. It’s perfect for holding the netting to the fabric. In this case, the netting was the full size f the bridge and frame, so the V-section peeks out behind it. We smoothed out the netting and everything looks great so far!
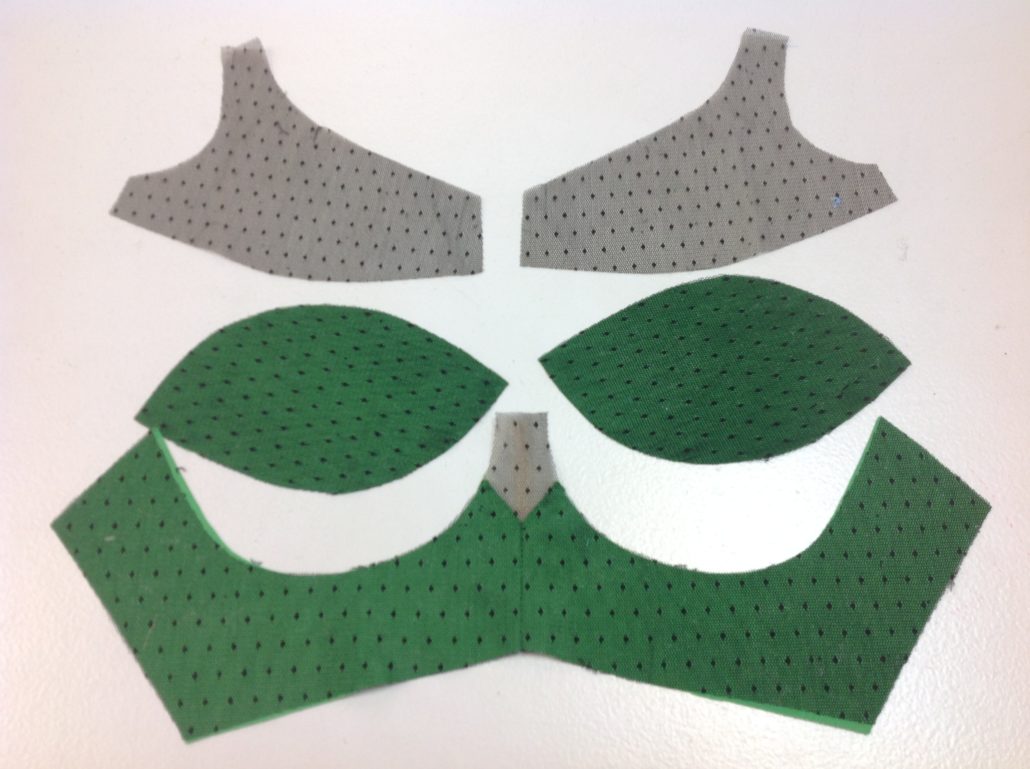
We added the lace overlay to the sheer cup lining included in the quartet for the upper cups, and over the green duoplex for the lower cups. Now we can sew the bra together as we normally would. You can see the Shamrock Valley from here!
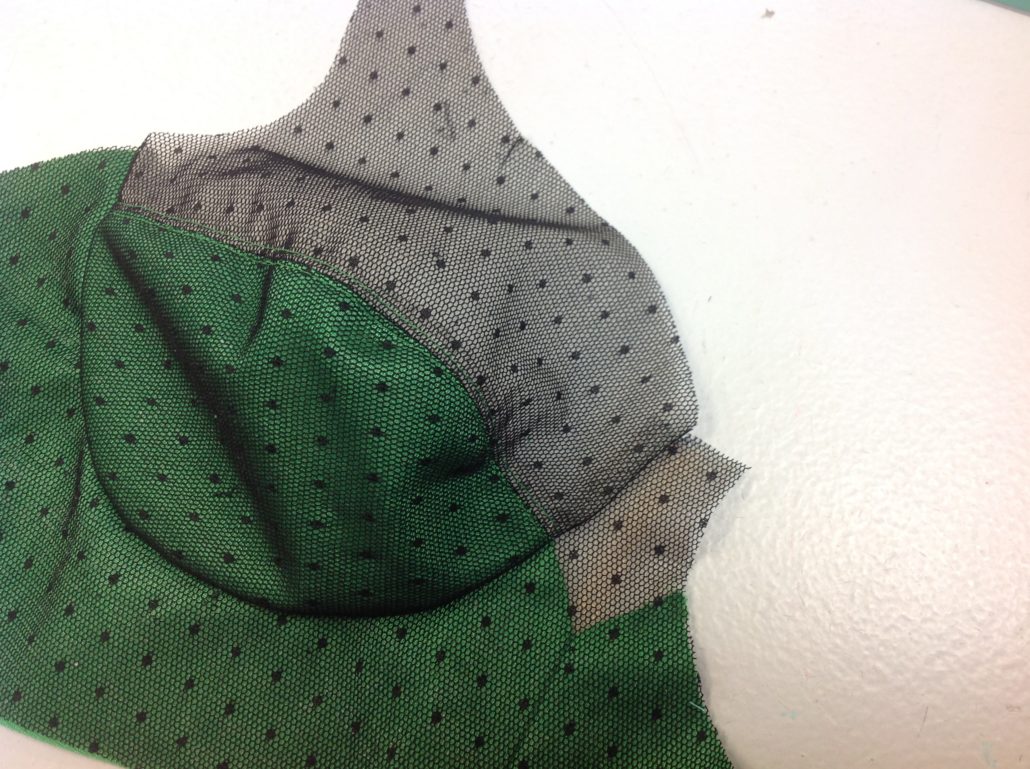
The bra looks great even at this stage, when we sew the cups into the frame. Notice how nicely the seam of the cup lines up with the V-section seam. Now if we can just get the second side to match as perfectly!
The Piping
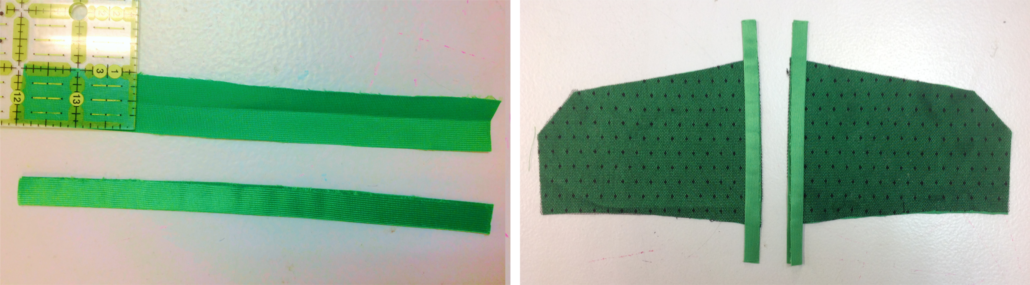
Piping adds a decorative touch to any seam, and for a little bit of green, we added the piping to the side seams and the neckline trim. Cut the piping strip from duoplex and fold it in half lengthwise. No need to cut the piping on the bias, when it is going to be sewn into a straight seam.
Now for the neckline trim. This piping should be cut on the bias as it is expected to sew in on curves. It should also be sewn to the main cup fabric prior to sewing on the elastic neckline trim. In this case, we used the Stretch Crochet neckline trim. We loved how the picots peeked above the piping on the neckline edge.

The Shamrocks
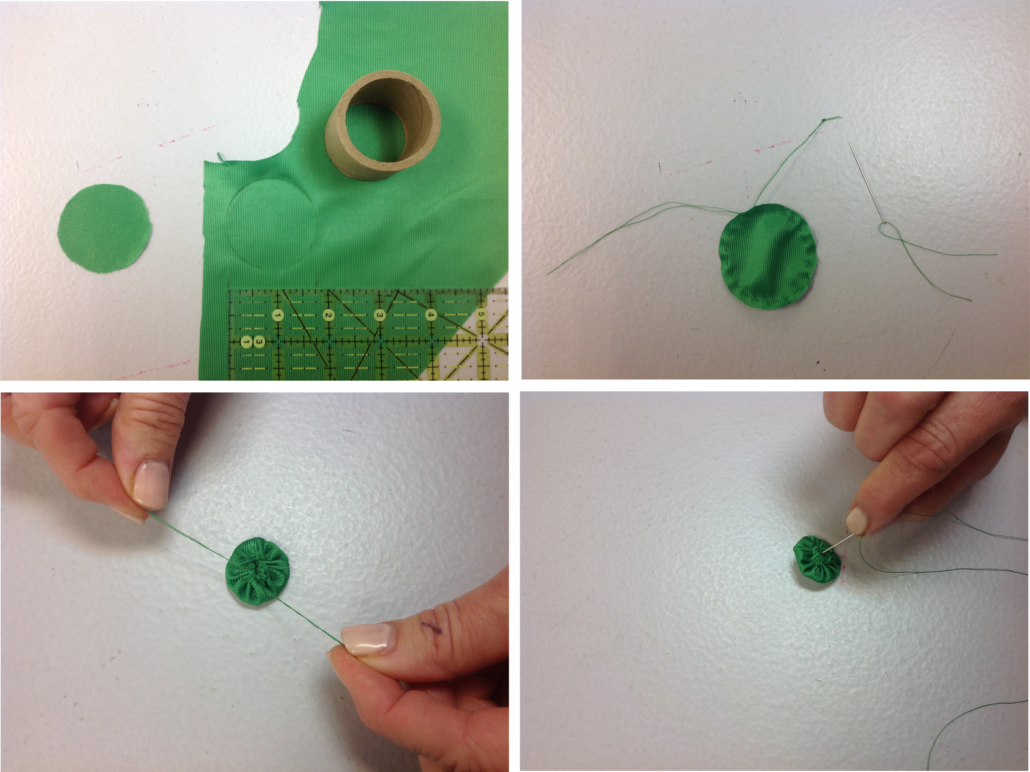
Finally we are going to make the shamrocks. We make them using a technique we’ve borrowed from our quilting friends. We will make yo-yos and use thread to shape them into shamrocks for this particular bra. Trace a circle onto the duoplex fabric. We used a cut off fabric tube, but a toilet paper or paper towel roll would work just as well. Then using a hand sewing needle and thread, stitch around the perimeter about 1/8″ away from the edge. Pull the thread ends to draw the circle together in the back. Keep the thread on the needle and push the needle through to the right side.
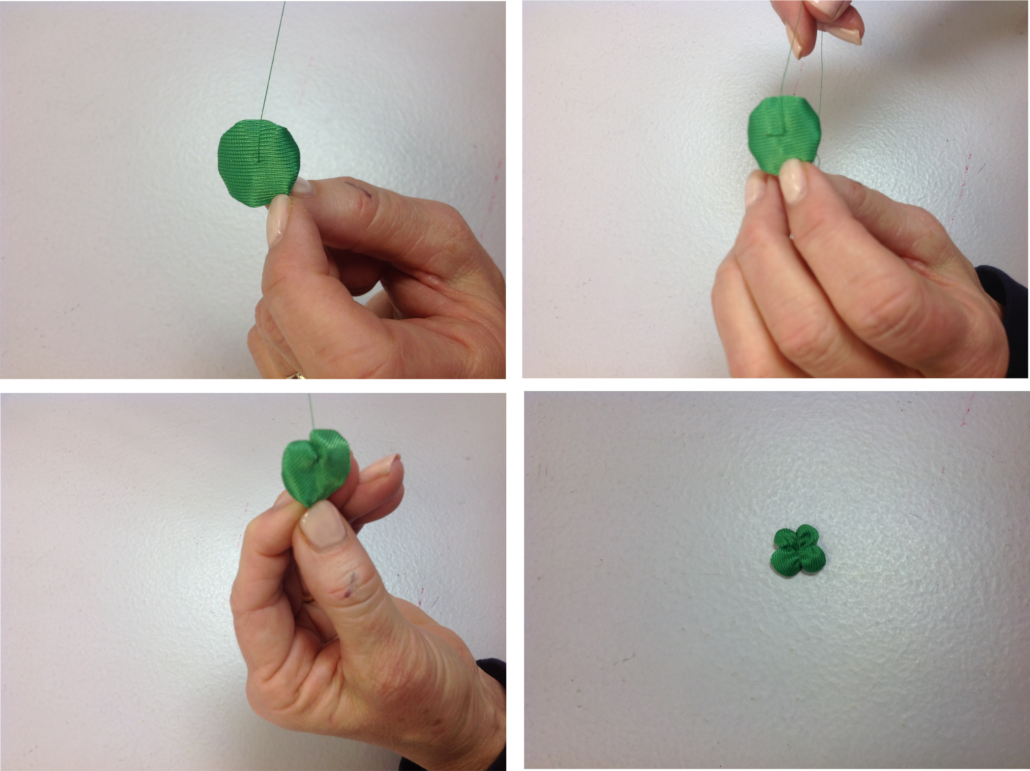
This is where our shamrock will take shape. Once the thread is through to the right side, wrap it around the puffy edge of the circle and poke the needle through in the same place. Now you can pull on the thread to shape the edge. Repeat this thread pulling at each quarter of the circle, making 4 shamrock leaves in all. This same technique, when executed in other colours or fabrics, could make many different types of flowers too. You don’t have to limit the petals to four – you can make flowers with 3, 5 or more petals.
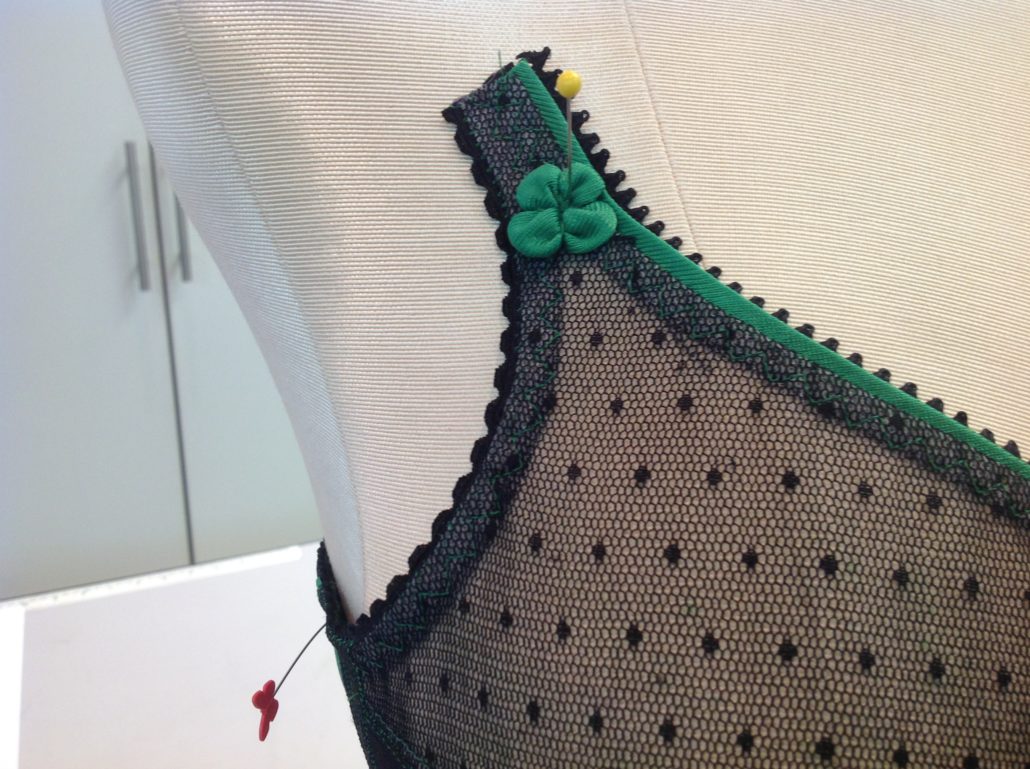
Sew the shamrocks to each strap attachment point on the bra. The extra fabric above the shamrocks is for the seam to attach the straps. We will position the shamrocks so they cover the seam.
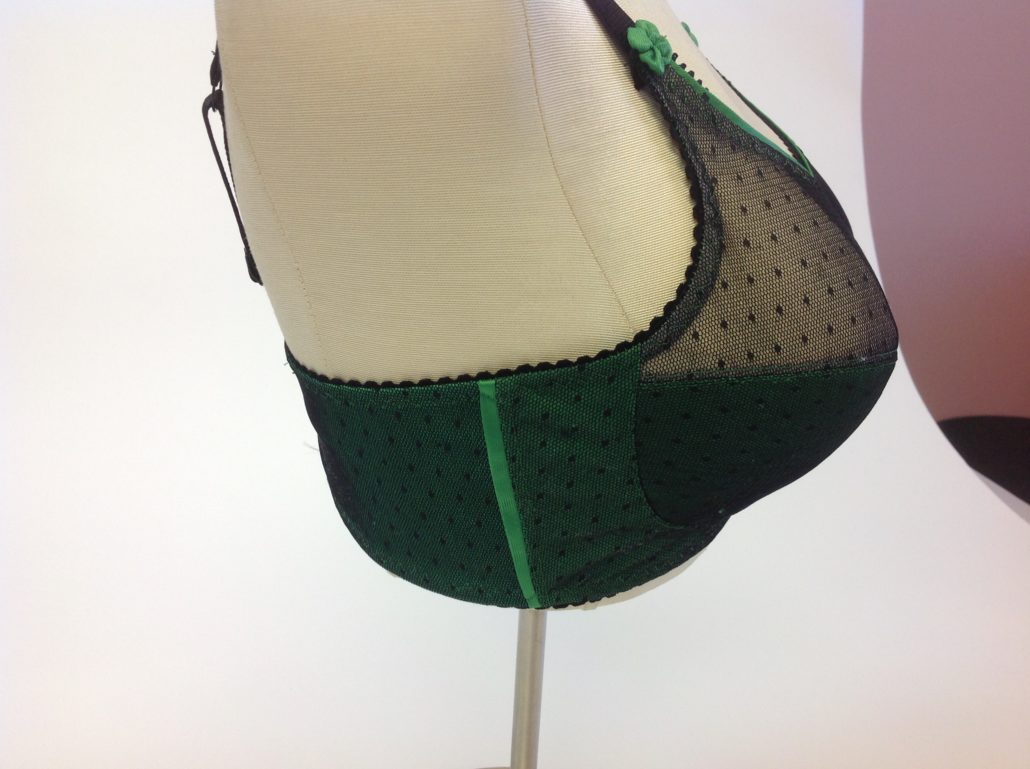
Here is the finished bra showing the piped side seam
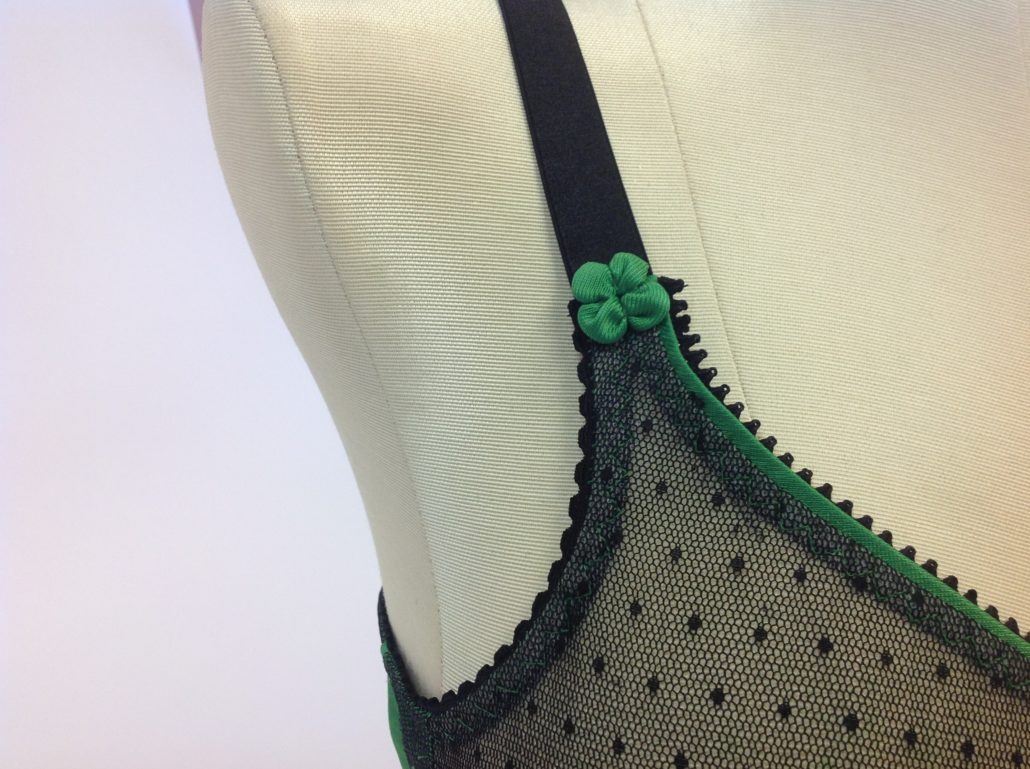
And the shamrocks at the strap attachment points
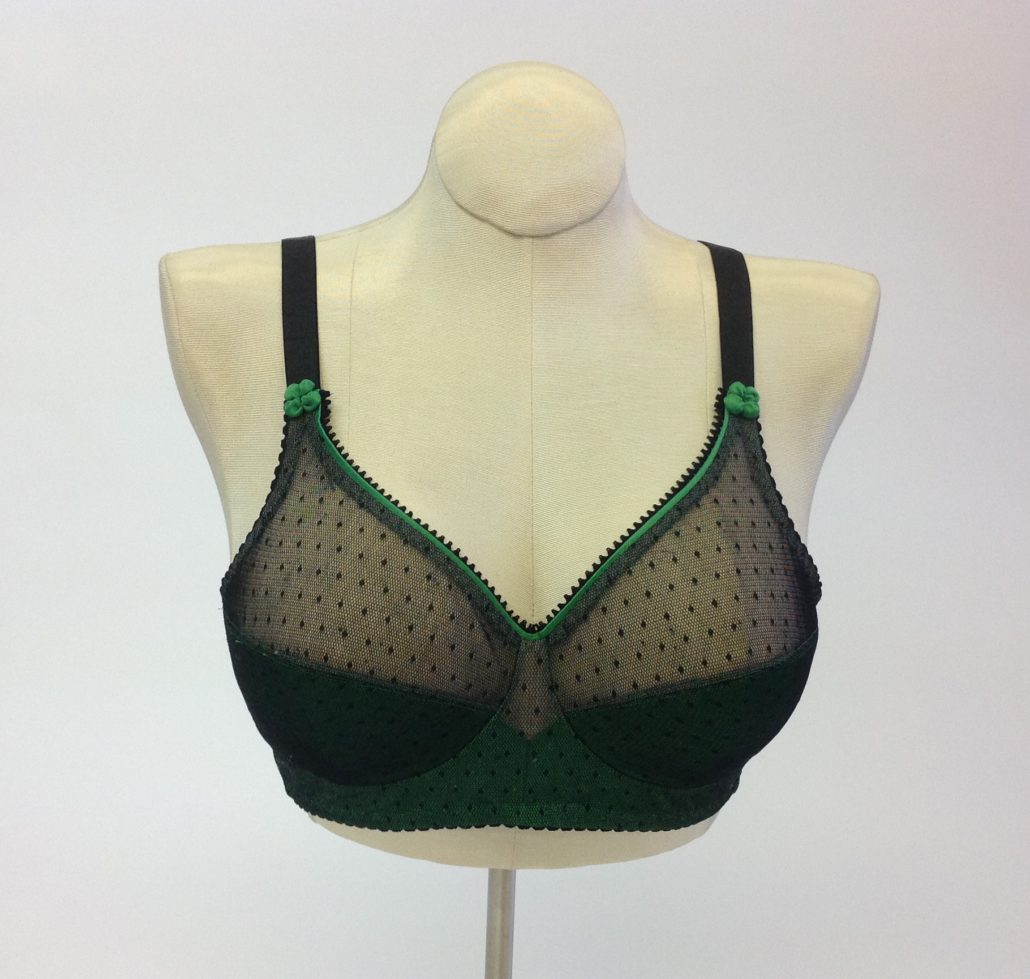
Finally, the finished Shamrock Valley bra!


Those sweet shamrocks would make great poppies, too!
Yes, they would. Or any other flower to make your own lingerie garden!
I missed this post earlier. SO PRETTY and I love the shamrocks!
I am working on a black and lilac variation of this bra, with chevrons, and am wondering just how you did the straps. Thank you.
That is just 3/4″ wide strap elastic sewn flat under the strap tab, with a yo-yo shamrock to hide the overlap
I like all your design, and of course I love this! It looks very magic and mysterious. Thanks for sharing!
Stunning! I wish I could order the quartet from Portugal though… well, I could, but I am discouraged by the custom taxes and the overall delay caused by the customs inspection 😞. I might try getting the separate supplies from Europe suppliers and knocking off this bra instead. Thanks for this article, it really has inspired me!
Love this! Very pretty and the little shamrock is so cute!